so the story is, I entered a competition on facebook with a company called Computerplanet.co.uk to win a case and in a stroke of luck i actually won.
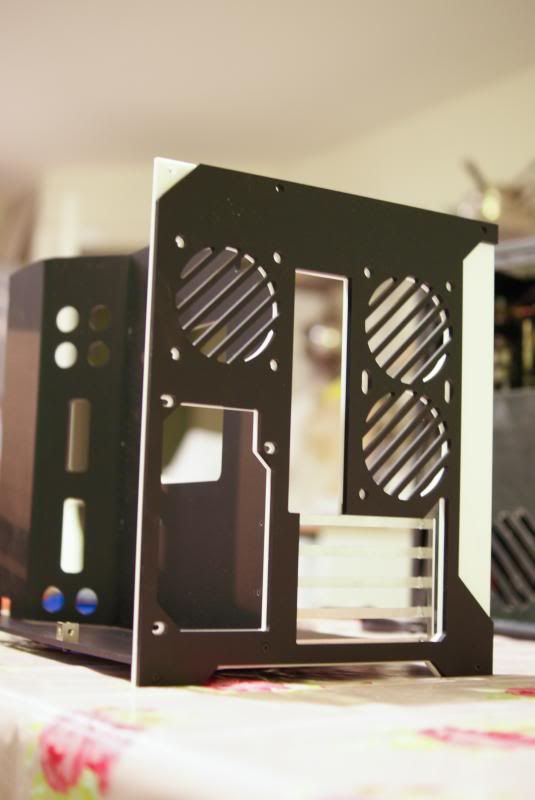
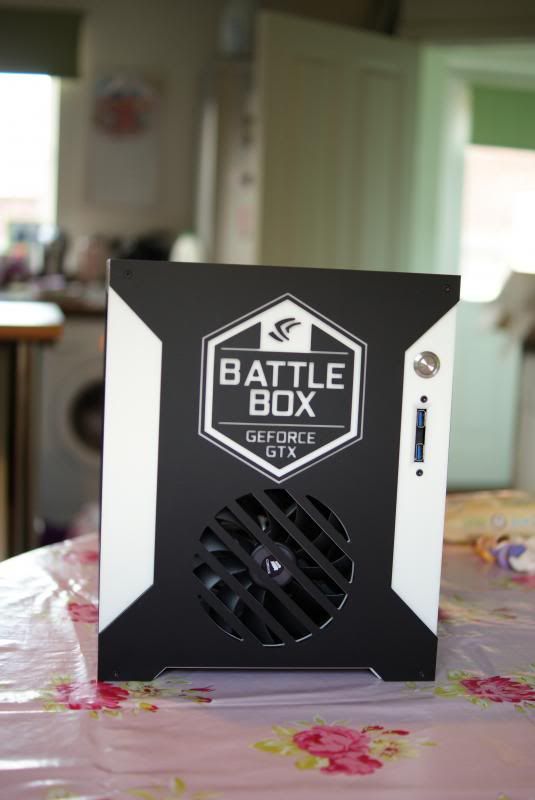
the case in question is...
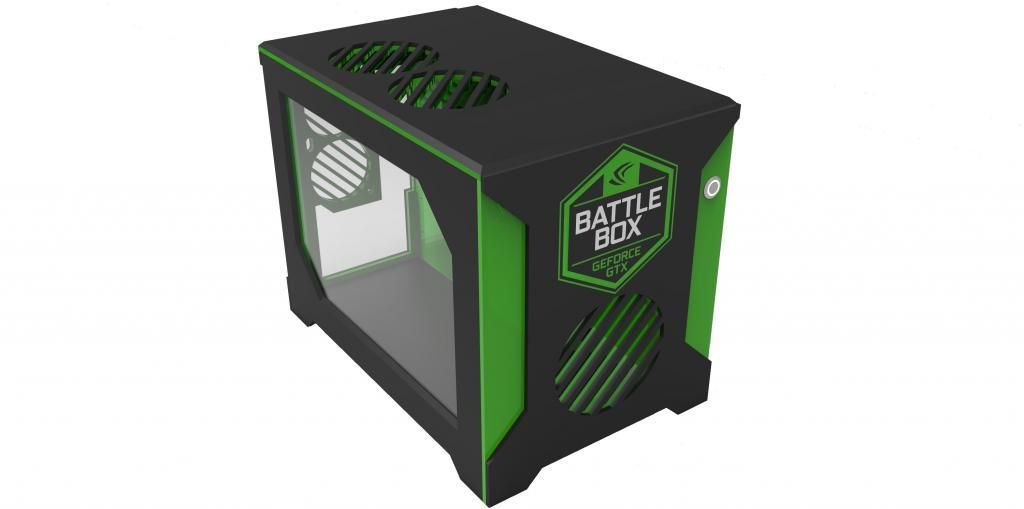
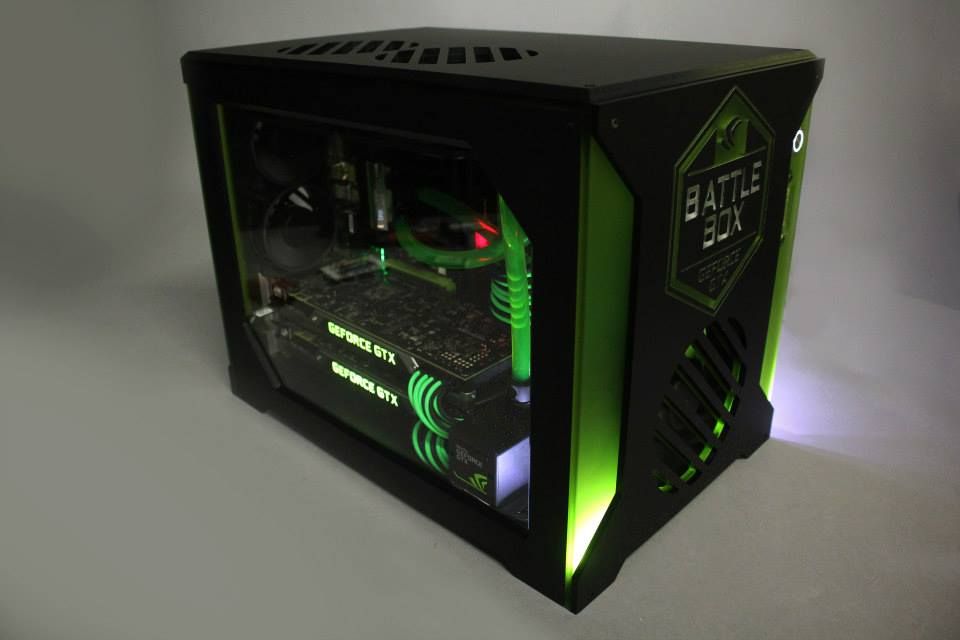
here is a build from Andy Mclean (who works for Computerplanet)
it came at a nice time really as i have been overhauling my rig over the past week (as its my birthday on wednesday)
this is the journey i have taken so far.
my old specs were.
I3-3220 CPU
AsRock B75M motherboard
Samsung Green 8GB ram
Gigabyte 2GB 7850 gpu
Corsair 430w psu
WD 250gb HDD - already had
Xigmatek Asgard Pro case
Logitech G400
Perixx PX-1000 keyboard
Benq GL2450E monitor.
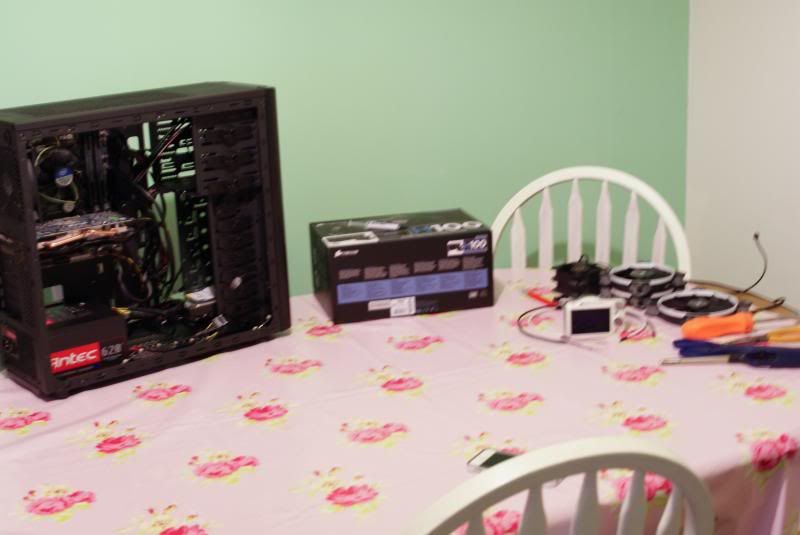
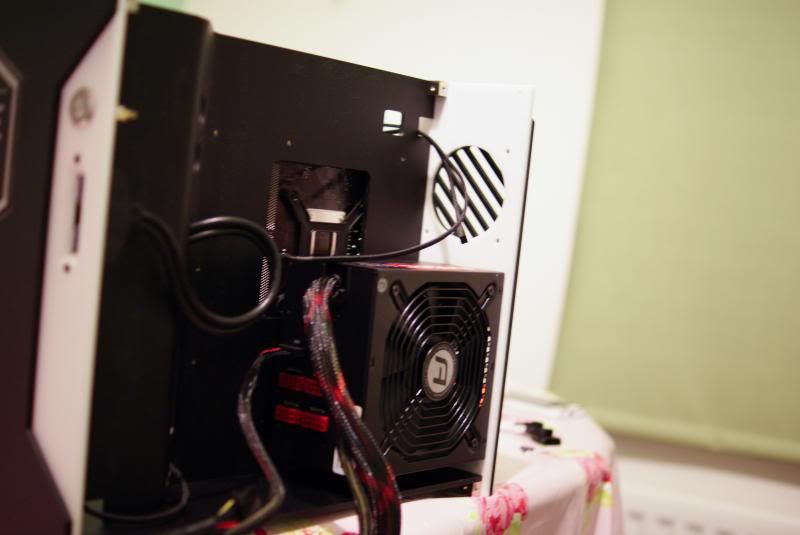
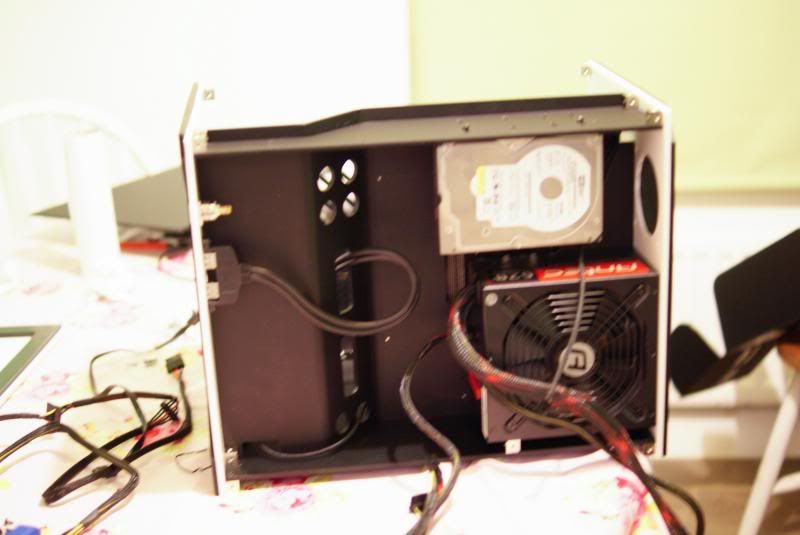
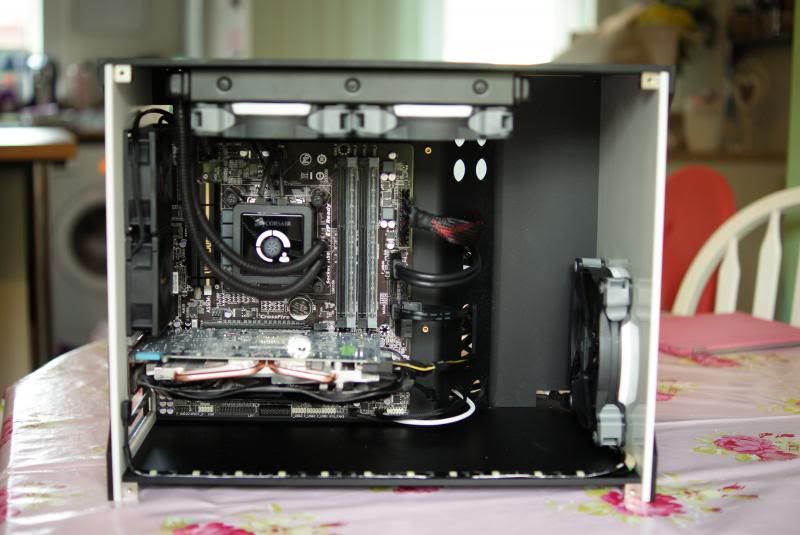
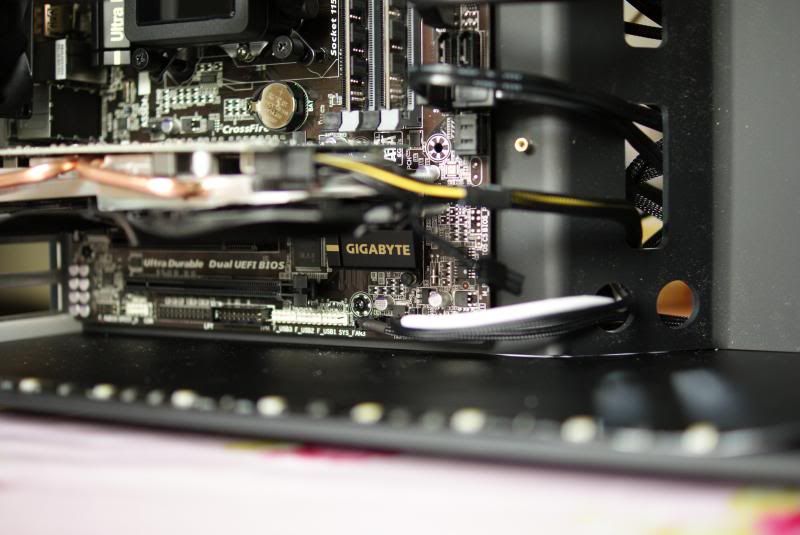
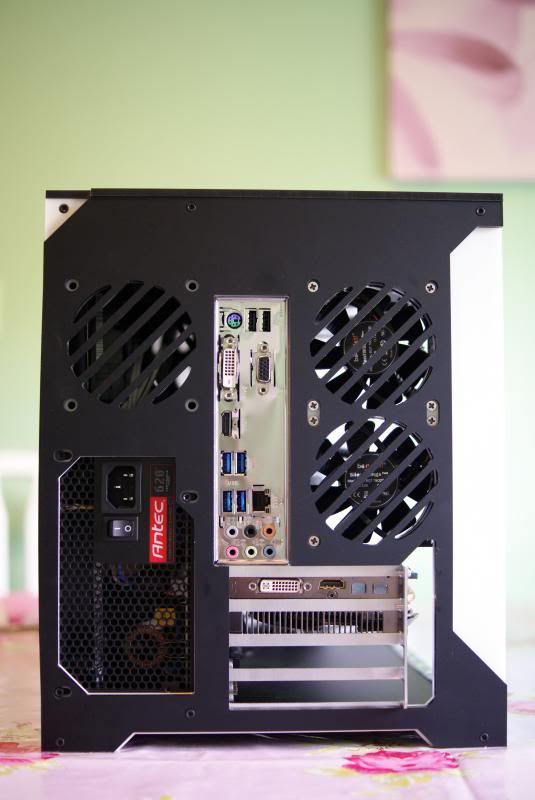
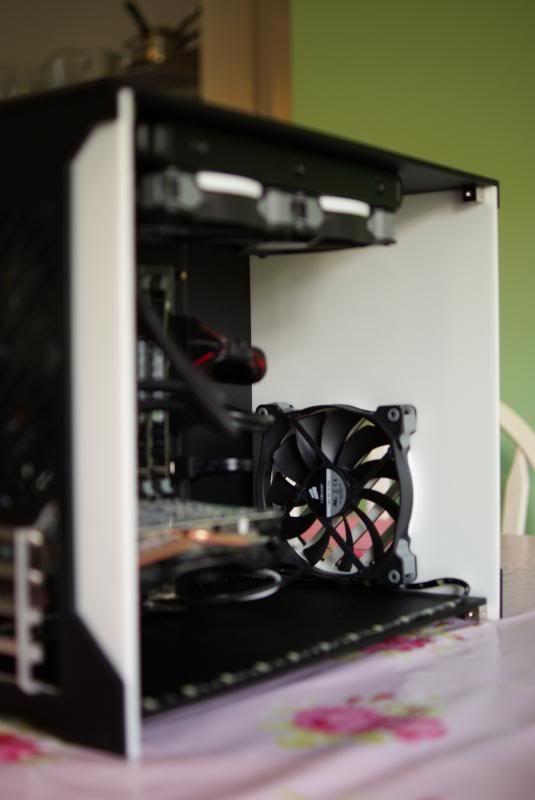
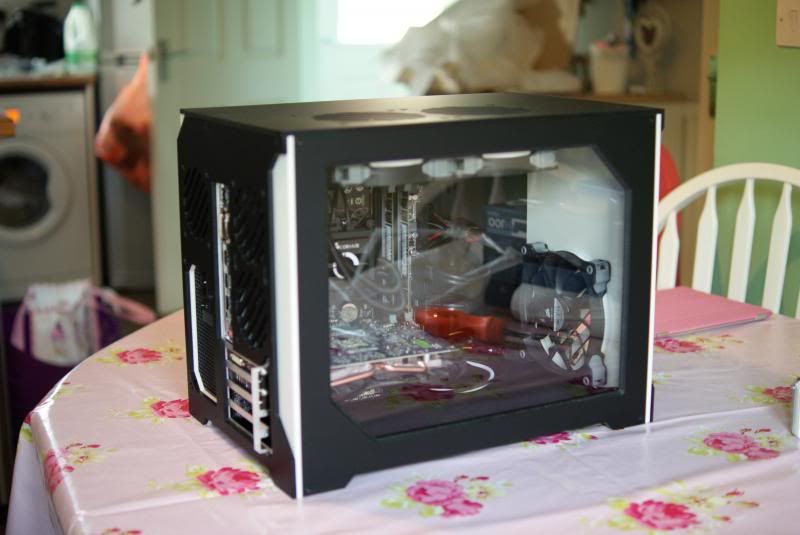
Here are some pictures of my current rig.
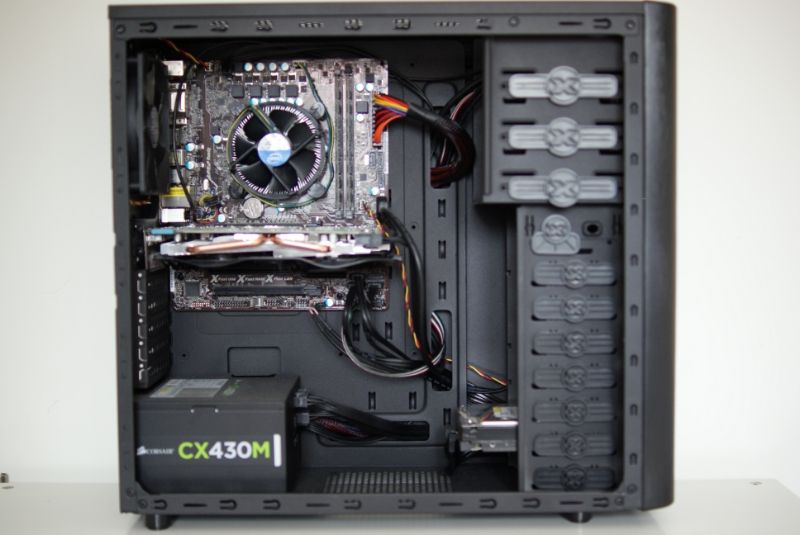
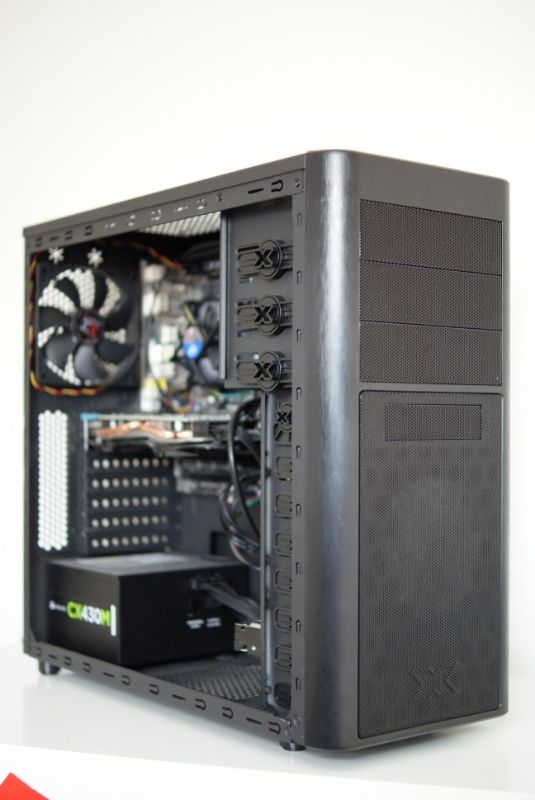
I built this in march this year as a very budget build to get me into PC gaming after being a console guy for many years (PS1 days)
i was thoroughly impressed with how well my rig handled games. being able to max out even recent games (grid 2, F1 2013, Blops 2) all without dropping below 60FPS.
The peripherals changed slightly after the gadget show when i picked up a CM Quickfire Rapid mech keyboard, which i might add is such a joy to use.
so moving on a bit and the release of the BF4 beta i realized my rig wasn't capable at playing this and keeping a decent FPS even at medium settings.
so as its my birthday on Wednesday the 30th the wife agreed to give me some cash towards a new case (i wanted the Parvum S1.0) but after some time thinking i thought it was better to spend the money on the parts inside the case instead.
so with the money she was giving me coupled with a nice work bonus and selling some of the old components I swiftly visited the ocuk site and placed an order (it was actually a few orders at a few different times)
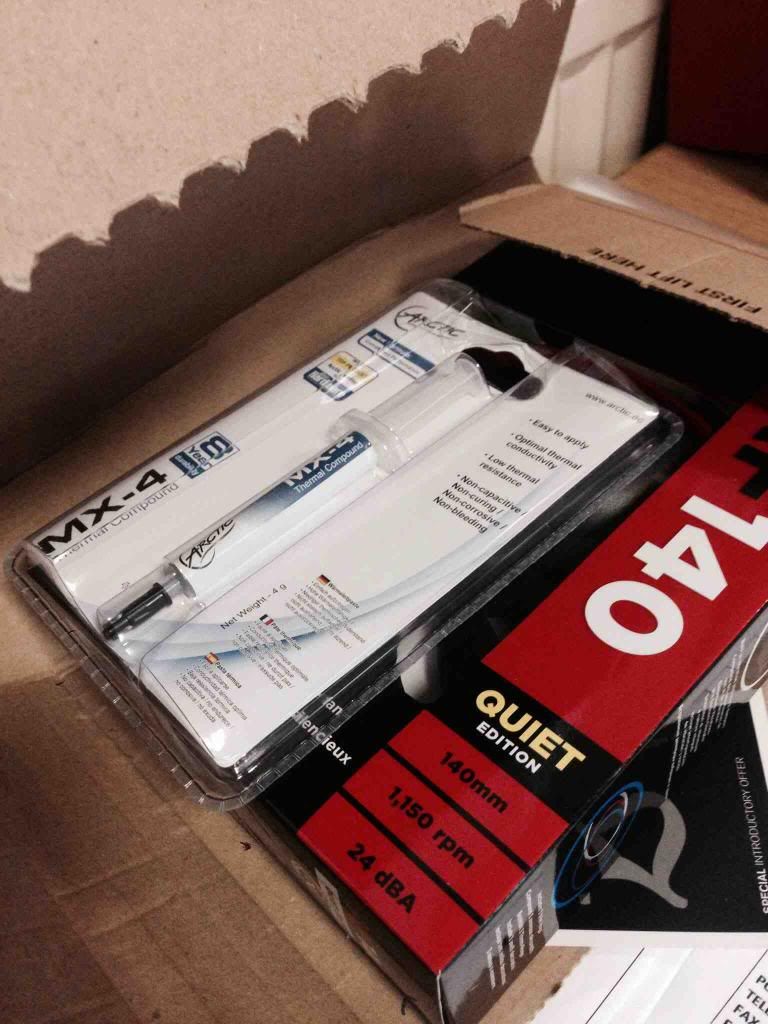
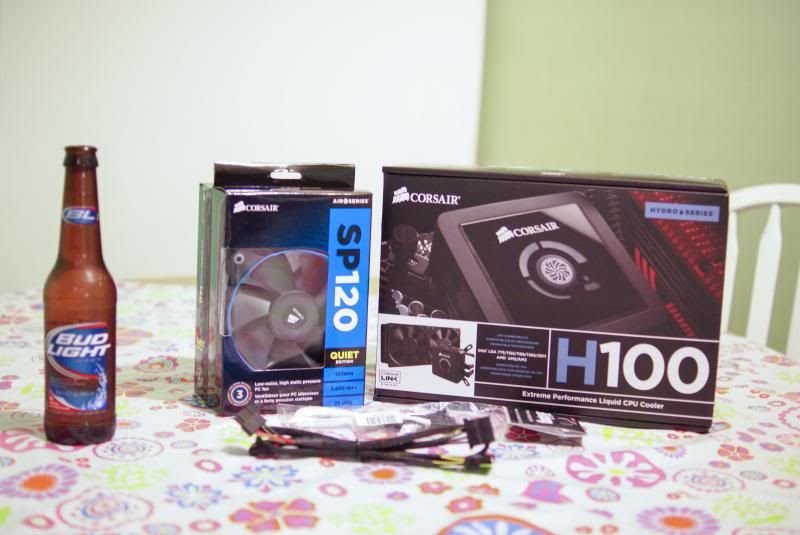
i ordered
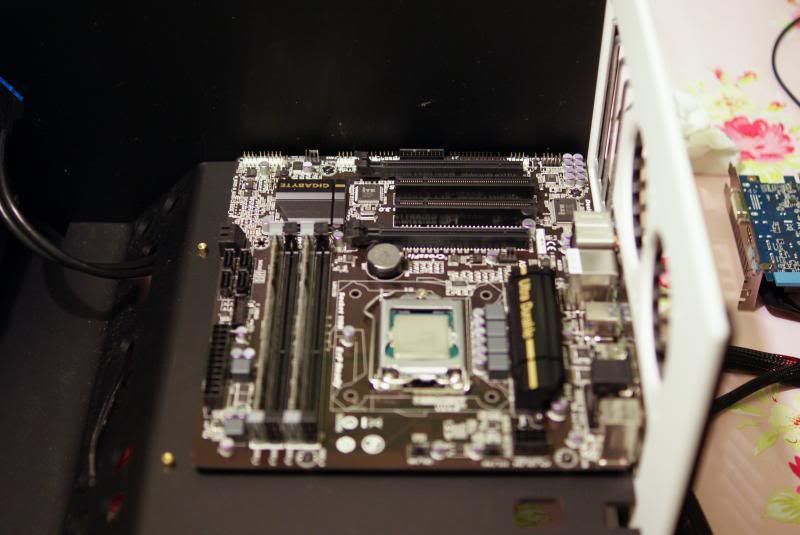
4670k cpu
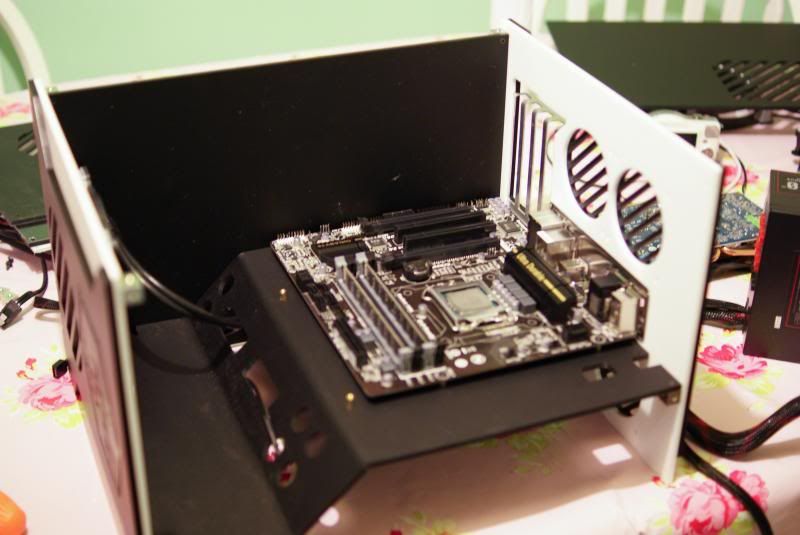
Gigabyte GA-Z87M-D3H motherboard
CM Hyer Evo 212 cooler
Antec 620M psu
Samsung 840 120gb SSD
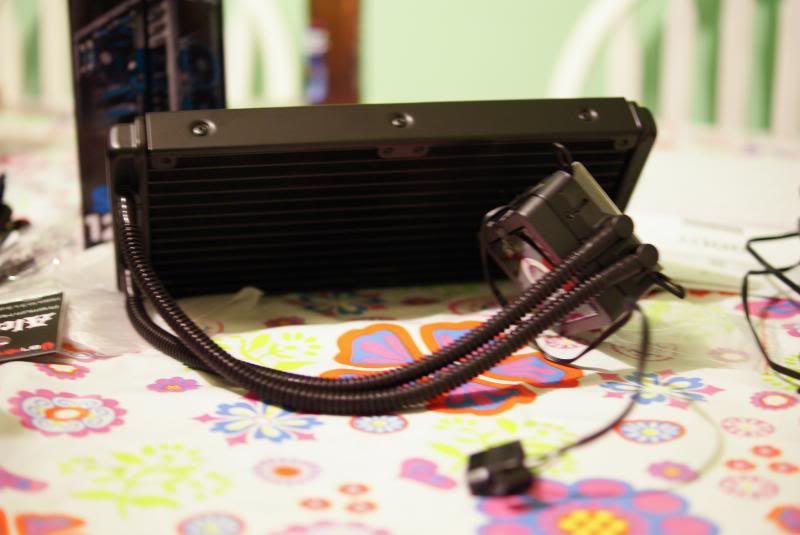
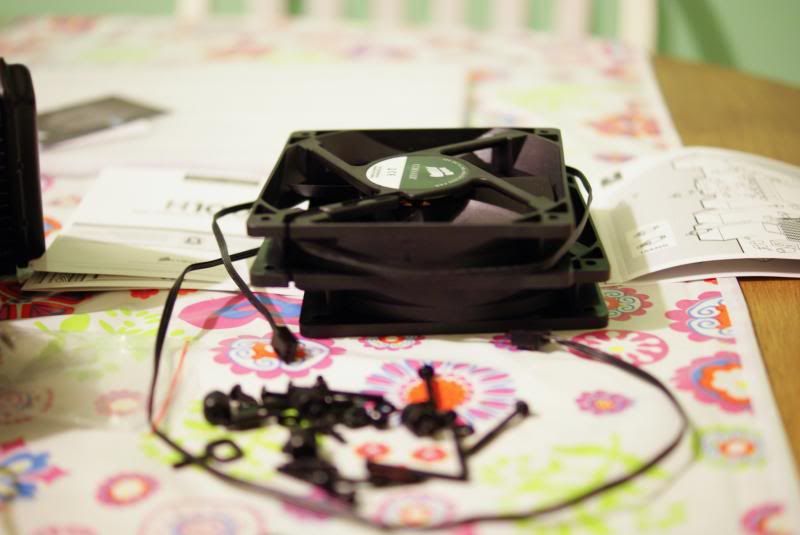
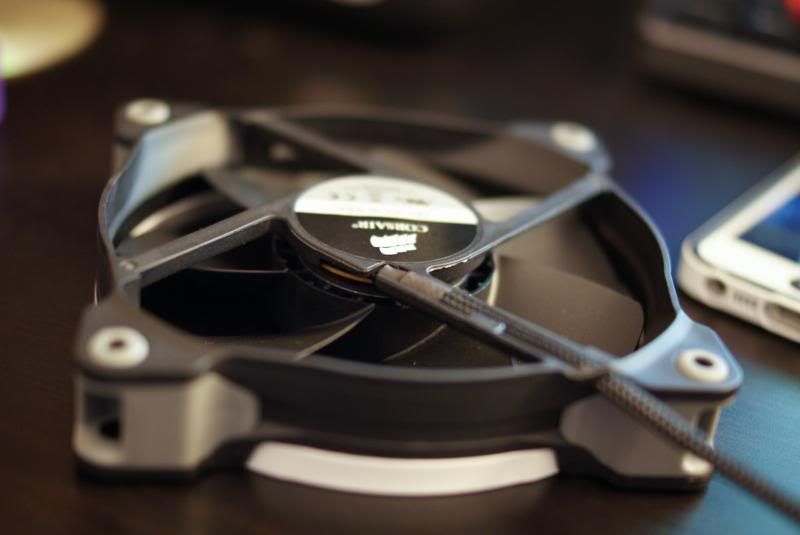
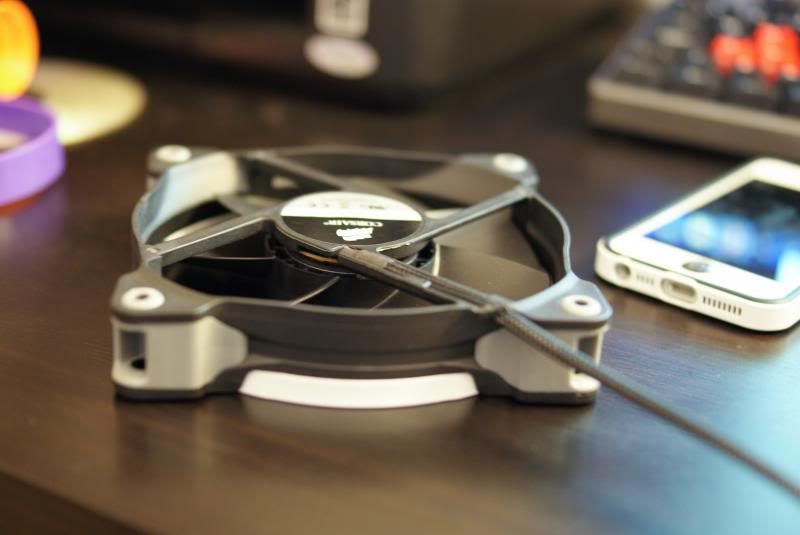
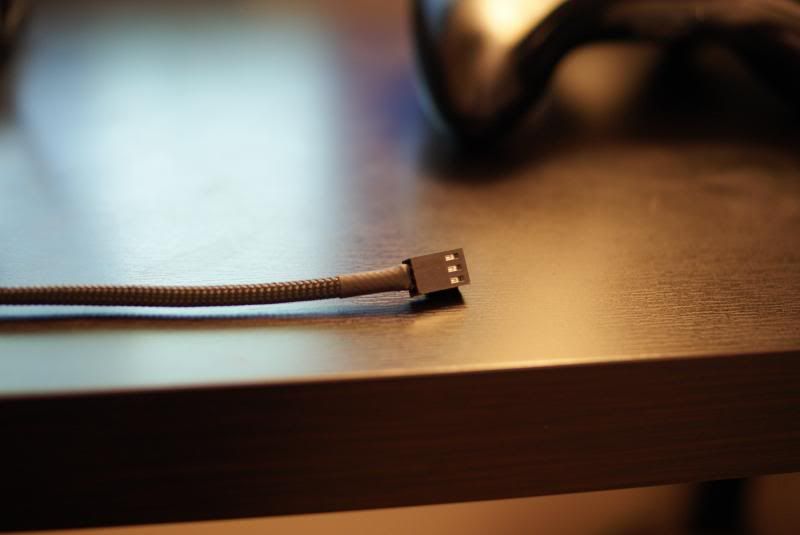
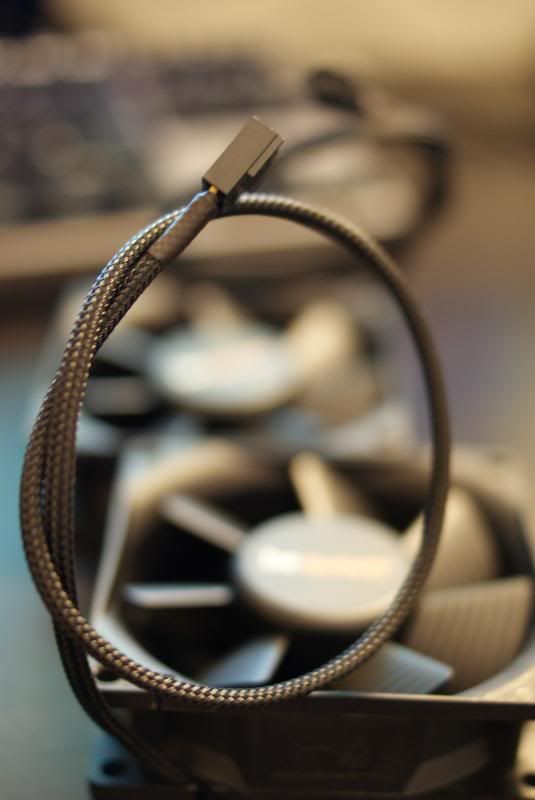
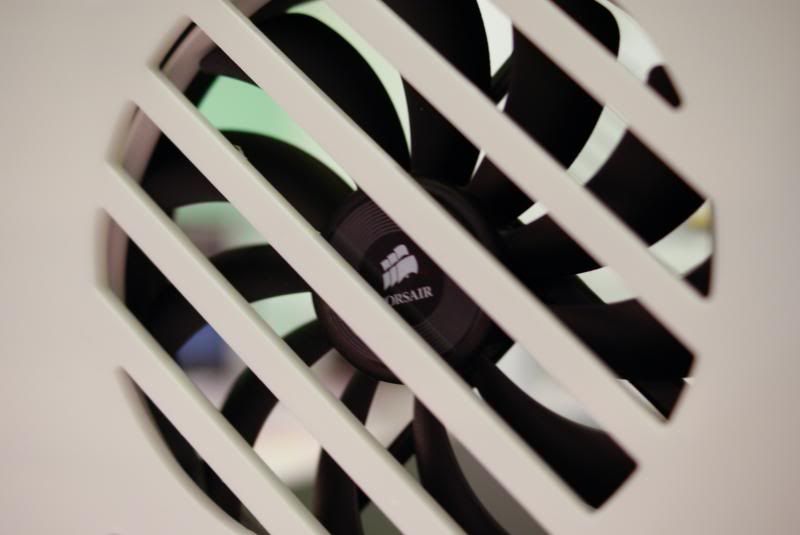
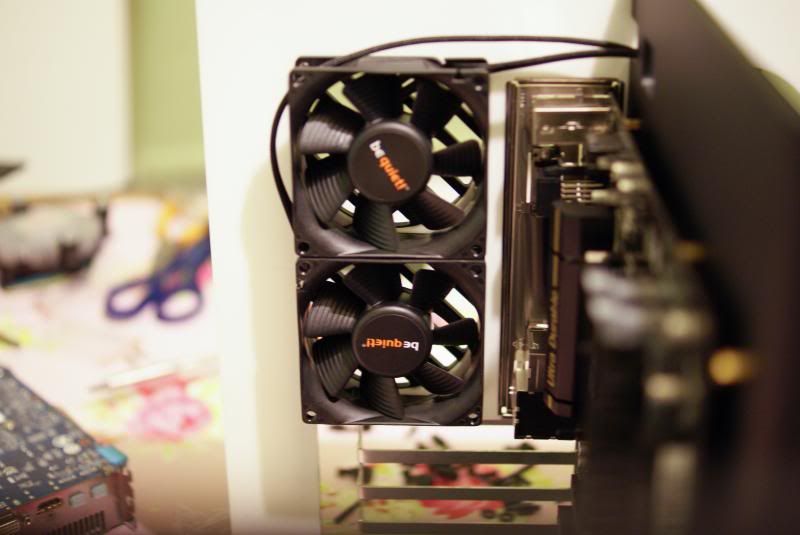
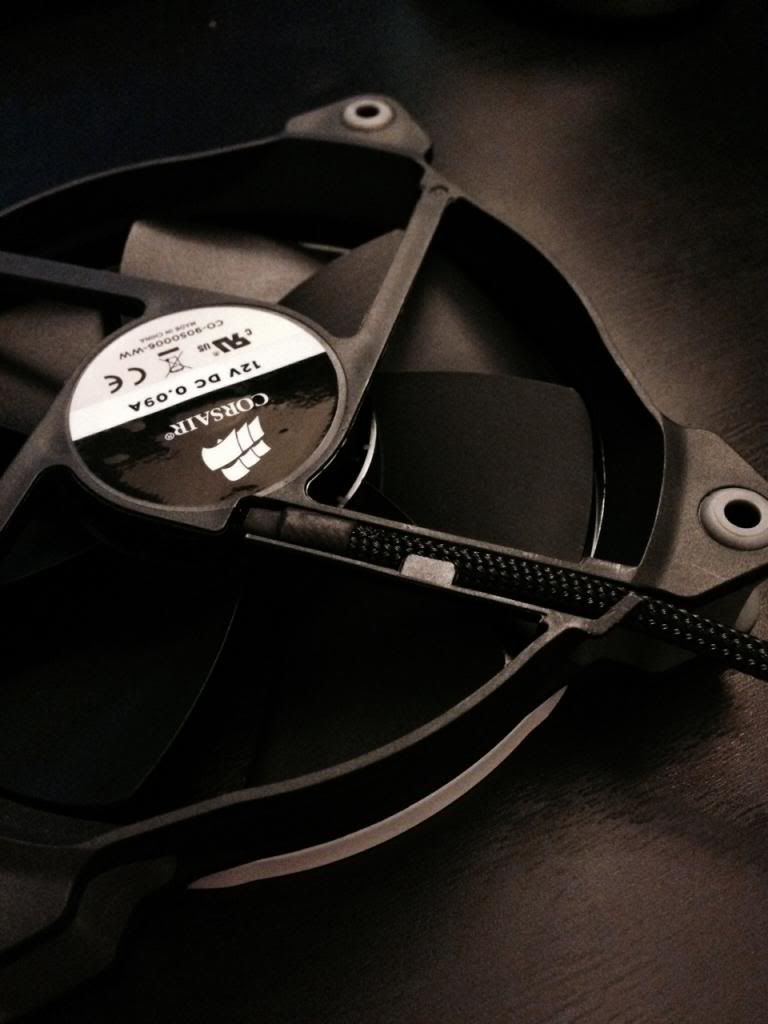
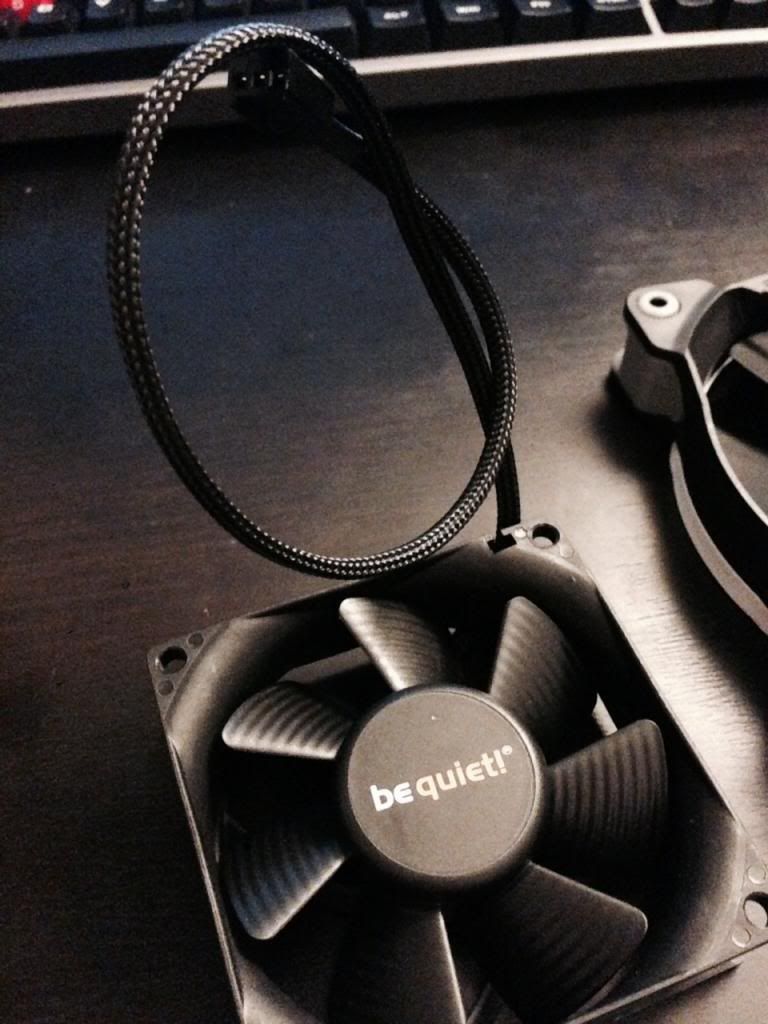
2 Corsair AF120 quiet fans
MX4 thermal paste.
so friday the 25th comes and me n the wife go out for a meal for a friends birthday and i come back home to an email from a chap called Andy who lets me know that i have won this case.
he is giving me a call today and arranging for the case to be sent to me.
anyways, it was here on this very forum that i first heard of the parvum guys and the work they have done and as i wanted one of the cases i was super excited to find out id won one. in honour of this i thought i would make a build log of my little journey into the new case.
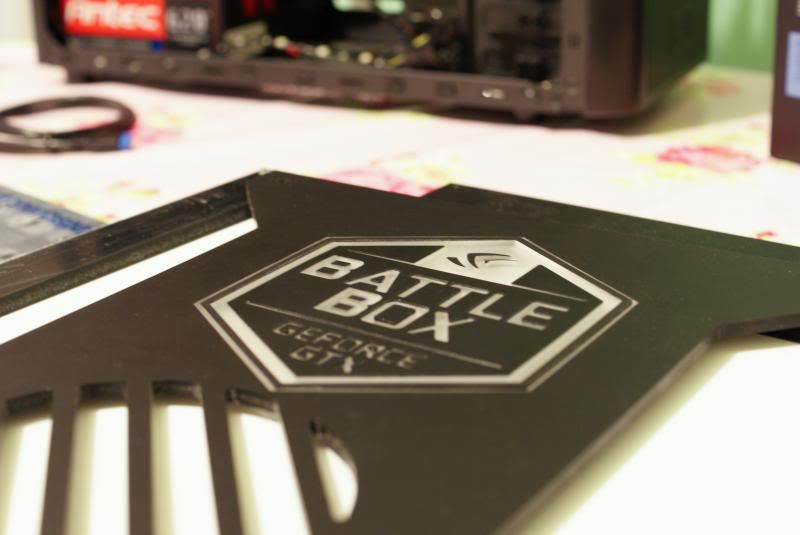
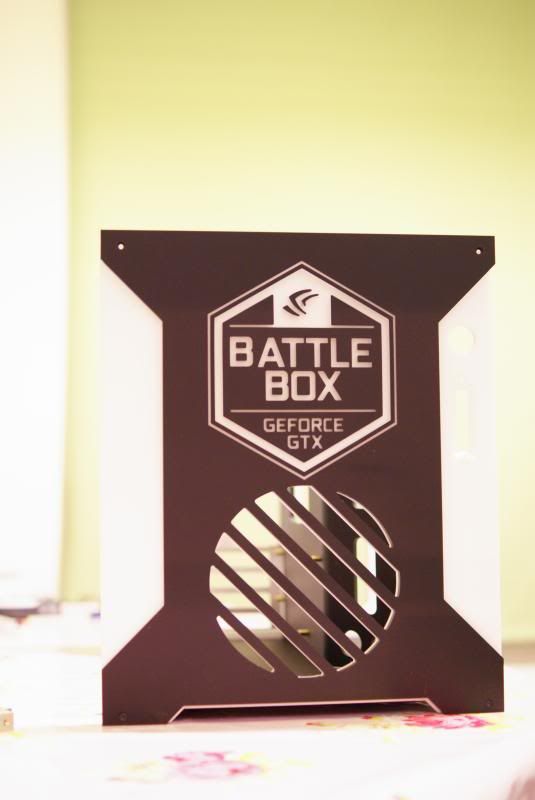
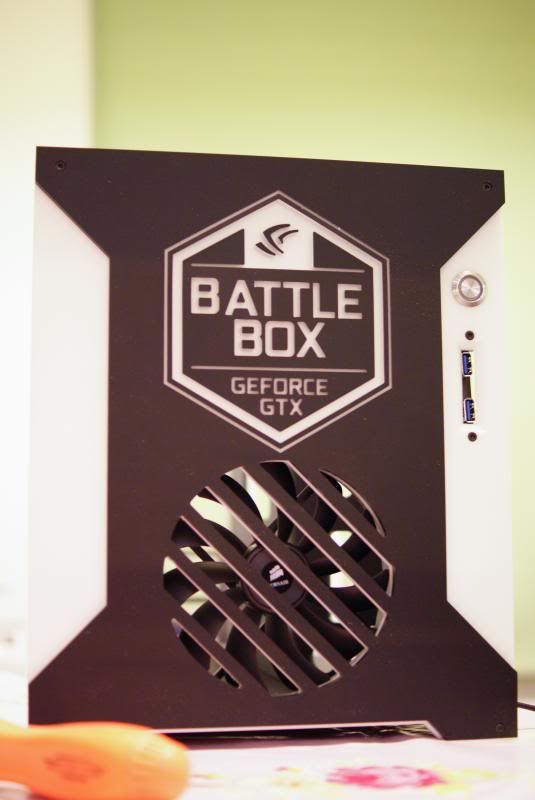
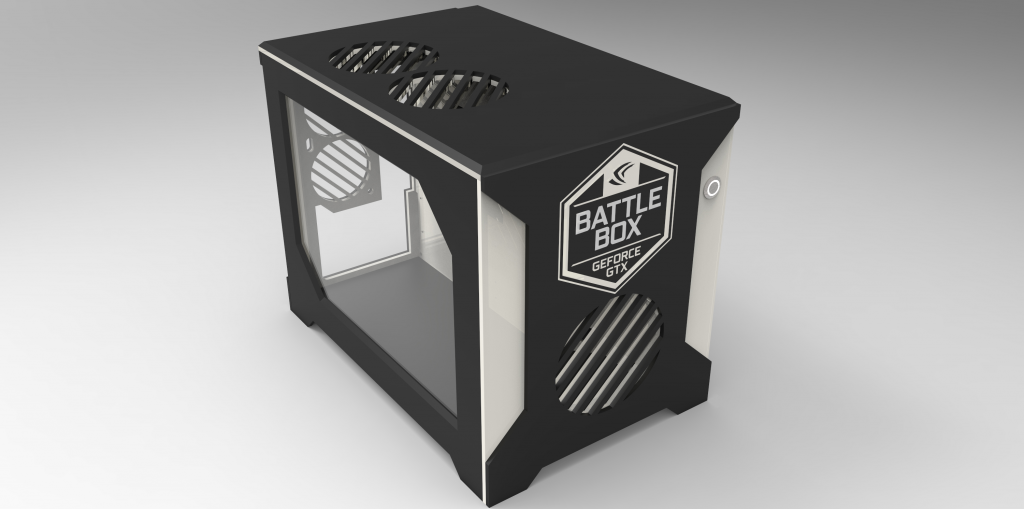
the only issue i now have is that the case is very Nvidia friendly (being one of their limited edition battleboxes) and im running an AMD gpu.
so after a nice phonecall with Andy from the place i won the case it turned out that i had some options on the case.
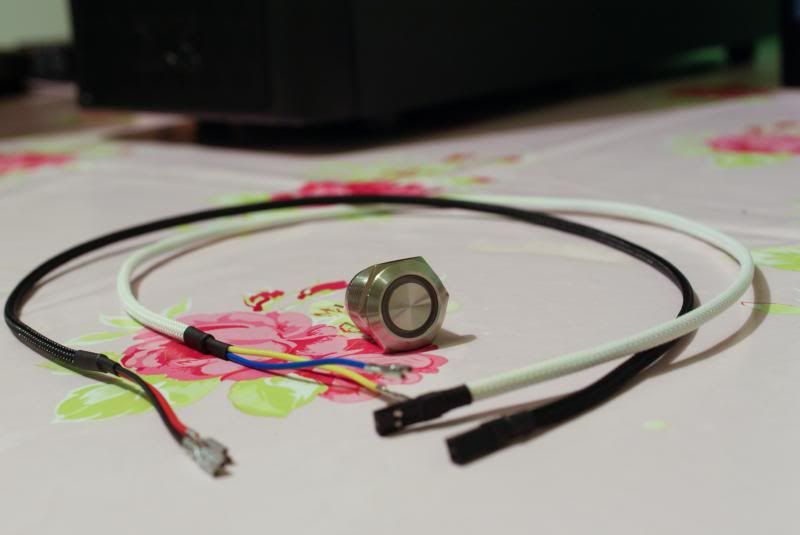
Colour, Window or not, Power button colour/light colour, slot drive opening.
in light of this i went with (what my original parvum colour choice whould have been)
Black & White, Black vandal switch with a white light, windowed & no slot drive opening.
ive been sent a render with my colour choices
the case in question is...
here is a build from Andy Mclean (who works for Computerplanet)
it came at a nice time really as i have been overhauling my rig over the past week (as its my birthday on wednesday)
this is the journey i have taken so far.
my old specs were.
I3-3220 CPU
AsRock B75M motherboard
Samsung Green 8GB ram
Gigabyte 2GB 7850 gpu
Corsair 430w psu
WD 250gb HDD - already had
Xigmatek Asgard Pro case
Logitech G400
Perixx PX-1000 keyboard
Benq GL2450E monitor.
Here are some pictures of my current rig.
I built this in march this year as a very budget build to get me into PC gaming after being a console guy for many years (PS1 days)
i was thoroughly impressed with how well my rig handled games. being able to max out even recent games (grid 2, F1 2013, Blops 2) all without dropping below 60FPS.
The peripherals changed slightly after the gadget show when i picked up a CM Quickfire Rapid mech keyboard, which i might add is such a joy to use.
so moving on a bit and the release of the BF4 beta i realized my rig wasn't capable at playing this and keeping a decent FPS even at medium settings.
so as its my birthday on Wednesday the 30th the wife agreed to give me some cash towards a new case (i wanted the Parvum S1.0) but after some time thinking i thought it was better to spend the money on the parts inside the case instead.
so with the money she was giving me coupled with a nice work bonus and selling some of the old components I swiftly visited the ocuk site and placed an order (it was actually a few orders at a few different times)
i ordered
4670k cpu
Gigabyte GA-Z87M-D3H motherboard
CM Hyer Evo 212 cooler
Antec 620M psu
Samsung 840 120gb SSD
2 Corsair AF120 quiet fans
MX4 thermal paste.
so friday the 25th comes and me n the wife go out for a meal for a friends birthday and i come back home to an email from a chap called Andy who lets me know that i have won this case.
he is giving me a call today and arranging for the case to be sent to me.
anyways, it was here on this very forum that i first heard of the parvum guys and the work they have done and as i wanted one of the cases i was super excited to find out id won one. in honour of this i thought i would make a build log of my little journey into the new case.
the only issue i now have is that the case is very Nvidia friendly (being one of their limited edition battleboxes) and im running an AMD gpu.
so after a nice phonecall with Andy from the place i won the case it turned out that i had some options on the case.
Colour, Window or not, Power button colour/light colour, slot drive opening.
in light of this i went with (what my original parvum colour choice whould have been)
Black & White, Black vandal switch with a white light, windowed & no slot drive opening.
ive been sent a render with my colour choices

")
")