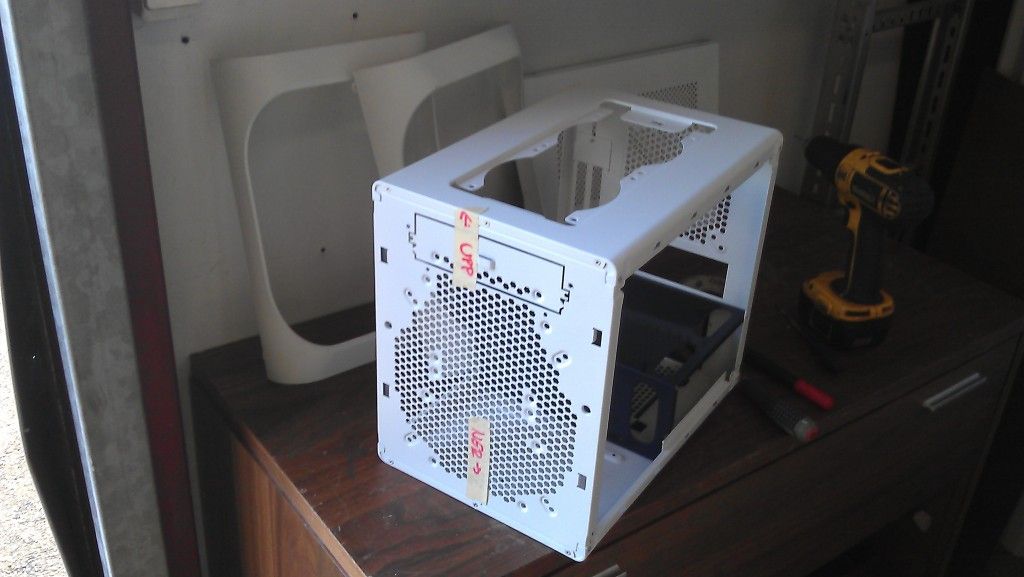
This is looking really good! I really love cases like the prodigy with a different than usual layout! I can't wait to see more.
Thanks
Nice to hear that
")
This is looking really good! I really love cases like the prodigy with a different than usual layout! I can't wait to see more.

")
This is looking really good! I really love cases like the prodigy with a different than usual layout! I can't wait to see more.
Very nice
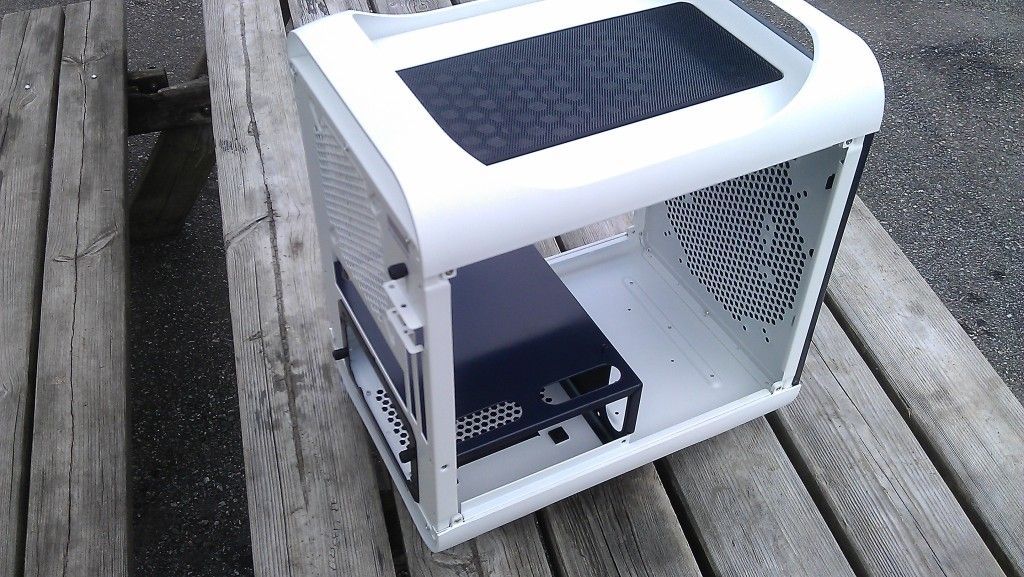
Ι would love to see a case painted that color ^^, know it's just the flash light on it making it look so awesome to me.


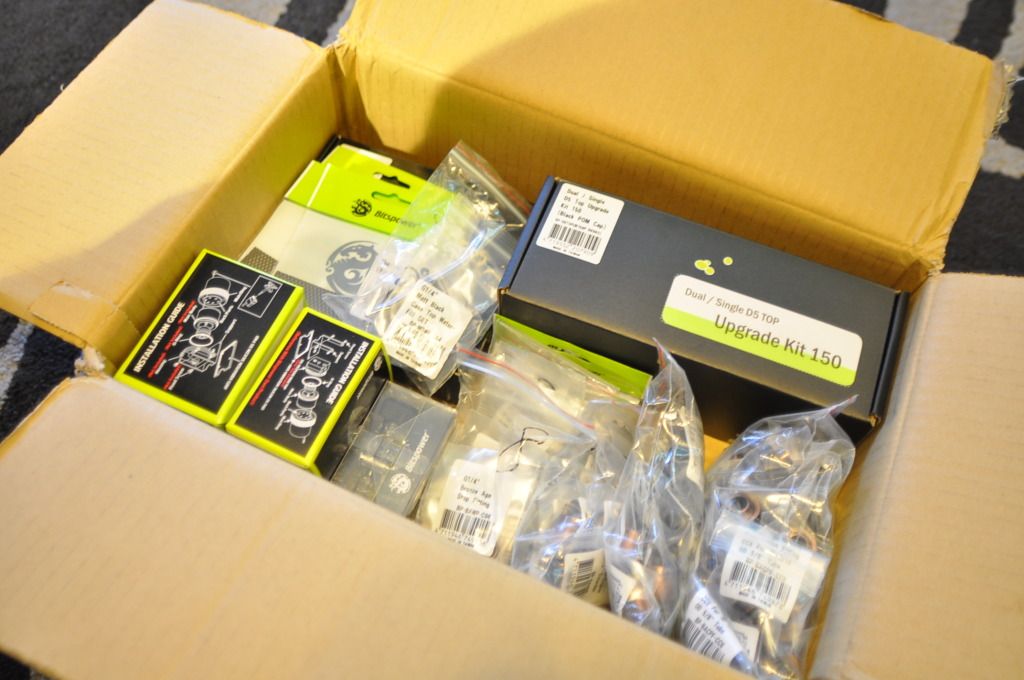
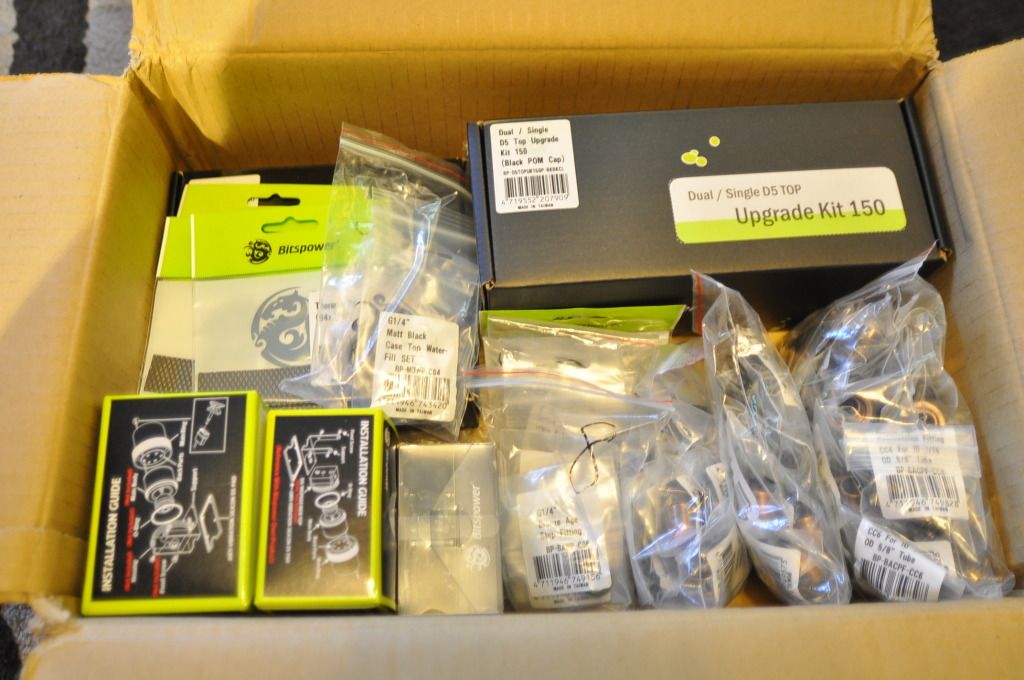 The winner gets a +REP!
 That stuff is expensive.
I wish I got big boxes of Bitspower stuff.
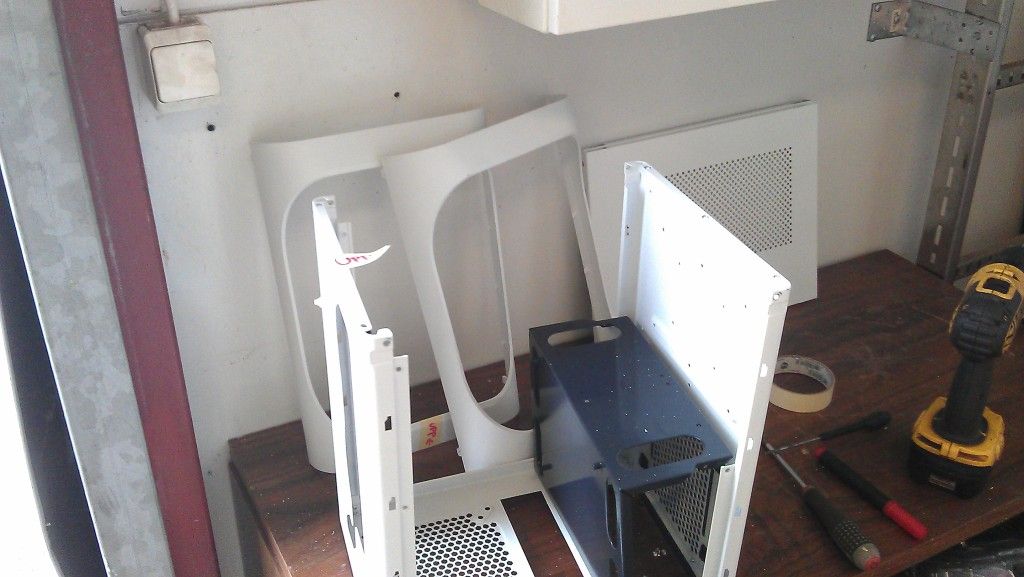
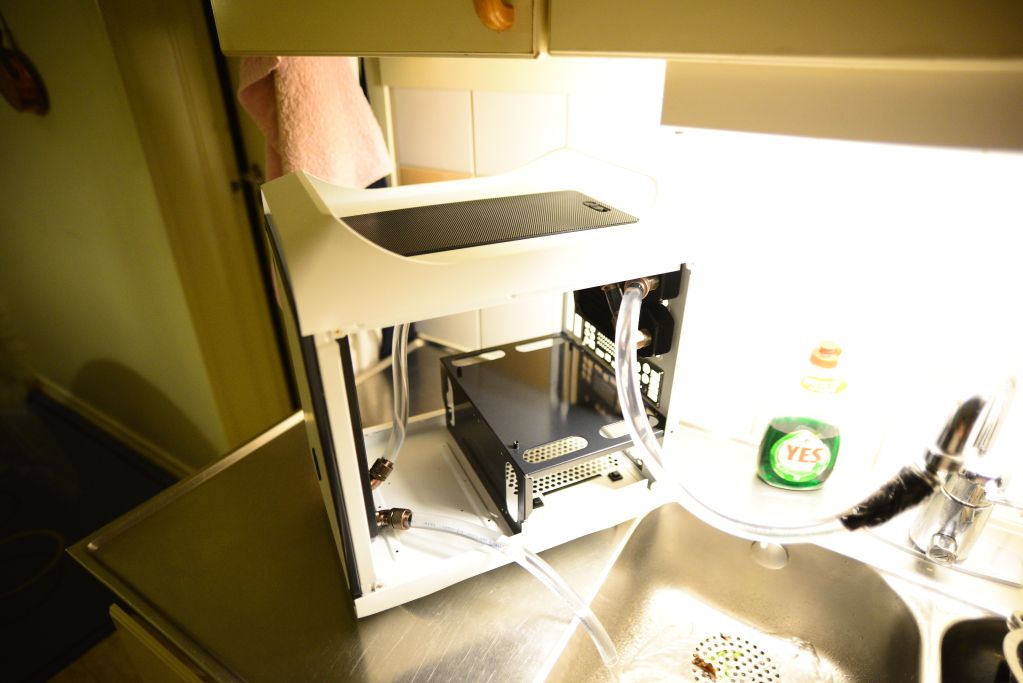
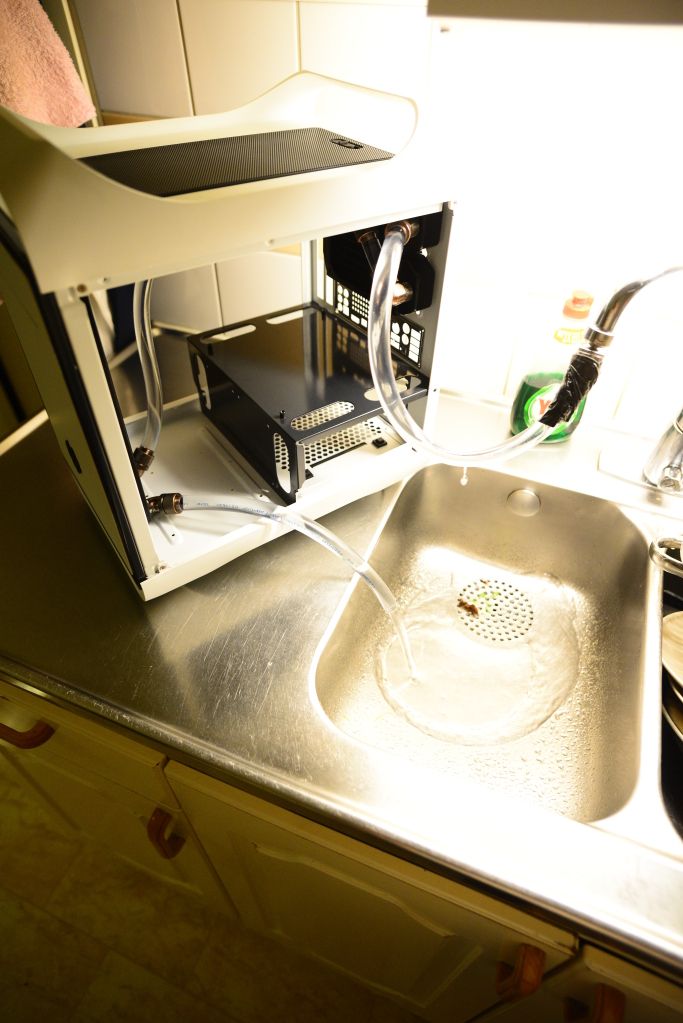
Nice job putting it back together, looking forward to more
Nice going Kosovar.
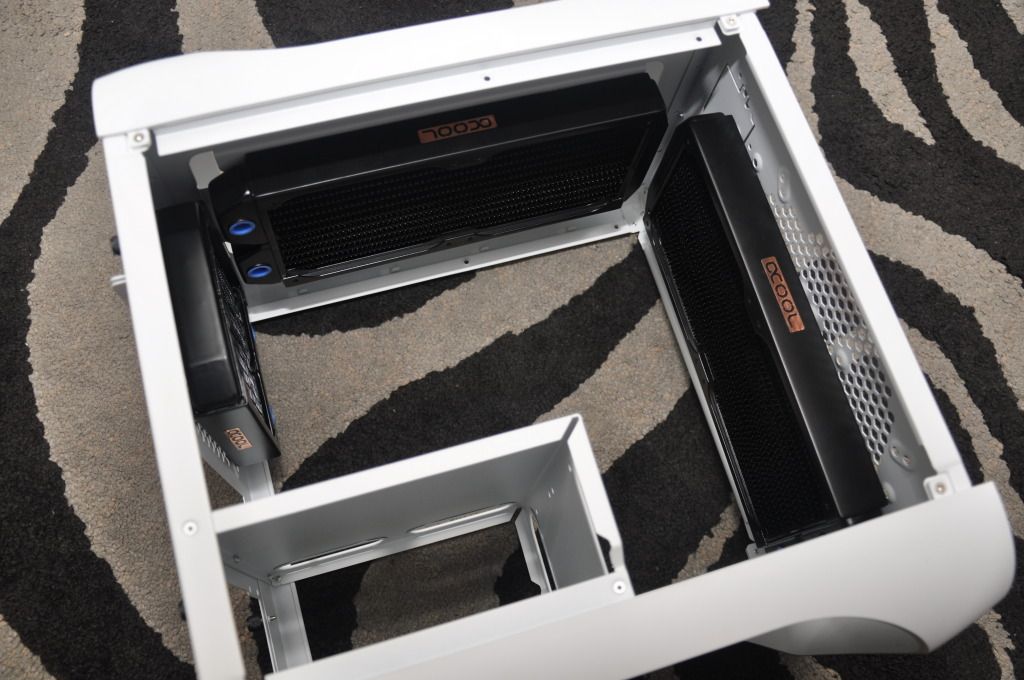
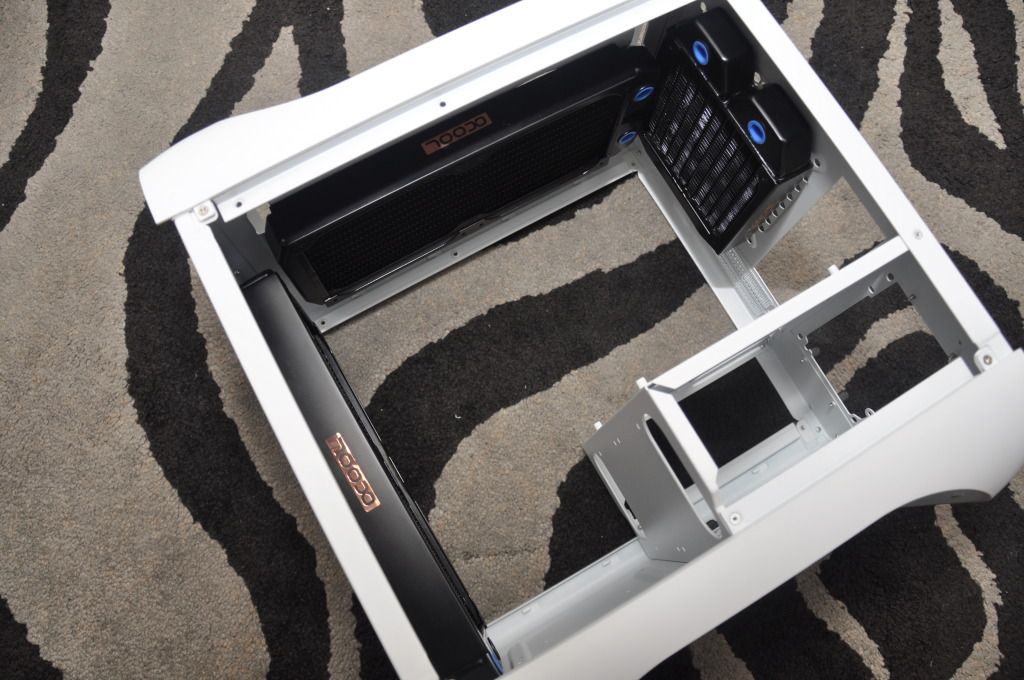
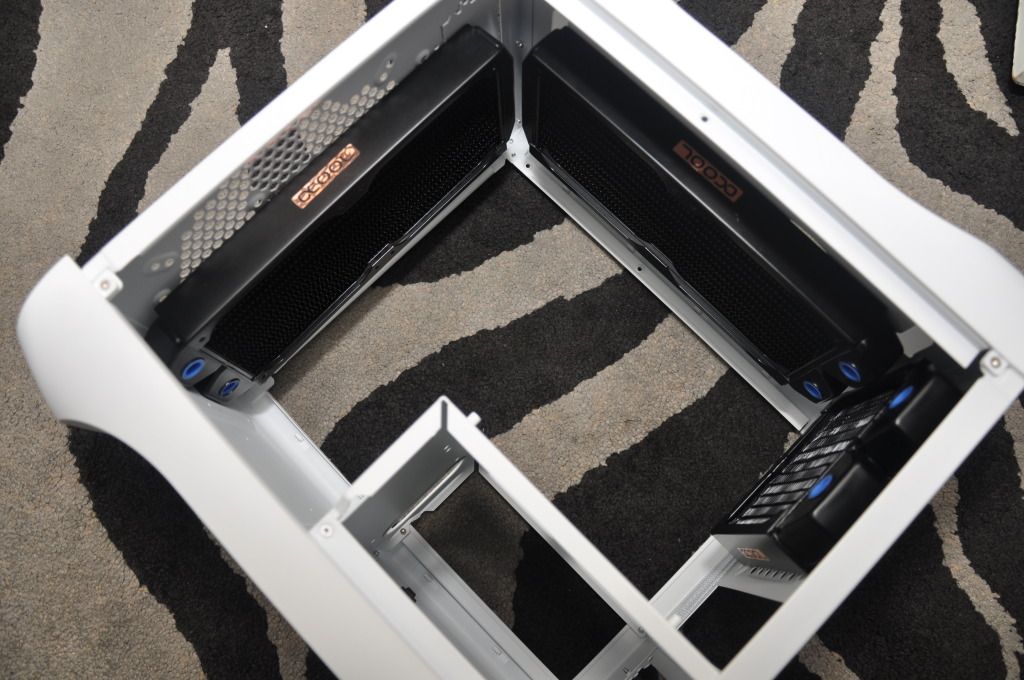
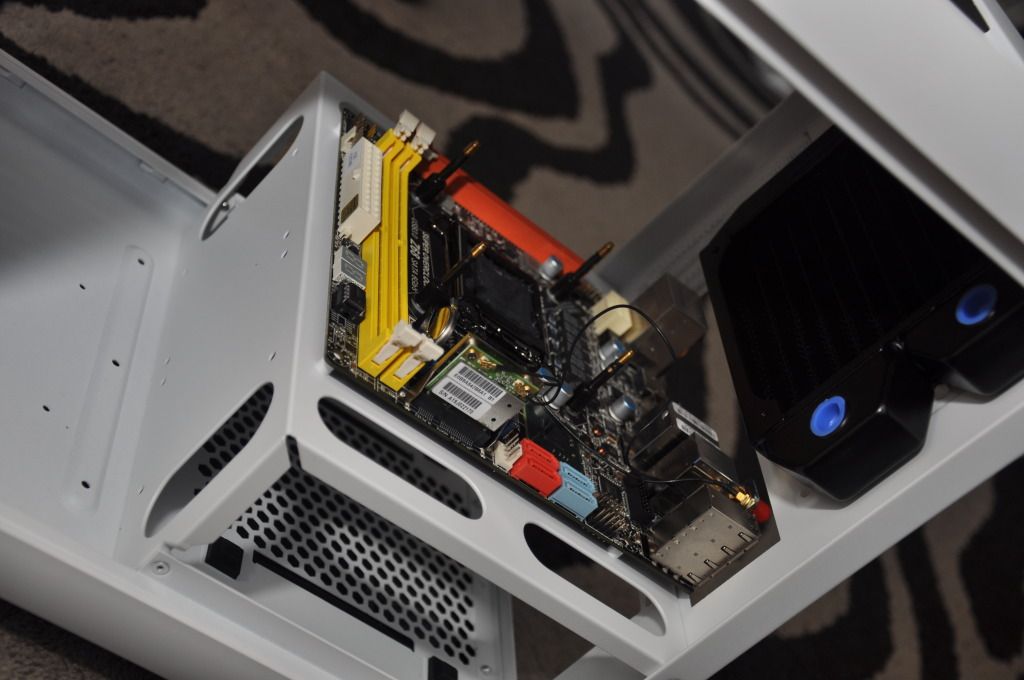
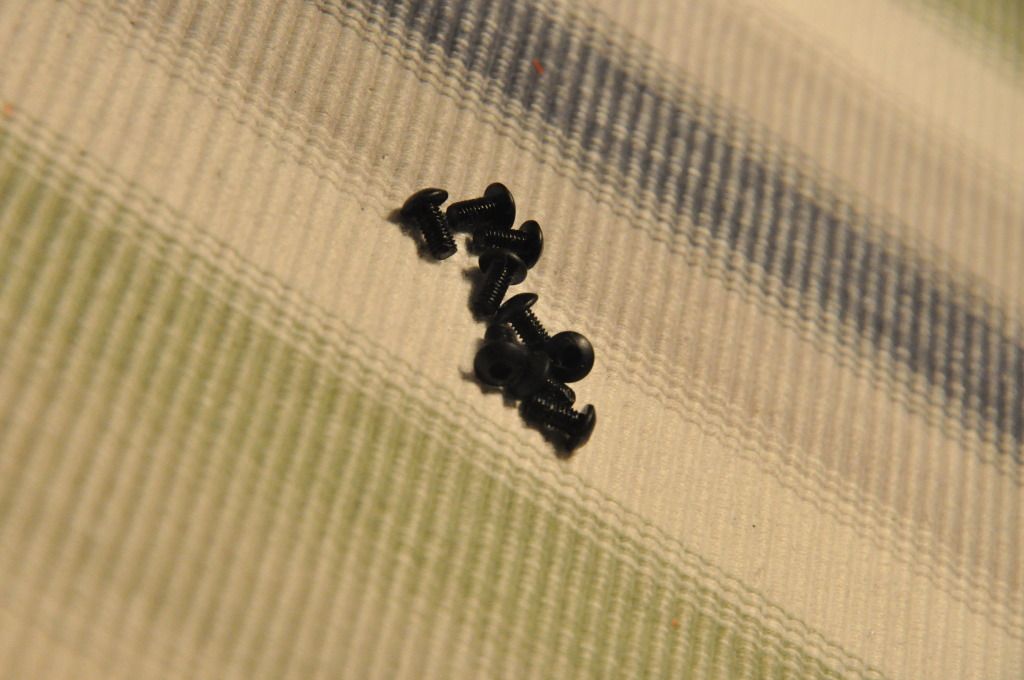
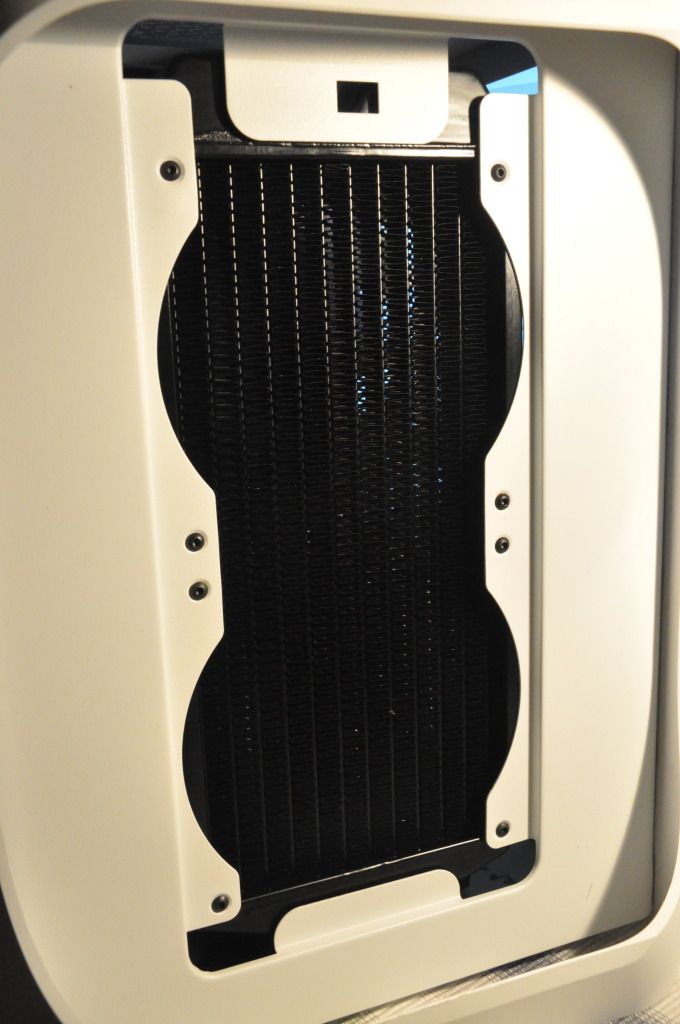
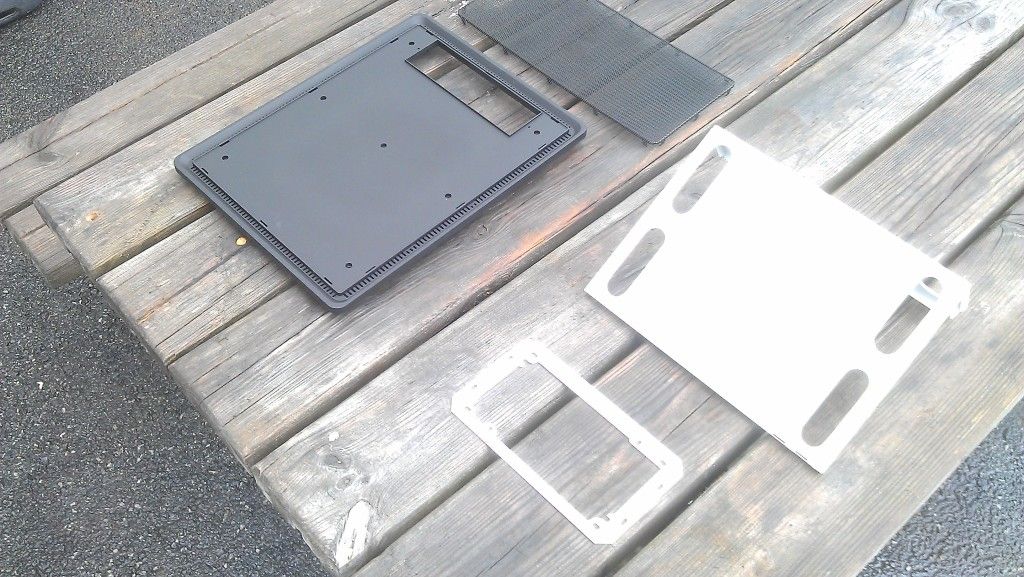
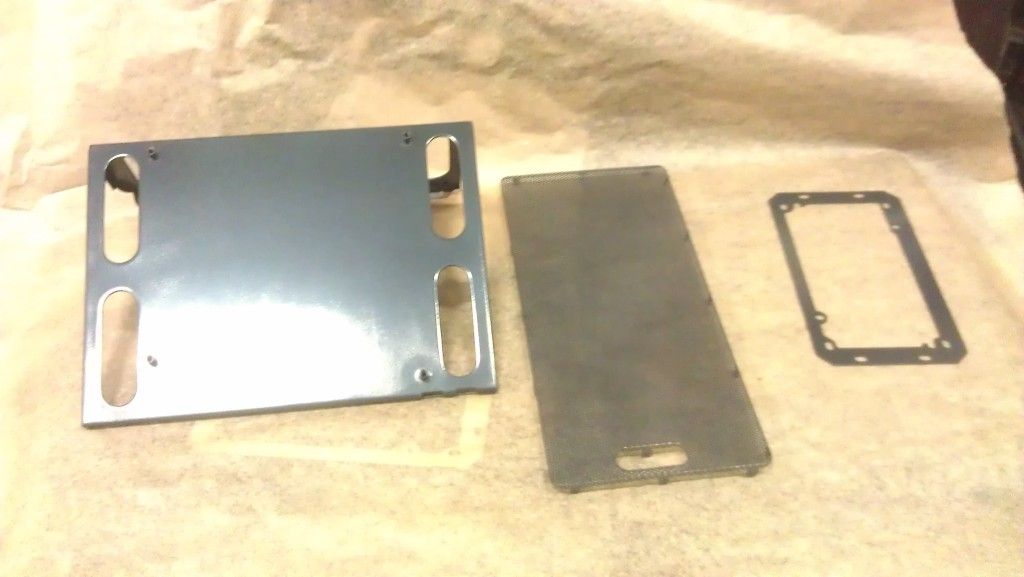
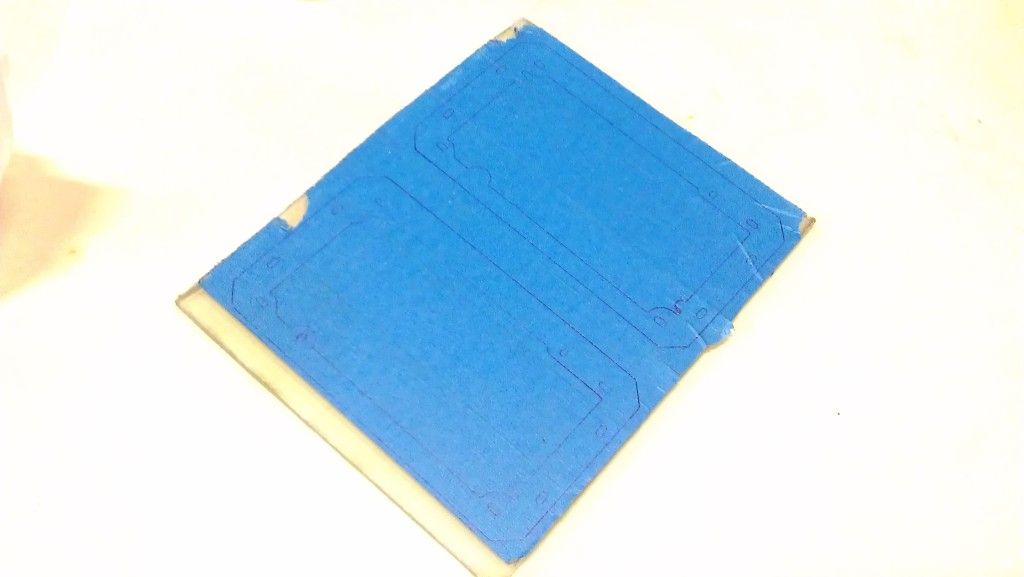
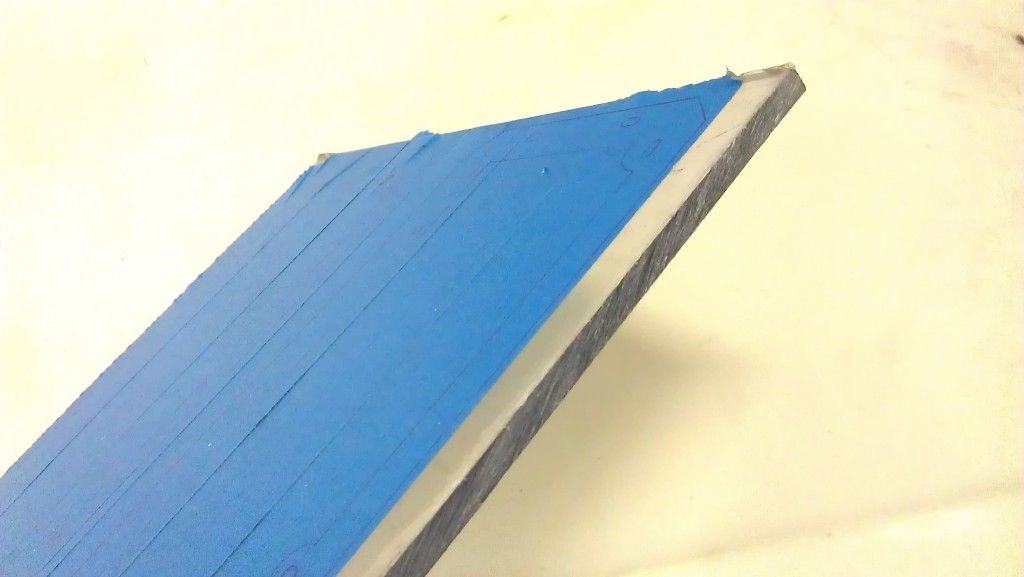
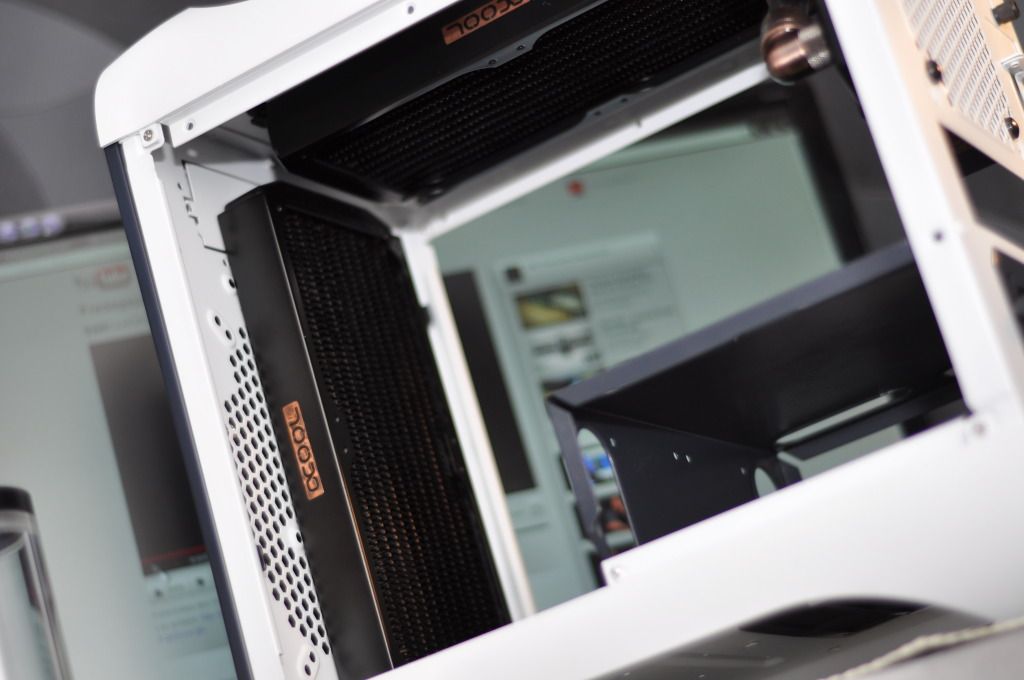
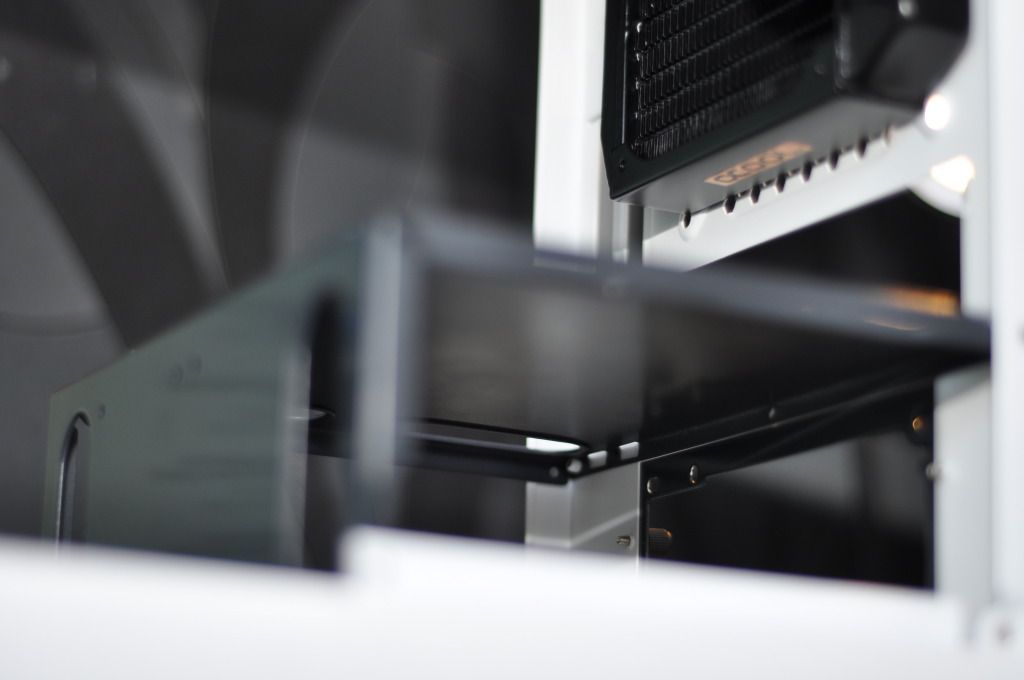
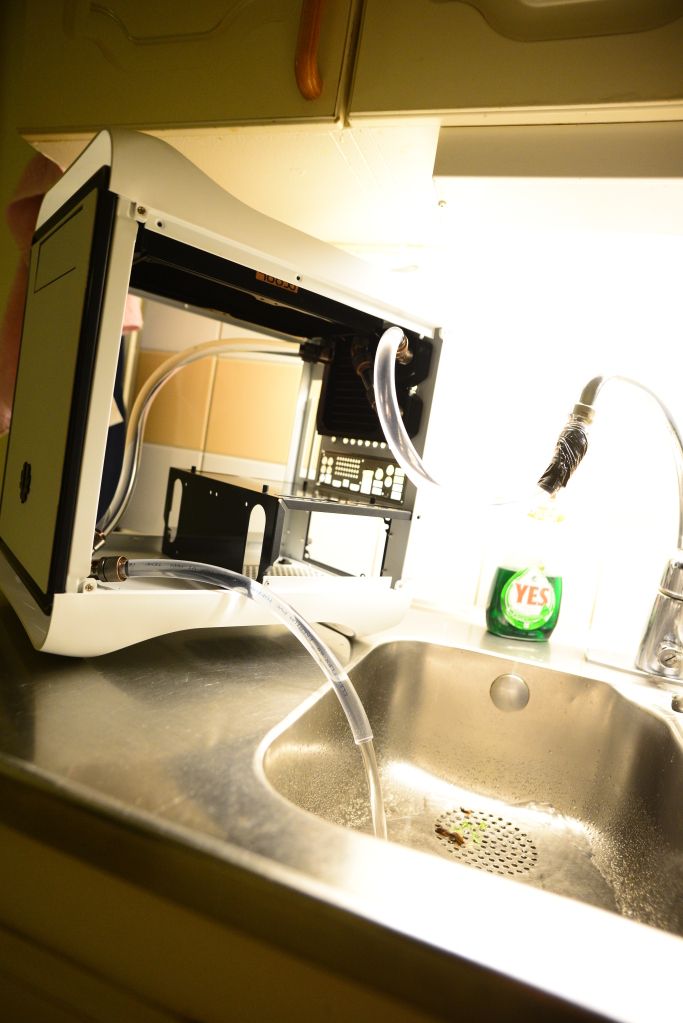
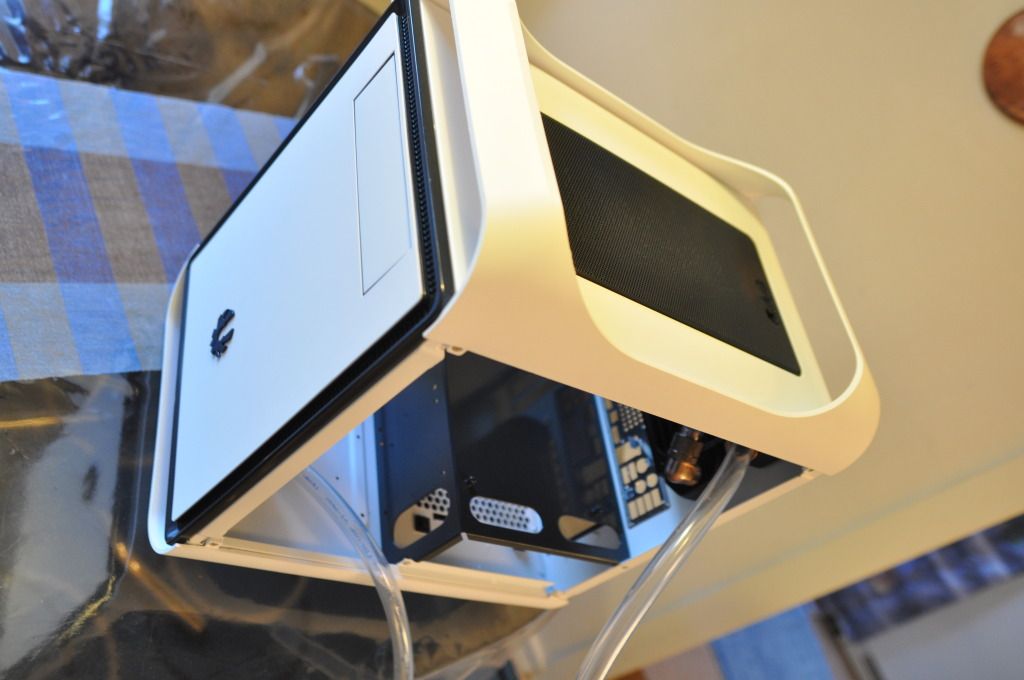
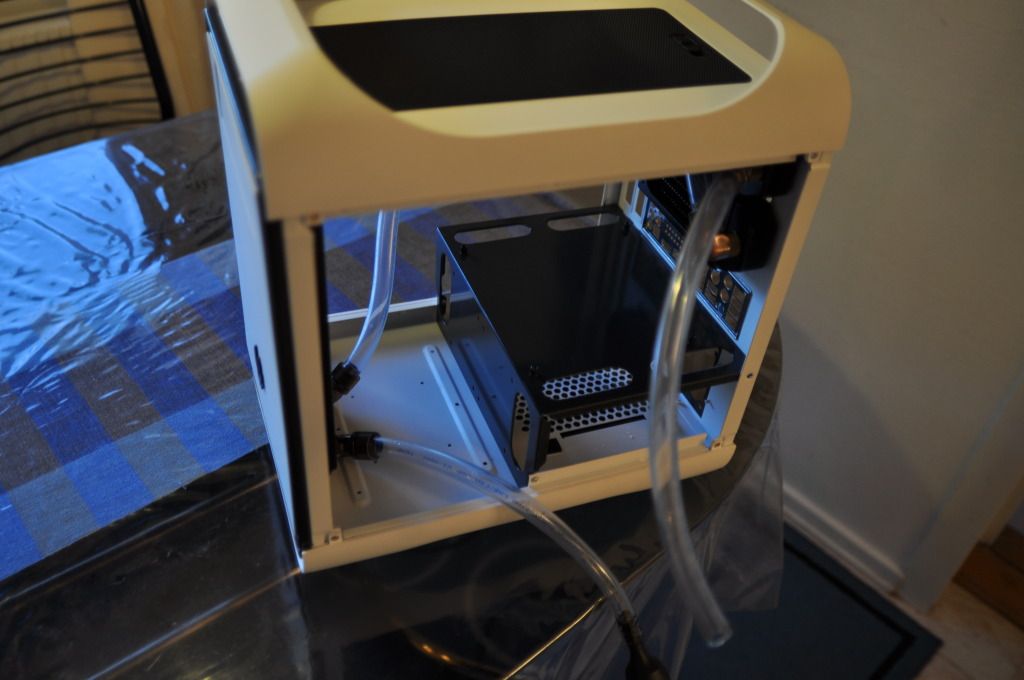
im very glad that the rads actually fitted into place!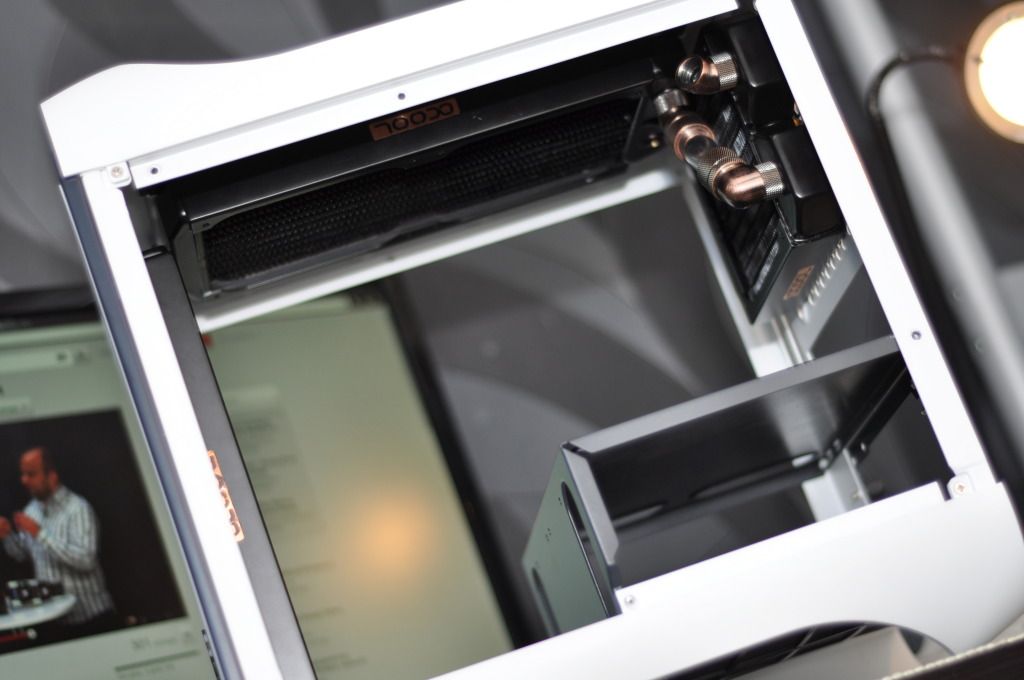
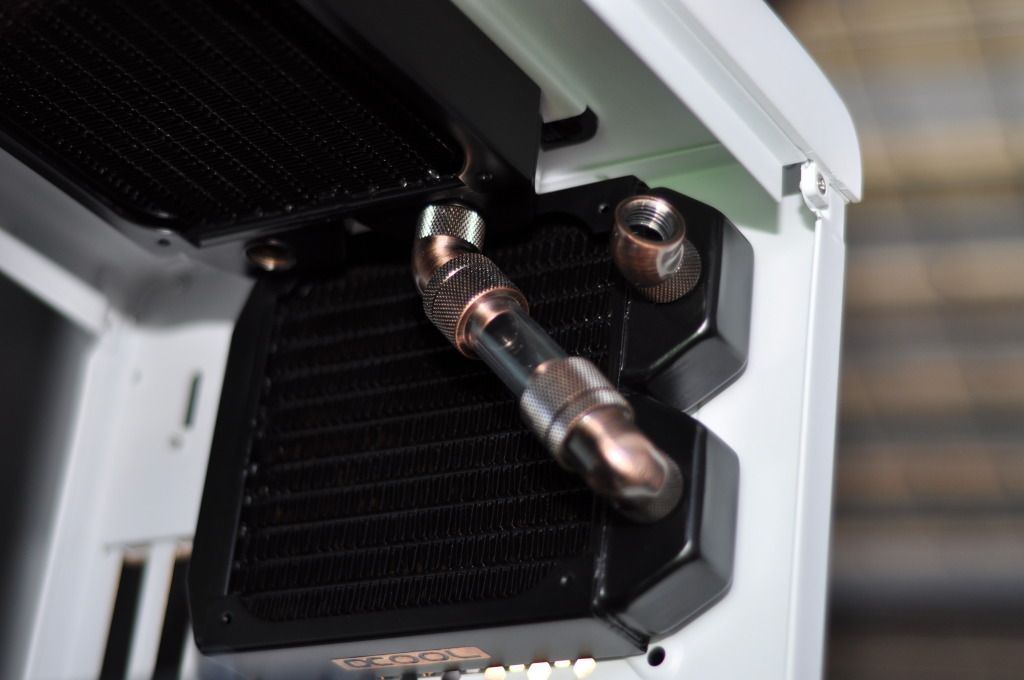
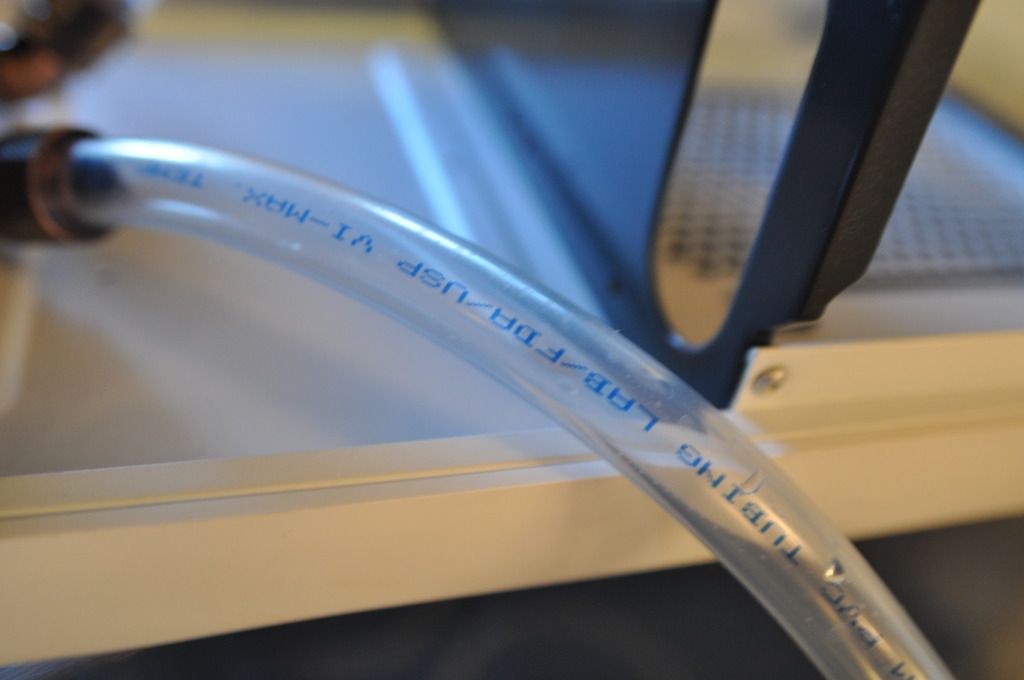
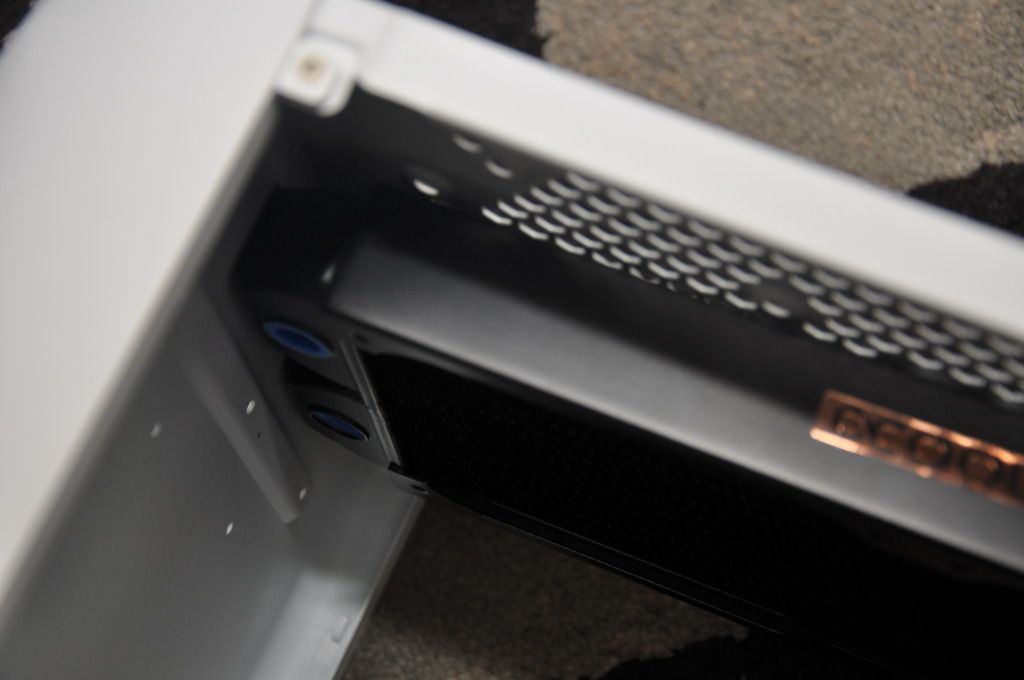
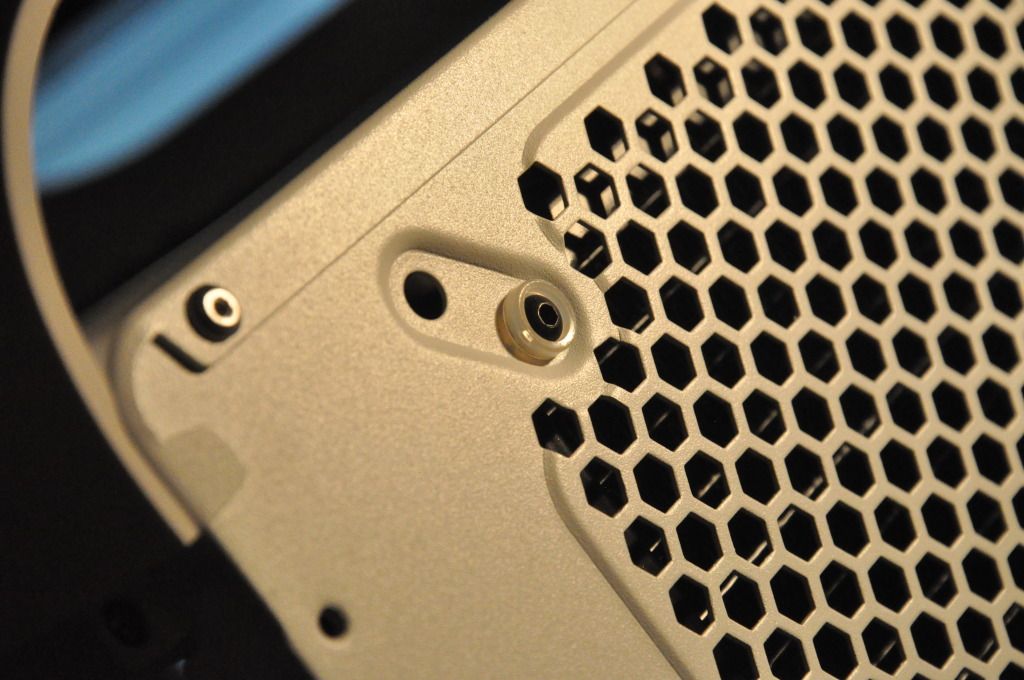
Whoa, those fittings are the best looking I've ever seen. Great work.
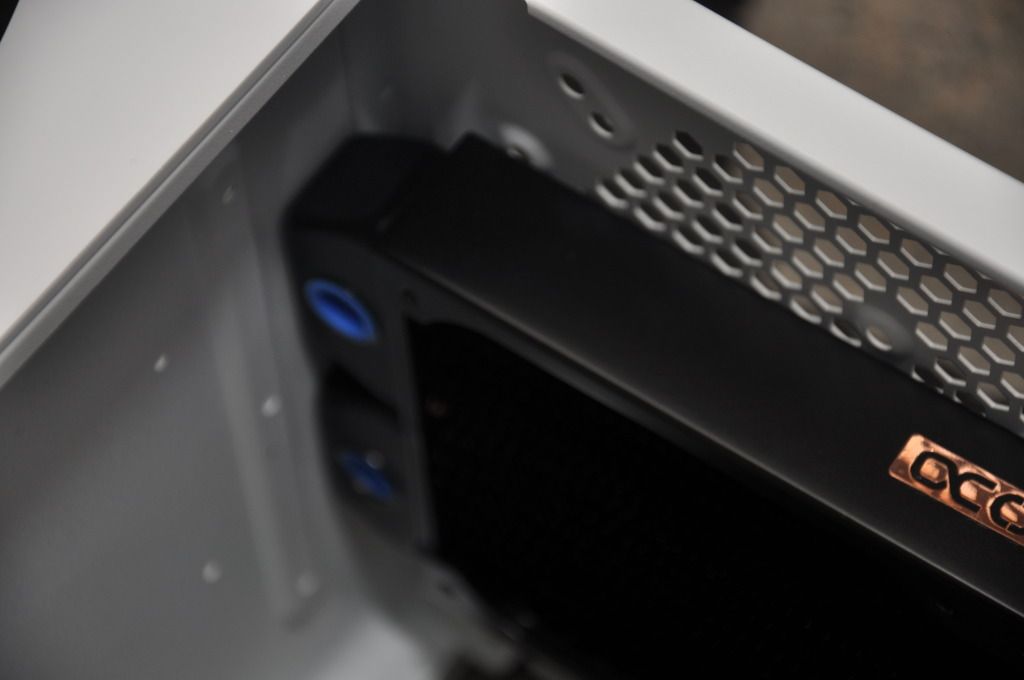
Looks great dude, those radiators with the copper fittings look the nuts! I'll be sure to keep an eye on this one.
Looks Amazing Dude!