You are using an out of date browser. It may not display this or other websites correctly.
You should upgrade or use an alternative browser.
You should upgrade or use an alternative browser.
Project "Kur0 MiZu"
- Thread starter youpla
- Start date
FghtinIrshNvrDie
New member
you don't need ram cooling fans...
Ryan
Ryan
youpla
New member
name='nunzio' said:sorry about my newbie question
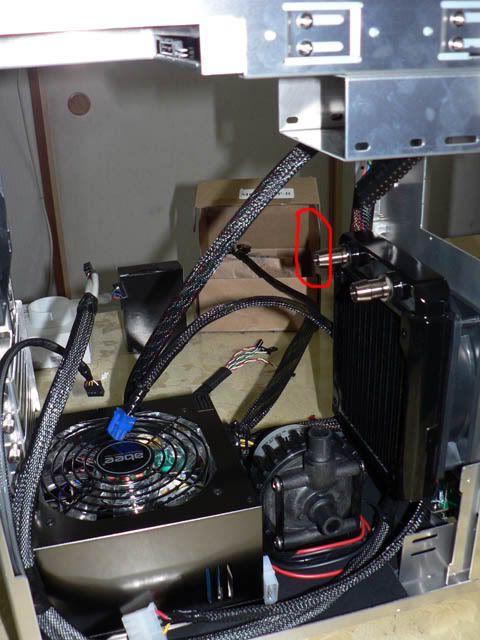
But shouldnt the Tline go to the input of the pump? not the output.
You maybe right on this mate... will place the T-line on the input, thanks!
youpla
New member
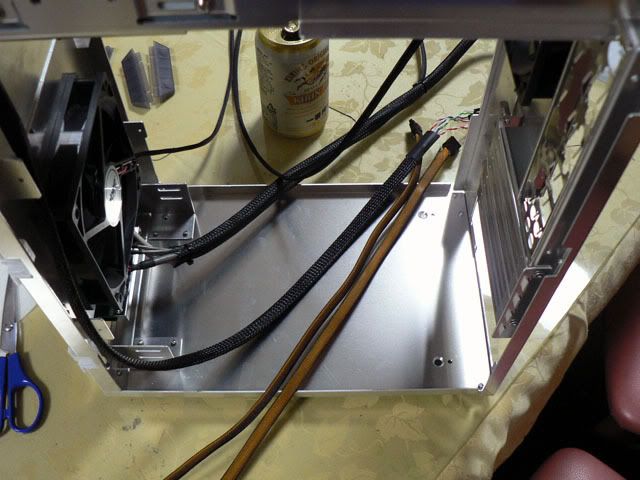
Well as my WC stuff has not arrived yet, I decided to do some sleeving, add some noise dampener on the bottom of the PC and lap my C2D. Also mounted a 92mm PAPST fan on the side panel.
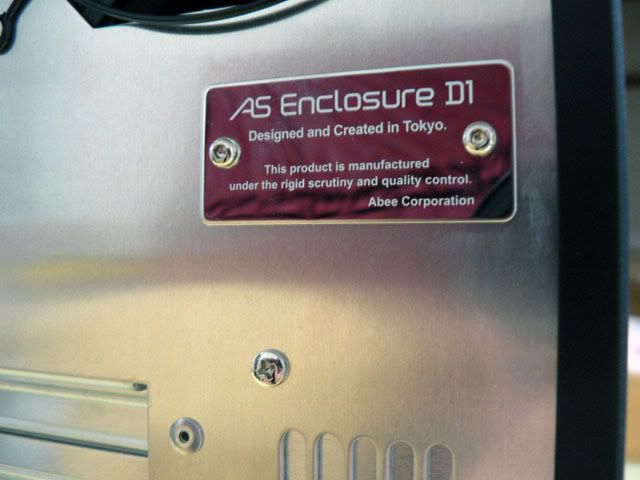
I must say this small enclosure is really nice, high quality...
Close up of the back plate
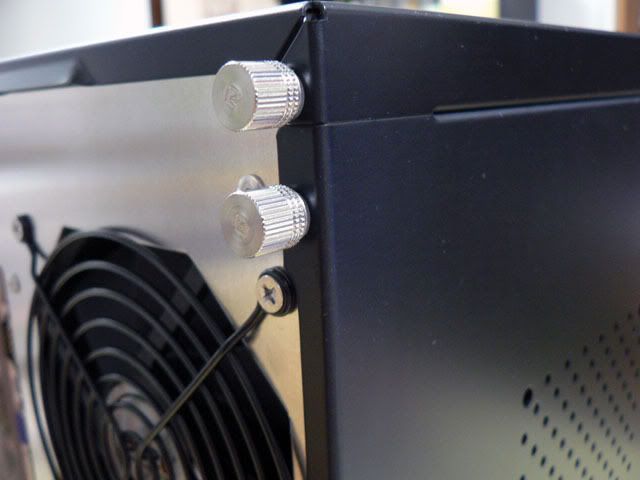
Back and PCI screws can be replaced with those tool free screws
Close up of the front panel
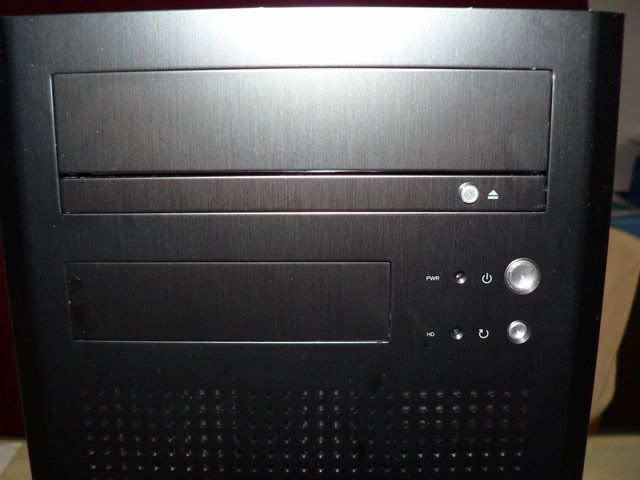
All the parts are metallic, no plastic etc... even the power and reset switches are metallic.
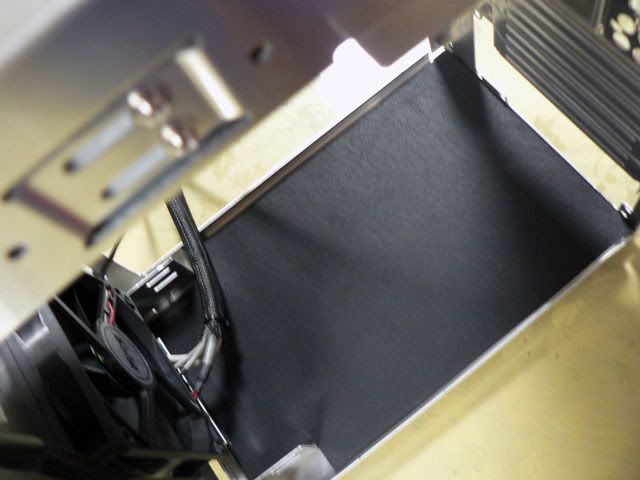
Added the dampening sheet on the bottom of the case

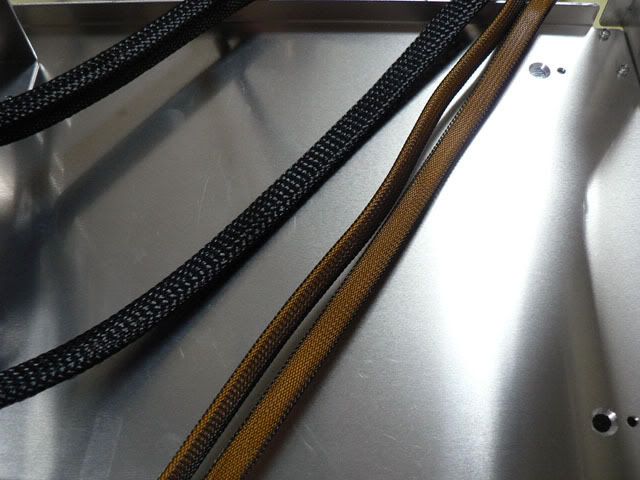
I sleeved all the fan cables, sata cables, USB, etc... still need to sleeve a few more
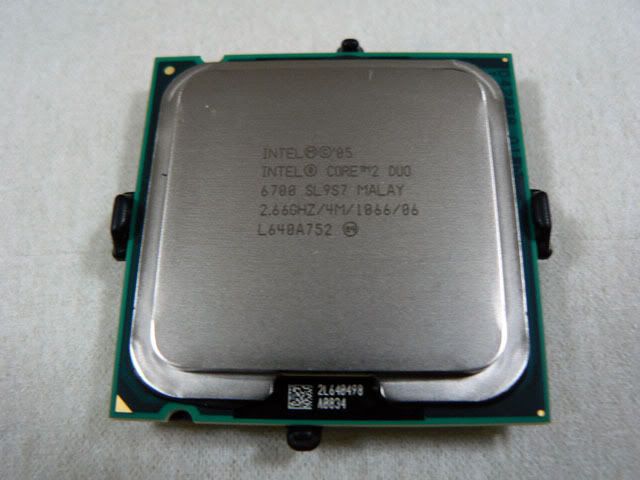
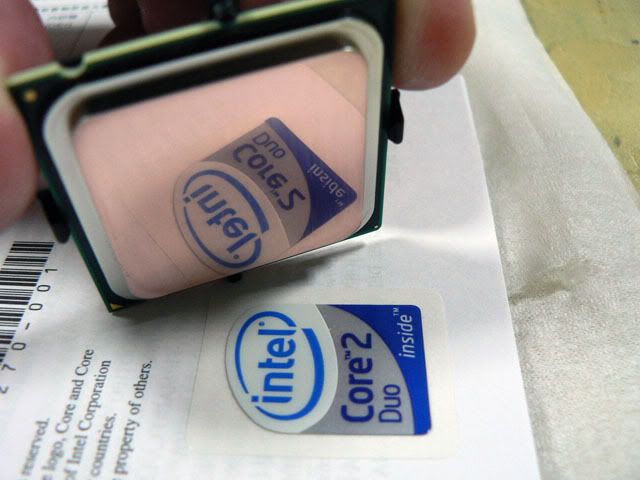
And finally lapped my CPU
Before
After
Can't wait to get the WC in!
I must say this small enclosure is really nice, high quality...
Close up of the back plate
Back and PCI screws can be replaced with those tool free screws
Close up of the front panel
All the parts are metallic, no plastic etc... even the power and reset switches are metallic.
Added the dampening sheet on the bottom of the case
I sleeved all the fan cables, sata cables, USB, etc... still need to sleeve a few more
And finally lapped my CPU
Before
After
Can't wait to get the WC in!
FarFarAway
New member
Looking pretty sweet mate, nice work 
")
youpla
New member
Well I am totally disappointed as I have to stop this project unfortunatly.
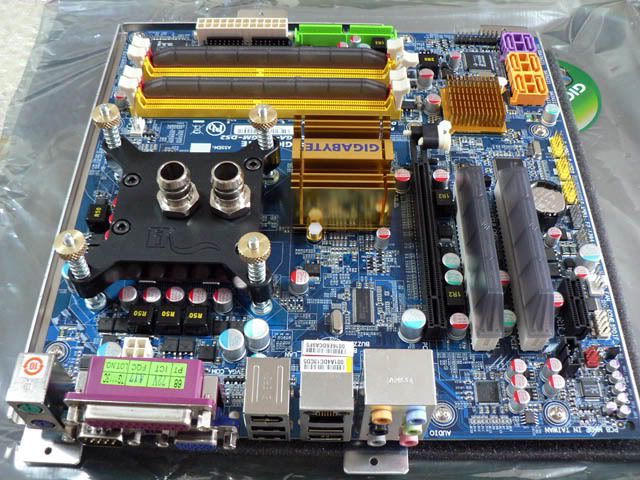
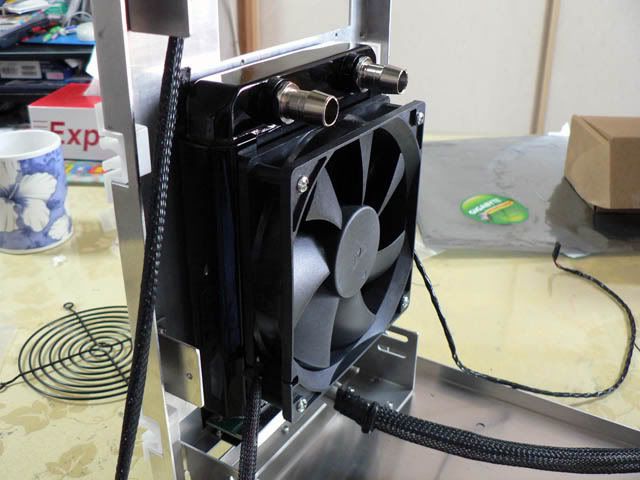
At least until I get a new case as this one cannot be used as I wanted to... No problem to fit the pump and waterblocks. The radiator on the front fan fits well but the left barb touches the RAM heatsink so no space for the tubes, a no go!!!
The second rad is too wide to fit on the back of the case too, thus I was looking for another one. But as it seems to go now it will be useless as the rad on the front cannot be used either.
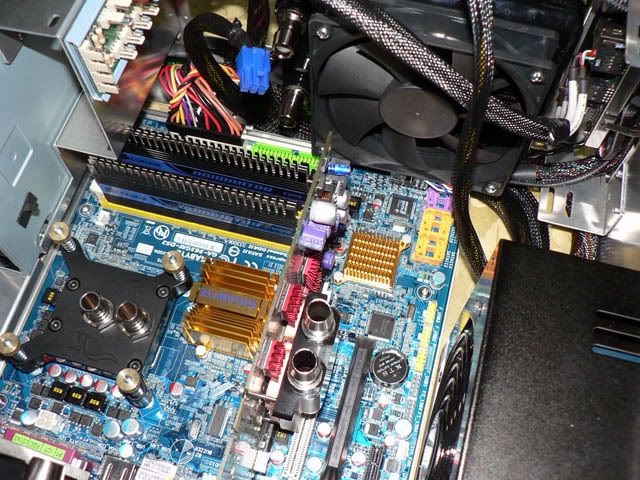
Too bad the EK CPU block looks great and I already installed it on the MB...
Anyway I will probably go with aircooling with this build and keep my WC stuff for another larger case.

At least until I get a new case as this one cannot be used as I wanted to... No problem to fit the pump and waterblocks. The radiator on the front fan fits well but the left barb touches the RAM heatsink so no space for the tubes, a no go!!!
The second rad is too wide to fit on the back of the case too, thus I was looking for another one. But as it seems to go now it will be useless as the rad on the front cannot be used either.
Too bad the EK CPU block looks great and I already installed it on the MB...
Anyway I will probably go with aircooling with this build and keep my WC stuff for another larger case.
youpla
New member
name='robump' said:What pump were you going to use?
Rob
I was going to use the Swiftech MCP655™ 12 VDC Pump (MCP655) with a speed controller.
youpla
New member
I tried to mount the rad upside down but then the barb touches the pump. I also tried to move the pump a bit forward (can't move too much or else I cannot connect the tube on the inlet of the pump (side panel area). And even after the move it was a no go.
What I can try is to use the pump from my shuttle, much smaller but the fittings are 3/8"...
Well I also thought of mounting the rad outside the back panel, but I would have to cut holes in the case for the tubings etc... something I don't really want to do as I prefer the WC to be fully internal.
What I can try is to use the pump from my shuttle, much smaller but the fittings are 3/8"...
Well I also thought of mounting the rad outside the back panel, but I would have to cut holes in the case for the tubings etc... something I don't really want to do as I prefer the WC to be fully internal.
youpla
New member
name='FragTek' said:Are those just dust covers over the unused PCI and RAM slots? I can't say I've ever seen those before.
yep just dust covers UV reactive
")
youpla
New member
name='robump' said:How about 1 rad inside the 120mm fan hole, and then r rad outside the 120mm fan hole?
Rob
Yep I just tested this idea yesterday and I can finally fit the rad on the front panel and mount the fan on the back of the rad, then I have enough space between the barb and the ram. It will not be pulling air but pushing air.
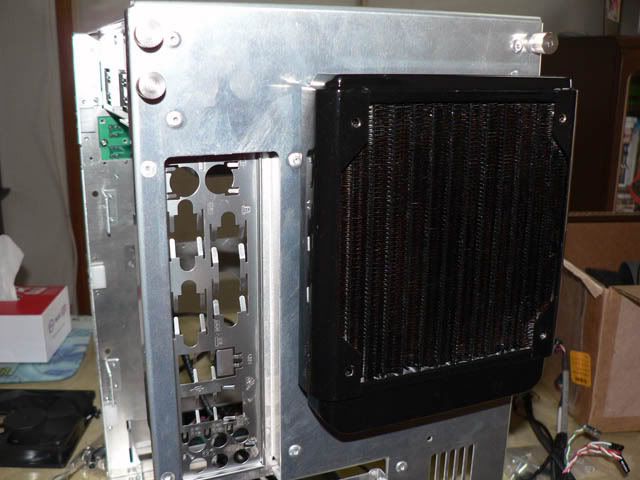
And the second rad can go outside the back panel, just need to cut holes in the case for the tubes.
SO I think I am going to go for that... But first I am going to check my temps on air this weekend. I got a Zalman VGA dual pipe cooler for my 8600GTS and I want to see how the temps are doing. Cause right now with just air cooling my temps are pretty low CPU iddle core1: 31/core2: 33, MB iddle: 28, System iddle: 34 and HDD: 34.
So I hope that my watercooling setup can do better and get those temps lower by several degrees, if not I will just got back to air cooling...
Anyone think that my watercooling setup will be up to the task or am I wasting time?
youpla
New member
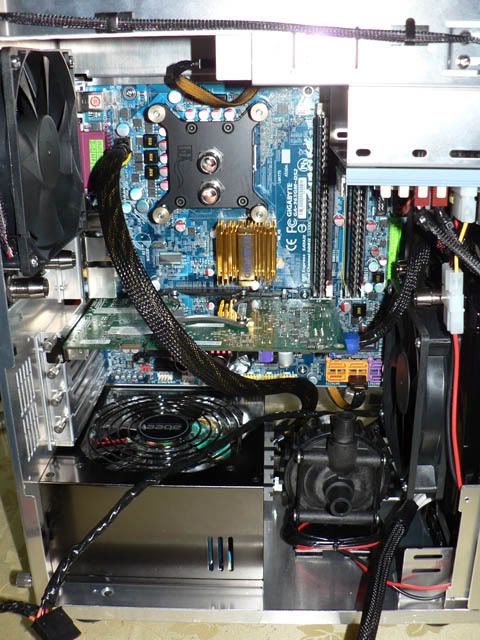
Ok here we go, got everything installed inside except one rad that is mounted on the back of the PC.
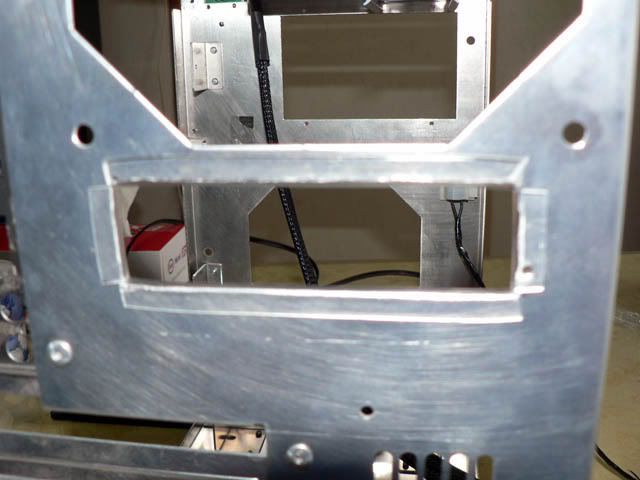
First I had to cut a hole in the backplate for the barbs
Mounted the rad outside the backplate
Mounted the rad inside the front plate
Installed back the MB and VGA card with the CPU and GPU waterblocks
Mounted the pump on the bottom of the case with some adhesive velcro
Tubing
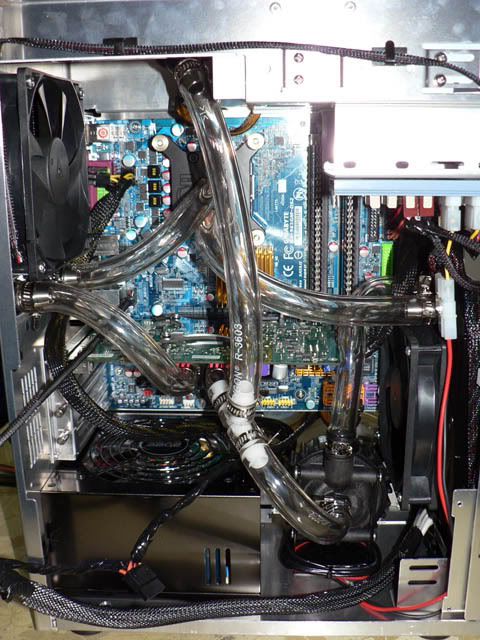
So the final loop is T-line>pump>rad1>cpu>rad2>gpu>pump
Final shot

Will fill it up with FuildXP HP "Phantom black" tomorrow and check if there is no leak in the loop
First I had to cut a hole in the backplate for the barbs
Mounted the rad outside the backplate
Mounted the rad inside the front plate
Installed back the MB and VGA card with the CPU and GPU waterblocks
Mounted the pump on the bottom of the case with some adhesive velcro
Tubing
So the final loop is T-line>pump>rad1>cpu>rad2>gpu>pump
Final shot
Will fill it up with FuildXP HP "Phantom black" tomorrow and check if there is no leak in the loop
Similar threads
- Replies
- 1
- Views
- 874
- Replies
- 20
- Views
- 6K