Project- JCP RnB

Chaney579

New member
Jesse's Custom PC's

JCPLogo.png


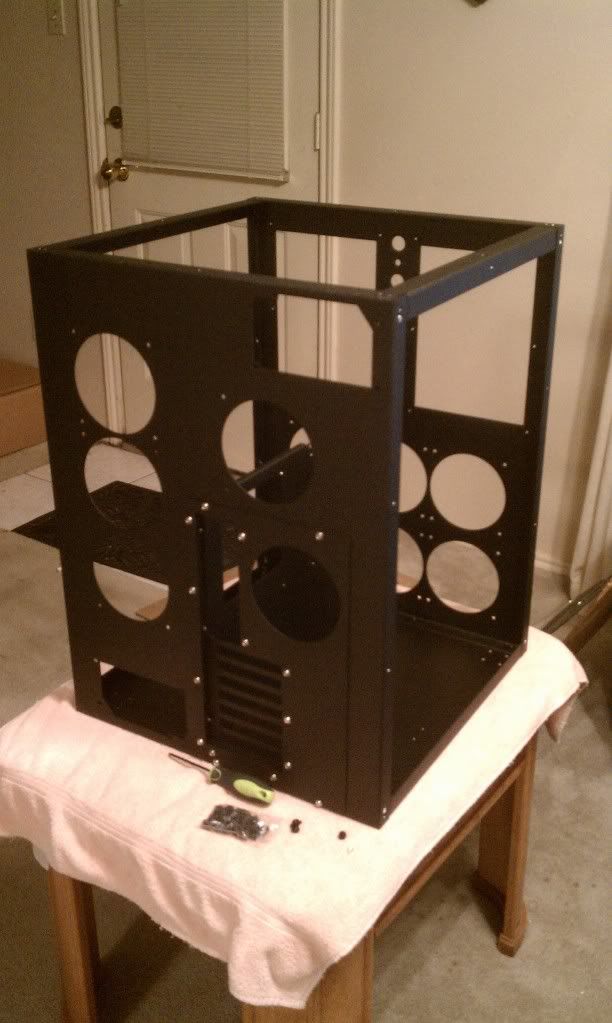
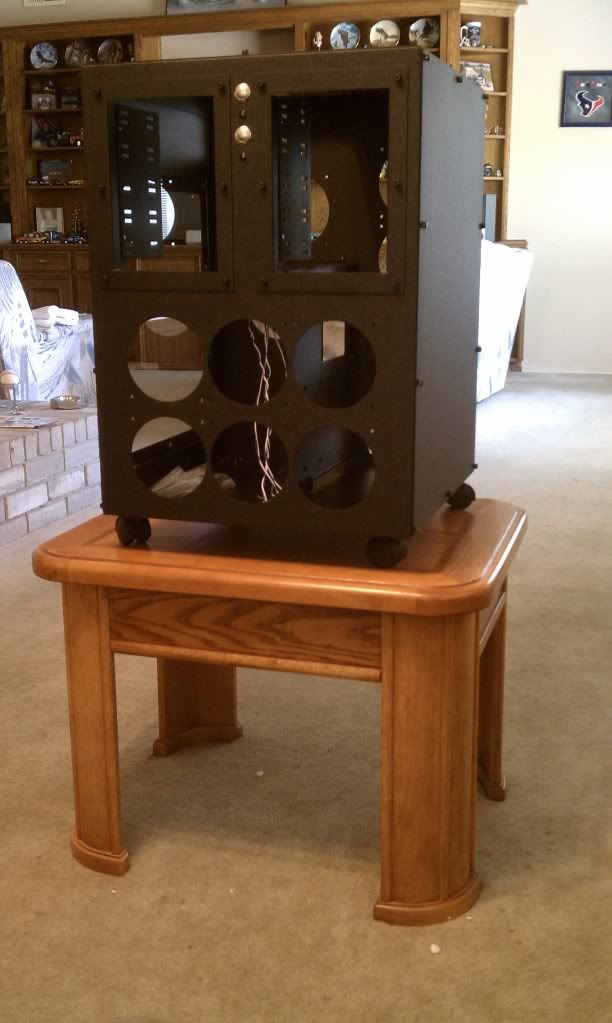
Just doing some updating on the thread. Deleting old stuff and putting in the new with pictures and build progression to make everything neat. Have been going back through and taking a lot better pictures for you guys
smile.gif
<3

Gamingcomputer30.jpg


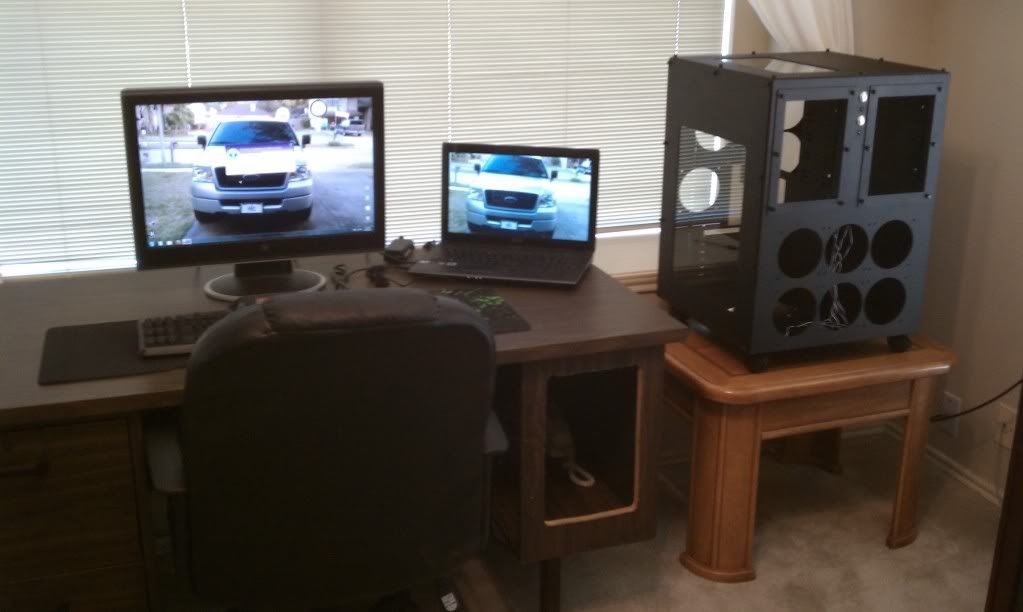
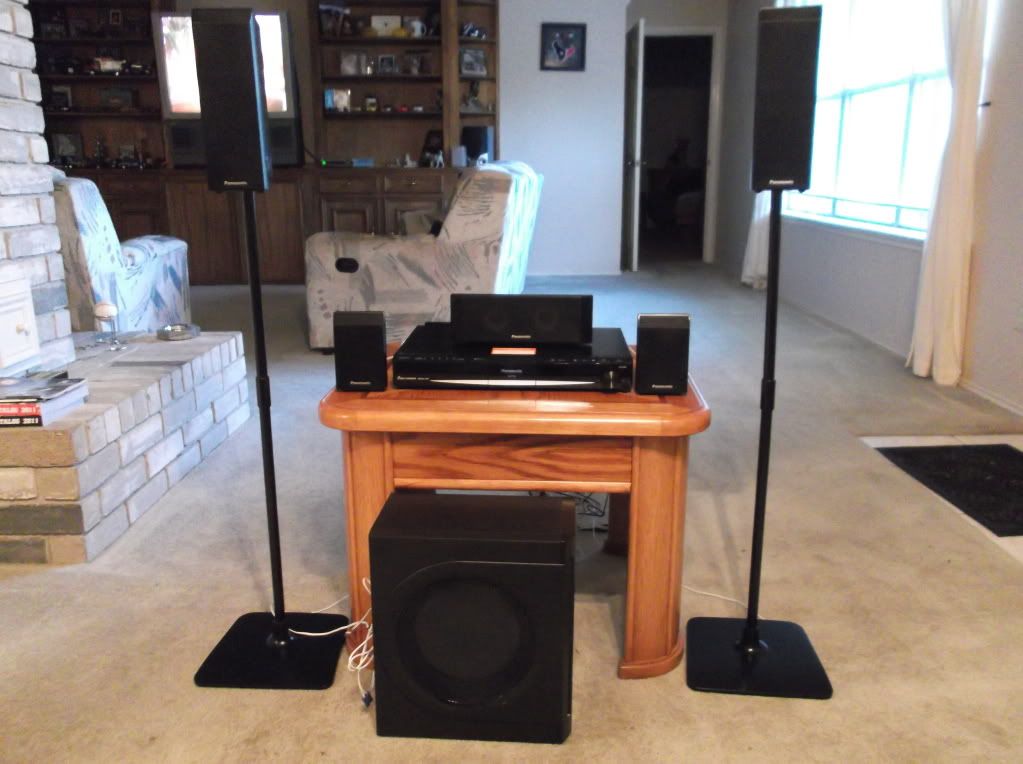
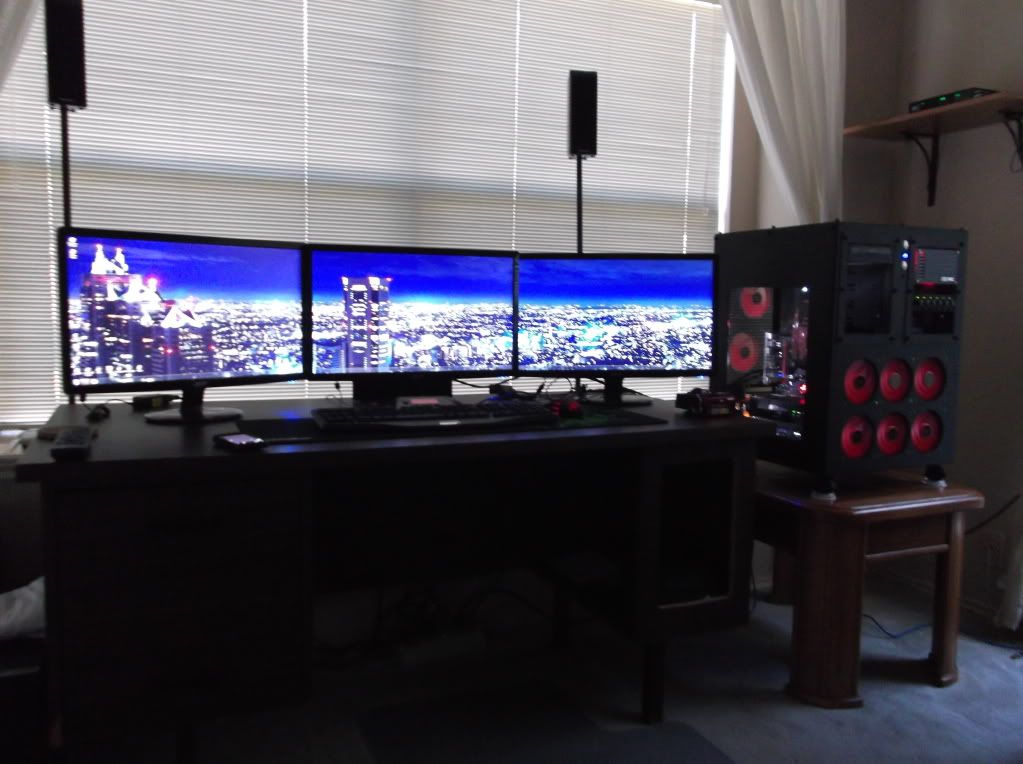
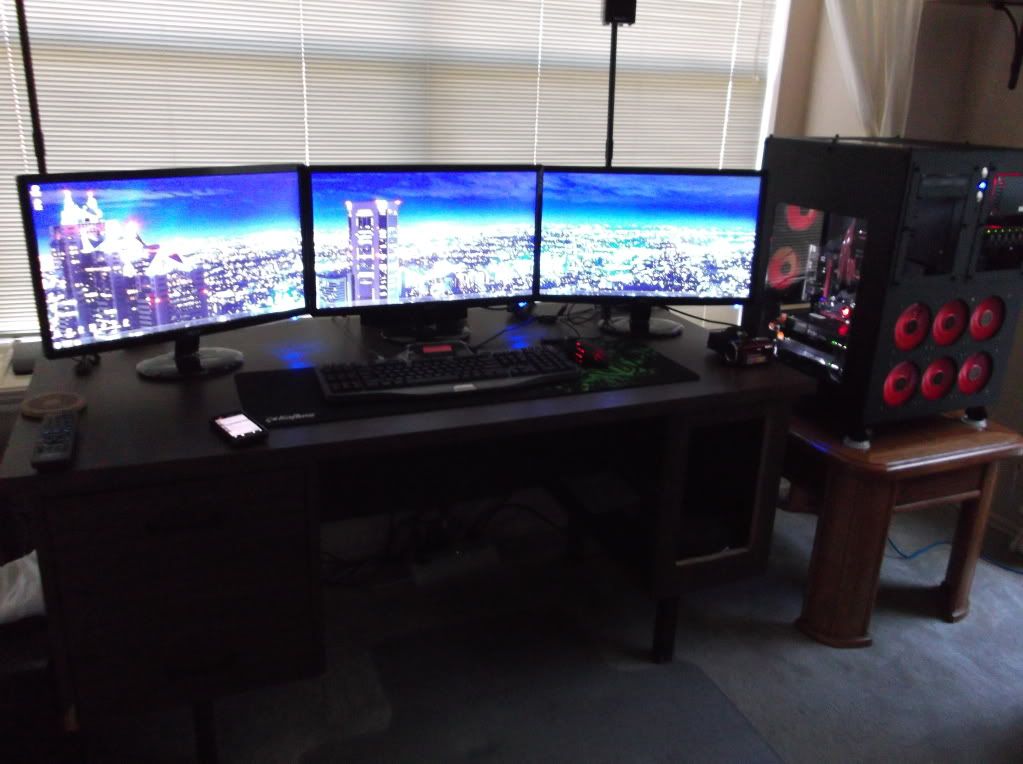
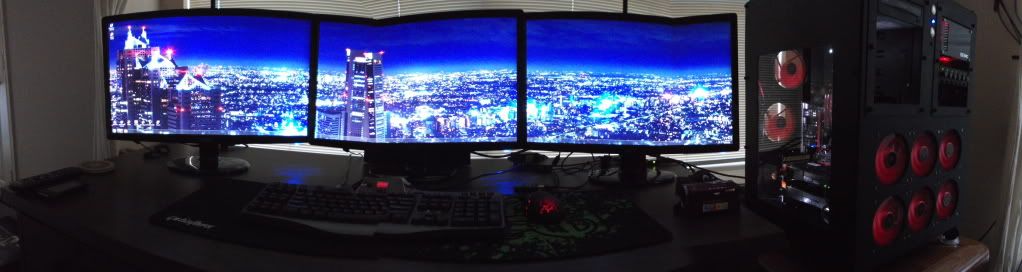
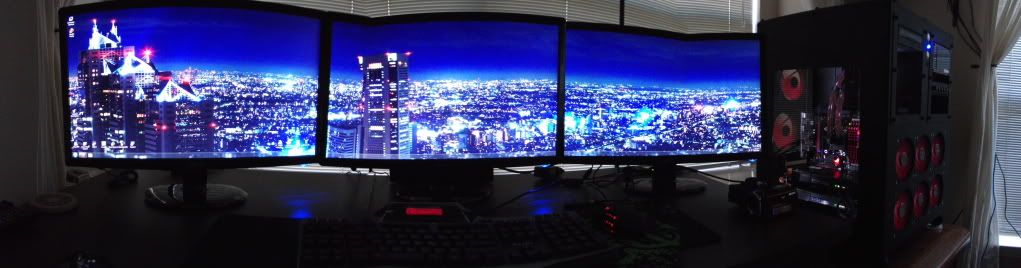
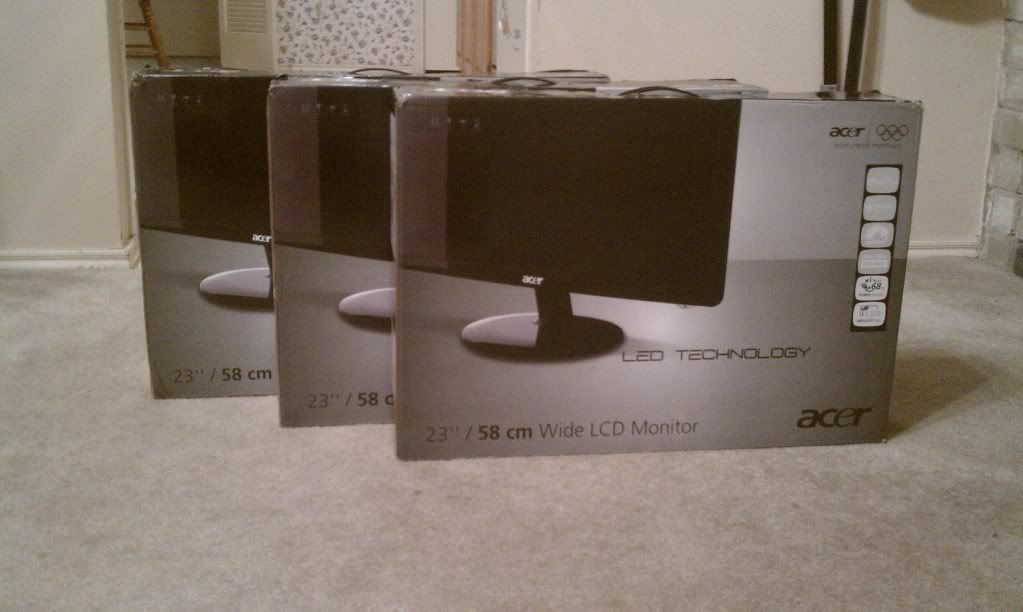
Monitors- 3x 23.6inch Acer LED 1920x1080p, 12 million-1, 5ms gaming monitors.

Gamingcomputer2.jpg


**************************************************** UPDATE 8-5-11*****************************************************************

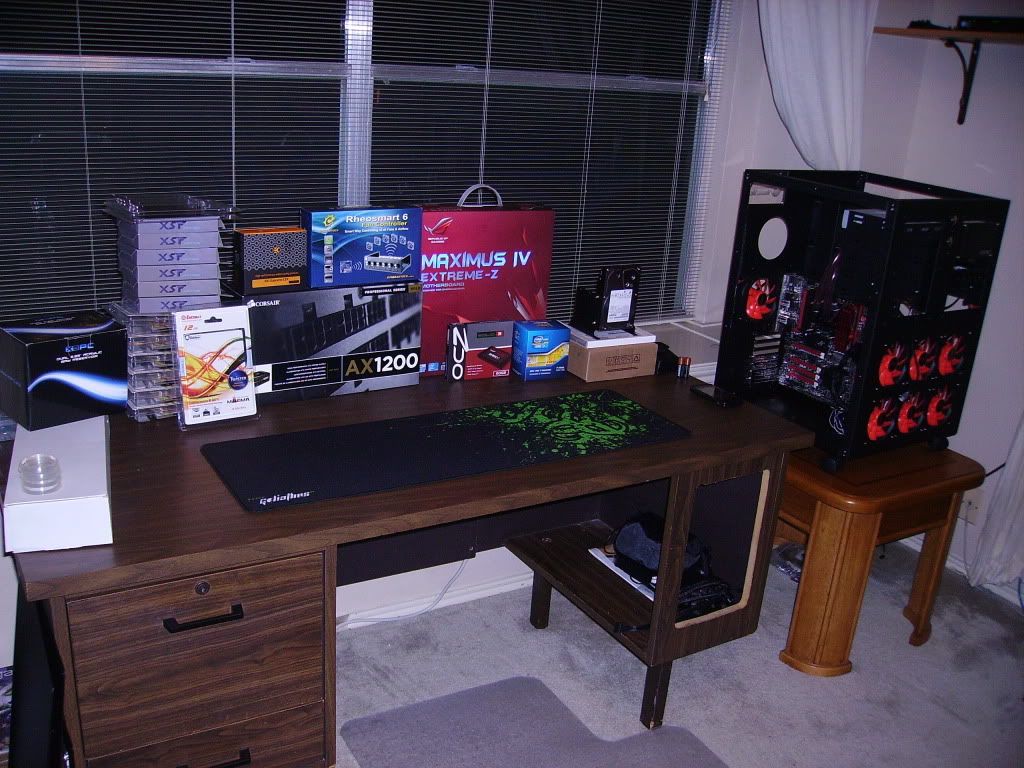
Have gotten some more products in over the past month. Just came back to post up
smile.gif
, New items include-

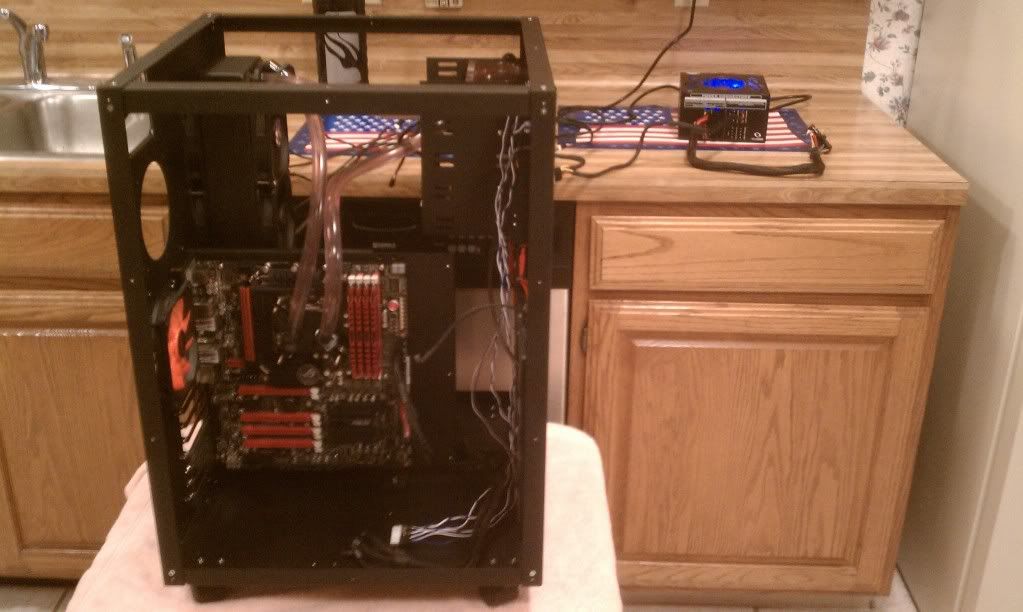
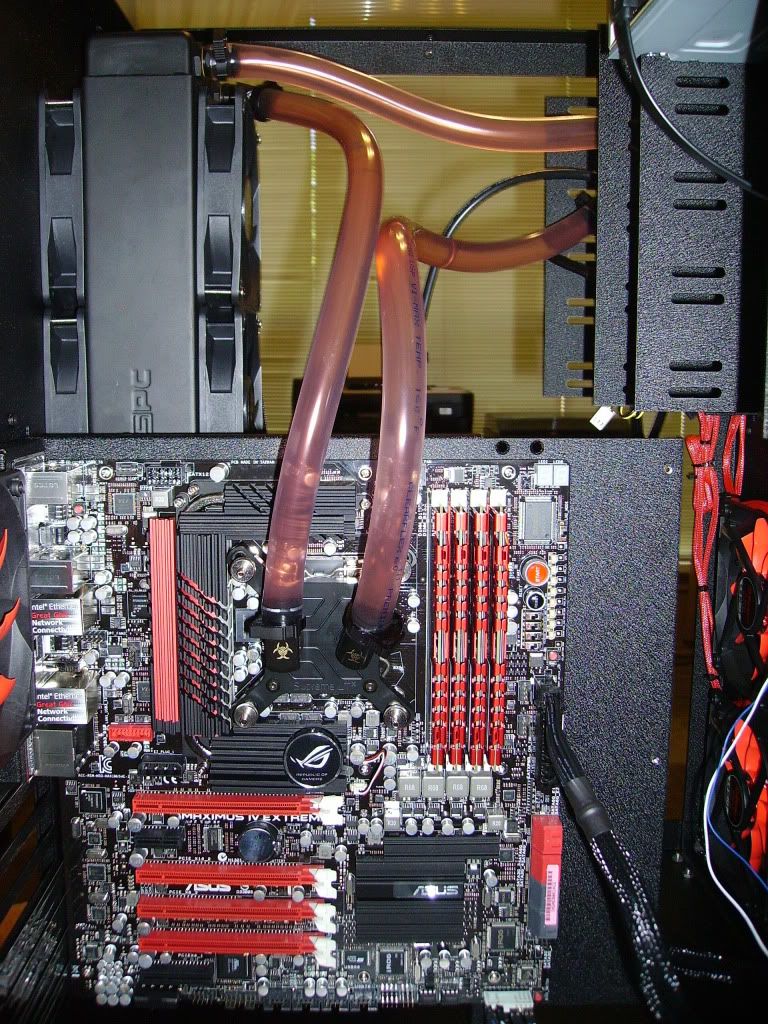
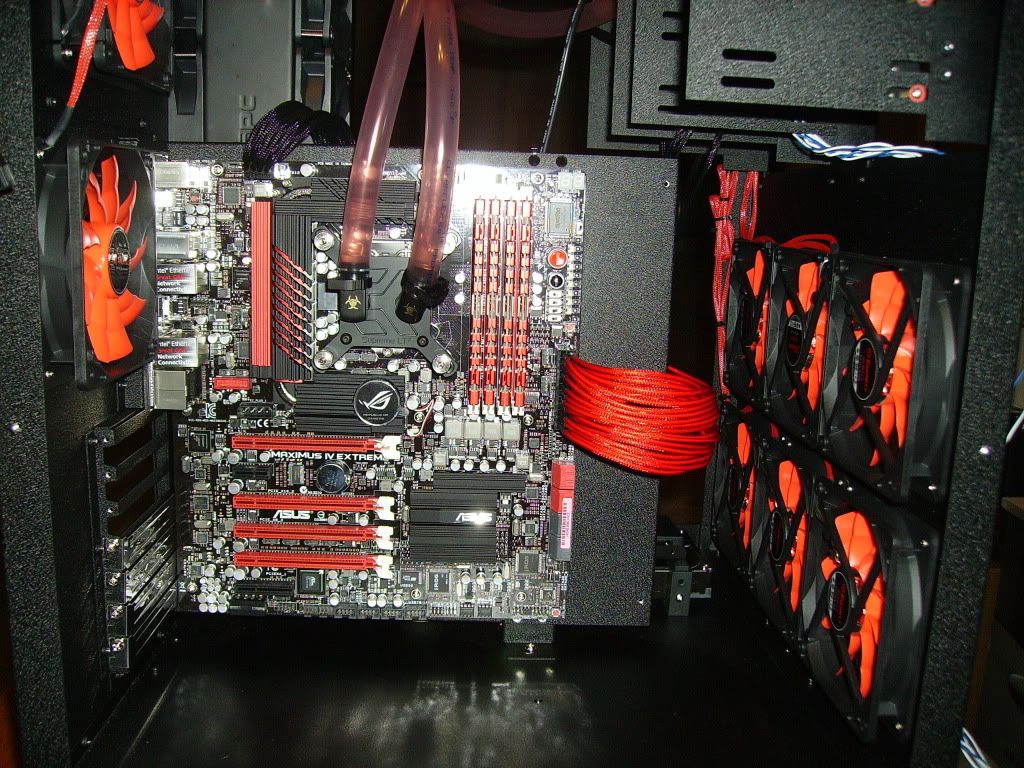
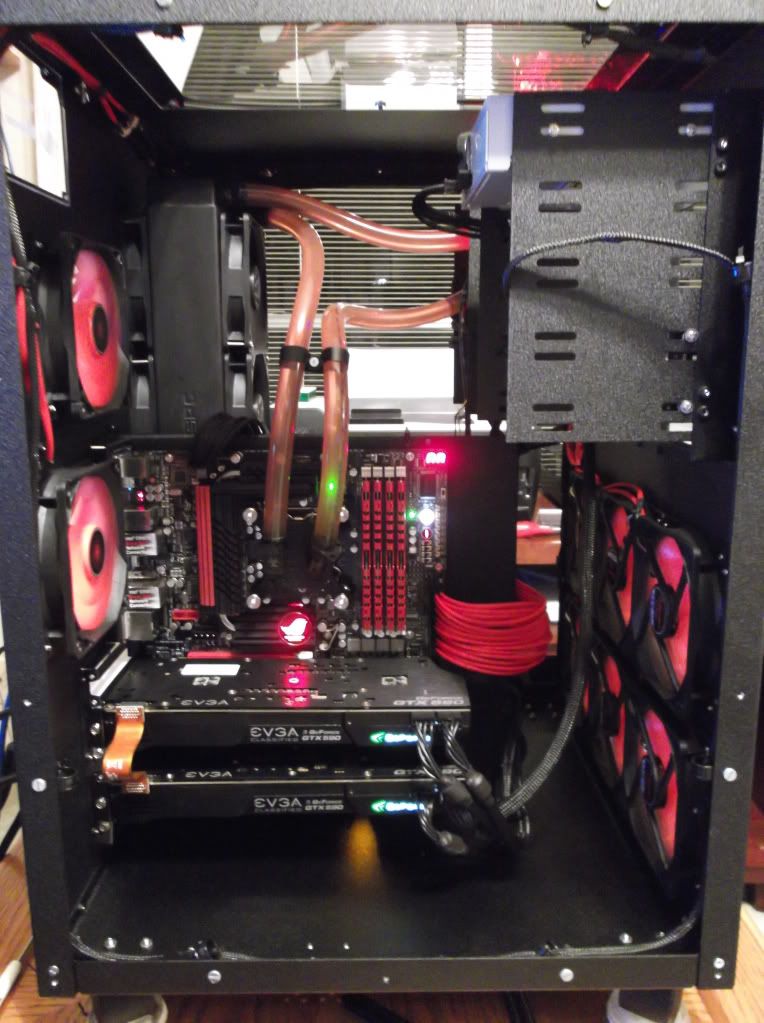
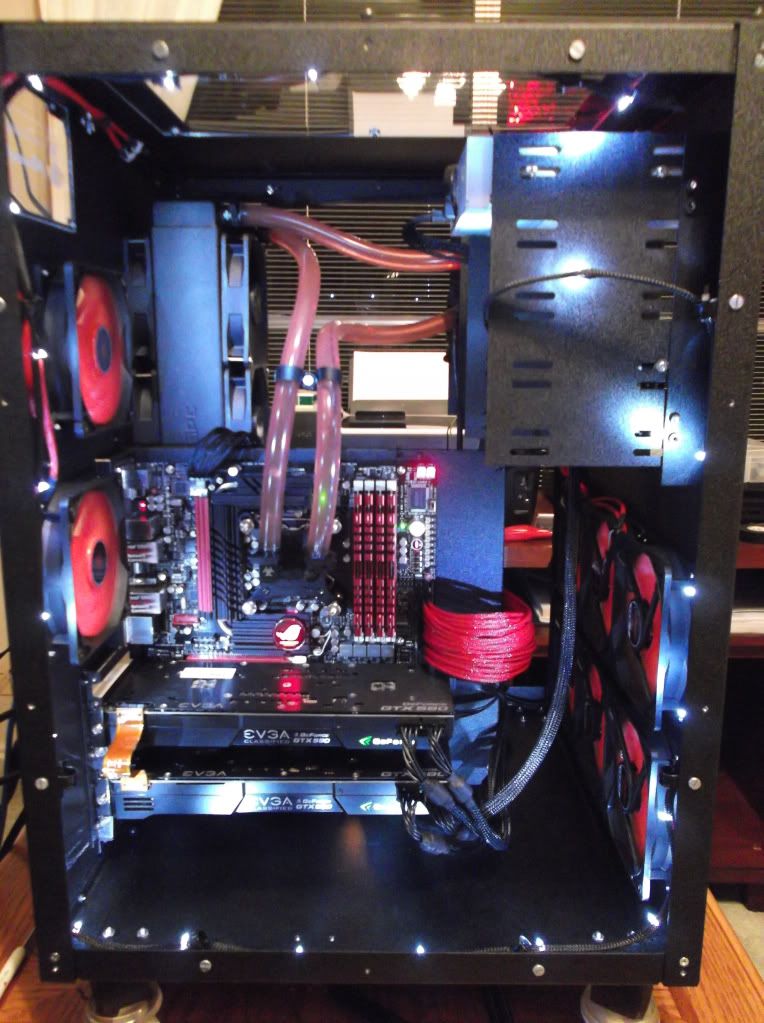
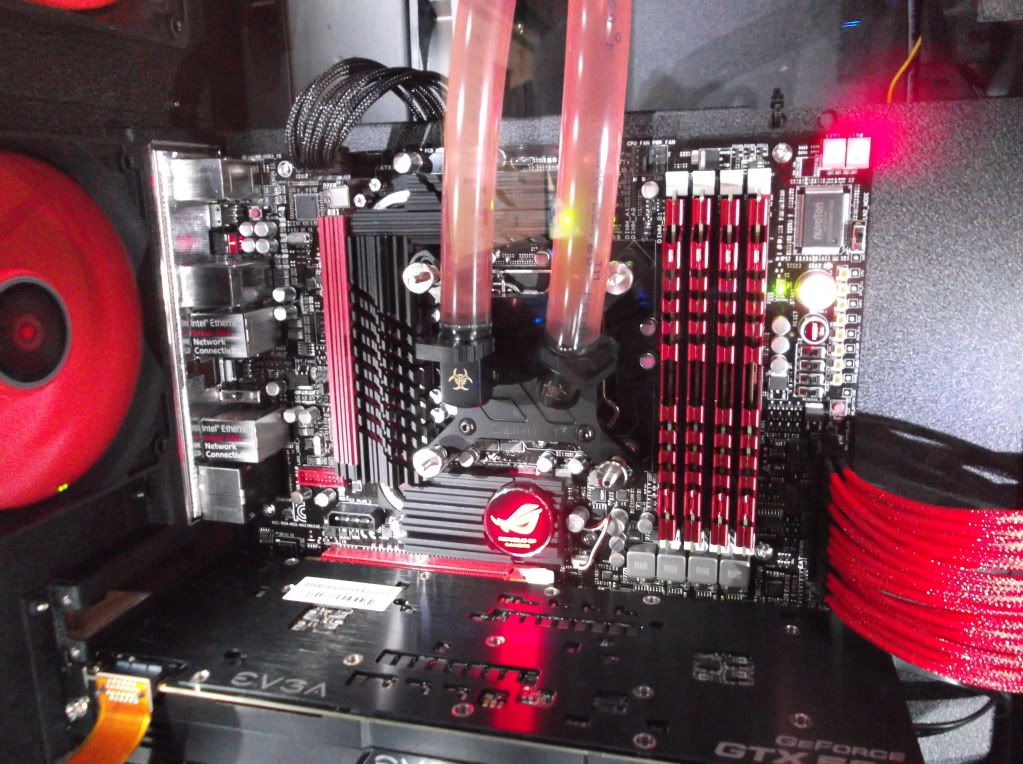
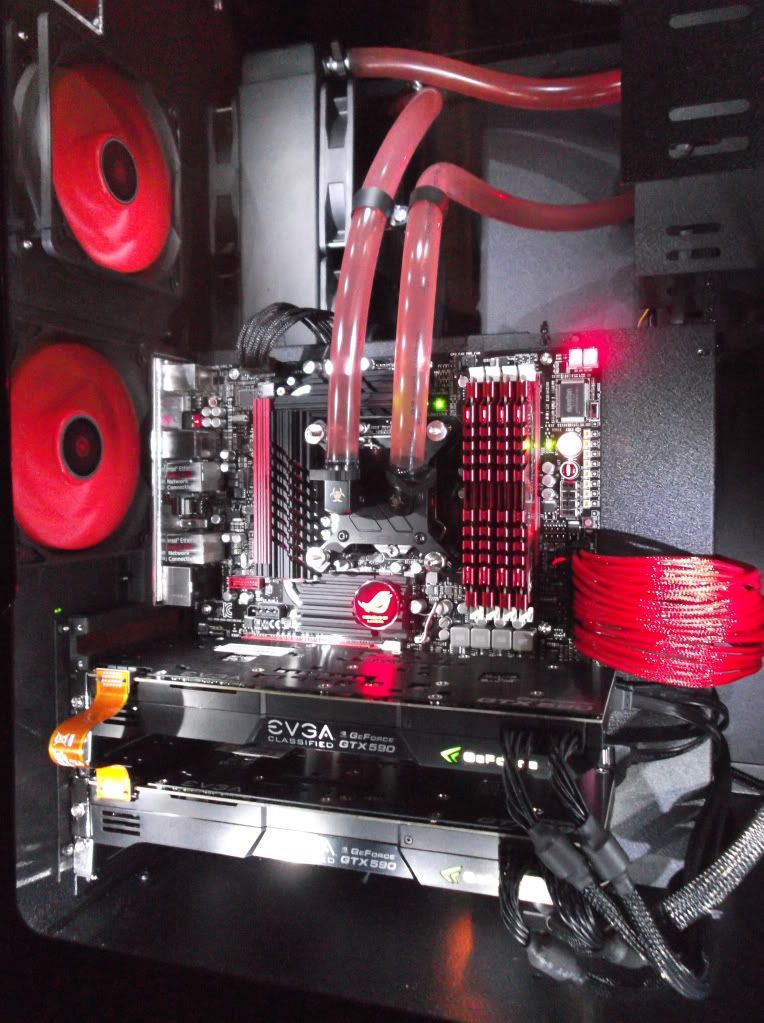
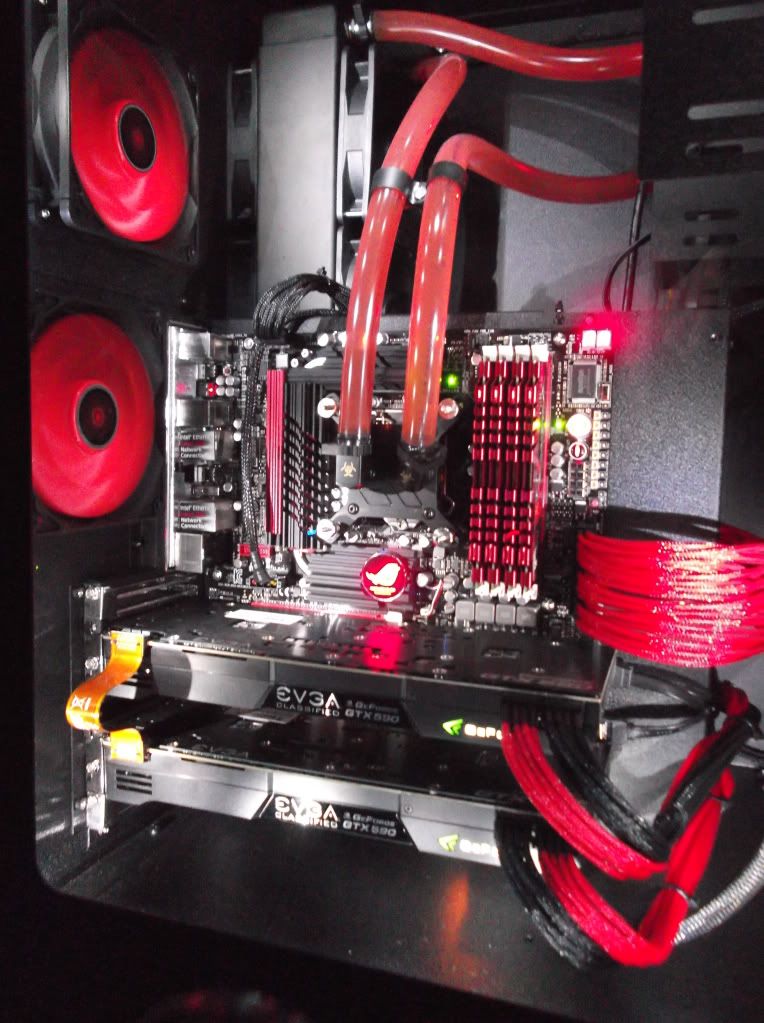
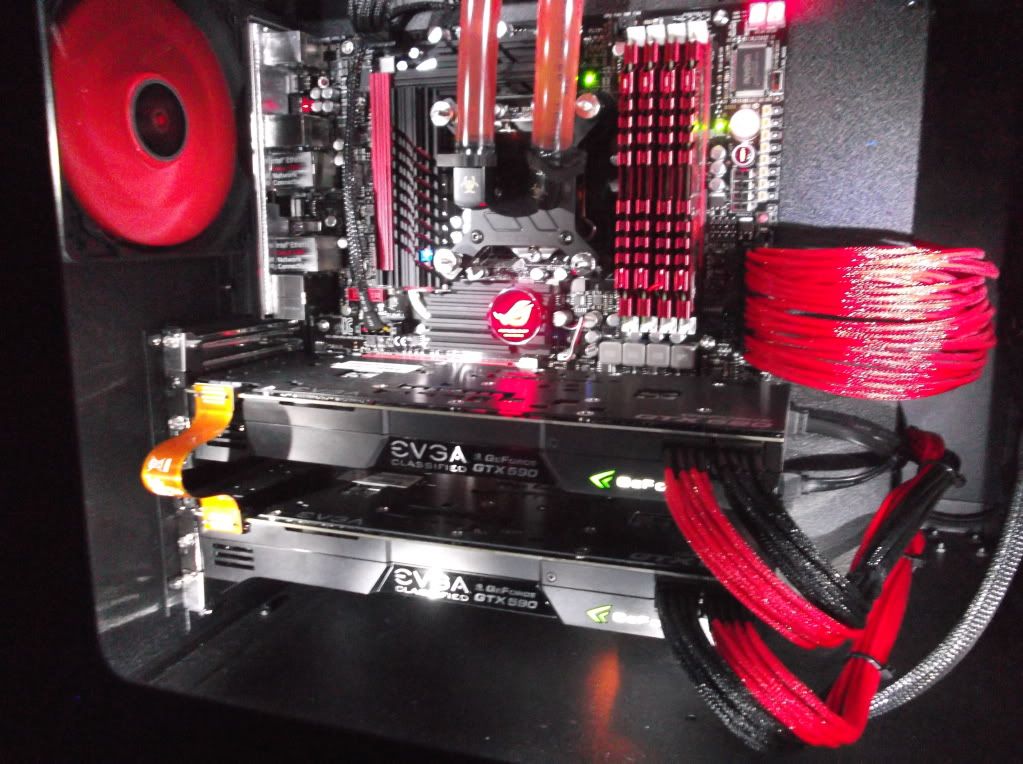
*Asus Maximus IV Extreme z 1155 Motherboard

*Intel core i7-2600k

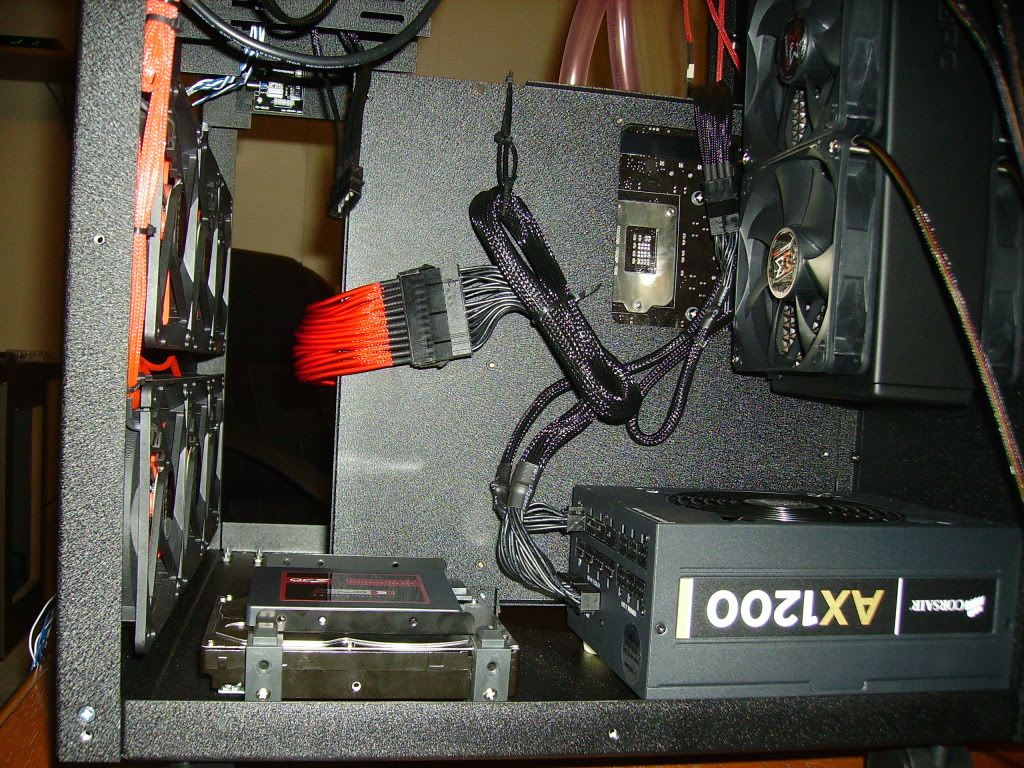
*OCZ Solid 3 60gb SSD for the OS

*Hitachi 1.5TB 7200 rpm 64mb cach Storage drive.

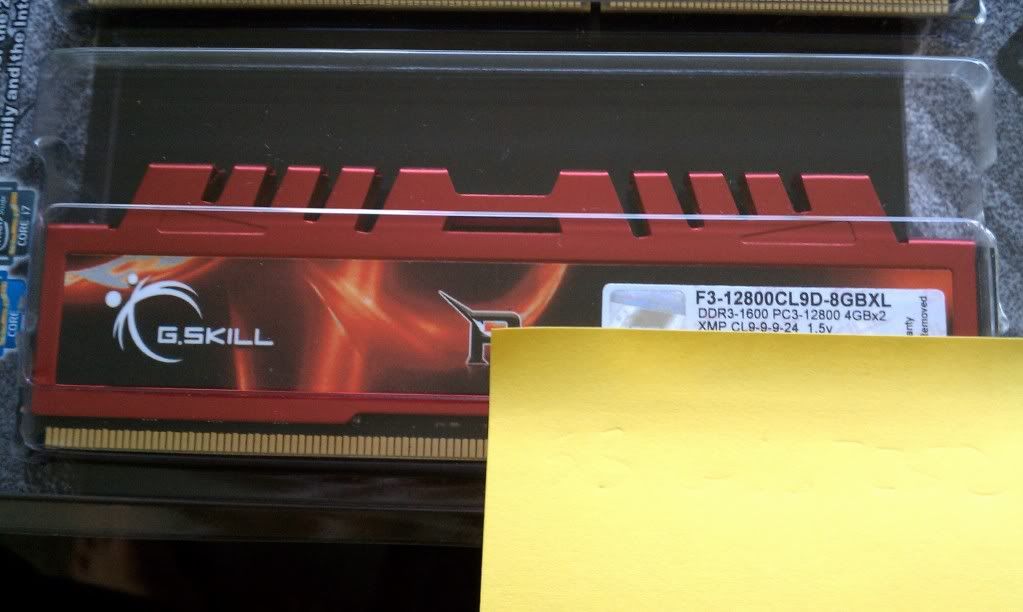
*G.Skill Ripjaws, (16GB 4x4gb) 1600 mhz 9-9-9 24 at 1.5v

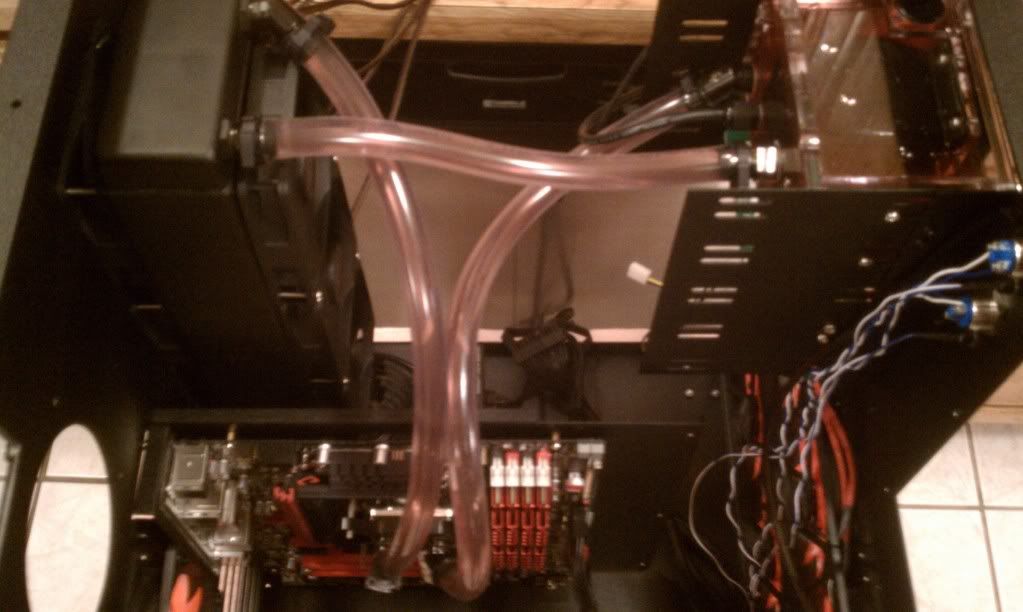
In a couple days i should be seeing my big package of water cooling bits and peaces from performance pcs. Went crazy with a nice loop for my cpu.
smile.gif
Almost 500 dollars in the drain with out the block as i dont know if i should go EK or not.

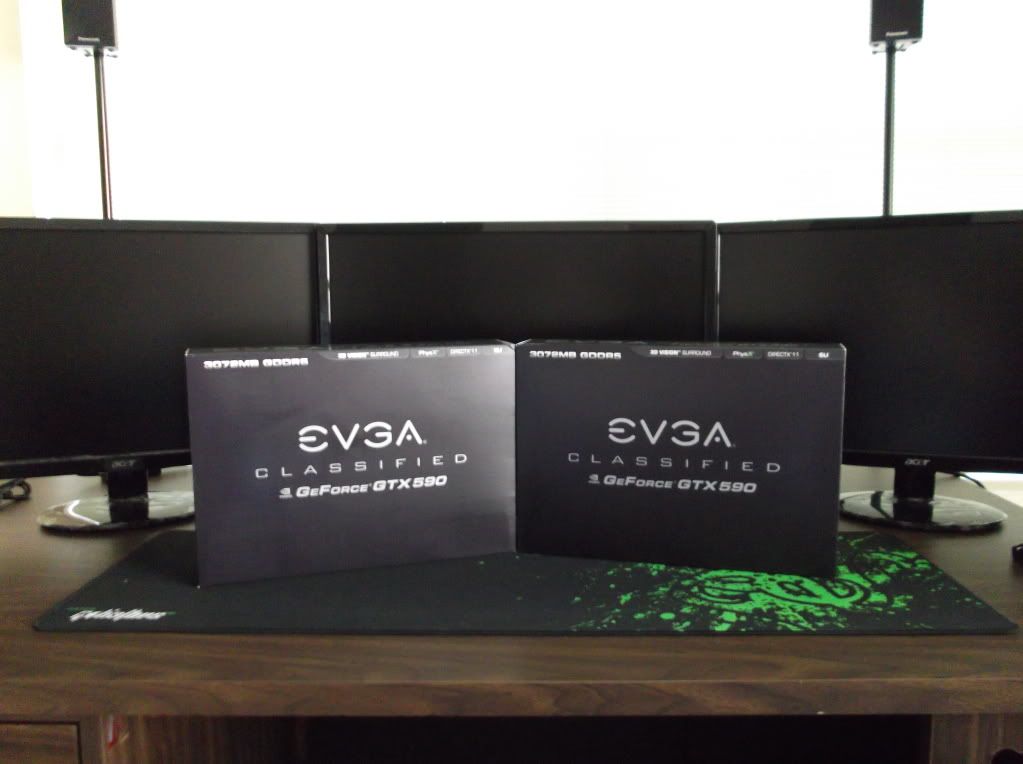
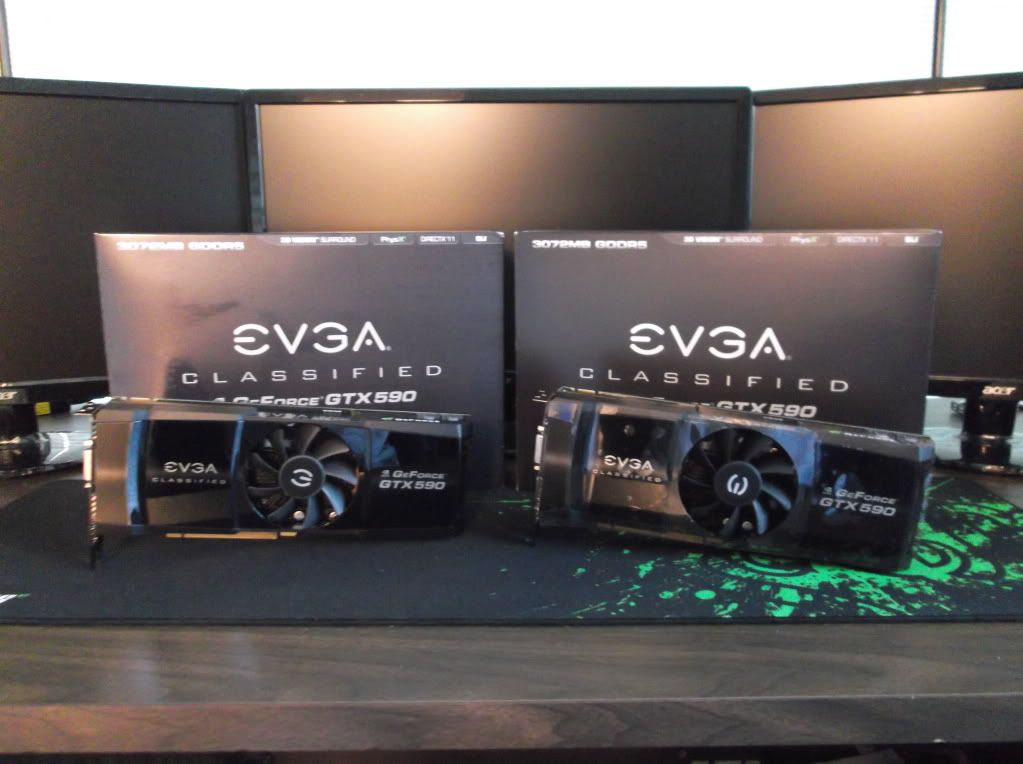
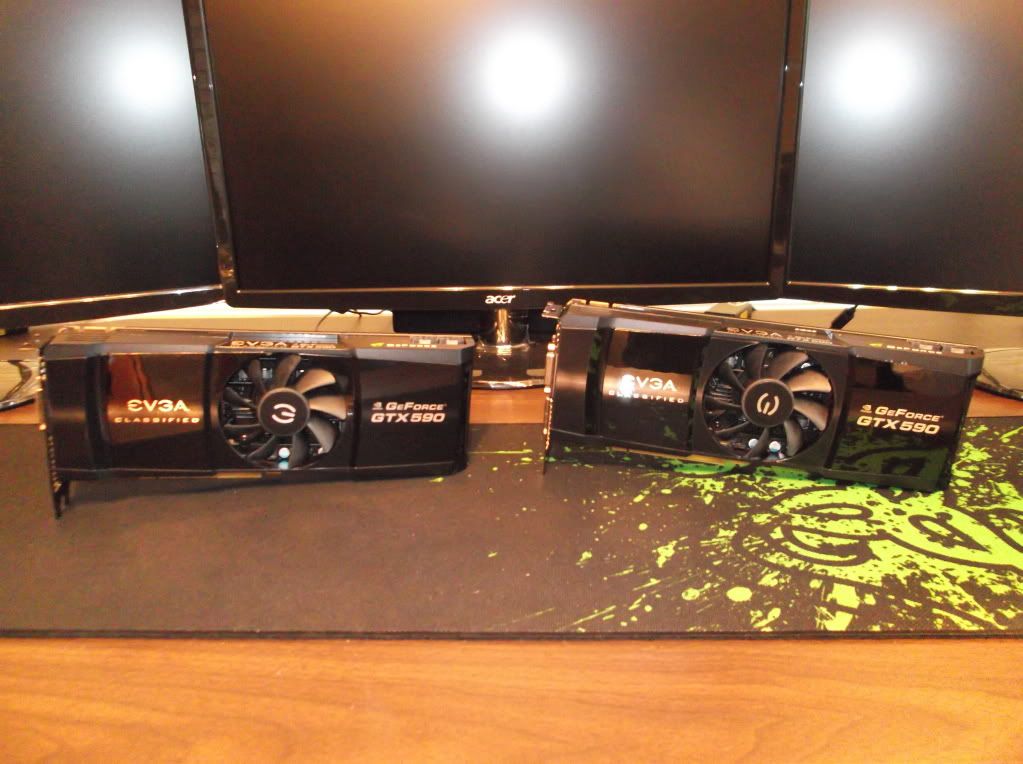
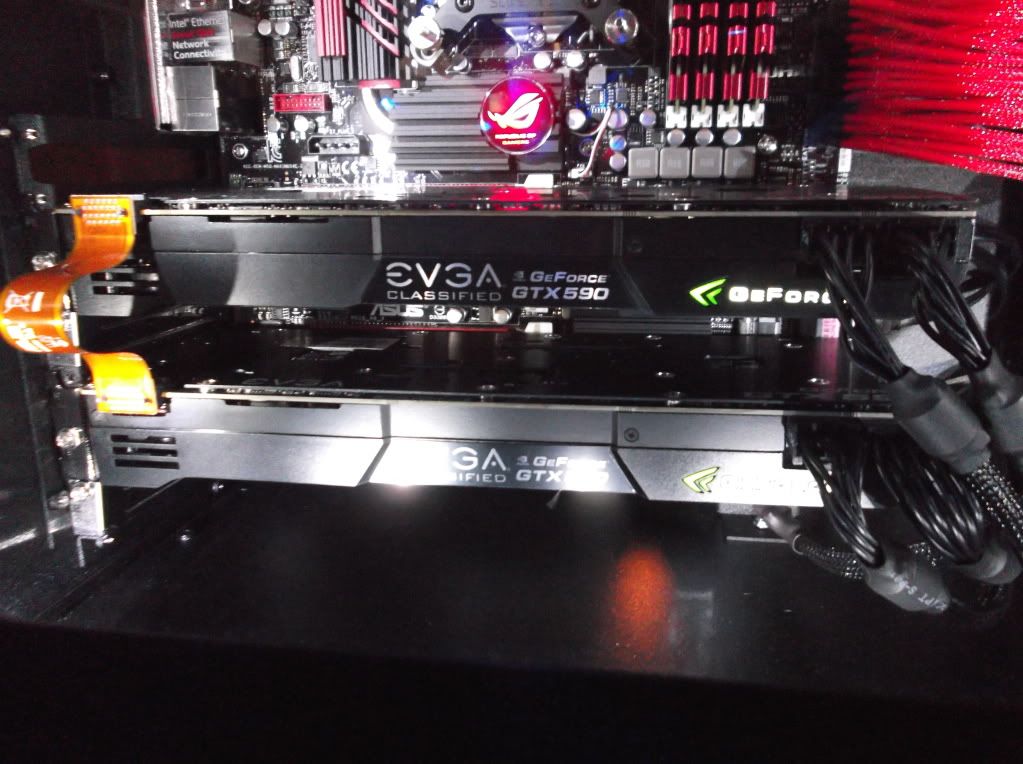
Also for my graphics cards i need some help with them also if i could get suggestions. As i really am looking towards two (air cooled) 590's. But the only thing still holding me back in a statement tom made back in one of his videos NOBODY can answer for me. And that is the fact that you can not have 3 SEPARATE screens where when you expand a window say to your left screen it just expands to that monitor and not blow up to the rest. Which is a VERY big selling point to me, and is making me rethink for 6990s, or 3 6970s. But as i hear the scaling for xfire is garbage. BUT leave me suggestions and tips as you see them please much appreciated as i am looking forward to this upcoming build for the end of the month.

Now I decided to get this G.Skill memory due to it being very cheap at the time for 16gbs. I wanted some mushkin redlines 787 timings but they were just to expensive for my taste. I with these only having 1.5v through them i bet i can get tighter timmings with 1.65 or whatever i can push. Ill have to wait and see what happens
wink.gif
Gamingcomputer14.jpg


~~~~~~~~~~~~~~~~~~~~~~~~~~~~~~~~~~~~~~UPDATE 8-13-2011~~~~~~~~~~~~~~~~~~~~~~~~~~~~~~~~~~~~~~~~~~~~~

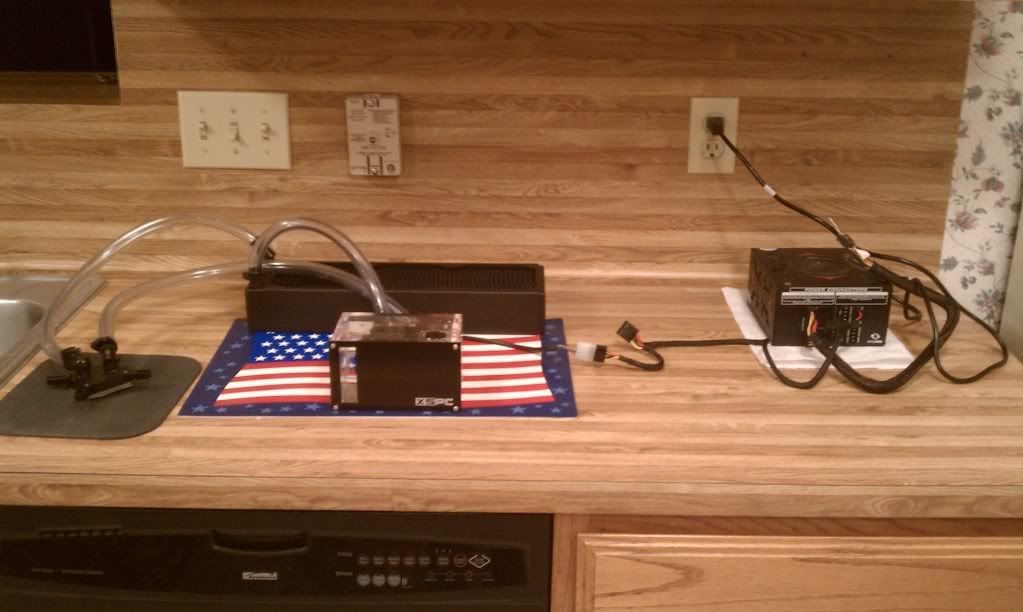
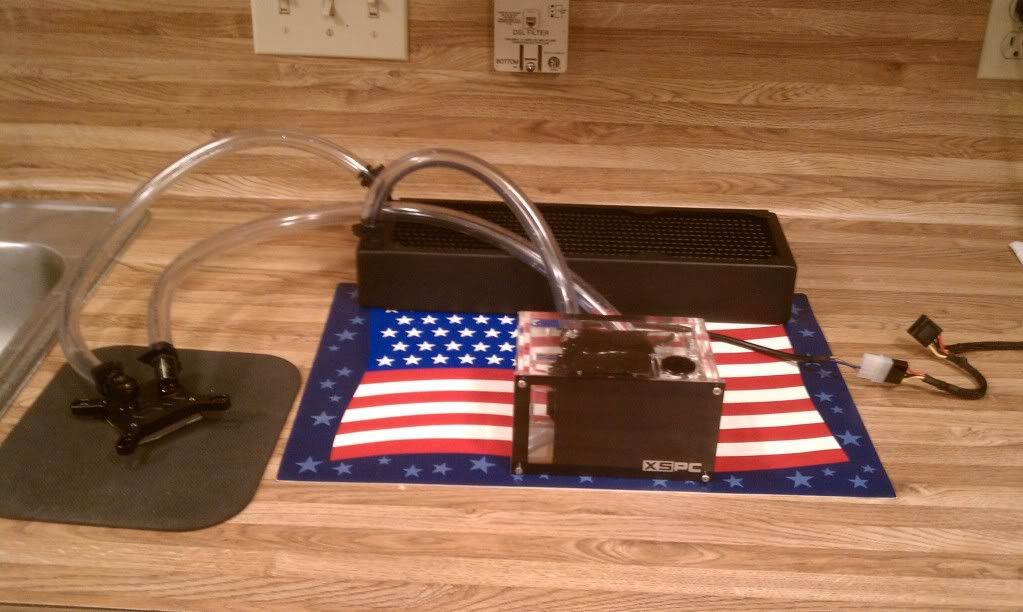
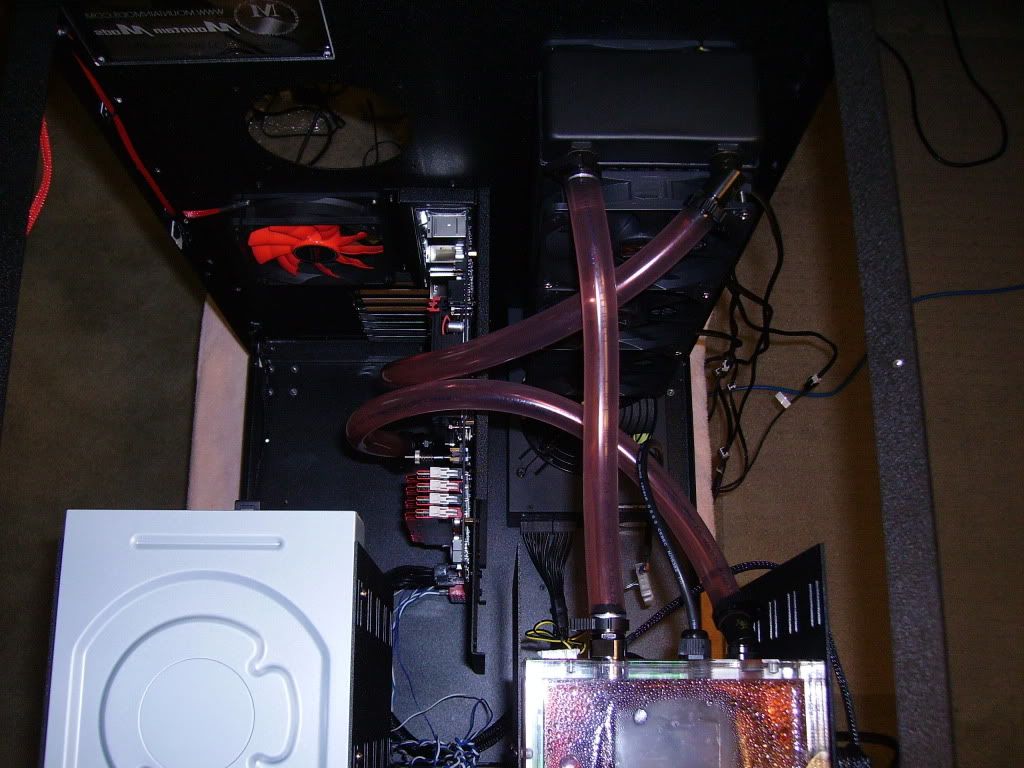
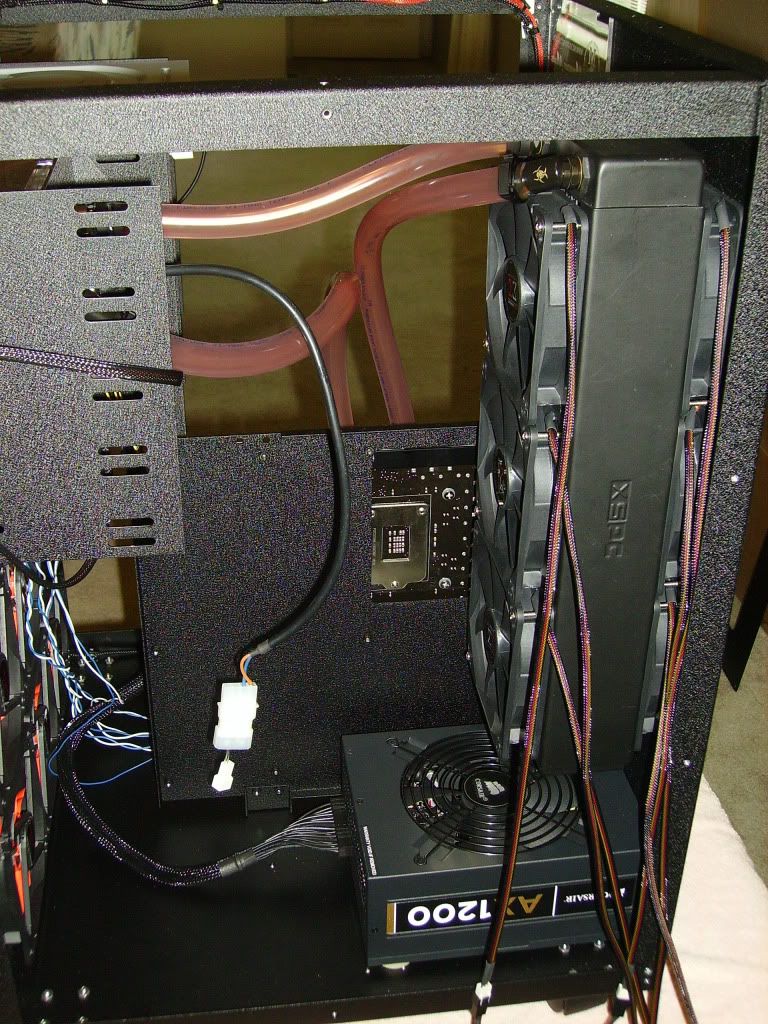
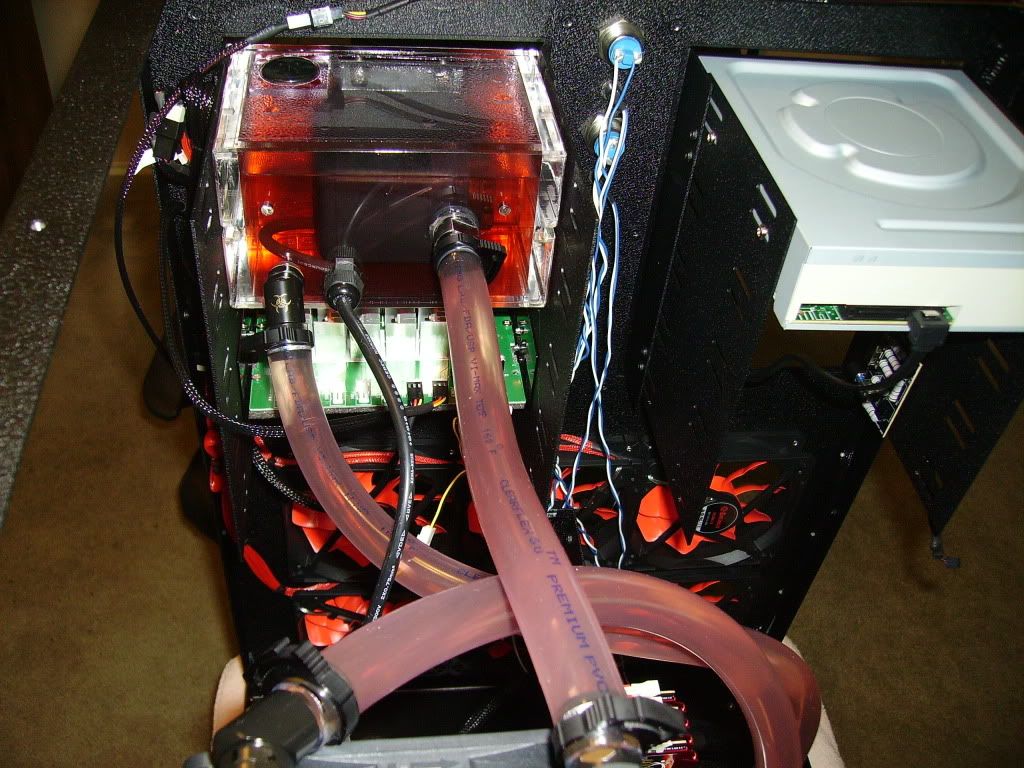
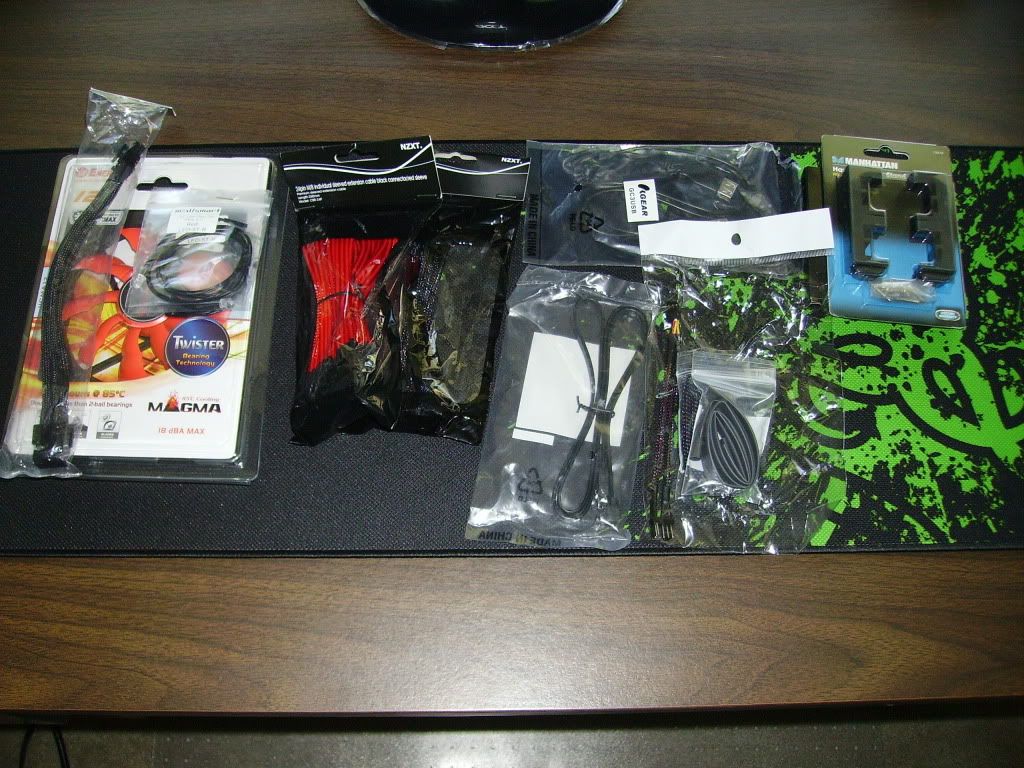
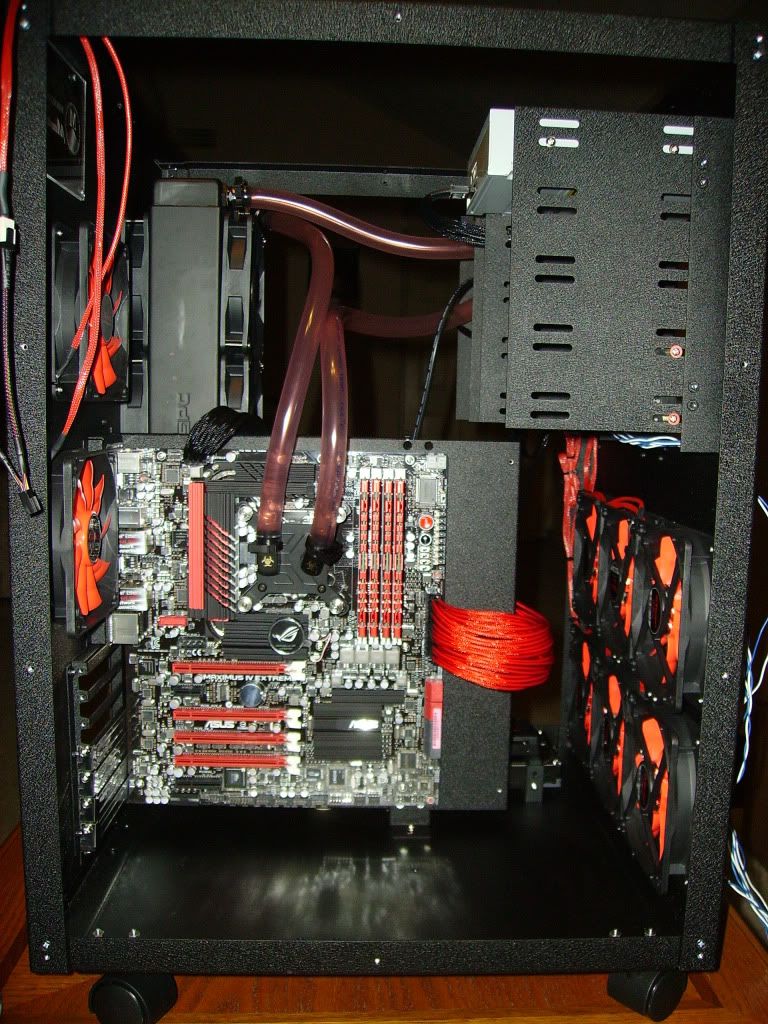
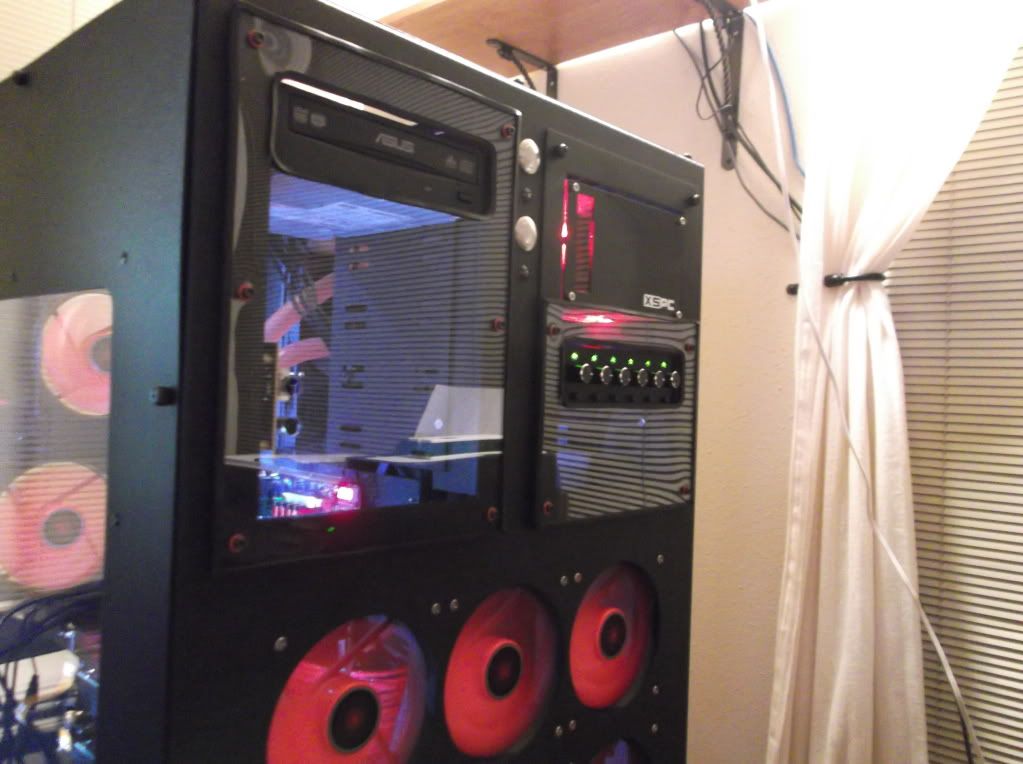
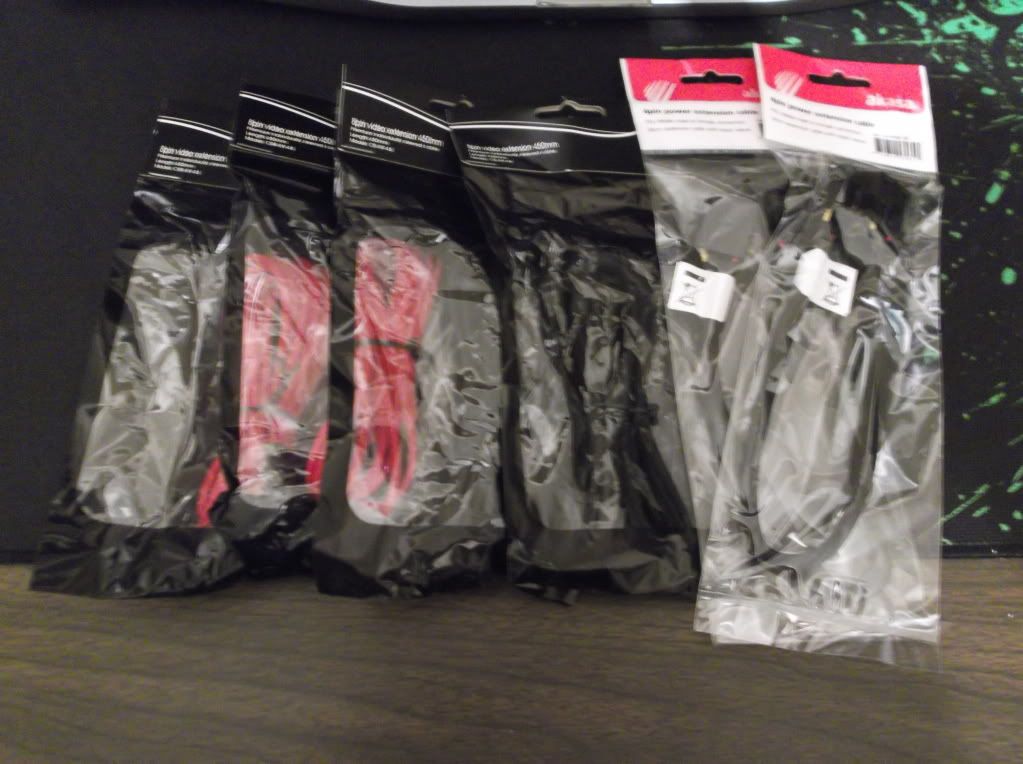
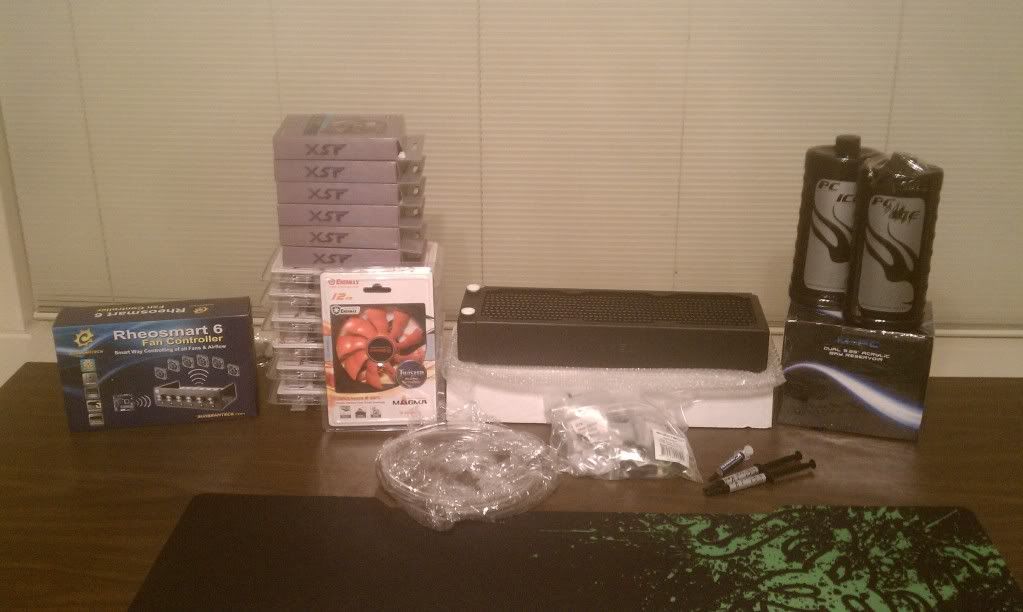
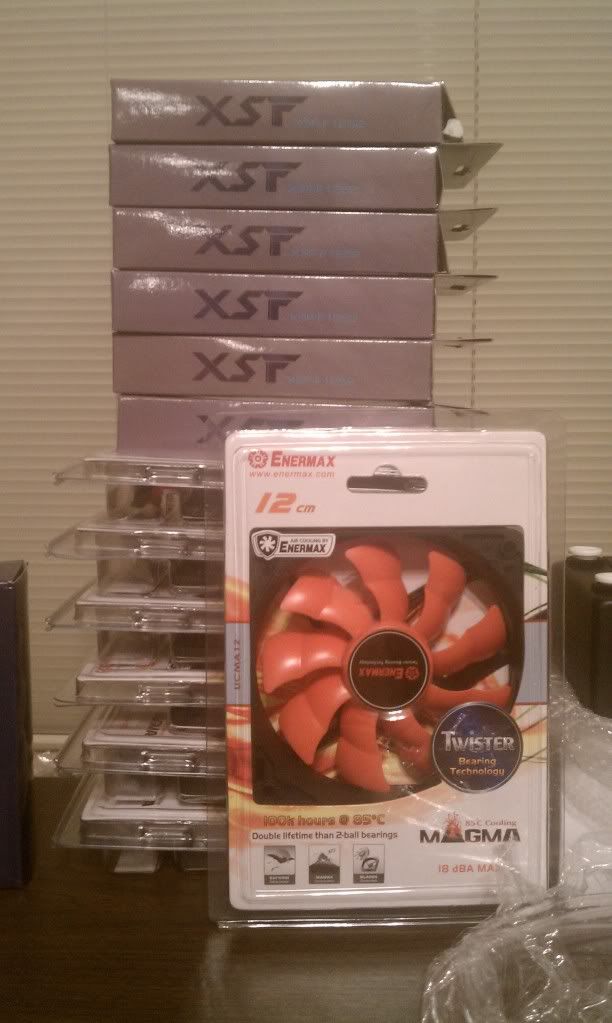
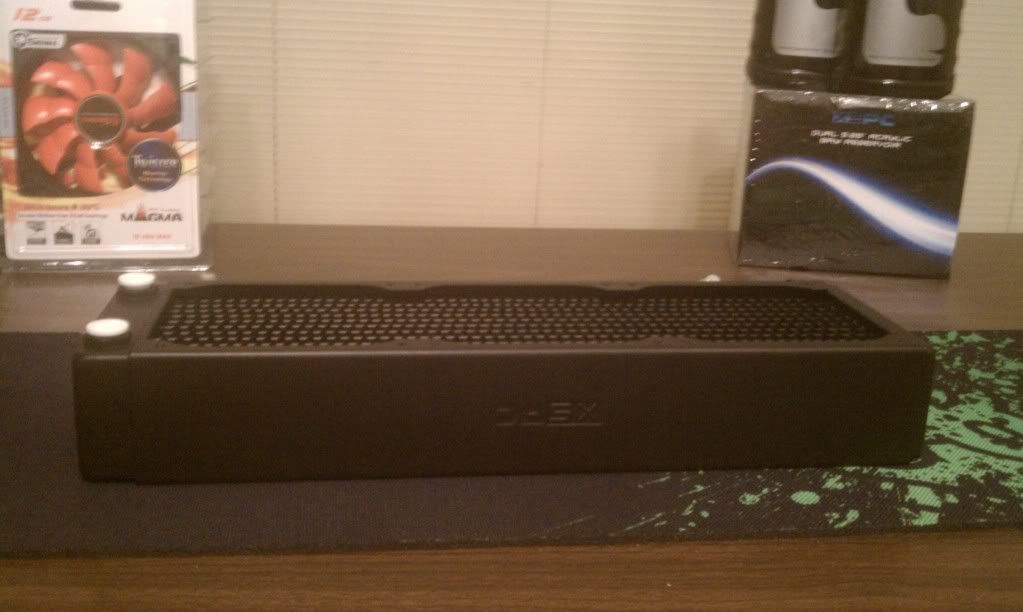
Just got all my water cooling components in the mail finally
smile.gif
. All from performance-pcs. Including my fan controller for the 13 fans i will be using xD! I went ahead and got the xspc 360 black radiator and their dual bay rez/pump combo due to only having a small cpu loop.
smile.gif
Its just time to head to the bank and open up the loan for the 590s and MM case -_____-

Gamingcomputer15.jpg


Gamingcomputer16.jpg


Gamingcomuter18.jpg
 
~~~~~~~~~~~~~~~~~~~~~~~~~~~~~~~~~~~~~~~~~~~Update 9-10-11~~~~~~~~~~~~~~~~~~~~~~~~~~~~~~~~~~~~~~~~~~~

Just got my Mountain Mods Ascension case in the mail today
smile.gif
. Currently putting it all together, just wanted to stop by and show what i have so far. REALLY loving the quality and design of this case so far. For the money it is PERFECT!

Gamingcomputer20.jpg


Gamingcomputer19.jpg


Some final pics and the new rigs resting spot for now
wink.gif


Gamingcomputer21.jpg


Gamingcomputer23.jpg
 
~~~~~~~~~~~~~~~~~~~~~~~~~~~~~~~~~~~~~~~~~~~~~~~~~~~~Update 9-17-11~~~~~~~~~~~~~~~~~~~~~~~~~~~~~~~~~~~~~~~~~~~~~~~~~~~~

Got my water cooling system in the rig now. Looks very nice and tidy with how short we cut the tubes. It took us quit a bit to get everything perfect and in place along with correct lengths of tubes. I first put the system together with an open loop so we could flush any left over metal shavings from the radiator, of course using regular distilled water, and got everything checked out. Leading on after we got the system in with the test water, making sure to get all the tubes cut to the length that looked best, we pored in the mixture of dye and PC ICE. And for the finale time dropped it in through the roof.

Second i took everything and put it together so i could then fill it again with distilled water and test the loop for any leaks etc.

IMAG0340.jpg


IMAG0342.jpg


Used an old throw back PSU as a jumper to get everything started up and running.

IMAG0343.jpg


After i did that i then put the system (COMPLETELY ASSEMBLED) and dropped it in through the top of the MM ascension case as one whole unit. This made the whole headache of having to test for leaks in the system over all of your parts xD. There is enough room in the case for me to assemble everything and drop it in as one unit.

Leading on after we got the system in with the test water, making sure to get all the tubes cut to the length that looked best, we pored in the mixture of dye and PC ICE. And for the finale time dropped it in through the roof.

IMAG0347.jpg


IMAG0349.jpg


I am of course using a push/pull fan configuration with my radiator and seeing a HUGE temp drop over the stock cpu fan.

Some higher rez pictures for you guys <3

Gamingcomputer28.jpg


Gamingcomputer242.jpg


Gamingcomputer26.jpg


Gamingcomputer27.jpg


Temps with Stock CPU fan - 64C idle

Temps with WC system- 31C idle

(No overclocking)

****One last thing, i would like to give a HUGE thanks to S_I_N who took time out of his day and his kids to be on the phone 30-45 min so we could get some small kinks out of the way and fixed. (Really appreciate it man)****

Continuation

I received one of the last packages in the mail today. Filled with the last bit of goodies i need to get the cable management done and the build looking solid along with some missing parts that just didnt get ordered.

1x Enermax fan

3x Red LED (Replace blue indicator LED's)

1x Fan splitter (for the two back fans)

1x Red Single braided sleeved 24 pin (NZXT)

1x Black Single braided sleeved EPS (NZXT)

Some black Sleeving and Heat Shrink

1x OCZ SSD converter

1x Small rubber HD Mounts

Gamingcomputer32.jpg


Some pictures of the cable management i have started. Im sure you guys will appreciate this as the MM ascension case has none what so ever xD.

Gamingcomputer33.jpg


Gamingcomputer34.jpg


Gamingcomputer36.jpg


As you can see in the above picture, I have pretty much Jerry riged a lasso of Zip ties and just have the 24 pin hanging from an un used screw whole. You cant even see from the front but it works very well i might add for the back and makes the 24 pin extension very good looking in the front
tongue.gif
. I thought it was pretty clever myself
wink.gif


~~~~~~~~~~~~~~~~~~~Update 9-24-11~~~~~~~~~~~~~~~~~~~

We have been pondering the cable management on this build for a couple days now. (We meaning me and my father) So the two of us went a head and made out way to the local Ace Hardware to get some clamps, screws, washers, and nuts. We were wanting to make some periodic anchors around the trim of the MM ascension case for permanent and easy cable routing. As you have probably seen or heard i have been using sticky pads to use for tie wrap holding. Well the texture and ways of gravity that were working apon them would make easy work of the sticky pads within a few short hours. This was getting very annoying forcing us to come up with a nice little mod that i think you all here at the forums will appreciate
smile.gif


Gamingcomputer37.jpg


The tools we used a stone grinder for reset ,bevel, the screw whole so it sits flat on the side of the case not restricting the side panels once they are on. But to drill the actual whole we used a regular 8-32 bit to get the ride diameter.

Gamingcomputer45.jpg


To prep the case we just went ahead and taped over the sides we wanted to place the wholes with some regular scotch painters tape so any metal shavings that got loose would not scratch the outside paint. We also placed two towels over everything that was in the case at the time so nothing would get inside of components. Surprisingly there were very few at all; one of use held a vacuum next to the drill/grinder as we were doing it and all the shavings were being sucked right up.

Gamingcomputer38.jpg


Gamingcomputer39.jpg


The wholes turned out very nice in my opinion, they look as if it is factory strait from MM.

Gamingcomputer40Airowed.jpg


Gamingcomputer41Airowed.jpg


Gamingcomputer42Airowed.jpg


And with that, i will get back you y'all with the cable management i will be doing
smile.gif


(A big thanks to my father Rick Chaney who helped me with all the drilling work)

~~~~~~~~~~~~~~~~~~~~~~~~ Update 9-28-11 ~~~~~~~~~~~~~~~~~~~~~~~~

Just wanted to show you guys pretty much the end product. Just minus the 590's. Here i sleeved the blue and white Power/Reset and Power/HD indicator lights (To the right of the 24 pin and the left of the gpu 6 pins.) with a single sleeve and some heat shrink. Cleaned it up REALLY nice and made it look a lot better without the off color cables xD. I also added a bracket holder to split the two WC hoses right above the CPU block. It cleans it up and defines the two hoses and the two directions they are going also making it where they are not resting on eachother anymore. Excuse the GPU cables being just kind of thrown in there. I will not be using them for when my actual cards come in so i just have them there for now. But here are some pictures in the dark with the white NZXT Led's.

Gamingcomputer25-1.jpg


And then my Desk setup as of now
smile.gif


Gamingcomputer46.jpg


Updates soon guys i hope
smile.gif


~~~~~~~~~~~~~~~~~~~~~~~~~~~~~~~~~UPDATE 10/3/11~~~~~~~~~~~~~~~~~~~~~~~~~~~~~~~~~

Decided to go ahead and break out my speaker solution for my surround setup
smile.gif
, Its nothing TO fancy but it is a nice little heart pumping fun toy to add in with the mix and all around gaming experience
wink.gif


Panasonic 5.1 channel Dolby digital 1000W surround sound system. (Front standing speakers, Rear Wireless speakers)

DSCF3025.jpg


DSCF3026.jpg


These speakers added so much to my experience already with just the bass giving me thump to bomb explosions and gun fire along with the surround gaming. I cant wait until i have Nvidia Surround up and running.
smile.gif


UPDATE 10-10-11 Got my two gtx 590's in the mail today, got everything together just trying to work out a few kinks that are happening. But without further anticipation here is the finished build <3

DSCF3034.jpg


DSCF3037.jpg


DSCF3042.jpg


DSCF3047.jpg


And here is what it looks like, of course i will add some pictures tomorrow of the side pannel off everything running and all the lights on again
smile.gif


DSCF3051.jpg


DSCF3050.jpg


Will be back later
smile.gif


Some updated pictures with the side panel on and everything buttoned up
smile.gif
and finally got all the kinks worked out due to some sleep deprived stupidity i was having the other night
ohmy.gif


DSCF3056.jpg


DSCF3057.jpg


DSCF3058.jpg


DSCF3066.jpg


And the triple monitors
smile.gif


Gamingcomputer61.jpg


Gamingcomputer62.jpg


Gamingcomputer63.jpg


Gamingcomputer64.jpg


Enjoy <3'

Update~~~~~~~~~~~~~~~~~~~~~~~~~~~~~~~~~~~~~~~~~~~~~~

I got some more sleeved cables along with filling in the wholes at the front of the case with some plexiglass that I custom cut out to fit the whole and allow the drives to be accessed. We got some 12x24 sheets and took a regular jig saw and sand paper to them. Finishing up with some rubber trim to make it look professional.

Gamingcomputer73.jpg


Gamingcomputer79.jpg


Gamingcomputer80.jpg


Gamingcomputer76.jpg


Gamingcomputer77.jpg


Gamingcomputer83.jpg


Gamingcomputer82.jpg


I personally think the finished look is spot on flawless, and instead of going out and buying three disk drives or random controllers and temp monitors i dont need or would never even look at, making the build complete and filling the giant dust whole that was there. (:

The rest is just me playing with the build just to satisfy my needs (: However i do think these cables finished it all off for me. Also getting the molex power cable for extra power to the 590's.

Gamingcomputer67.jpg


Gamingcomputer70.jpg


Gamingcomputer71.jpg


Enjoy (:

 
Some nice stuff you have gathered
cool.gif


But you are going to wait a looonng time for lga2011,it has been delayed for release in Q1 2012,and bulldozer to late Q3 2011.
sad.gif
 
Any modding planned or just a straight build?

It all depends, I want to get it running first. And then i will move more into all of that. This case is pretty strait forward and nothing really comes to mind that i can do right away. But im going for more of a strait forward i dont have to worry about 500 GAZILLION things that could go wrong when all i want to do is sit down and play soome games for an hour or to. And that can easily become an issue if you have things that need to have an eye kept on 24/7 to assure that nothing goes wrong.

In essence yes pretty much a strait forward build aside from VERY OCD cable management i will do along with simple fan controls for the 20+ fans in this thing to allow easy manipulation of air. Oh and of course some nifty lighting xD. I might do some modding down the road but this is honestly kind of my first build and its already over whelming as it is, So one baby step at a time as i burn 1500 dollar wholes in my pocket each week...
 
Back
Top