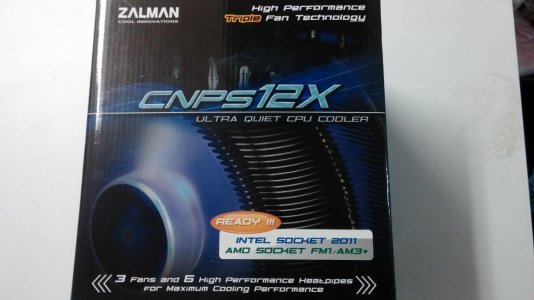
Alright, so the case came in a couple weeks ago, but I'm finally able to update. Getting ready to move tends to throw off schedules.
And heads up: this gets a little long winded, so scroll to the end if you just want the spark notes version. I may post a formal review of the 904 at some point.
Da Box
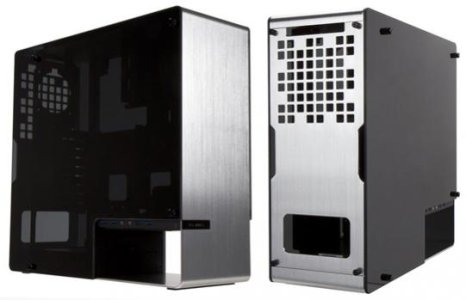
So I came home Friday night after having just explained to my wife why trying to live around boxes for almost a month would be a bad idea, and this behemoth is sitting in my door way.
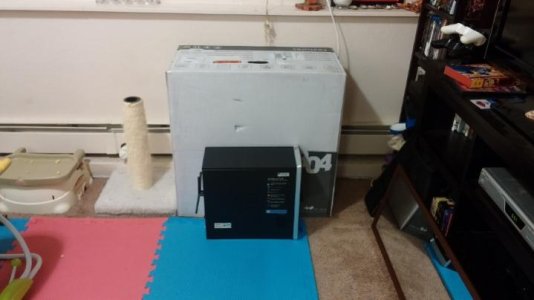
Seriously. The InWin 904's box is the exact width of an external door frame. The box alone dwarfs my old case, and the 904 itself isn't much smaller. Probably a good 4 or 5 inches of closed cell around the long axis, and 3 inches deep on the side panels.
R&R
At any rate, the case came out, and it was exactly as hefty as I had hoped it would be. I immediately went about gutting the old HP, and stuffed everything inside the InWin.
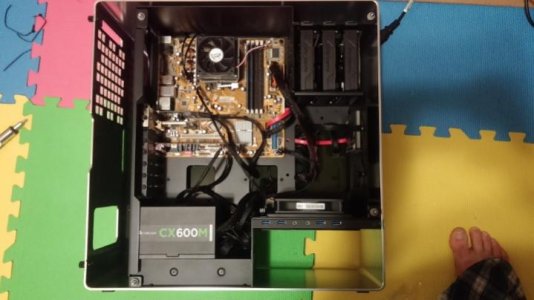
And I only had to relocate one Mobo stand-off I had just installed to the wrong spot, and try to figure out how to remove the IO shield from the old case QUIETLY, before trying to reverse the process to install it in the 904.
At the front mounting point, just above the 5.25" bay, I installed a 120mm fan for intake
Strange Storage
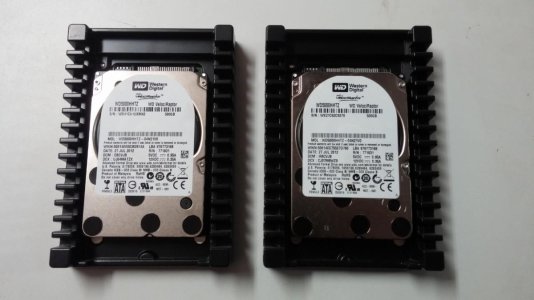
I'm going to point out that the 3 hot swap trays are a nice idea, however unless you're installing 2.5" drives via the screw points on the bottom, they are a nightmare. The trays themselves are crazy stiff, and the removable screw-hole-plug-things that they use instead of a one piece solution are nothing more than a pain in the ass.
If it were one or the other when using 3.5" drives, it would have been a minor annoyance. However, when you try to bend the trays to stretch over the drive, you're worried about snapping them. But once you DO get it over
(after your finger tips are screaming at you), the removable plugs that are designed to slip in the screw holes pop out. Even after practicing twice, the third drive was just as difficult as the first.
If the trays were more flexible, or I could just screw the drives in place, all would be well. The latter, however, isn't even an option with these trays.
Power Power Everywhere
Cable management is somewhat tricky in this case
(especially for a first time builder), but manageable with the included adhesive bracket things.
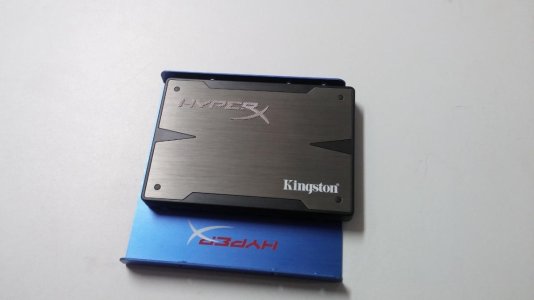
I did have another issue trying to install the DVD drive, however it was an easy oversight with 4 separate storage drives. I have a total of 6 SATA power plugs on the CX600M, and in a normal shell this would be fine as I have 2 empty slots still.
However, since the lone 5.25" bay is located BELOW the PSU, this means I have 6 SATA power plugs running to the top and my 4 storage drives, with 2 plugs then trying to run
back down to the bottom of the case again.
There obviously isn't
nearly enough length for that. This wouldn't have been an issue if I had thought ahead and purchased a couple SATA splitters
(or if the ONLY solution in town wasn't a series of molex to SATA to molex to SATA adapters), however I have fixed the issue by purchasing a 12" SATA power extender, which should be in the mail tomorrow.
Done Version 1
As you already saw, everything fit in nicely, but I hadn't addressed the cooler yet, and it was really bugging me, what with that nice big side glass panel. So, I immediately ignored the clock and began removing the old cooler.
Cooling Conundrum
Obviously, the first thing I did was remove the stock cooler seen here:

(Aww, ain't it cute?) So I could clean off the CPU:

(Cleanest it's been in a while) and get a good look at it. Never seen one outside of it's socket before. No I'm not that new, I've just never had the opportunity to build from scratch before.
Anyway, after fighting and finagling for a good half hour or so, I FINALLY managed to get the Zalman cooler situated and seated with a good dose of Arctic Silver. It was a tight squeeze at the top, and made me instantly glad I hadn't opted to install it out of the case.
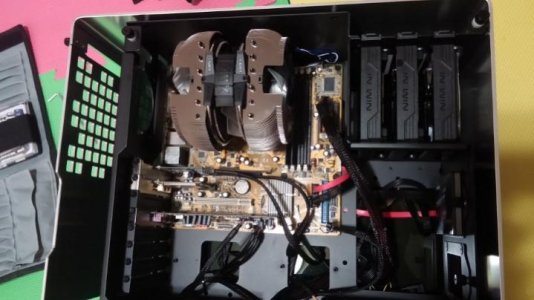
It doesn't look half bad in there, if I do say so myself.
Cooling Catastrophe
So after FINALLY getting everything plugged in and ready
(I had to relocate the plug for my front 120 a couple times before I found a spot that worked), I sat the case back up to try and give it a test boot.
However, I learned a horrible fact that hadn't occurred to me beforehand.

It's too tall.
The Zalman was an add-on to this build that I hadn't planned on originally. I purchased it at the same time as the 2 Raptor drives for a Sandy Bridge-E build I was planning a couple years ago, with which I was going to use a Cooler Master HAF X, which is quite a bit larger.
So, after having wasted easily 30 minutes of my life, I had to completely undo everything I had just managed to accomplish, resulting in nothing more than a thorough deep cleaning of the stock cooler, and a new dose of thermal compound for the CPU.
The board and CPU are so old that it doesn't register temperature at all, so I'm just assuming I installed it right since it hasn't crashed yet while installing the software portion.
Wrap-up
As promissed, here's the TL;DR version, though you've gotta go look for the pix yourself.
1. Got a BIG box full of Shiny new case. Did I mention the box was massive?
2. Gutted the old HP, routed cables, and installed a case fan.
3. HATRED! The Hotswap trays need to die in a fire, or I need to find a better mounting solution for future purposes.
4. Let there be LIGHT! or power at least. Wait... not enough reach for the optical bay at the bottom. Bought an adapter.
5. Done part 1
6. Must swap stock cooler. GO IN DAMNIT!
7. Didn't measure the clearance... It's too tall for the case...
8. Plan B which should have been Plan A: Deep clean stock cooler and apply new thermal compound. Arctic Silver FTW!
I'll do one more update with a picture of the full HT setup as soon as I get moved here in a couple weeks, along with a final review wrap-up of the case after installing the Optical drive.
Until then, click the li... wait... wrong station. ^^


