G-Dubs
New member
Project F M J (Full Metal Jacket)
Started 13.08.11
I managed to get my hands on a server case a little while back, and now that Project Modzart is well under way I thought i'd get things started on this one.
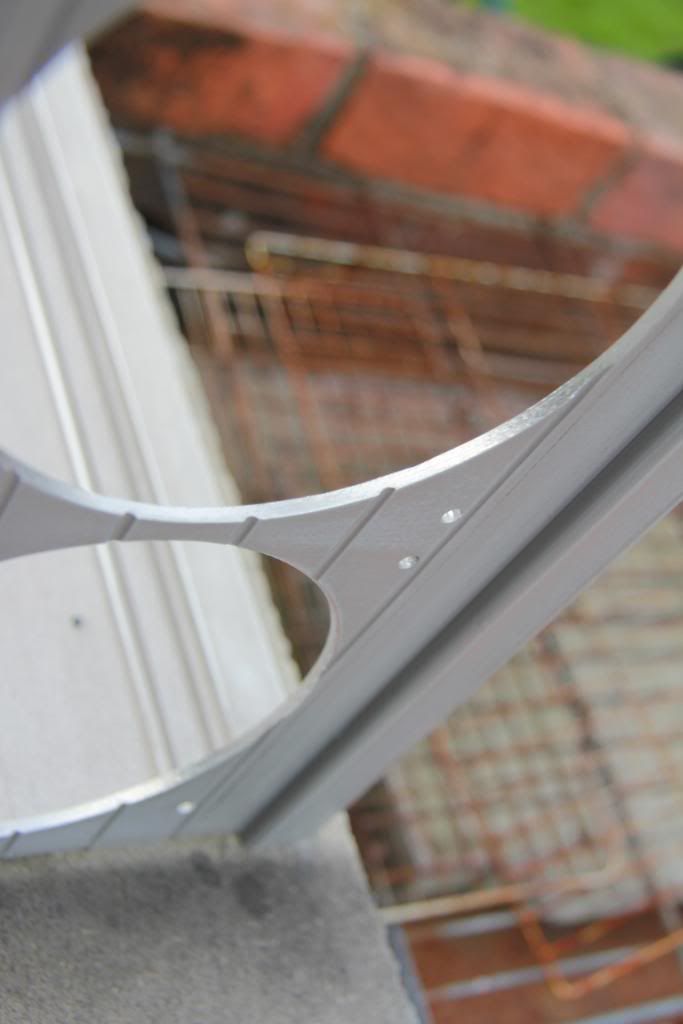
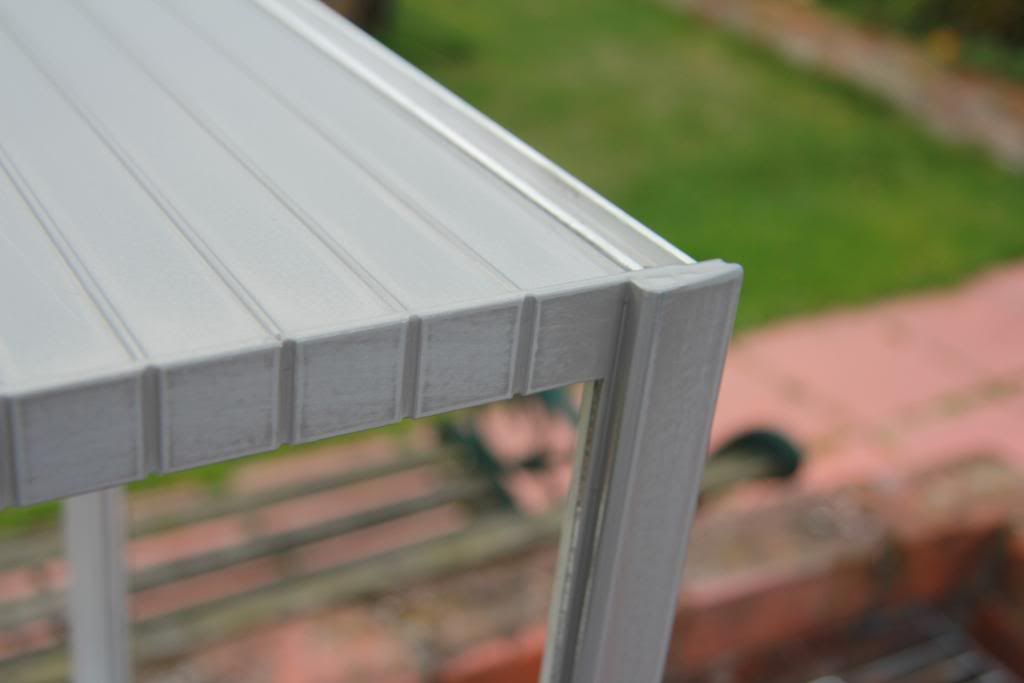
The Case itself is made of 3-4mm steel and is very well built. And when I say very well build I mean you get the impression you could shoot at this thing and there would be very little damage.
FMJ of course refers to Full Metal Jacket, the metal casing placed round military ammunition to give it greater penetration power.
With that in mind this project is going to have a military theme, being Olive Drab on the outside and copper on the inside.
Yes I know my other case has copper internals, but right now i'm in love with this colour and just have to get it out of my system.
So more on the case.....
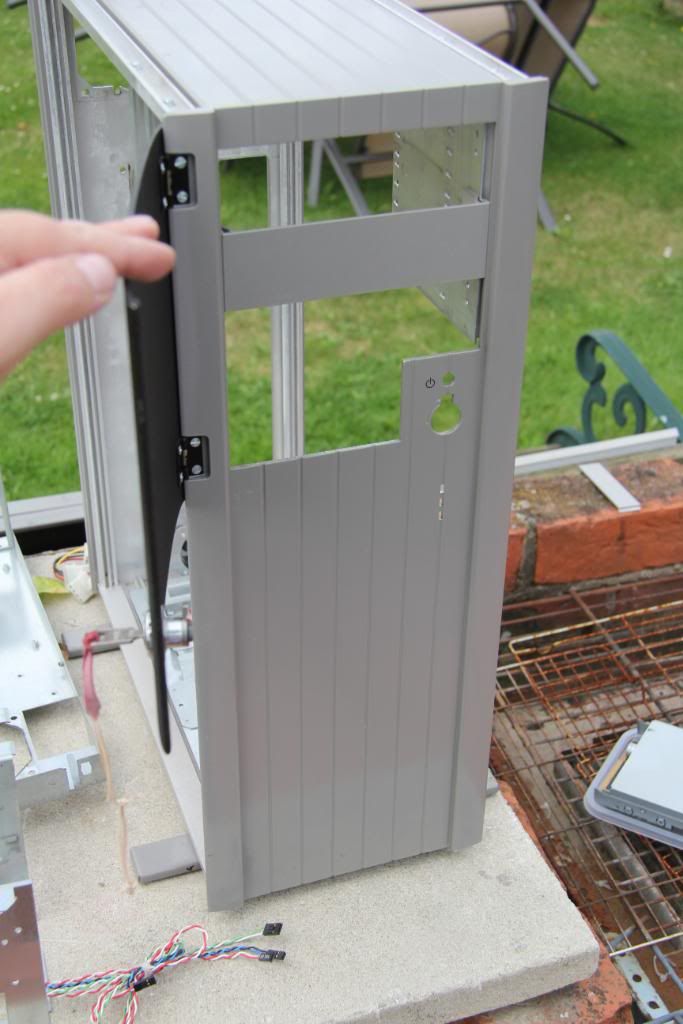
The left hand side panel is lockable, with the right only removable once access is gained to the inside of the case.
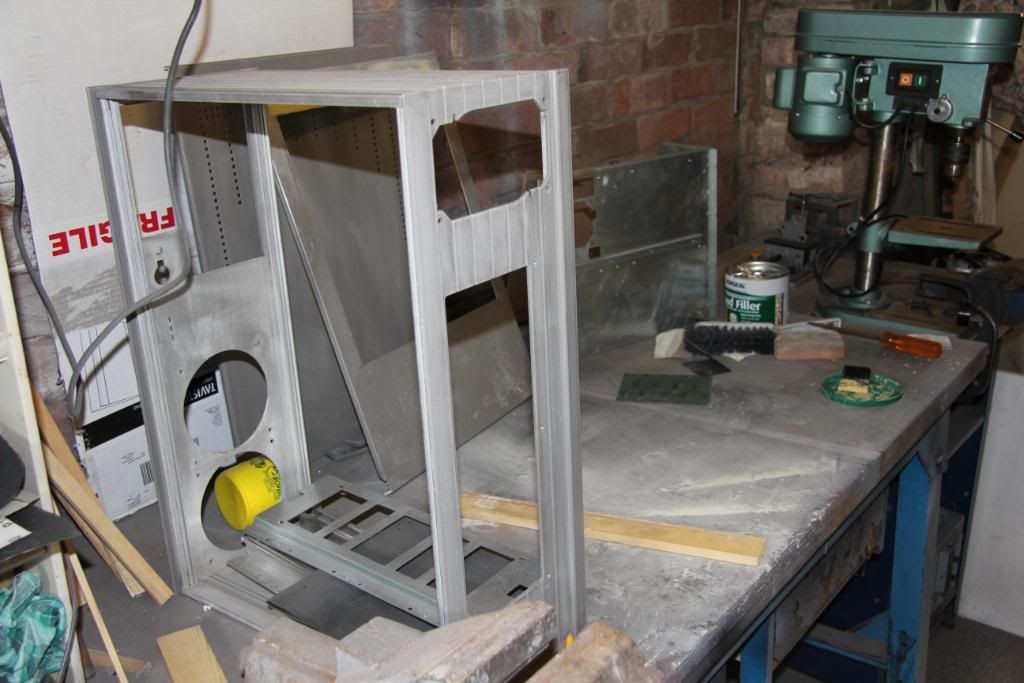
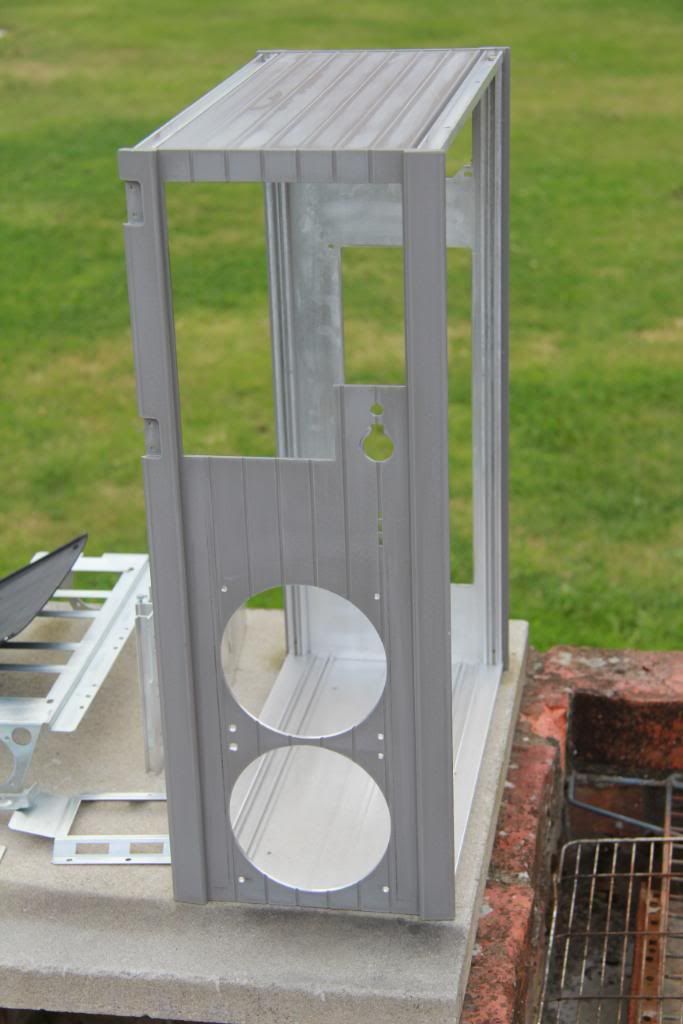
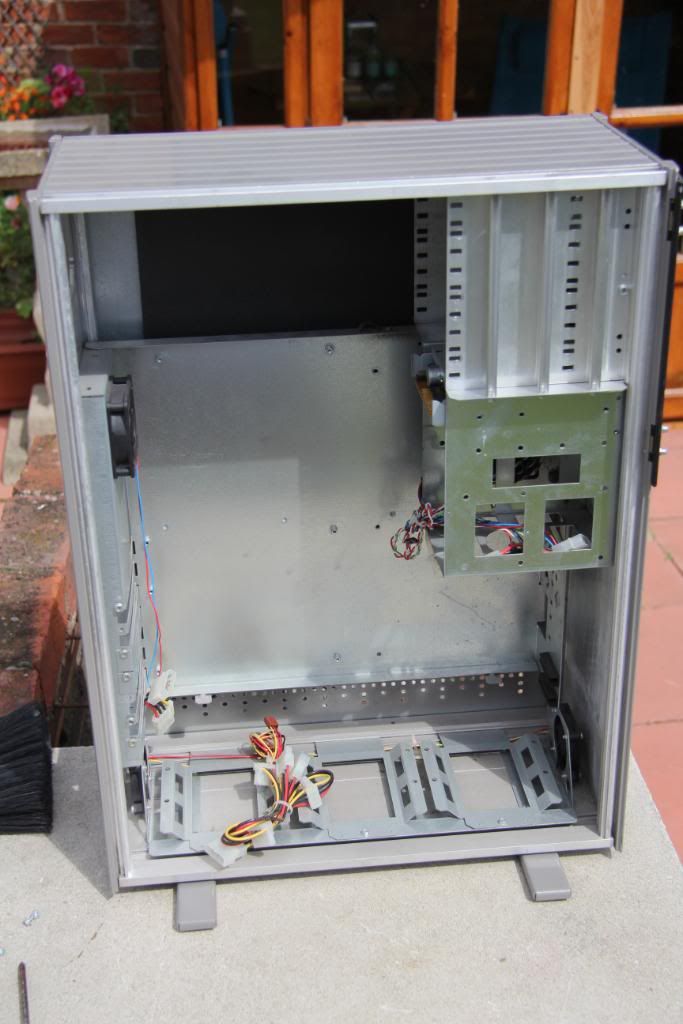
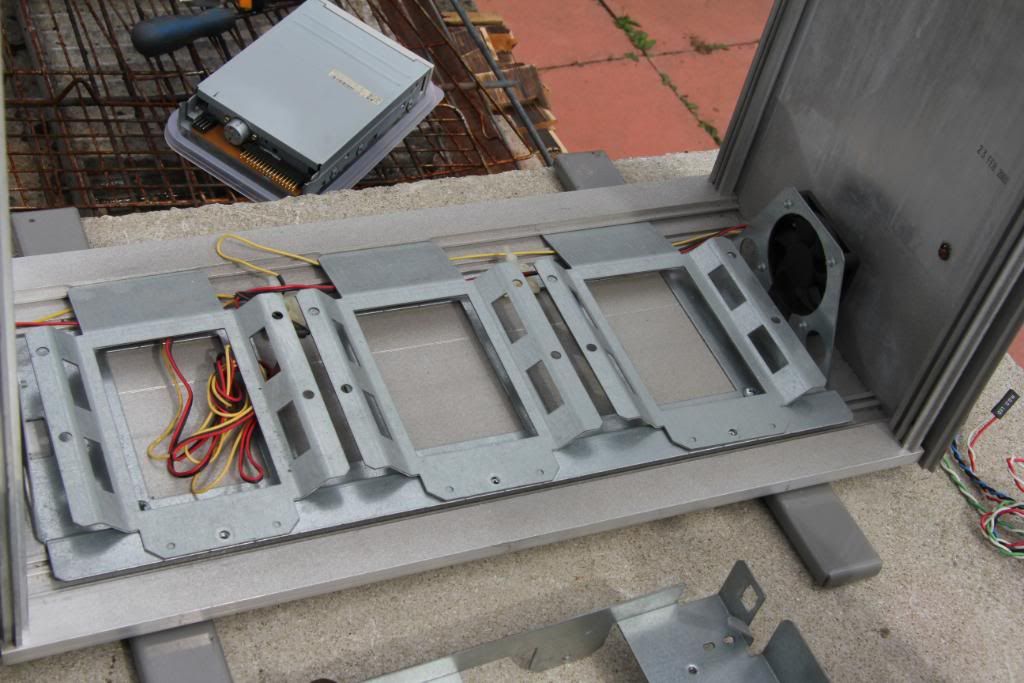
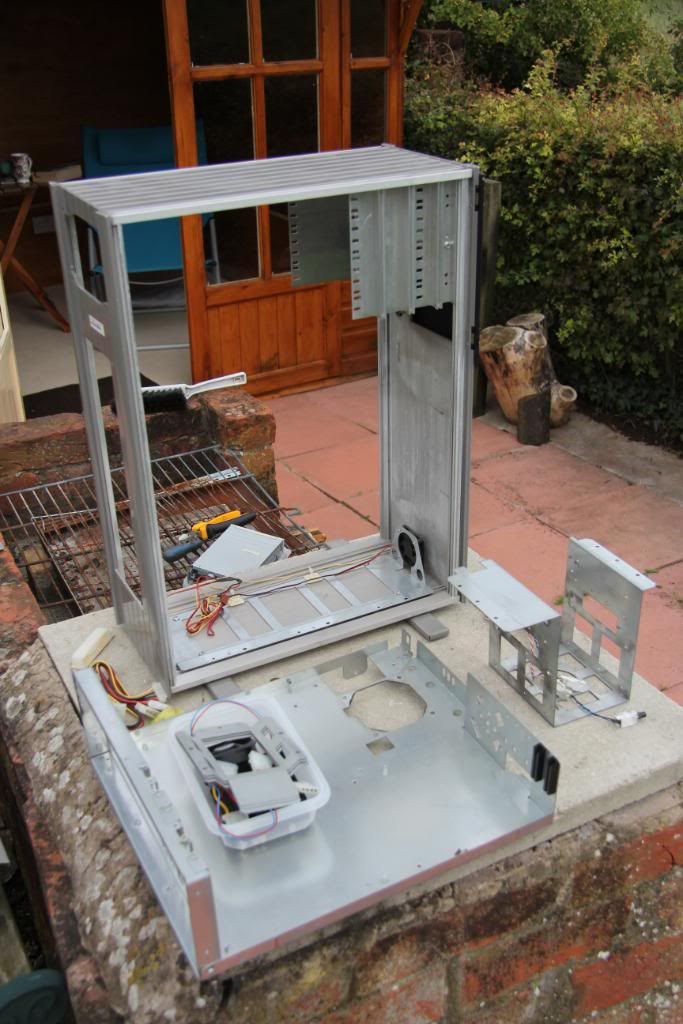
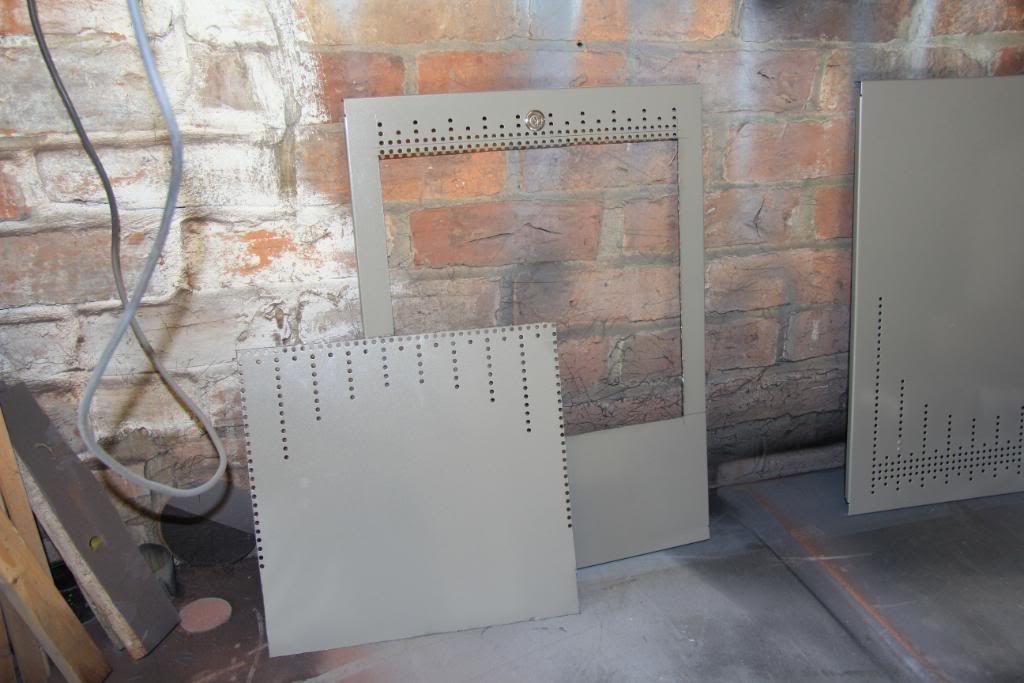
The case has removable sides and ample cable management round the back. There is an HDD rack for 3 HDDs in the front, and room for 3 more in the base of the case.
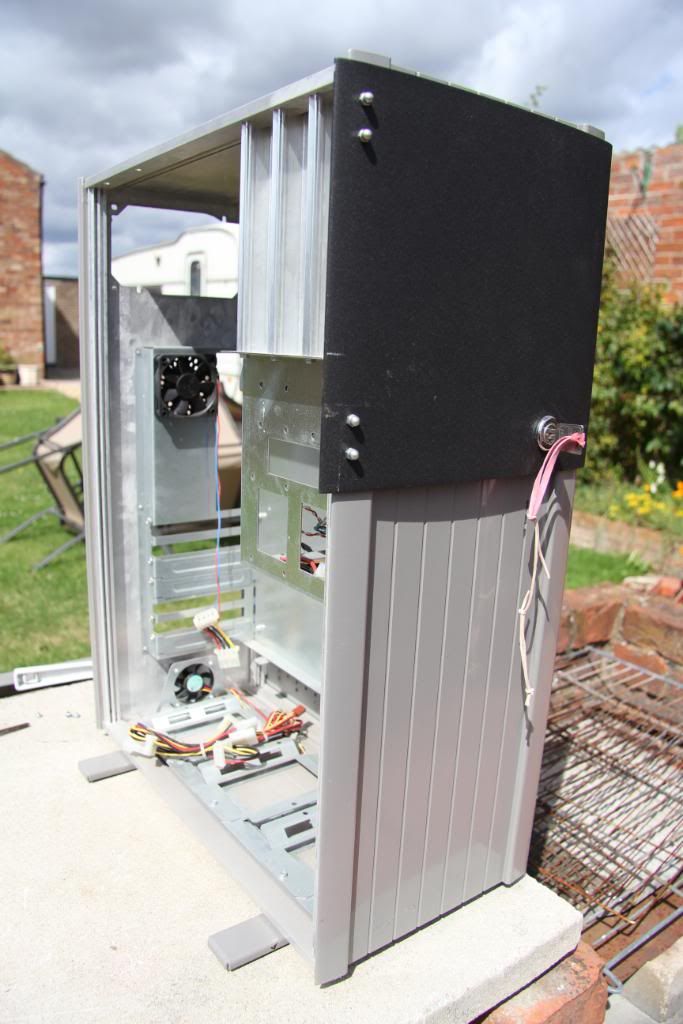
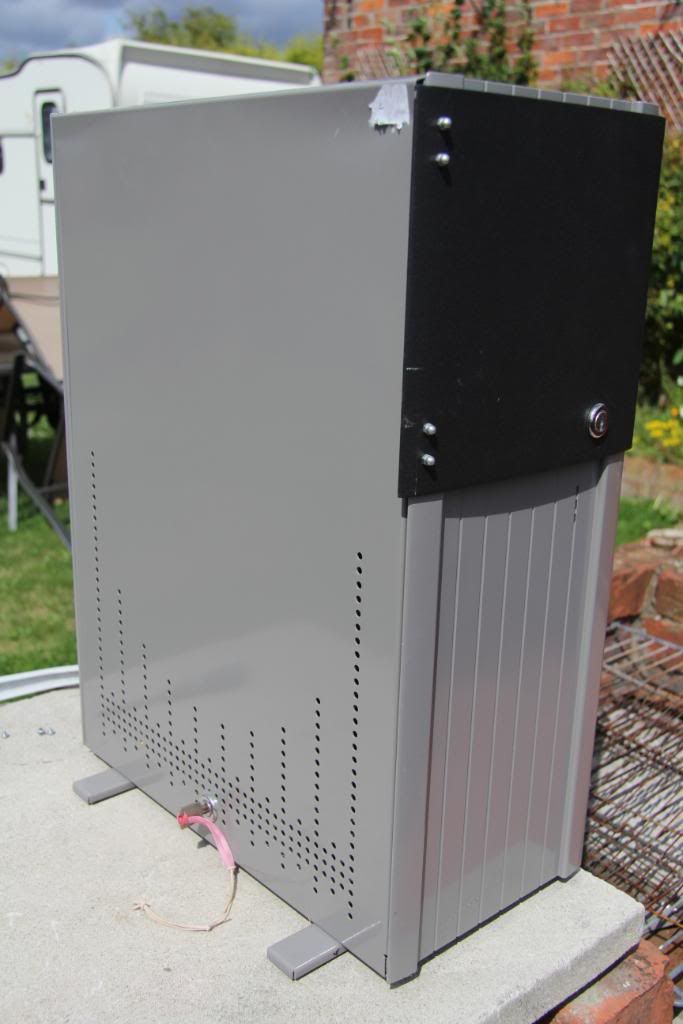
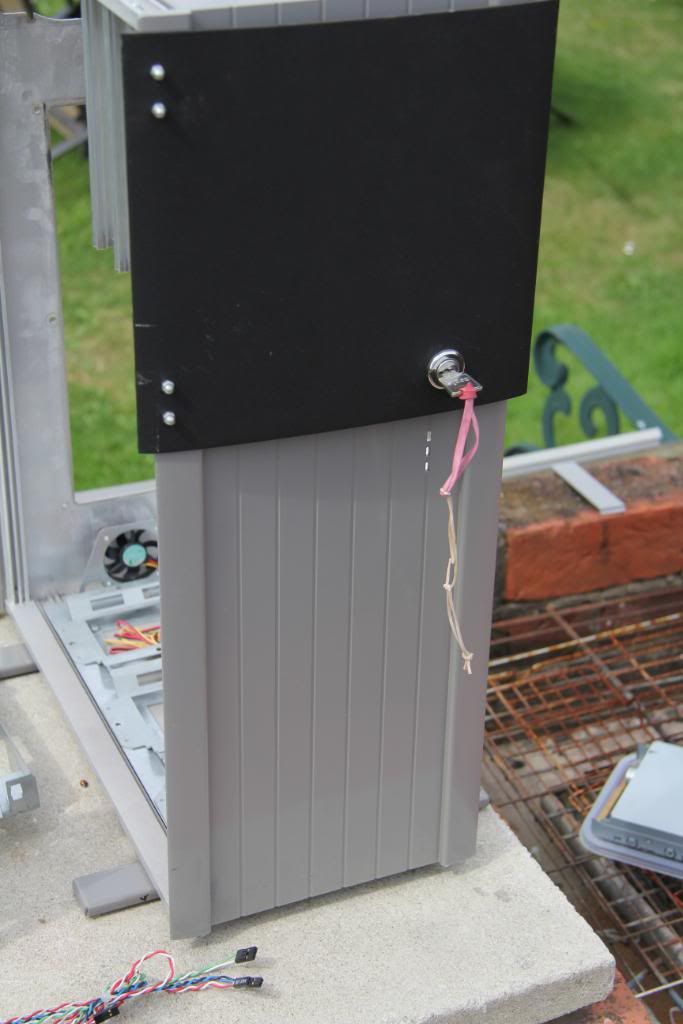
The front of the case sports a heavy duty steel door, again lockable and pretty tough.
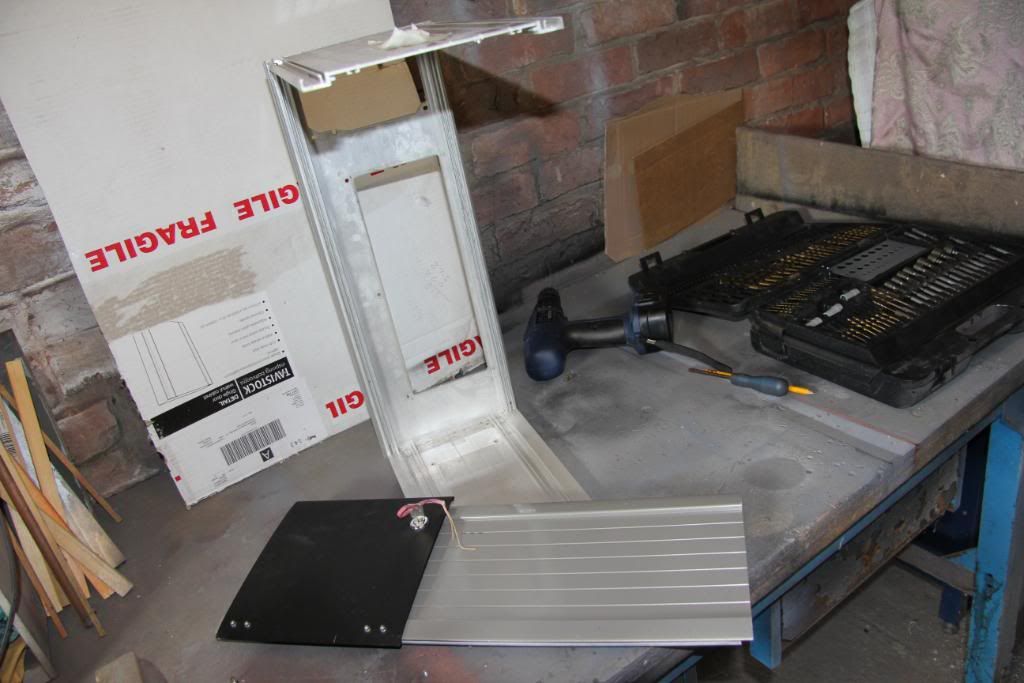
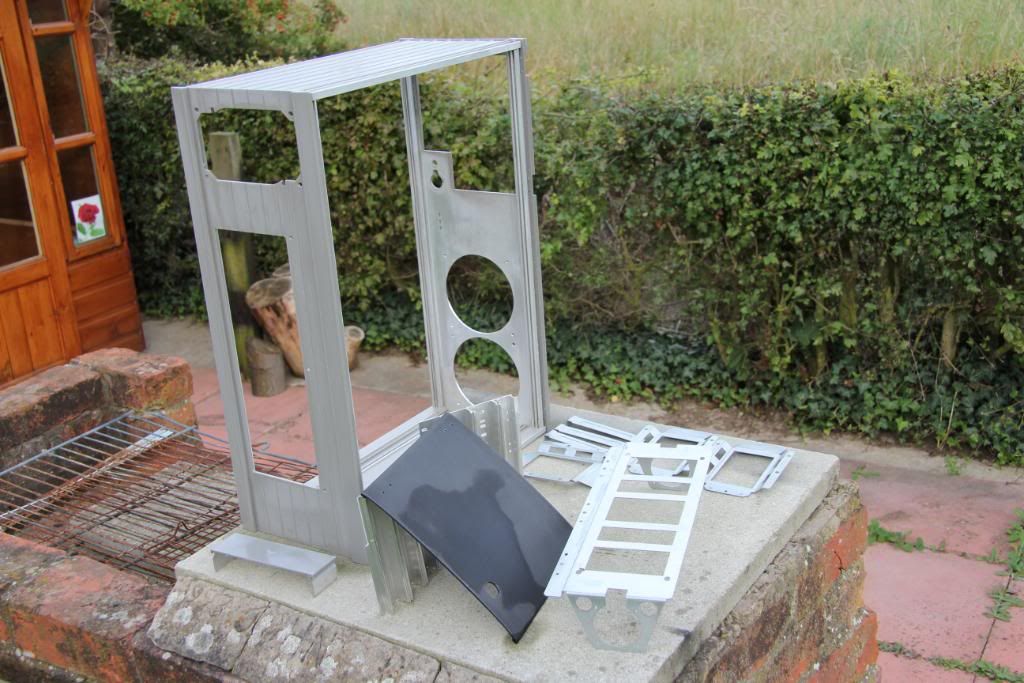
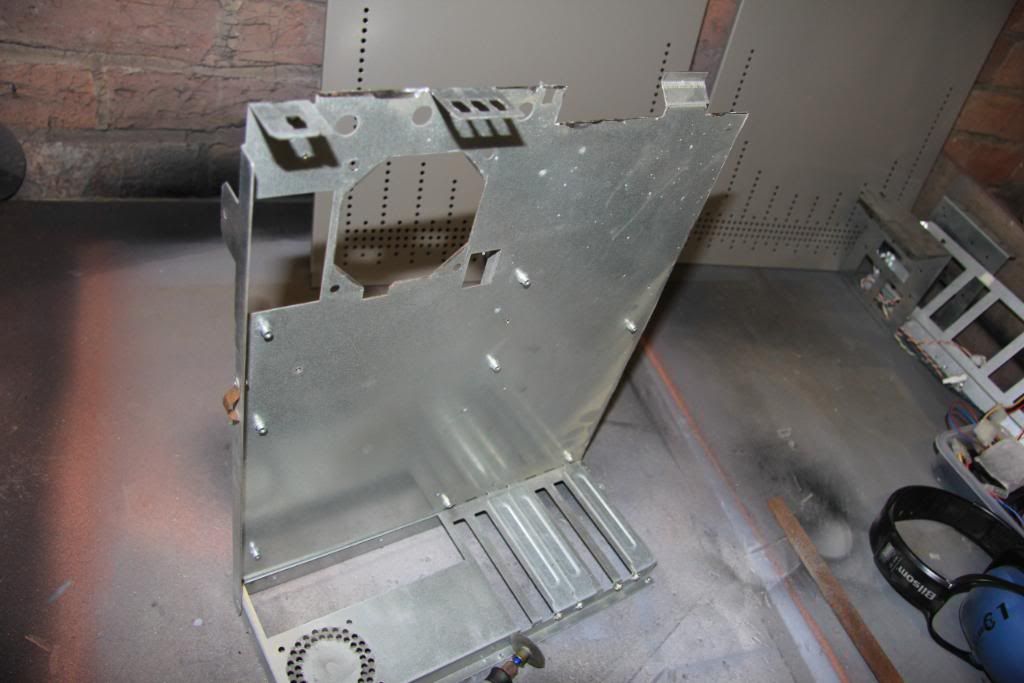
All internal stripped out and ready for work to start.
.....................................................................................
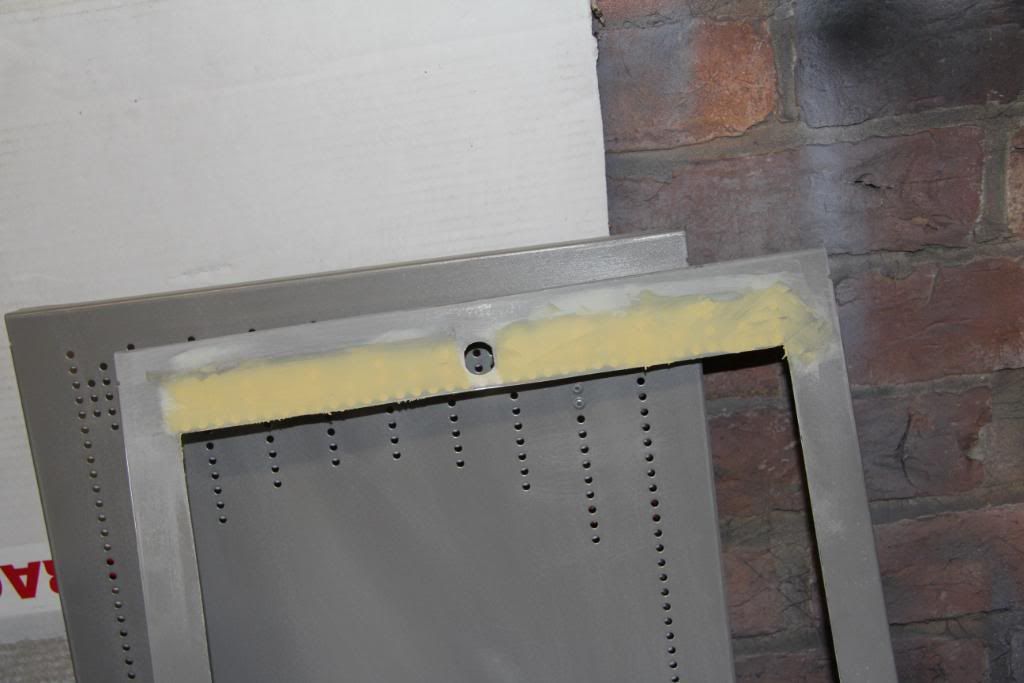
Well we knew it wouldn't be long before Mr Dremel paid a visit didn't we.
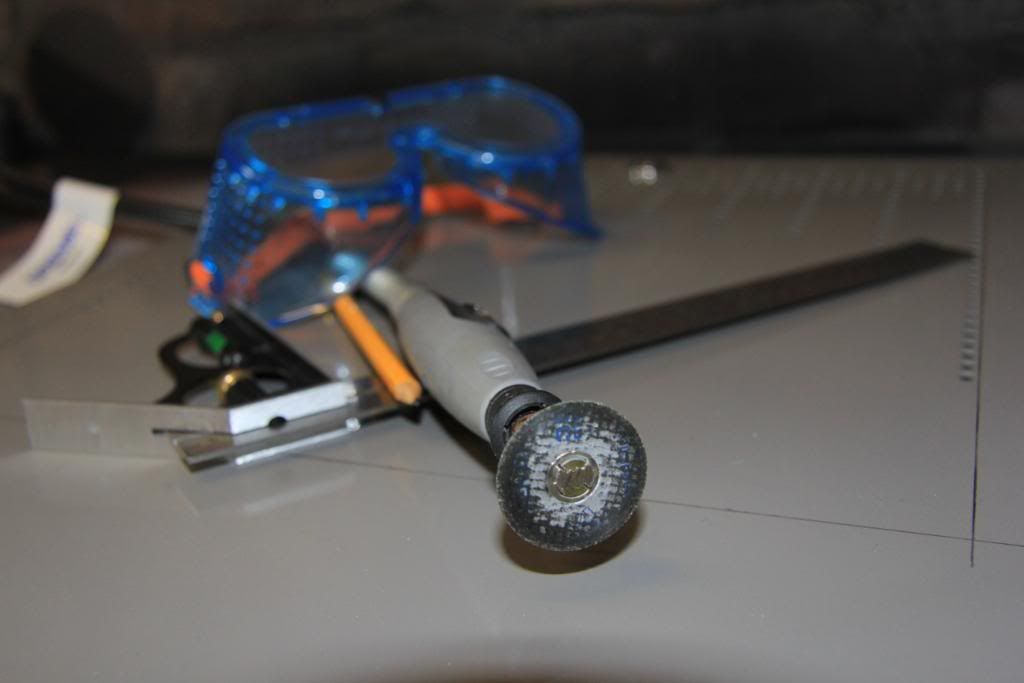
2 Jobs for Mr Dremmel to do.
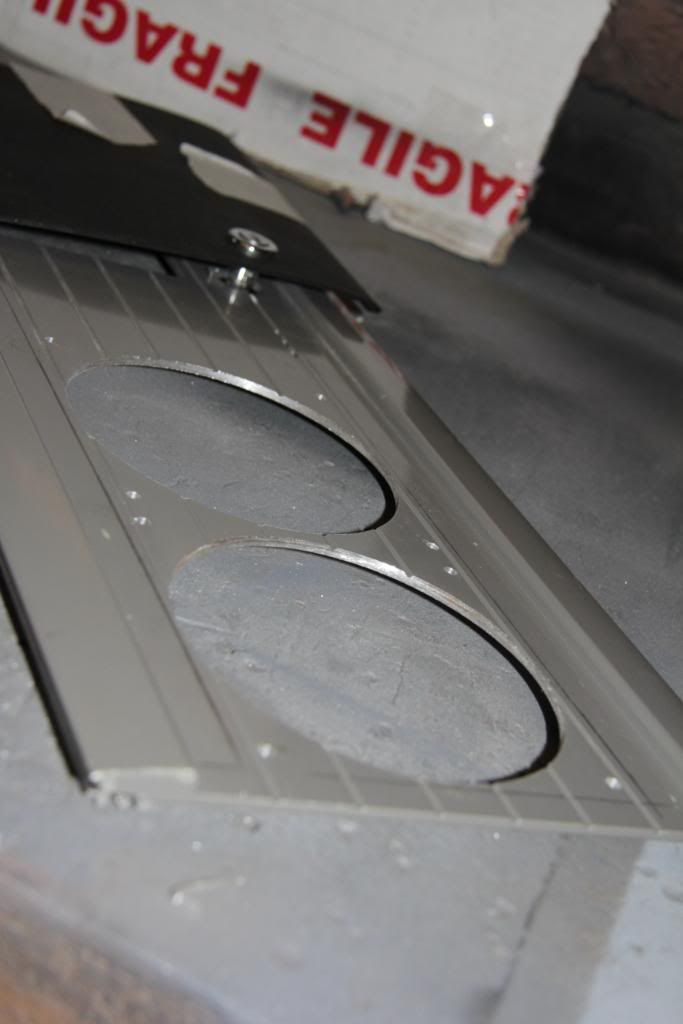
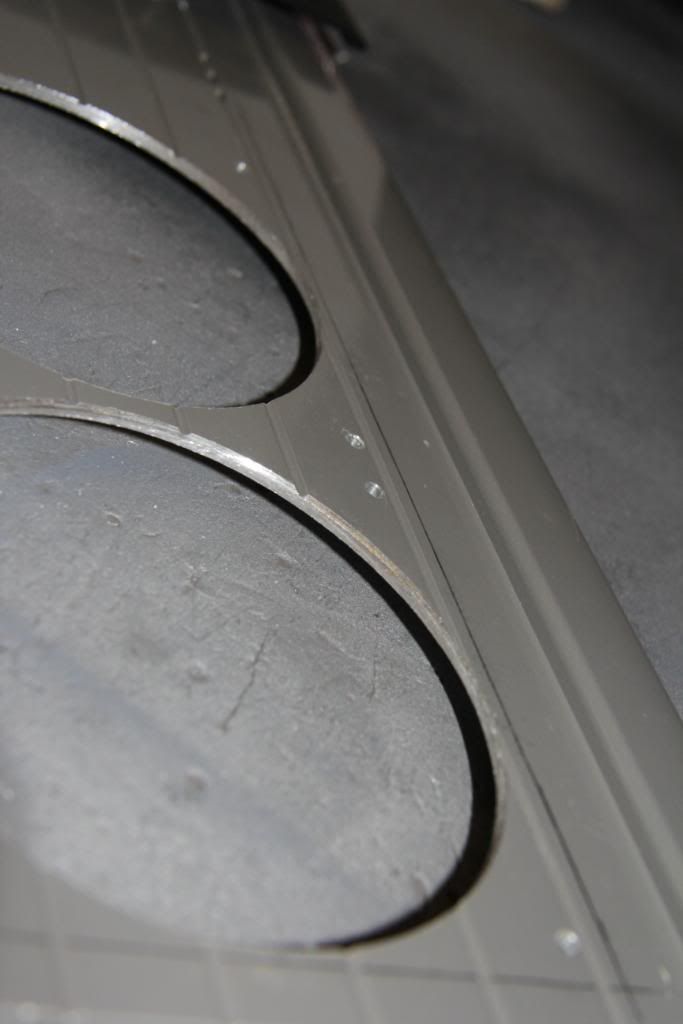
First cut the unnecessary bits of the Mobo tray so as to improve airflow.
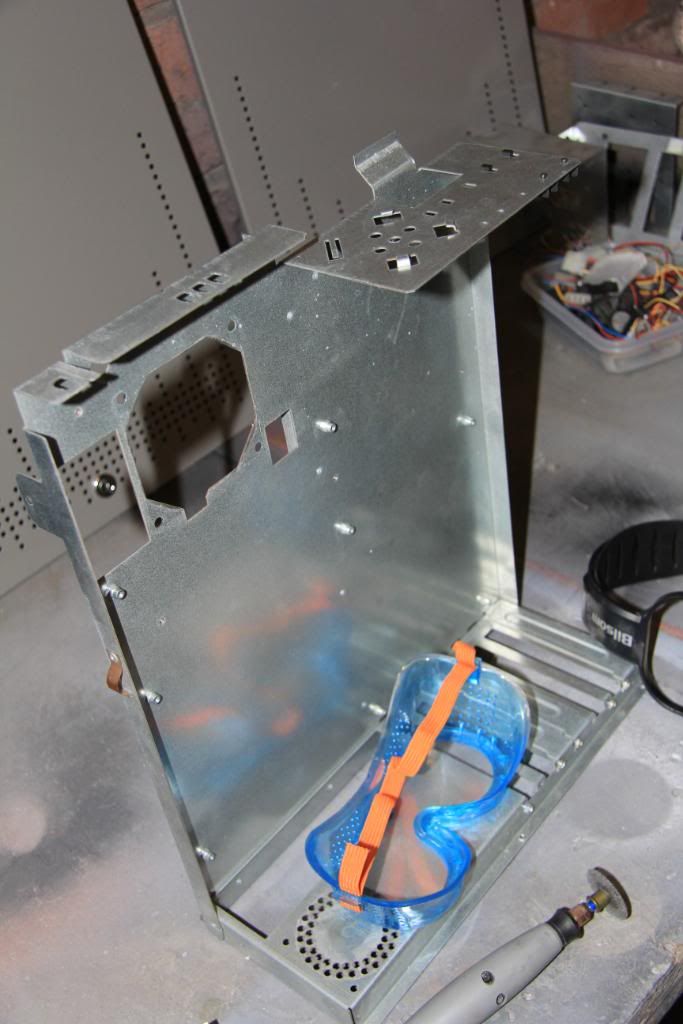
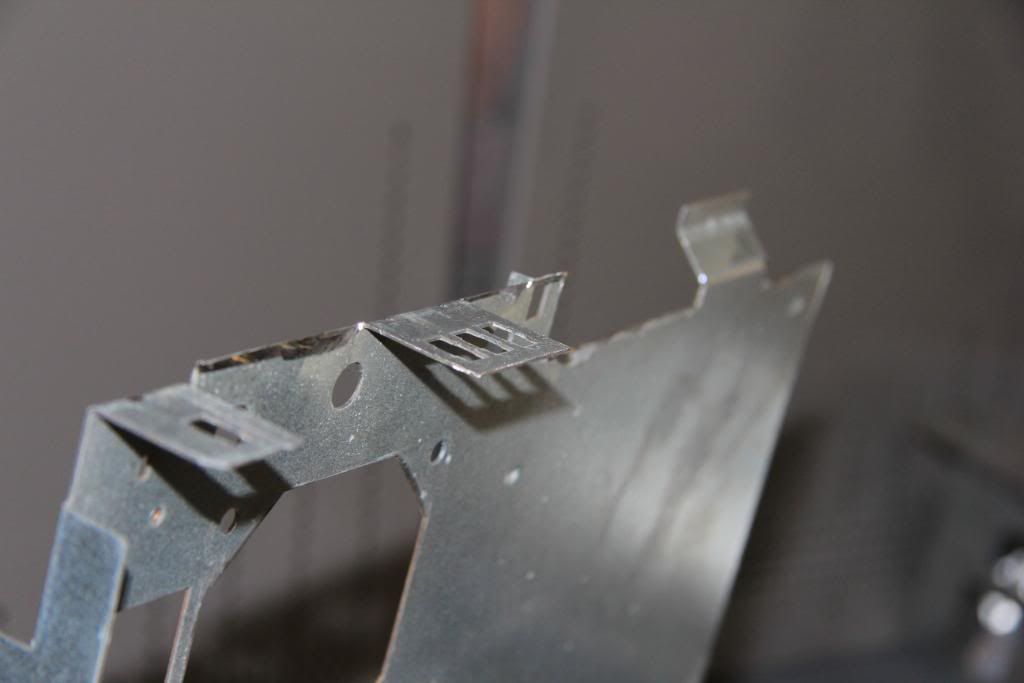
Job done
And secondly cut a window in the side. Man this steel is tough, but job done regardless
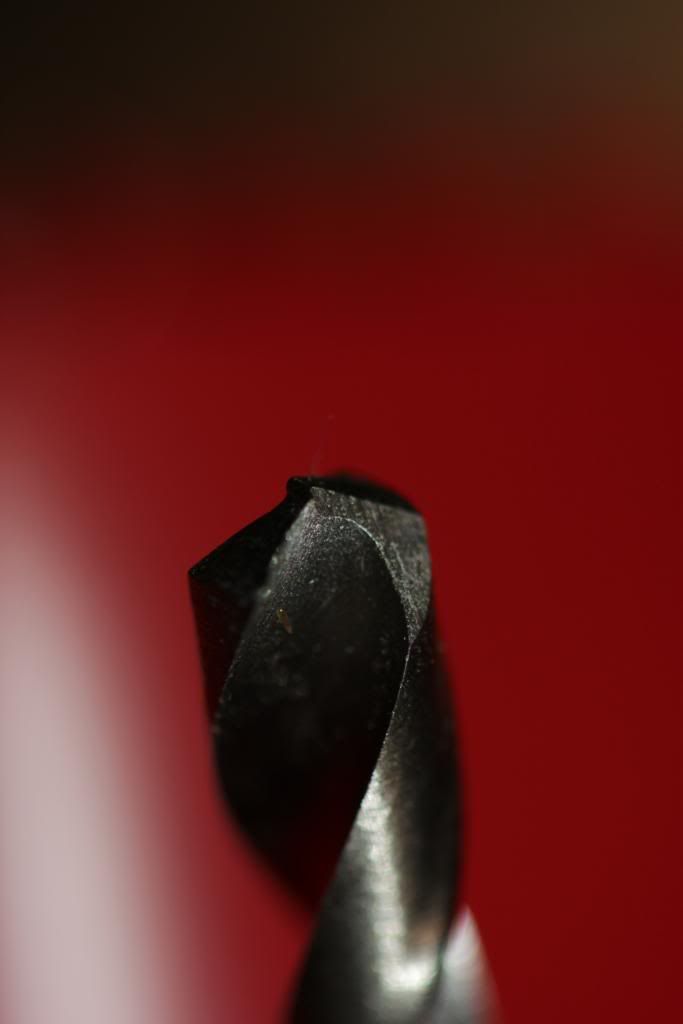
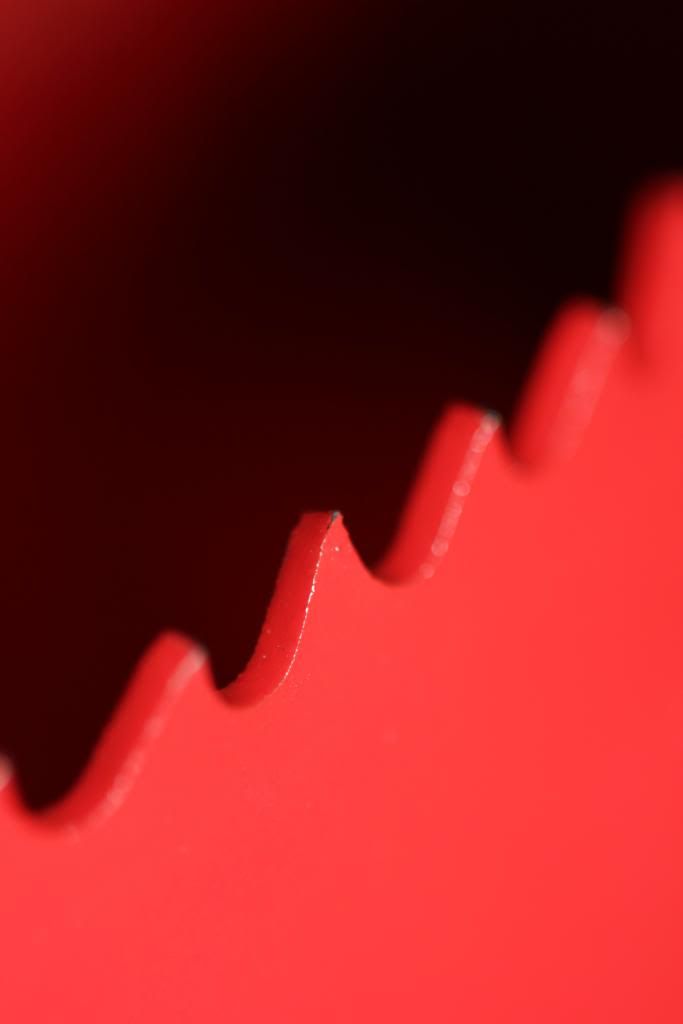
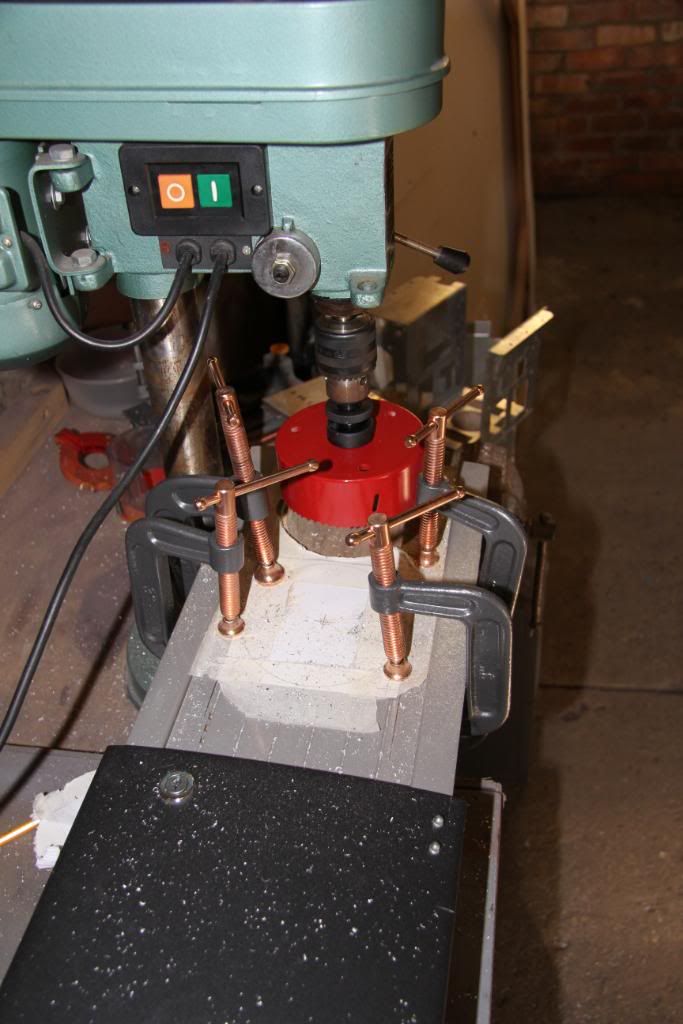
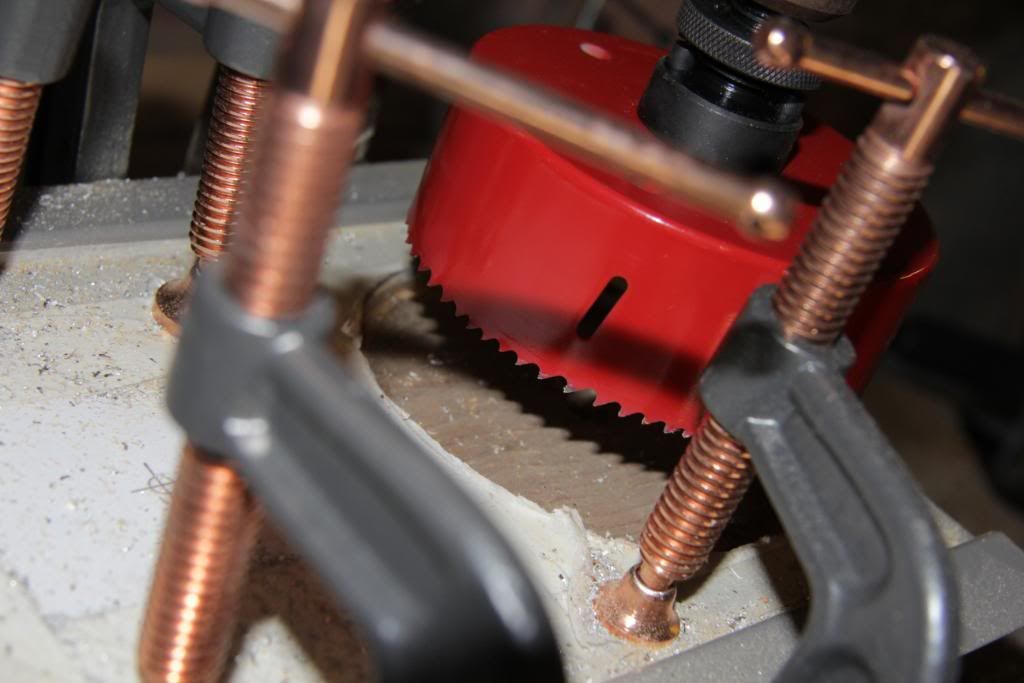
Bank holiday weekend coming up and i've just taken delivery of a 114mm holesaw
WoooHoo
Let modding commence
Started 13.08.11
I managed to get my hands on a server case a little while back, and now that Project Modzart is well under way I thought i'd get things started on this one.
The Case itself is made of 3-4mm steel and is very well built. And when I say very well build I mean you get the impression you could shoot at this thing and there would be very little damage.
FMJ of course refers to Full Metal Jacket, the metal casing placed round military ammunition to give it greater penetration power.
With that in mind this project is going to have a military theme, being Olive Drab on the outside and copper on the inside.
Yes I know my other case has copper internals, but right now i'm in love with this colour and just have to get it out of my system.
So more on the case.....
The left hand side panel is lockable, with the right only removable once access is gained to the inside of the case.
The case has removable sides and ample cable management round the back. There is an HDD rack for 3 HDDs in the front, and room for 3 more in the base of the case.
The front of the case sports a heavy duty steel door, again lockable and pretty tough.
All internal stripped out and ready for work to start.
.....................................................................................
Well we knew it wouldn't be long before Mr Dremel paid a visit didn't we.
2 Jobs for Mr Dremmel to do.
First cut the unnecessary bits of the Mobo tray so as to improve airflow.
Job done
And secondly cut a window in the side. Man this steel is tough, but job done regardless
Bank holiday weekend coming up and i've just taken delivery of a 114mm holesaw
WoooHoo
Let modding commence

")