Oh & I forgot to mention, I couldn't find any pure 99% alcohol around my area so I used this instead. The next best thing to isophoric alcohol..
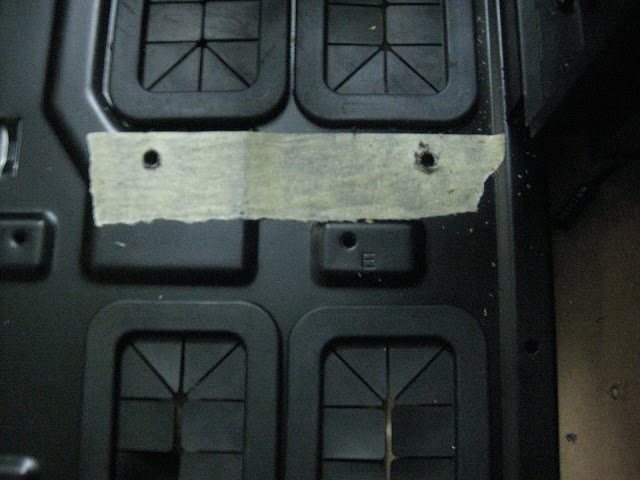
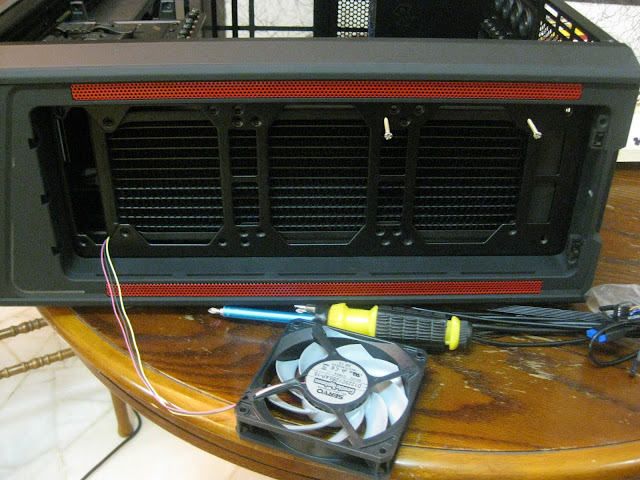
Drilled some holes for the radiator.
I tried using a magnet to collect all the iron when drilling, didn't really work as expected. Still had to clean it manually.
First time drilling a casing hehehe, too bad had a little scratches but its ok, the radiator will cover that...
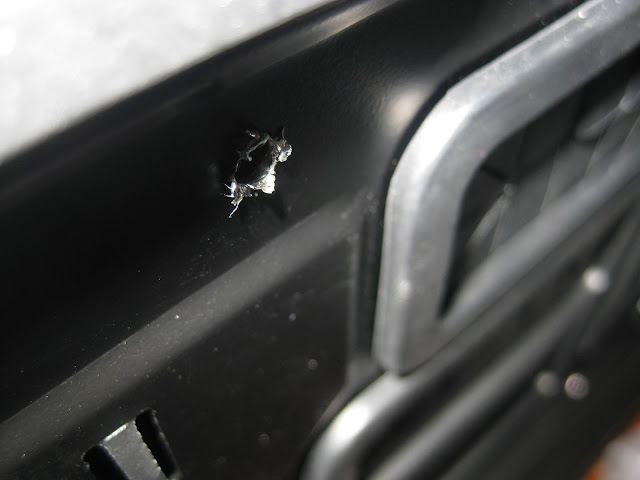
Injured myself while drilling, modding is a serious business yo! f***...
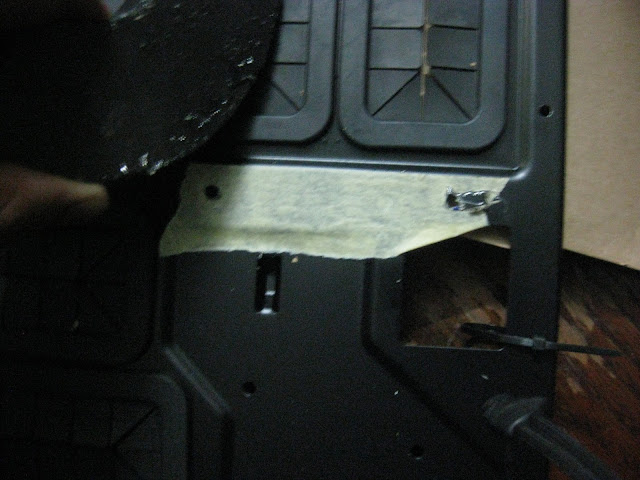
Need to smooth the behind surface now. I tried to become too pro without using any masking tape, didn't work out as expected LOL, had a little scratches behind but I covered that with a black marker pen hahaha, lesson learned. Don't try to be too pro, use that bloody masking tape!
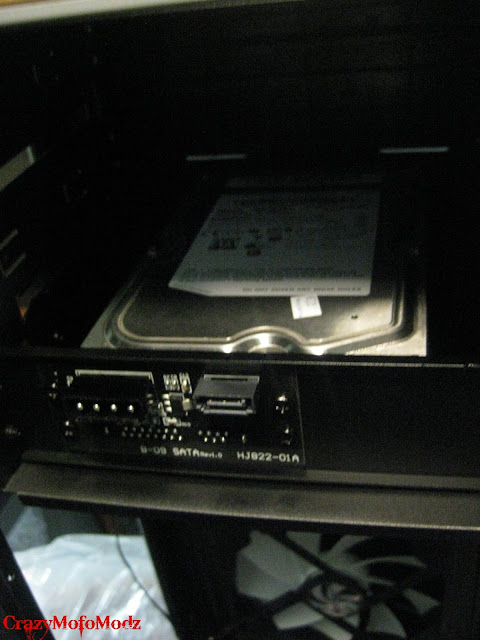
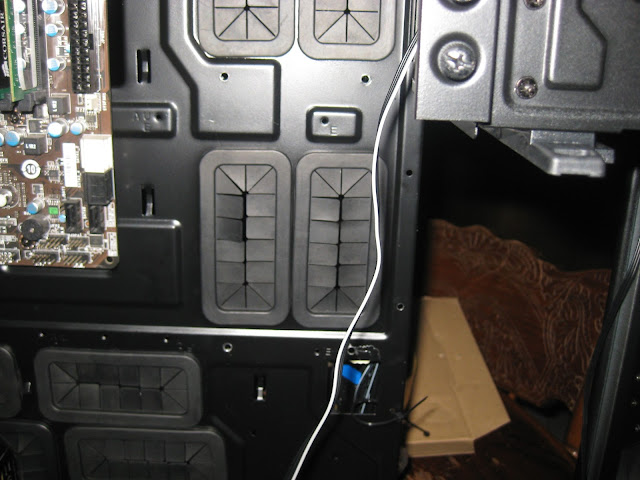
So far looking good, I should have drilled the holes to the left a little bit, because the radiator looks a little too far away. But I can't move it too close either otherwise I will block the cable management holes & I will have no way to hide the sata cables later.
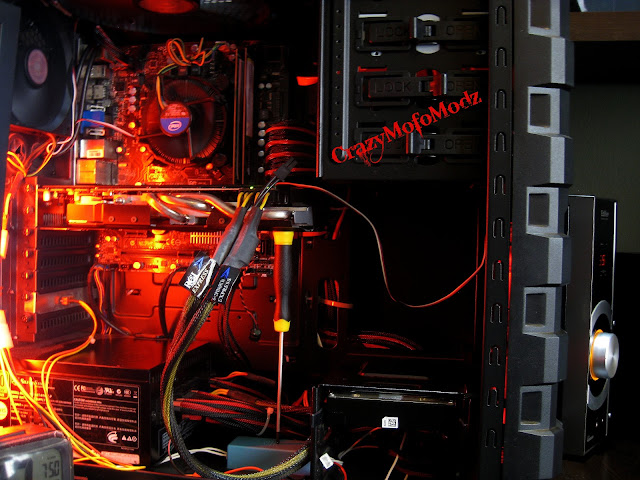
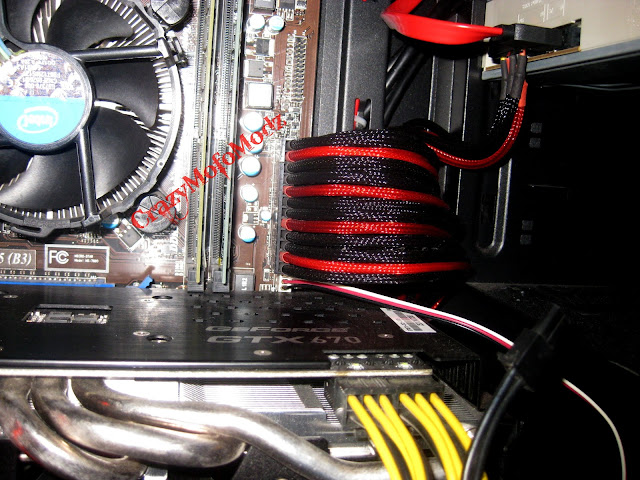
The psu cable looks nice this way. Its not the cable that I am going to use though, this was my previous sleeving job. I still need to make my custom cable because this cable length is too short.
Actually I wanted to go for this setup, where I have the cables on top of the reservoir but This makes the cable look too long. Maybe later if I get a new motherboard that is bigger in size it will look better. Will see how it goes...
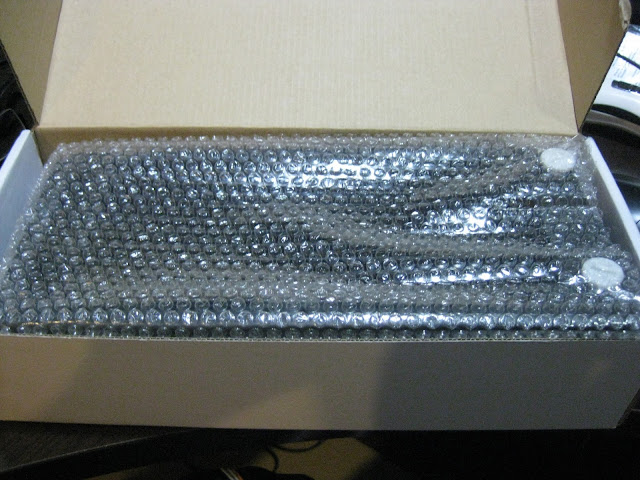
Everything is done! Now I need to get some fittings, fans, pump & tubing. Oh and cable sleevings...
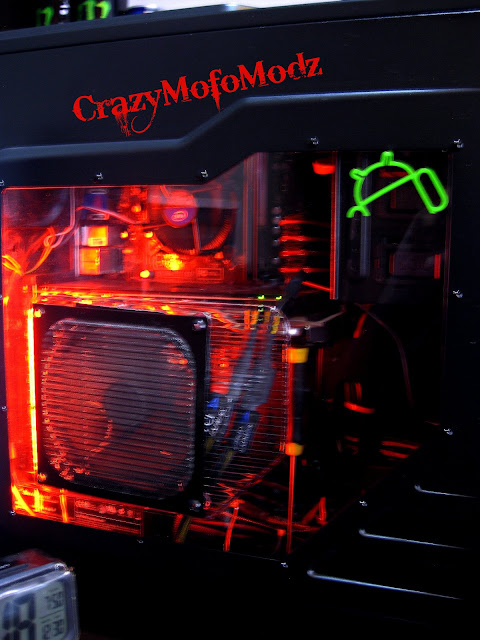
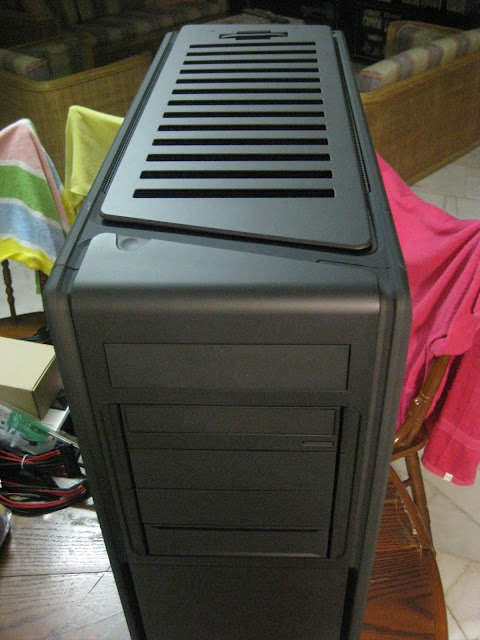
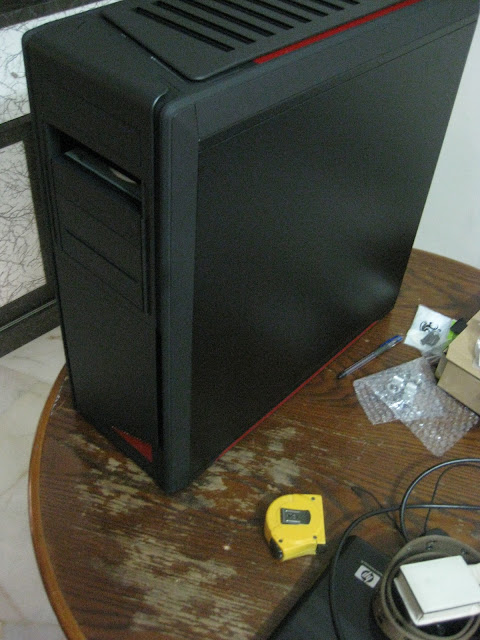
So I decided to add some red highlights to my casing since it will be an ASUS ROG theme build. So I started with striping down the casing.
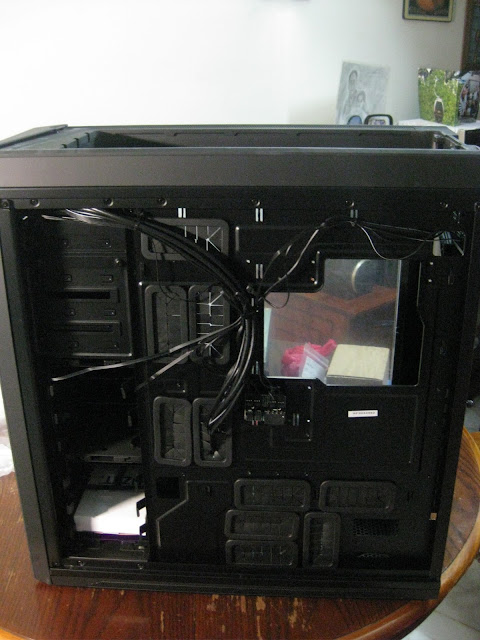
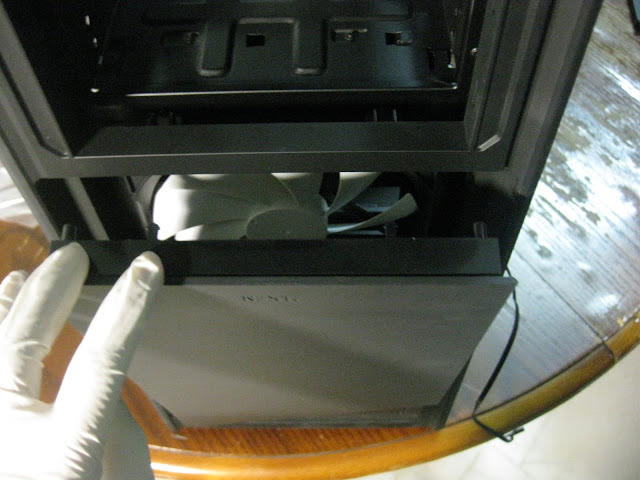
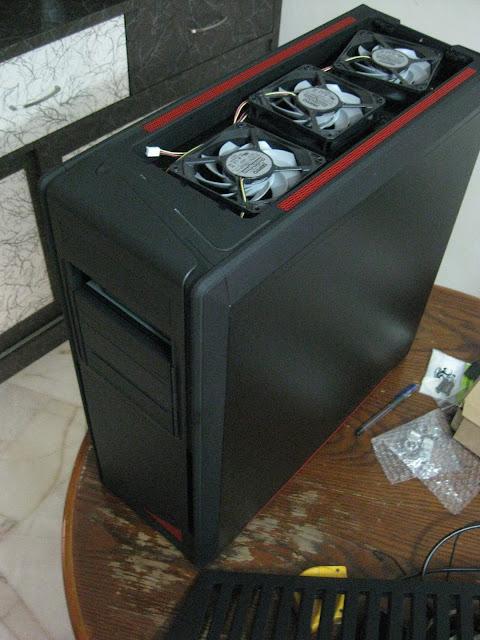
Removed the top panel...
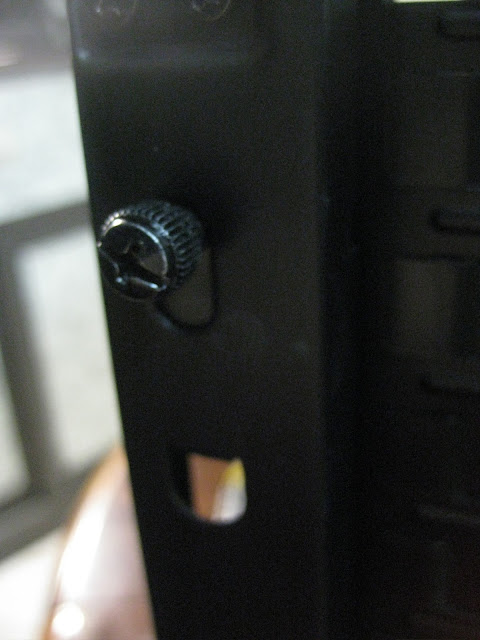
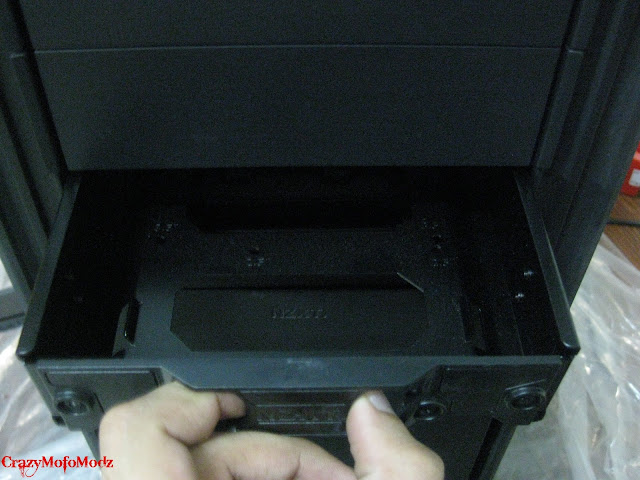
Next was to remove the casing feet...
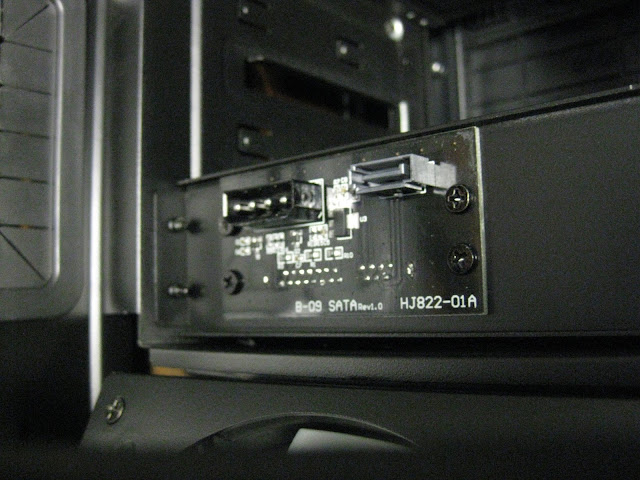
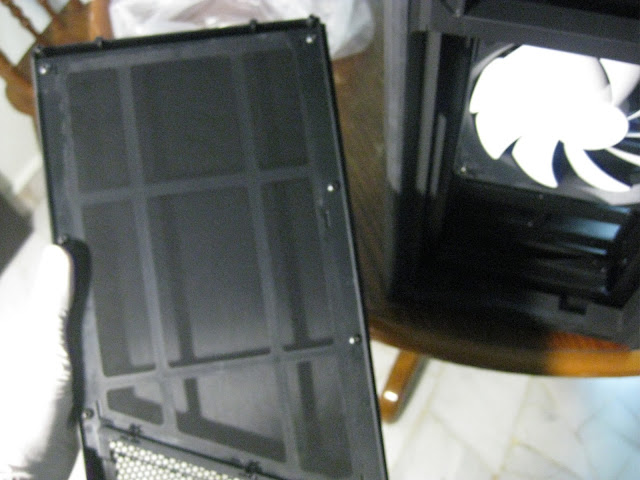
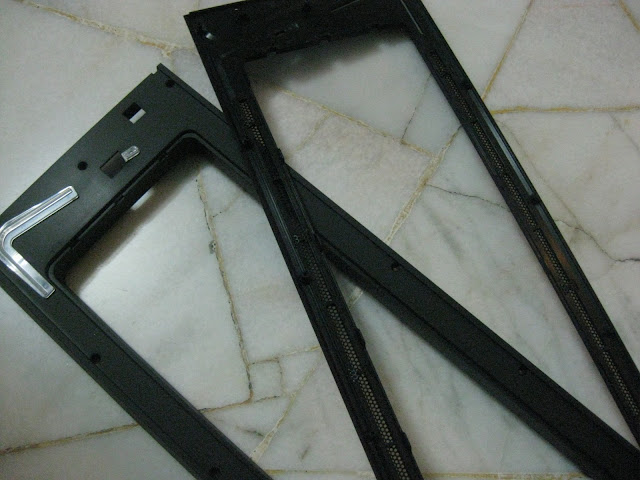
This is the top panel that I removed previously. It was 2 plastic joined together with more than 10 screws so had to open it in order to remove the mesh.
This mesh is from the bottom part of the casing, i.e the casing plastic foot. It was quite simple, after removing the 4 screws from the bottom you can then pull out the plastic feet. Then you can use a plier to bend the mesh notches straight. After doing it for all then just push it & it should pop right out. Sorry didnt take any detailed pictures because I was lazy hahaha.
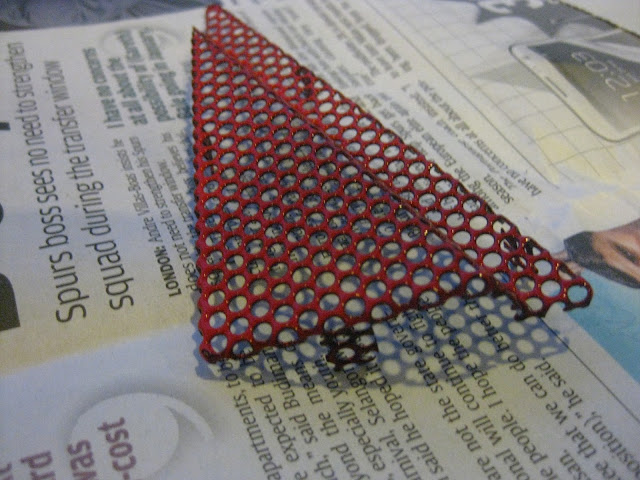
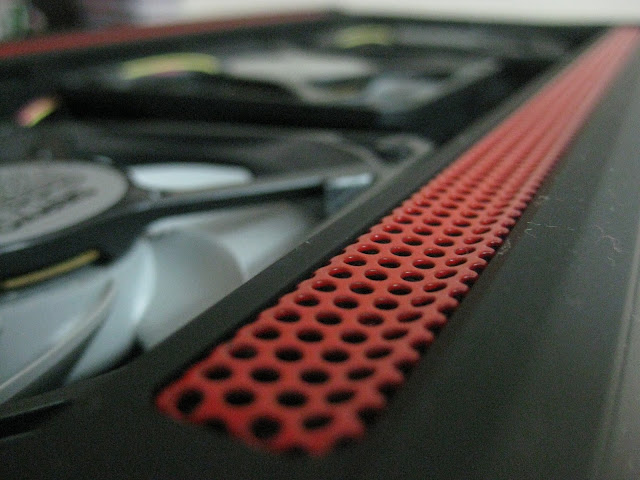
The mesh from the front, the one at the fan filter cover.
After applying some red coating to it...
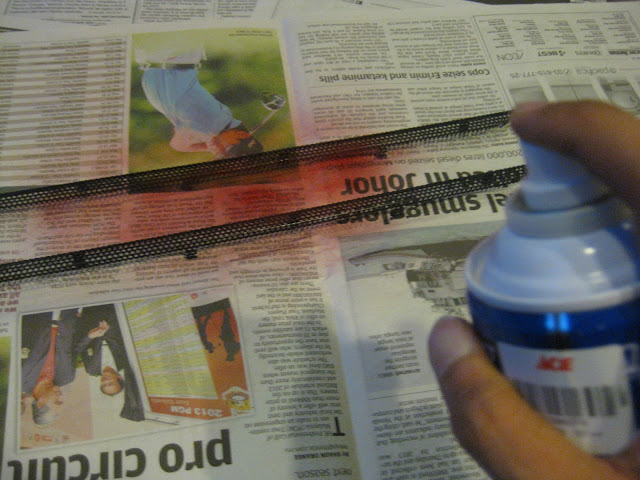
Did the same process to the rest of the mesh...
So this is where the problem came, first of all I was painting above the original coating & without any primer. On top of that I applied too thick coats already so the next day I wasn't very happy with the result.
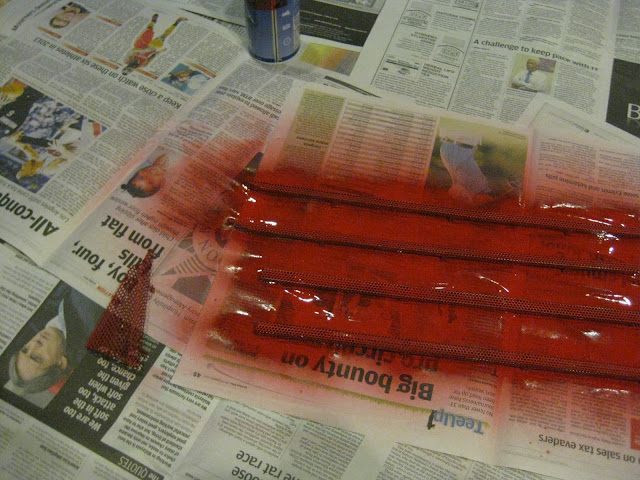
The next day I started sanding all the red coating I applied last night & I sanded until the original coating is removed too. I then cleaned it & started spray coating it with red paint under the sun. It was very hot so the paint dries quite fast so I applied thin coating every 10mins or so. Sorry didnt take picture of this process too, plus I was sweating like hell under the hot sun so yeah...
Tip: Use a primer, but if you are a poorfag & cheapskate like me then just sand it till the base so that your paint can stick better to the material surface. Make sure you do in under a hot sun for it to dry faster, I did the painting at night & it didnt want to dry. The next day the result didnt turn out nice but after re-doing it under the sun it turned out nice.
I like the red highlights at the top but when I cover it with the top panel, only half of it will be visible. Plus I think its not enough red yet, still thinking what to paint, not much choice I have because some of the materials like top cover etc are made of those rubberized matte black material so painting that is not an option. I am thinking of putting some red leds for under glow effect & maybe on the top so the lights will bleed to the side and gives it a nice effect.
Haven't decide yet, because I dont want to overdo the red colour otherwise it will look too red & ugly. Will see how it goes with the flow hehehe, let me get some corsair fans first & fan controller.
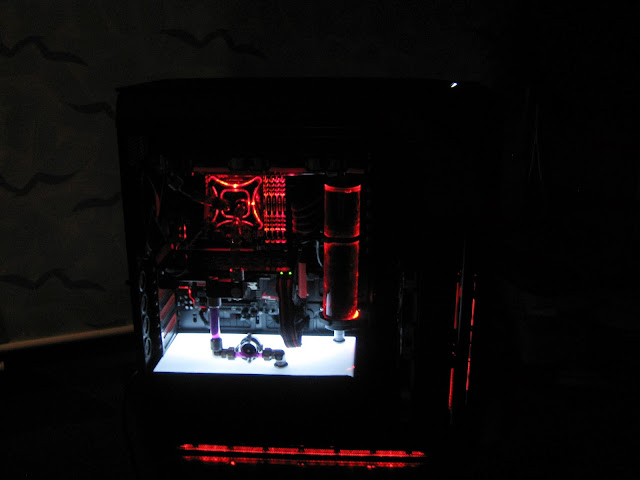
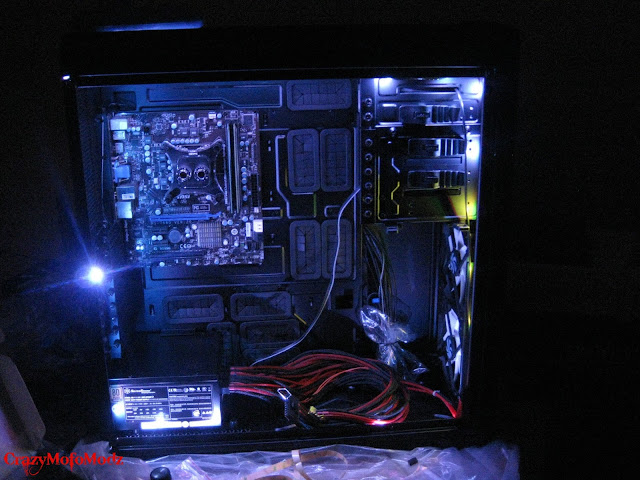
Just an update on how it currently looks like. The lights are actually more white than in the picture, but there is still a little "blue" to it. Not sure if I will stick with nzxt hue or get a pure white led strip. Once I get everything setup, only then I can tell if the lights are sufficient or not.
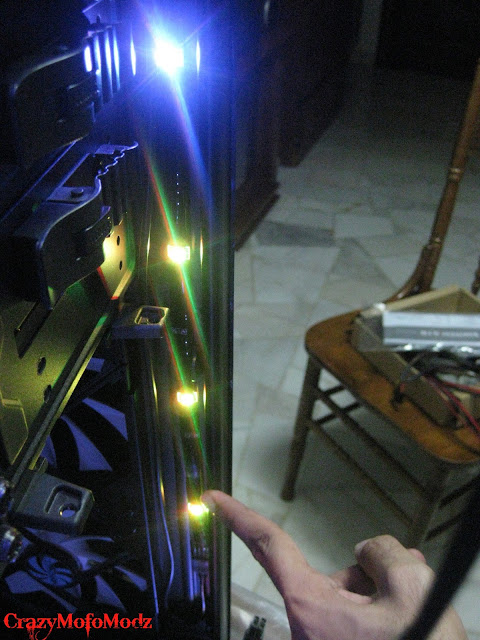
The red here in the picture looks very dim but in real life its actually brighter than the picture below but still not bright enough for me. But most probably I am sticking with white due to the fact white gives a better view to the components IMO. If its red, its kinda hard to see the components details.
It looks more like this in real life (adjusted the camera ISO settings

)
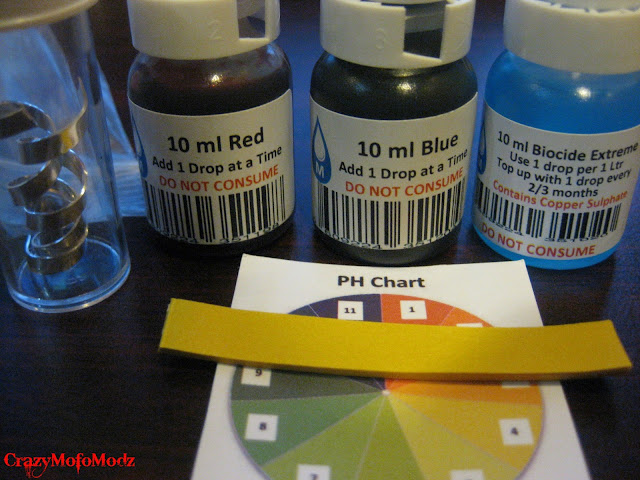
So I went to the local hardware shop just to browse around & found some clear tubing? They were selling it for RM1.50/feet so I was like dafuq! That is so cheap, what if I can use this as my rig tubing? So I wondered how will it perform because i doubt it was designed for watercooling rigs, so I bought 1 feet just to do some testing on it.
First testing I did was on kink testing and it failed miserably. I wouldn't even post any testing details about how flexible it is, all I can say is if your loop needs some bend, this wouldn't work. Period!
Next I tested it for plasticizer. First of all I would like to say the test I did was just for fun & by right its not a perfect testing condition as I do not own the proper equipment for testing. The testing data is more like for my personal use but I am sharing out for those who are curious like me.
The first test was to cut the tubing in small pieces and dump it in a hot water. I do not have a thermometer that can measure high temps but its pretty hot, water used to make tea. I am guessing its around 80-90'C. The middle tubing is the result of it after 1 day in that water temp compare to the above tubing which is brand new. Also take note that the water & tubing was thrown in a flask (coffee flask) which keeps water warm for long period, so I am assuming the temps falls with a slow gradient through time.
The next test was testing it with a warm temp that was excatly 40'C. Yes I am sure of this because I used a thermometer that measures fever lol, it can go up to 40'C only sadly therefore couldn't get reading for higher temps. As shown in the picture (the last tubing at the bottom) it still leaches. So if the tubing can't even perform at 40'C without plasticizer then there is no point in using it as your temps confirm will go above 40'C because malaysia temps are now freaking 35-40'C outside!
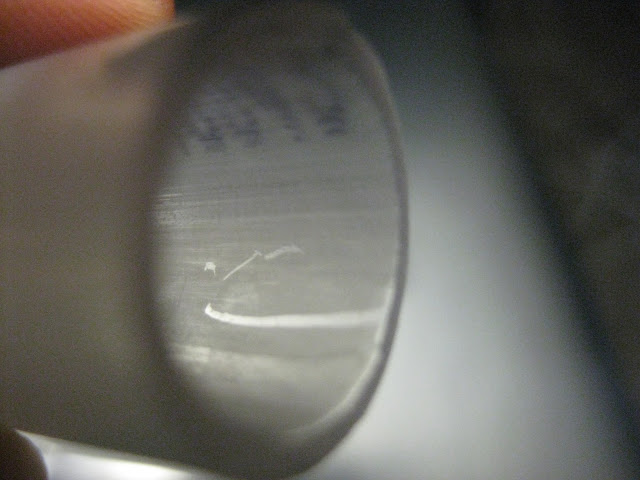
This is what plasticizer is if those who are wondering. White stuff that are like powder when dried, can easily scrap it off from the tubing if you can reach it.
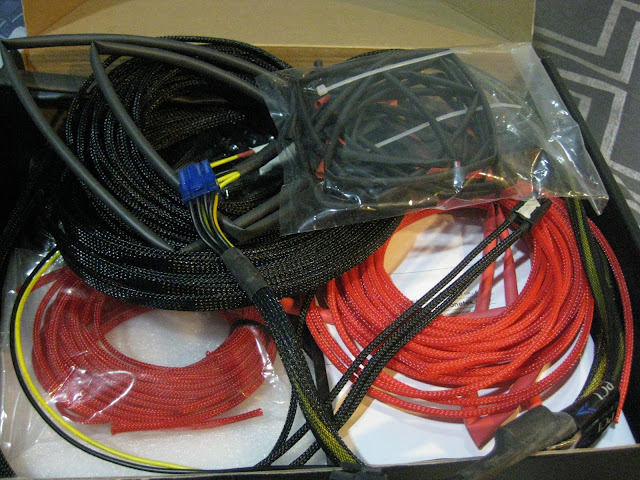
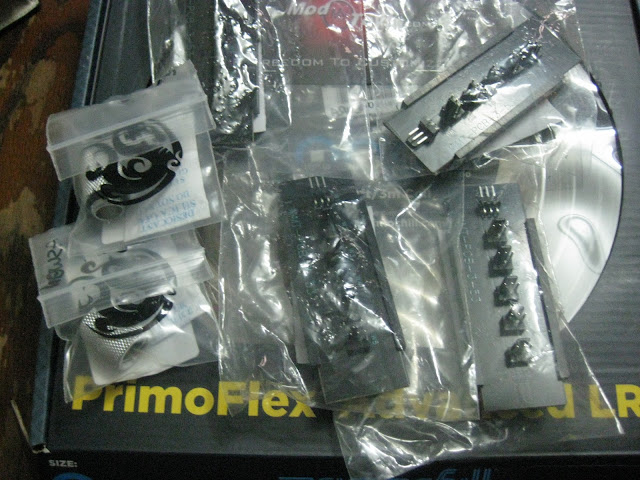
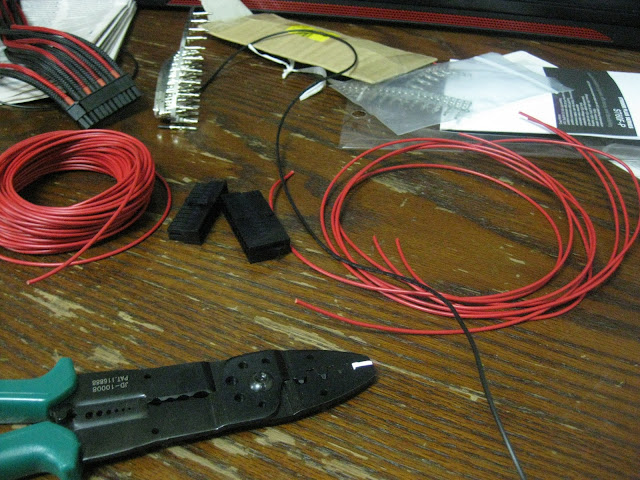
I got my MDPC sleevings already & the pins for custom cables but guess what? I am having a hard time finding awg cables from my local electrical shops...Dang it! Went to jalan pasar & no luck at there either, now I am planning to order it from china although it will take me around 2weeks to get it. Been getting bad luck since last week, though I could do sleeving last week but pins got delay & now couldn't find cables which I thought should be the easiest thing lol.

So I had nothing to do during this weekend so I thought of thinking something to do to be a little productive. Turns out that the NZXT hue plastic cover can fit at the top but I need to grind the plastic edge so that the 25mm fan can fit in there as well. But then I realized that I still need to wait to RMA the led strip so better not modify the nzxt hue first otherwise the shop can reject the RMA anytime if they require to see the nzxt hue even if its just cutting the plastic a little bit. Better not take the risk till RMA is done I guess
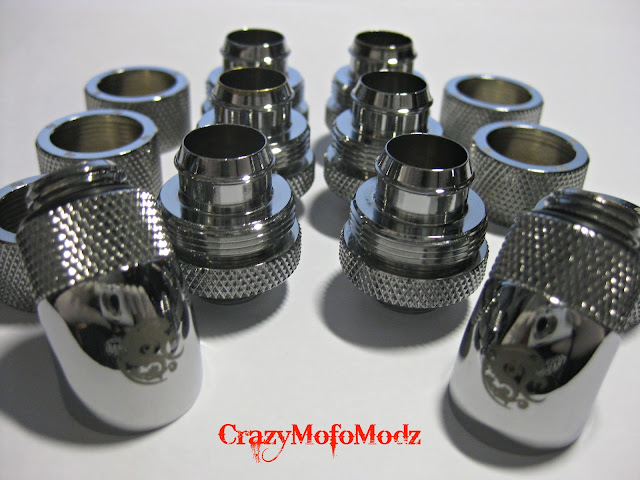
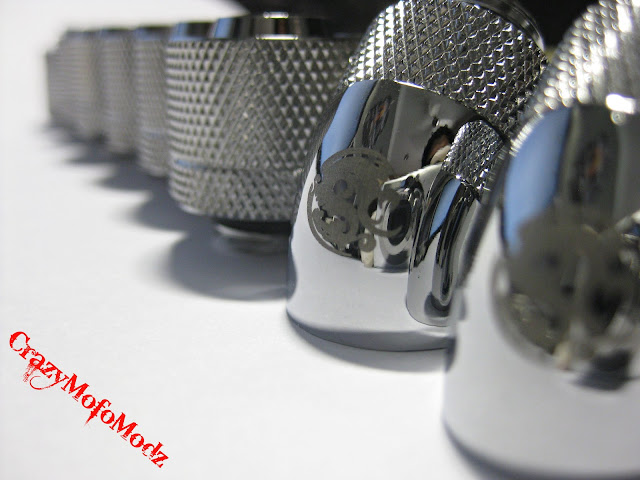
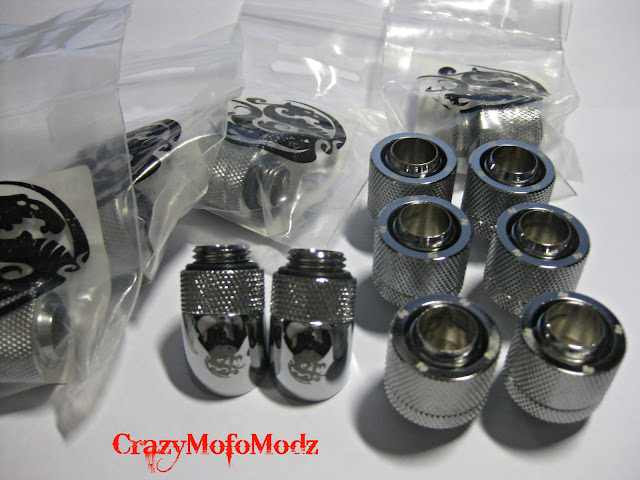
So I had nothing to do but to take pictures on my fittings! Hehehe, total cost of that fittings are more than RM600 yo! There is a few rotary in the rig & I am lazy to remove it for photo session...
And here the power tools that I will be using for future modding...
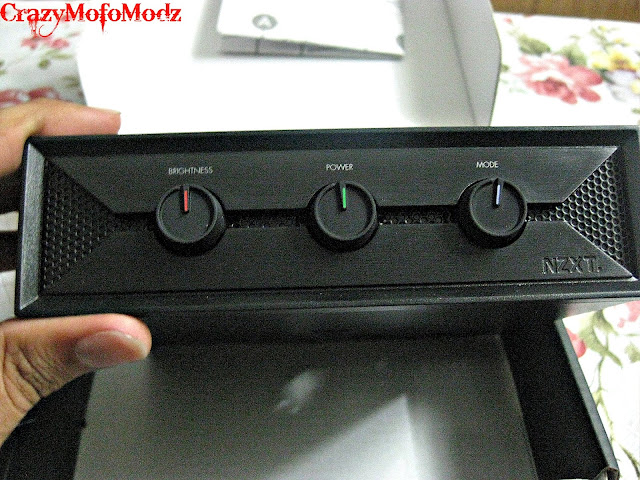
So more stuff have arrived for my build. Due to the fact that I have limited money & living in ASIA, getting parts for my build is not as easy as some of you guys out there. I am yet waiting for pump to arrive too...maybe in 2weeks time? 1 month time? ETA is unknown but I hope its as soon as possible. In the meanwhile, I will wait for the lamptron cw611 fan controller

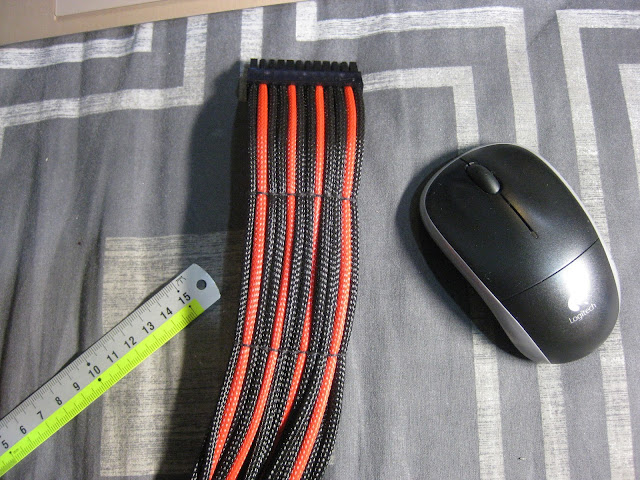
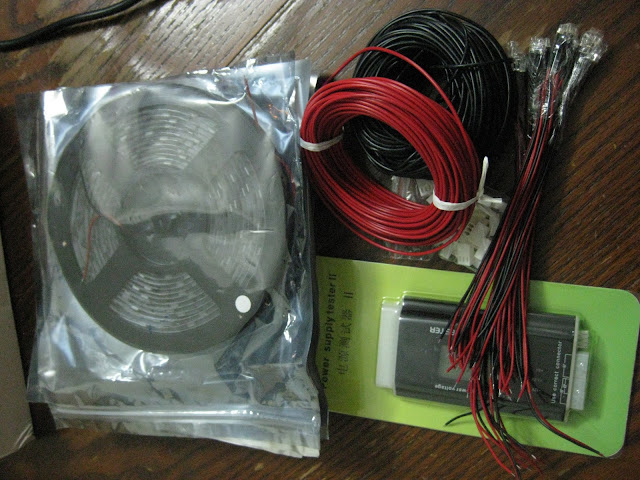
Got my custom cables, leds, led strips etc...
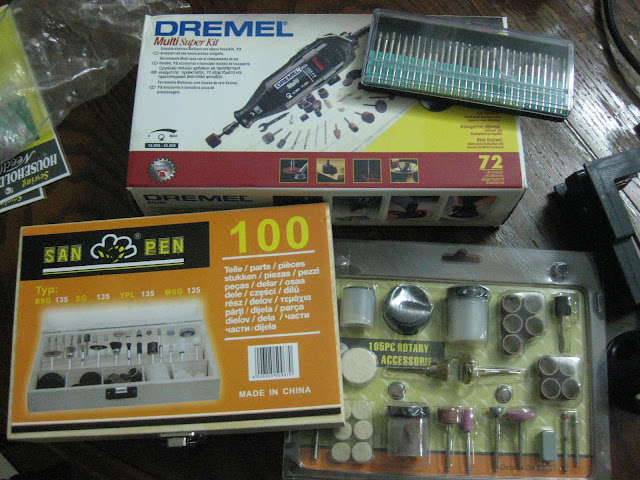
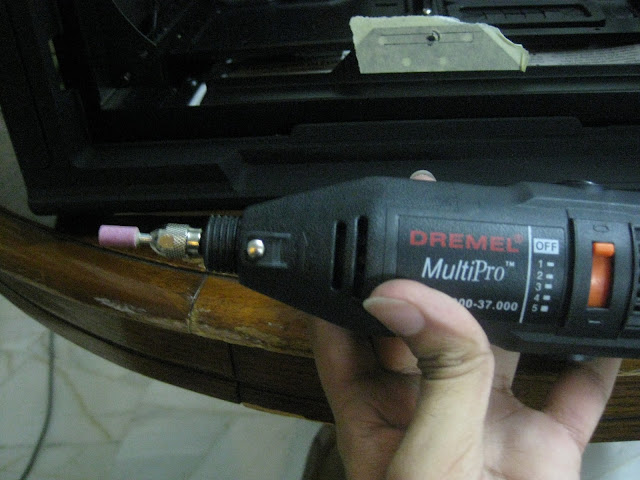
Hohoho, my made in china dremel is here & all its accessories. Not sure how long this is going to last but quality seems decent. Accessories feels cheap though but cant judge it before using
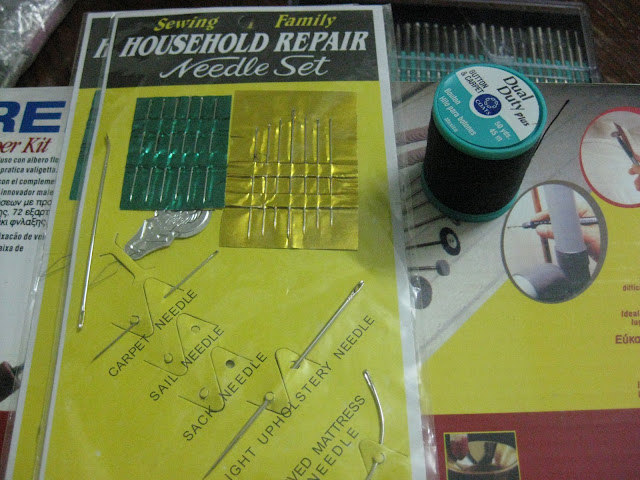
Special thread & needles. Guess why I need this for my build?
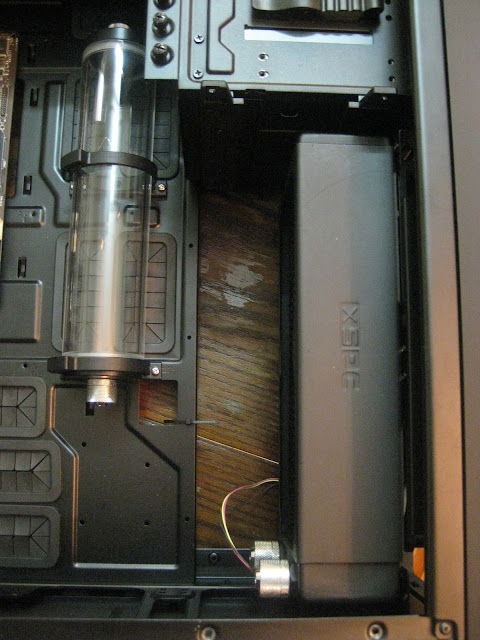
My long waited D5 pump is here! Although this is not MCP655, I can't wait for swiftech anymore, been waiting since January & still no stock, so decided to get xspc the moment my local supplier restocked it so that I can push some progress with my rig & start playing bioshock.
What is this marking on the pump? Is it common? lol
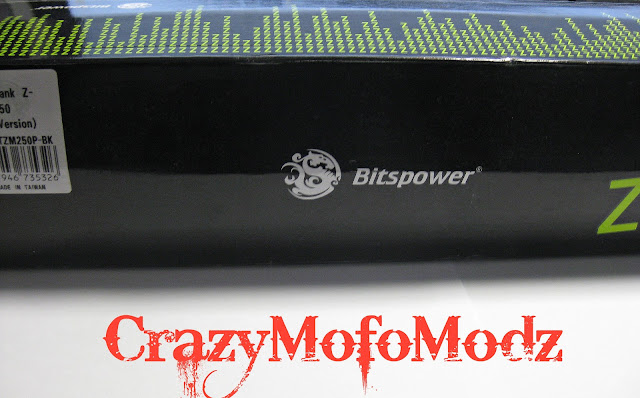
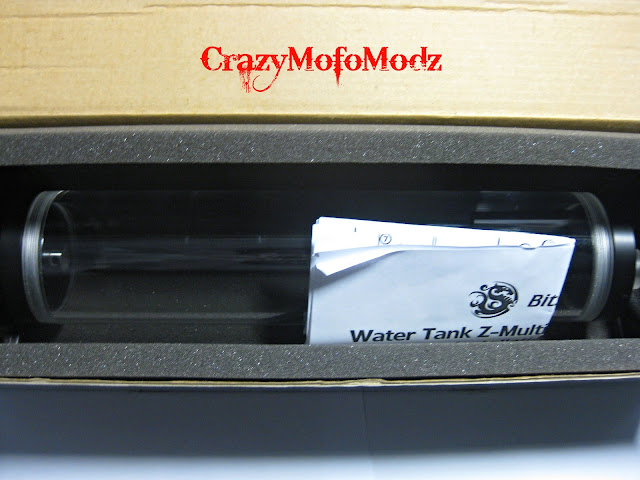
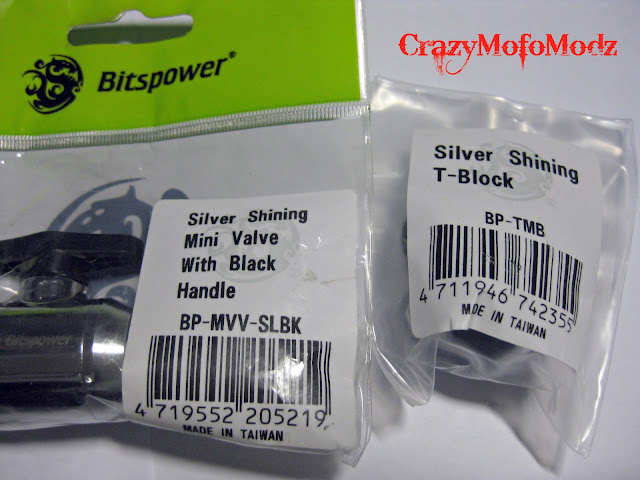
Bitspower pump top! I immediately fell in love with it. Bitspower seriously makes high quality stuff & their packaging is top notch!
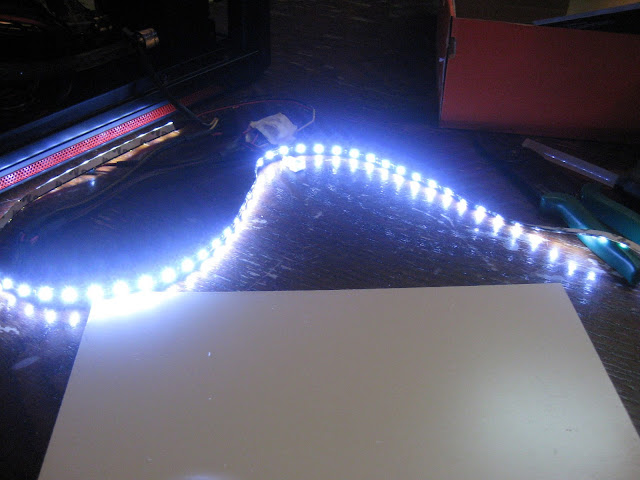
More white led strips for testing, this is the 600 bulb version
Finally got my nzxt hue led strip replacement, previous strip came with problems...had to RMA it. Still waiting for my top panel though lol
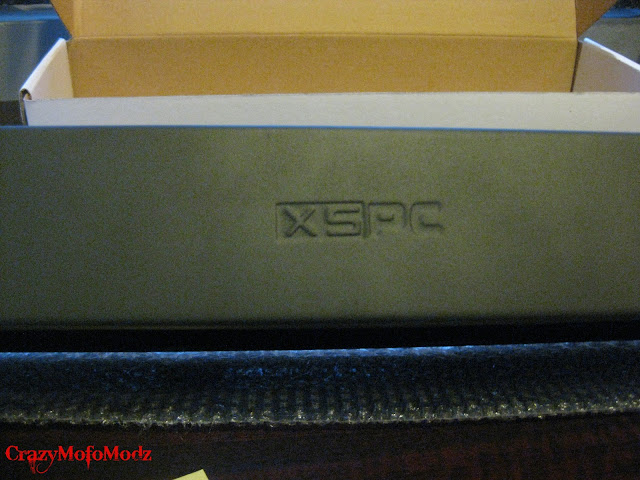
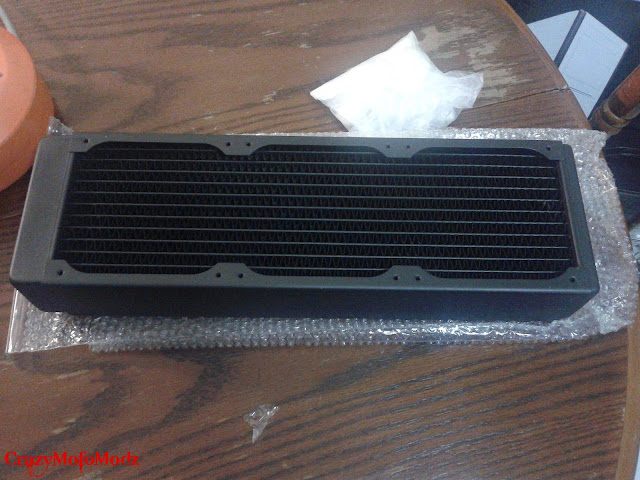
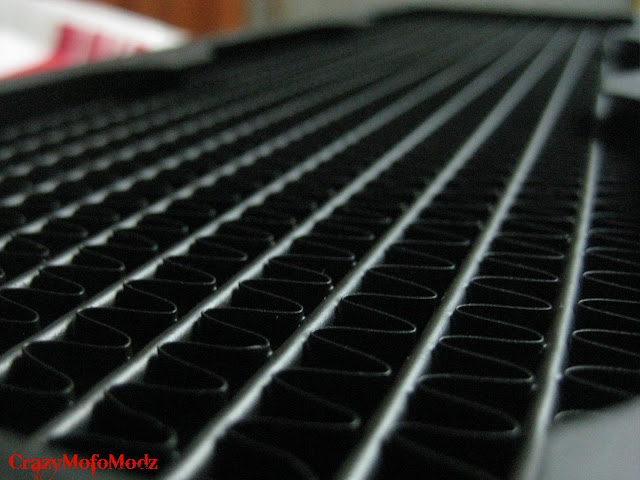
My new RX240 radiator hohohoho....
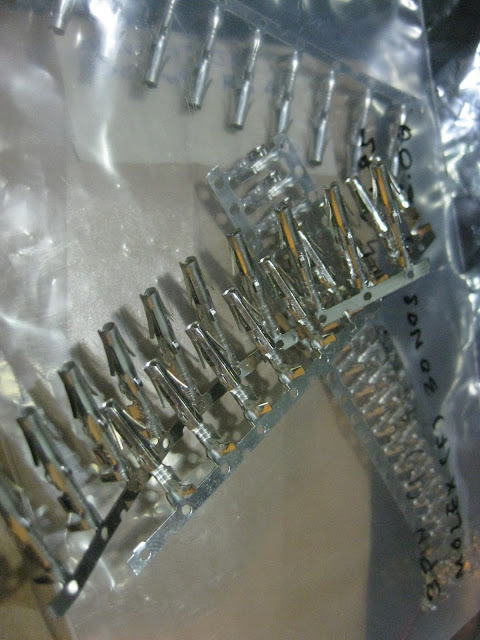
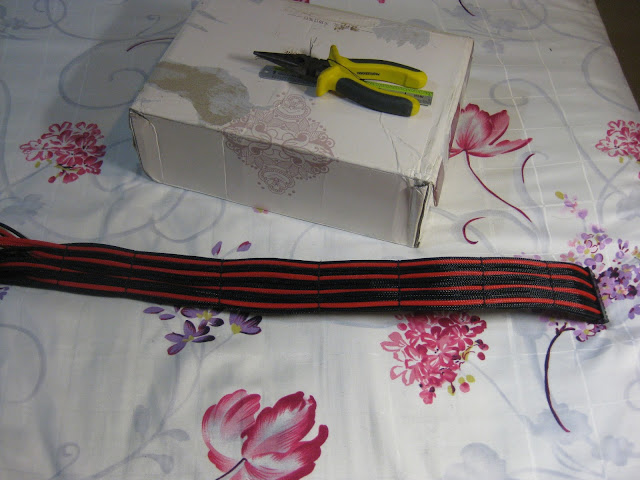
I decided to start making my custom cables & start sleeving it but had a few setbacks. First of all I ordered the wrong housing, I need 2 male atx housing but I got female & male lol. Then the 2nd problem was the pins, I bought 18awg cables but the pins are for 16awg meaning their crimping wings are longer thus giving a very bad crimping result.
On top of that, the crimping tool that I am using is crap. Hard to crimp it properly as the biting is not aligned properly and the pins are not so malleable, thus not following the crimping bite properly.
This is very bad, although it might work but sleeving will be a big problem then, so cable sleeving will be put on hold till I get all my pins & the crimping tool. Gonna cost me a lot now, I still need to get sp120 fans, fan controller, acrylic panels & now this lol.
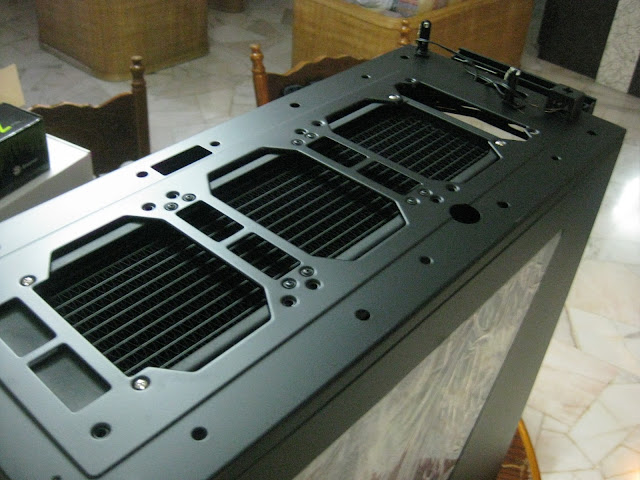
My plan was to mount the RX240 radiator on the front of the casing but the mounting holes are not designed for mounting a 240 radiator so I had to drill some extra holes. Not a surprised to me though since I stumble upon someone worklog before regarding this problem and I am aware of it.
Best stuff to collect metal shrapnel. Works like a charm
And of course a magnet to collect it all at tight spaces...
Using a dremel to grind down the holes never been easier!
Flushing radiator time!
Btw just so you know, both radiator are RX series but both are different in terms of the build quality & paint. My RX360 has a bulge to it at the end tank, not so serious but you cant make it stand straight though. On top of that the paint texture is very rough, where as the RX240 has a smoother finish to it & in perfect condition. Bought both radiators new (RX360 from A.P.E.S & RX240 from cyntrix). I am guessing the RX360 are the first batch radiators? Not sure if the bulge will cause any performance impact or not, lets hope everything works out great.
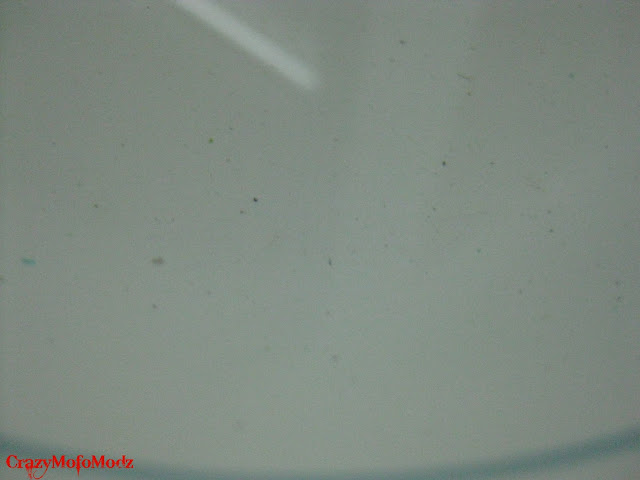
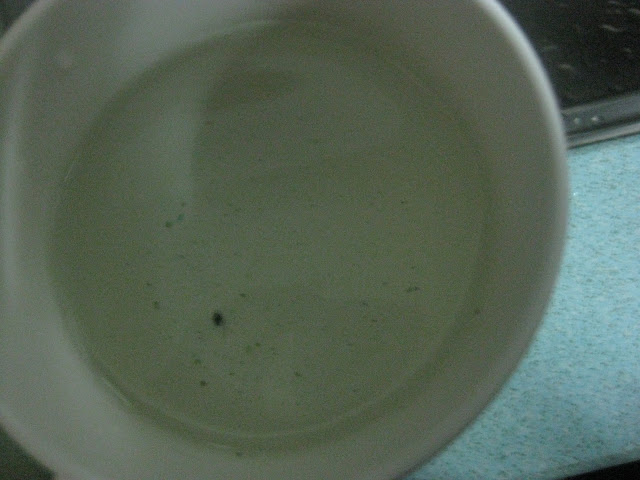
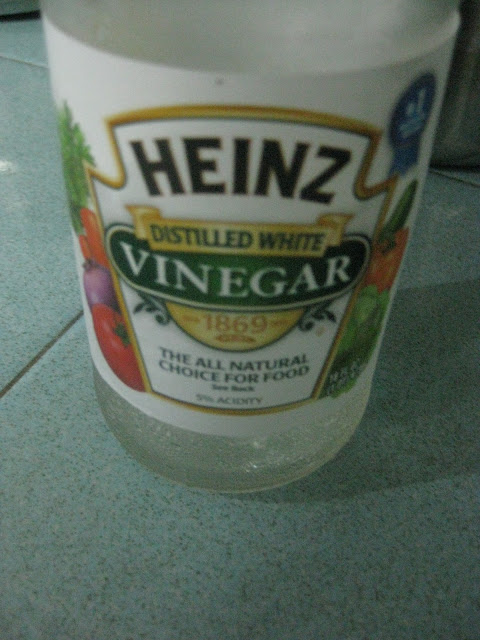
Gunk from RX240 with warm water. Then I started flushing with vinegar, lots of dirt came out from RX240 though. I did flush the RX360 with warm water few weeks before but didn't do it with vinegar, so I did it today together with RX240.
Effect from flushing with vinegar.
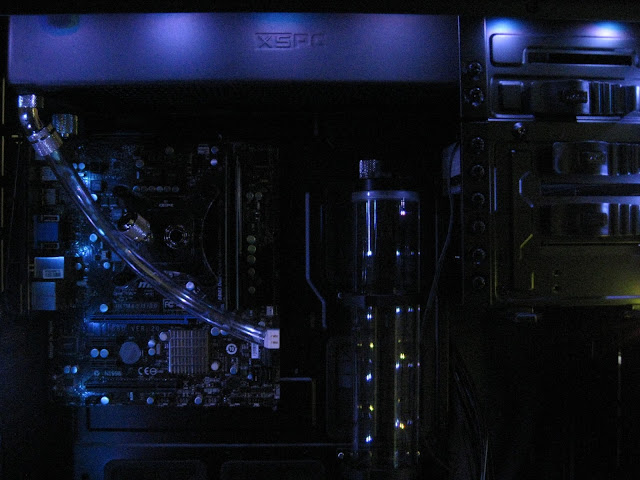
Installed the pump top...pretty simple.
Another problem is the pump thread are so close to each other that prevents me from adding a compression fittings directly to it as the cap for other port it blocking. No idea why the hell bitspower design like this, will need to get extra rotary & male to male adapters now...
Installed all the fittings already
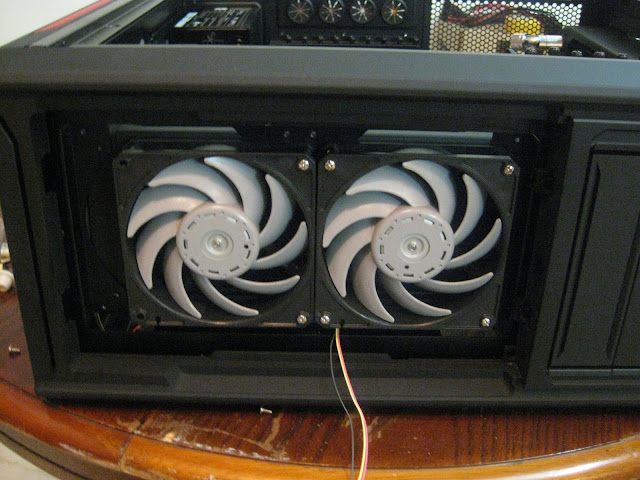
Gentle typhoon is mounted temporary till I get my hands on corsair sp120.
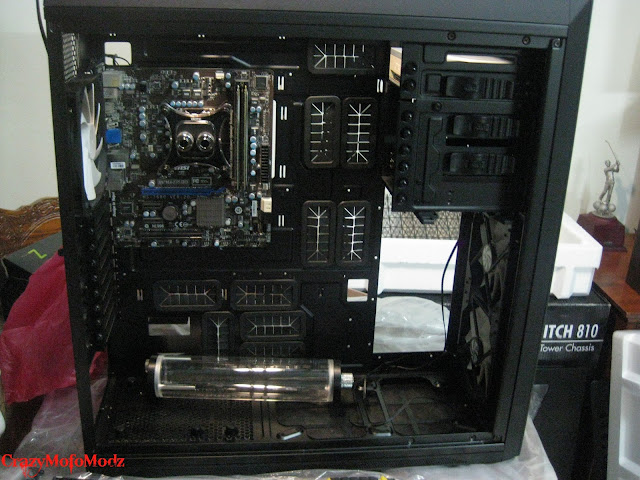
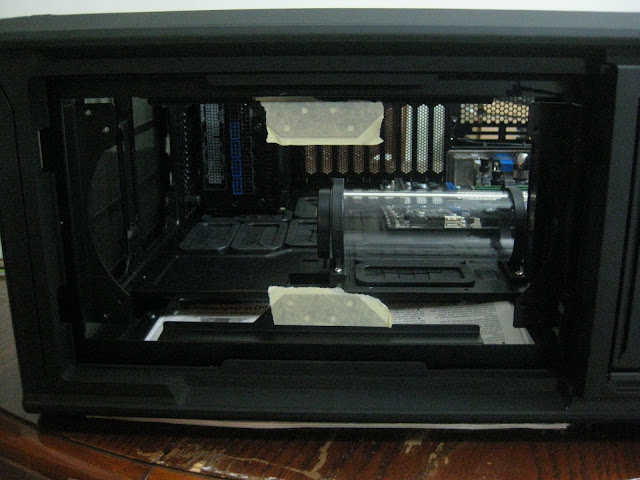
As you can see, the casing dosen't seems to be long enough. It reaches till the radiator water tank so I have no choice but to leave this.
I cut a thin piece of wood with my dremel just to test it and the dremel sucks lol. Can't seem to cut things properly and the cutting disk exploded infront me and hit my hand. China stuff, so I am not surprised. Not sure if I can use it for cutting acrylic or not but for grinding & sanding stuff is ok though. Part of the wood got chipped off from the dremel flying disk. I will try to get some proper cutting disk...
Reason for a wood is to keep the surface solid as I want to keep my pump at the casing floor. I might replace it with acrylic once I get some panels.
And more problems, the top radiator cannot be secured to the fans with the provided screws. They are too short as the switch 810 has a curve to the holes. Solution to this is to grind it to smoother and reduce the space but I decided to get custom length screws instead, since I will be using gasket on top of that and this will not work with the given 3cm screws.
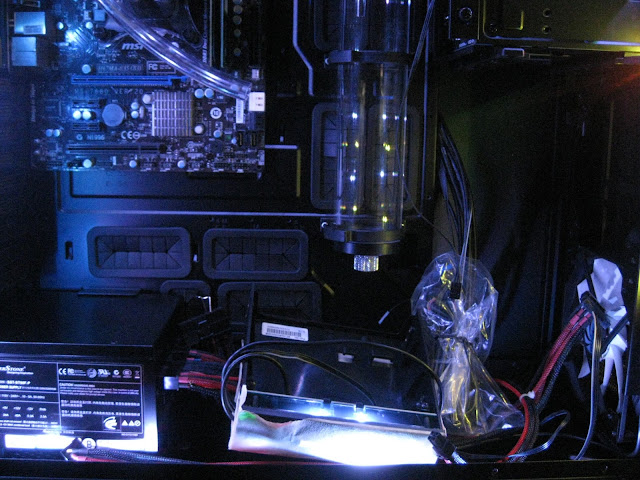
Leak testing, in my rig. Yes I am confident with my setup so I went straight installing it in the rig. No leaks so far, will be adjusting the tubing to the pump once I get my rotary and extenders. Of course now the tubing looks ugly at the bottom because I dont want to cut too short yet. Will re-route the tubing at the bottom part once I get GPU WB & 90 degrees rotary...
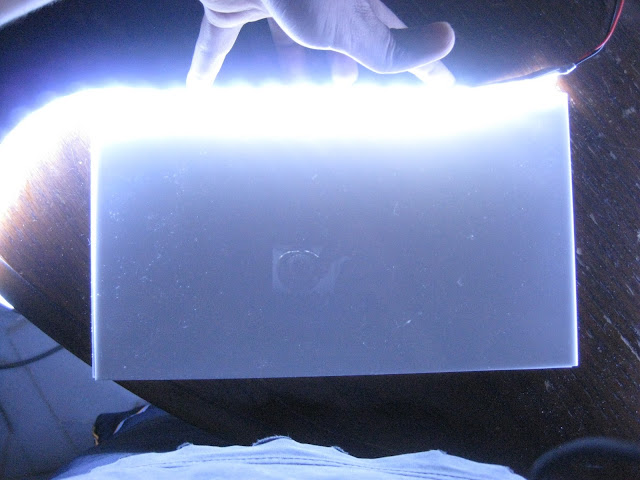
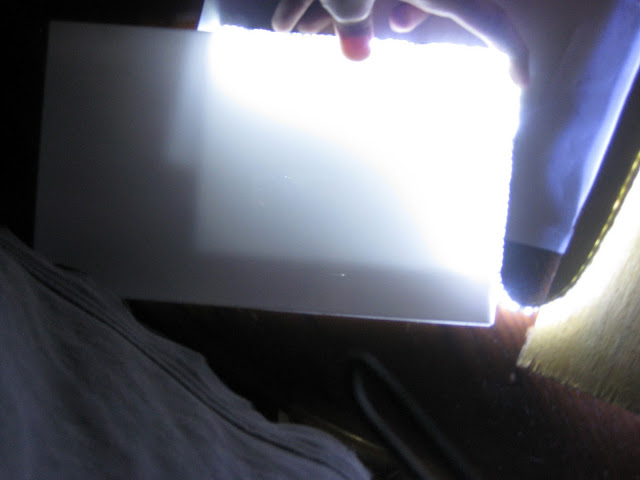
Playing around with leds & acrylic panels. Still can't recreate a proper luminous panel. Will get few types of sandpaper & play around with it again to get an even light distribution on it.
I am back :hehe:
Tested the acrylic panel this time with 5mm sanded + super bright led strip, still getting uneven brightness...
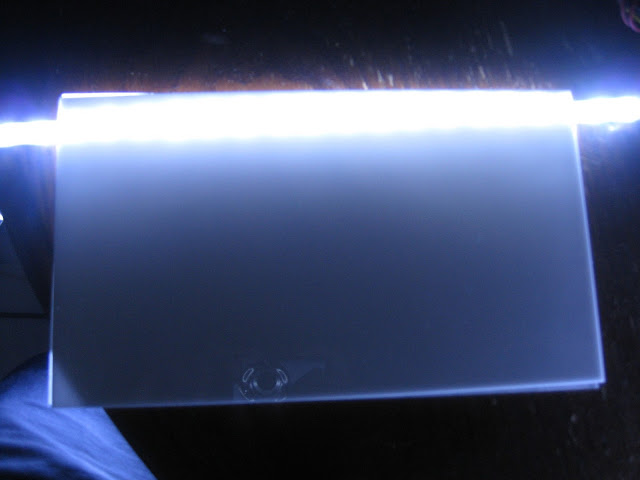
Went back to the drawing board & made changes, manage to mount the led at the side & cover with wire tape. I am not sure how long these china leds are going to last before failing plus its covered directly to the acrylic with no gap & wire tape so the heat is going to be trapped. Lets just hope it does not get too hot & burn the leds otherwise I need to rethink how to do it...
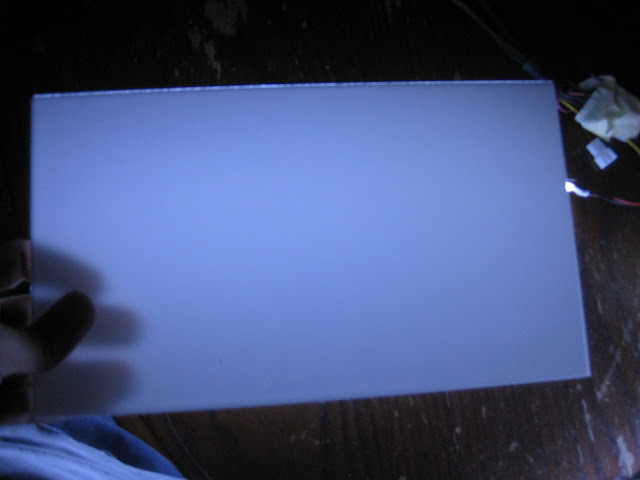
Luminous panel in action, replaced the led strip with a dimmer one. Looks much better now but still uneven brightness. Its not very noticeable in real life though. I think laser engraved acrylic will give a better result. Will try making one with laser engraved instead of sanded...
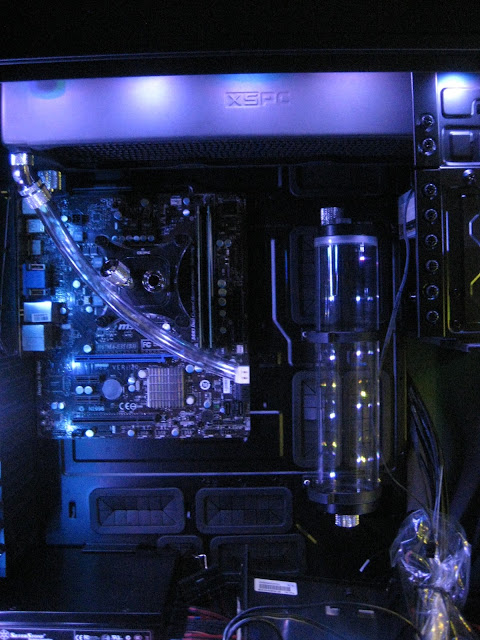
Lego for adults...
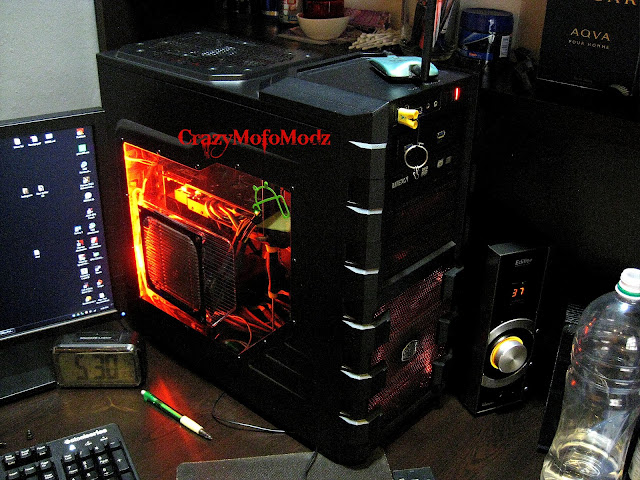
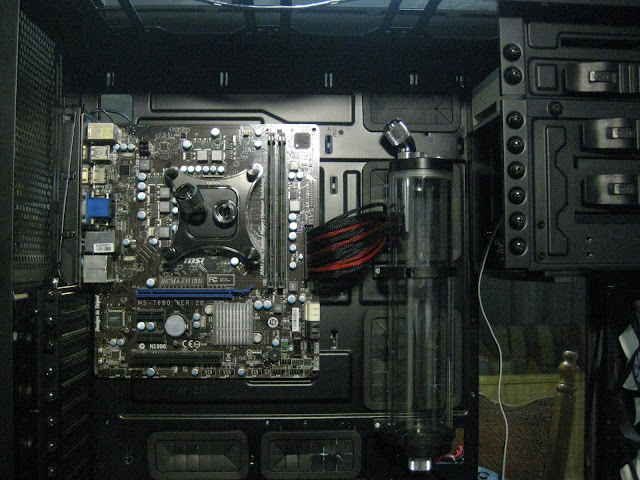
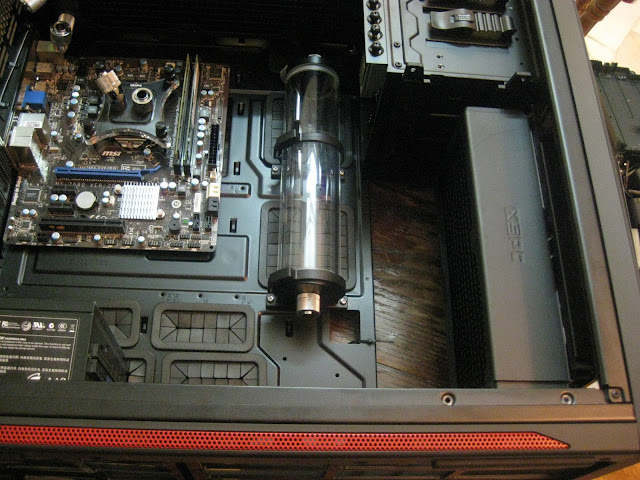
Did... Did you just put a waterblock on a non-overclocker CPU that is seated in an mATX motherboard in a Switch 810?
Better get that Haswell upgrade quickly.
interesting right? You will need to wait for moar updates :harhar:


")


")