[Intel NUC] The microprocessor

Ace_finland

New member
Hey guys,

For a long time i've been wanting to make a small pc for the tv so when i saw the announcement of the Intel NUC/Bit-tech competition i thought i would send in a design and see how it goes. Sadly I didn't get picked for the competition but in the true spirit of modding i bought all the parts instead so i can still make a case.

Background:
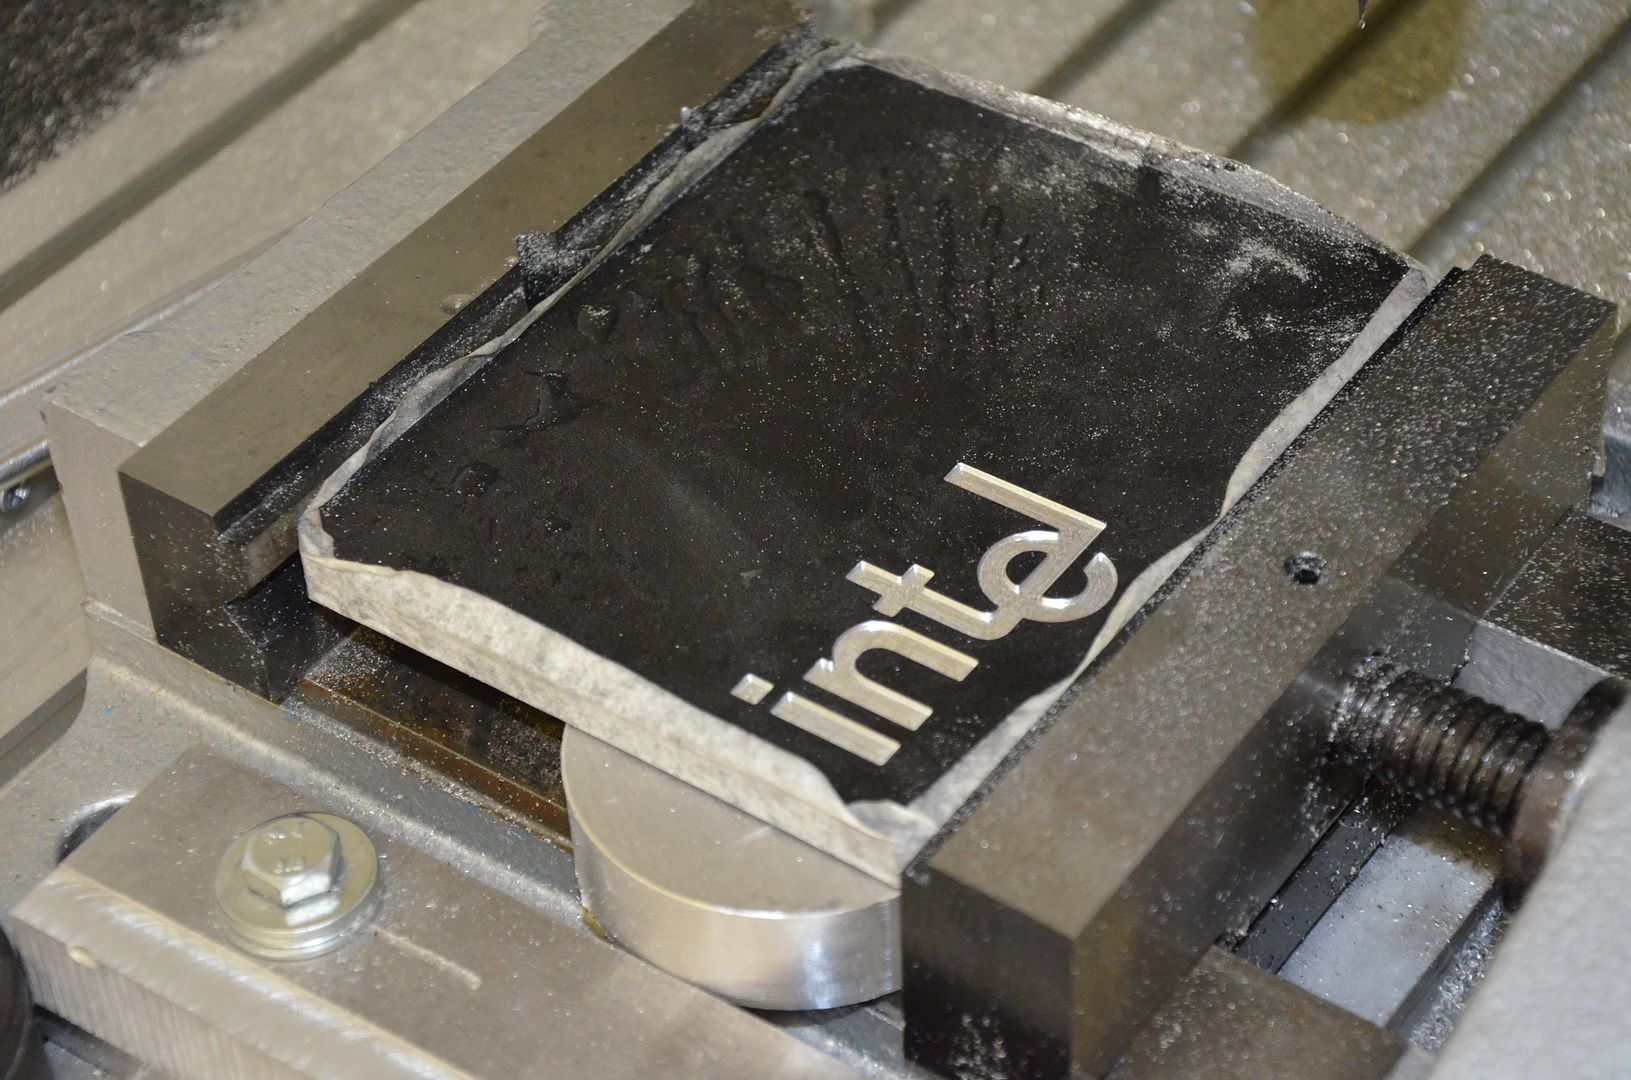
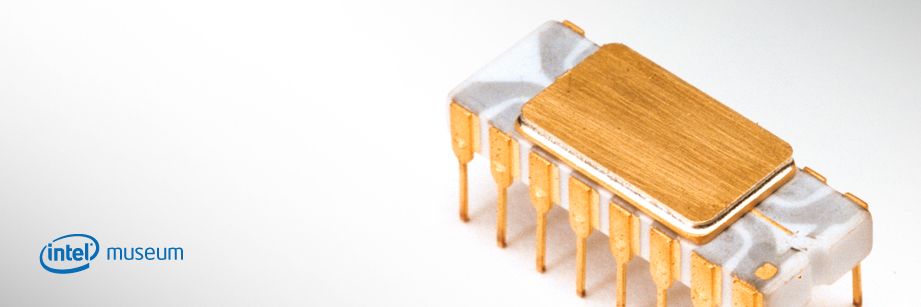
When i first saw the Intel NUC and its small size i knew it would be perfect for my needs. When thinking of a design for the competition i started looking at Intel's old microprocessors and what they meant for the general public back in the days. These nuc motherboards are a bit of the same in my mind seeing they are quite powerful for their very small form factor. Anyways, enough of that :)

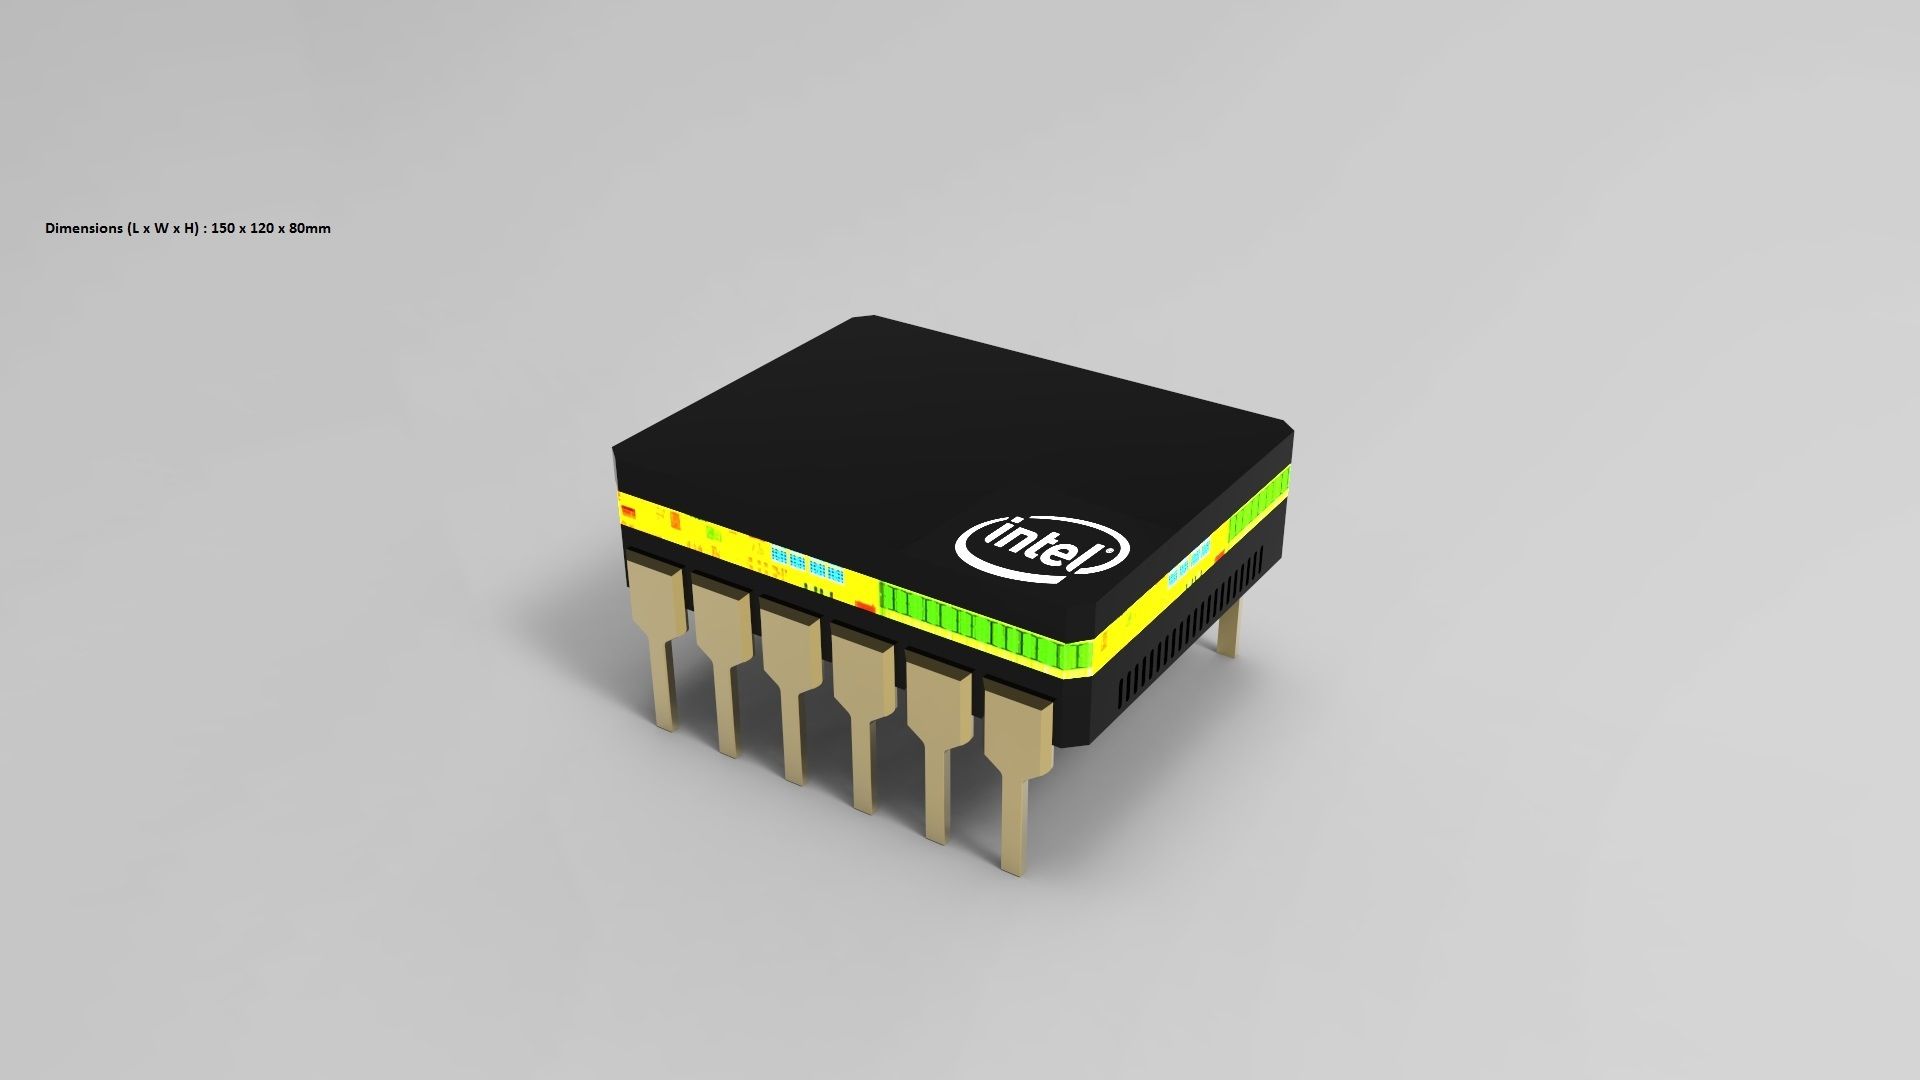
This is the design i sent in for the competition. It has changed quite a bit but i don't have any better ones.
2013-07-04235856_zps929e0f2e.jpg


Decided on a different version (still an i3) but with an wired network and no thunderbolt as i have no need for thunderbolt as of now and it was a bit cheaper
2013-09-11223645_zpscbe66909.jpg


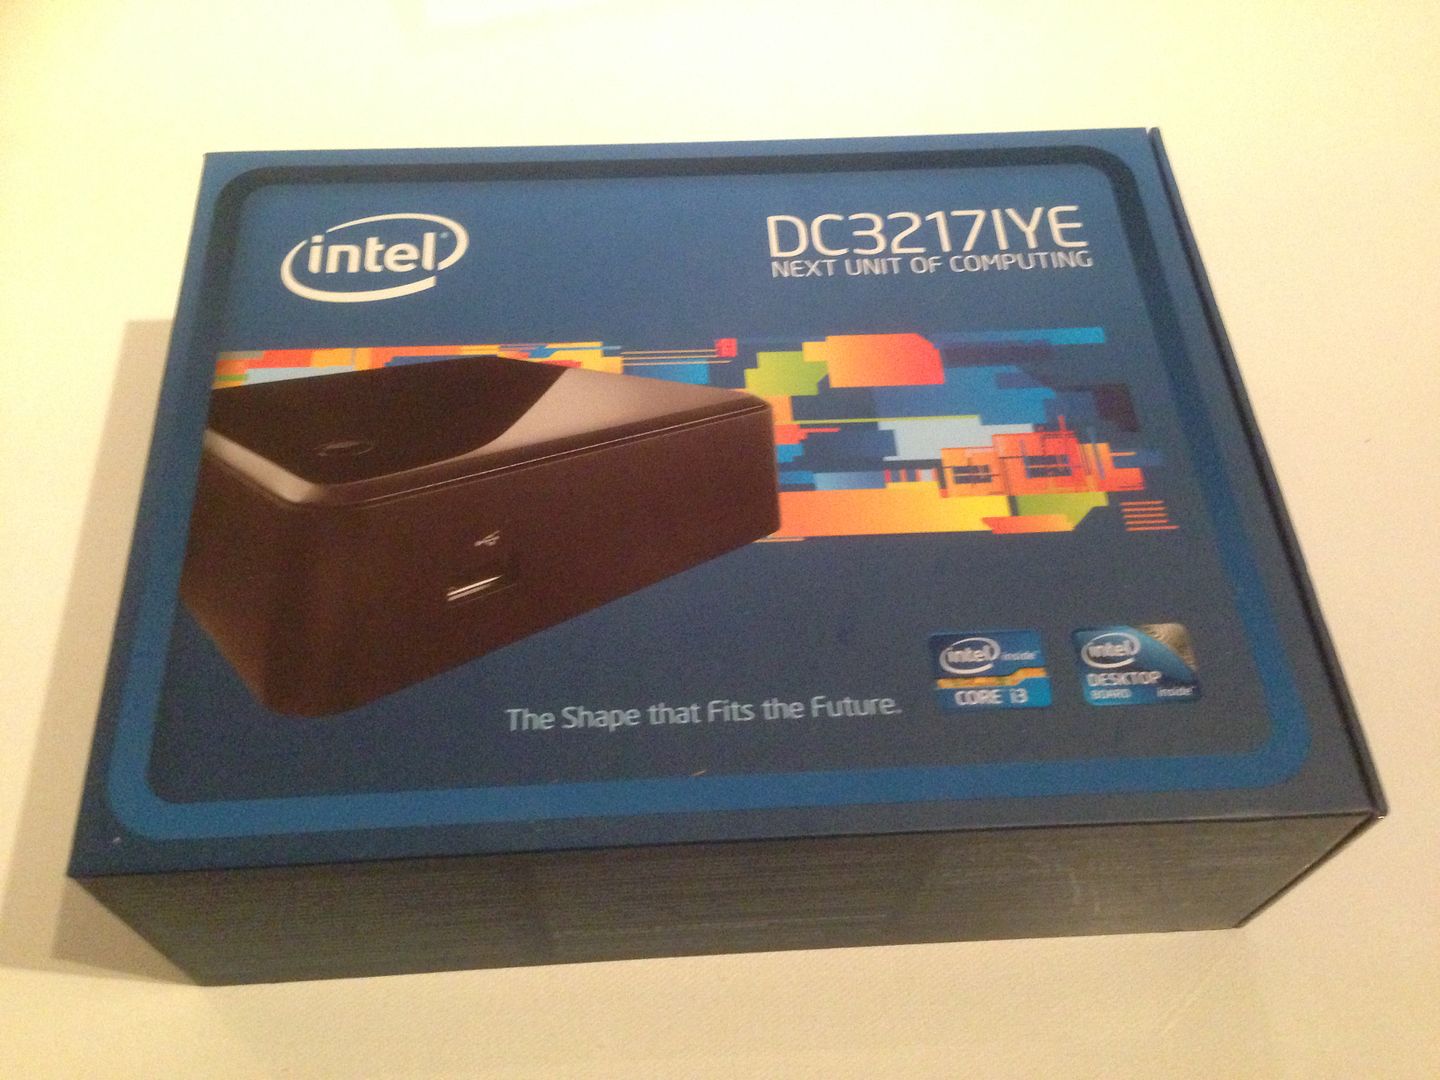
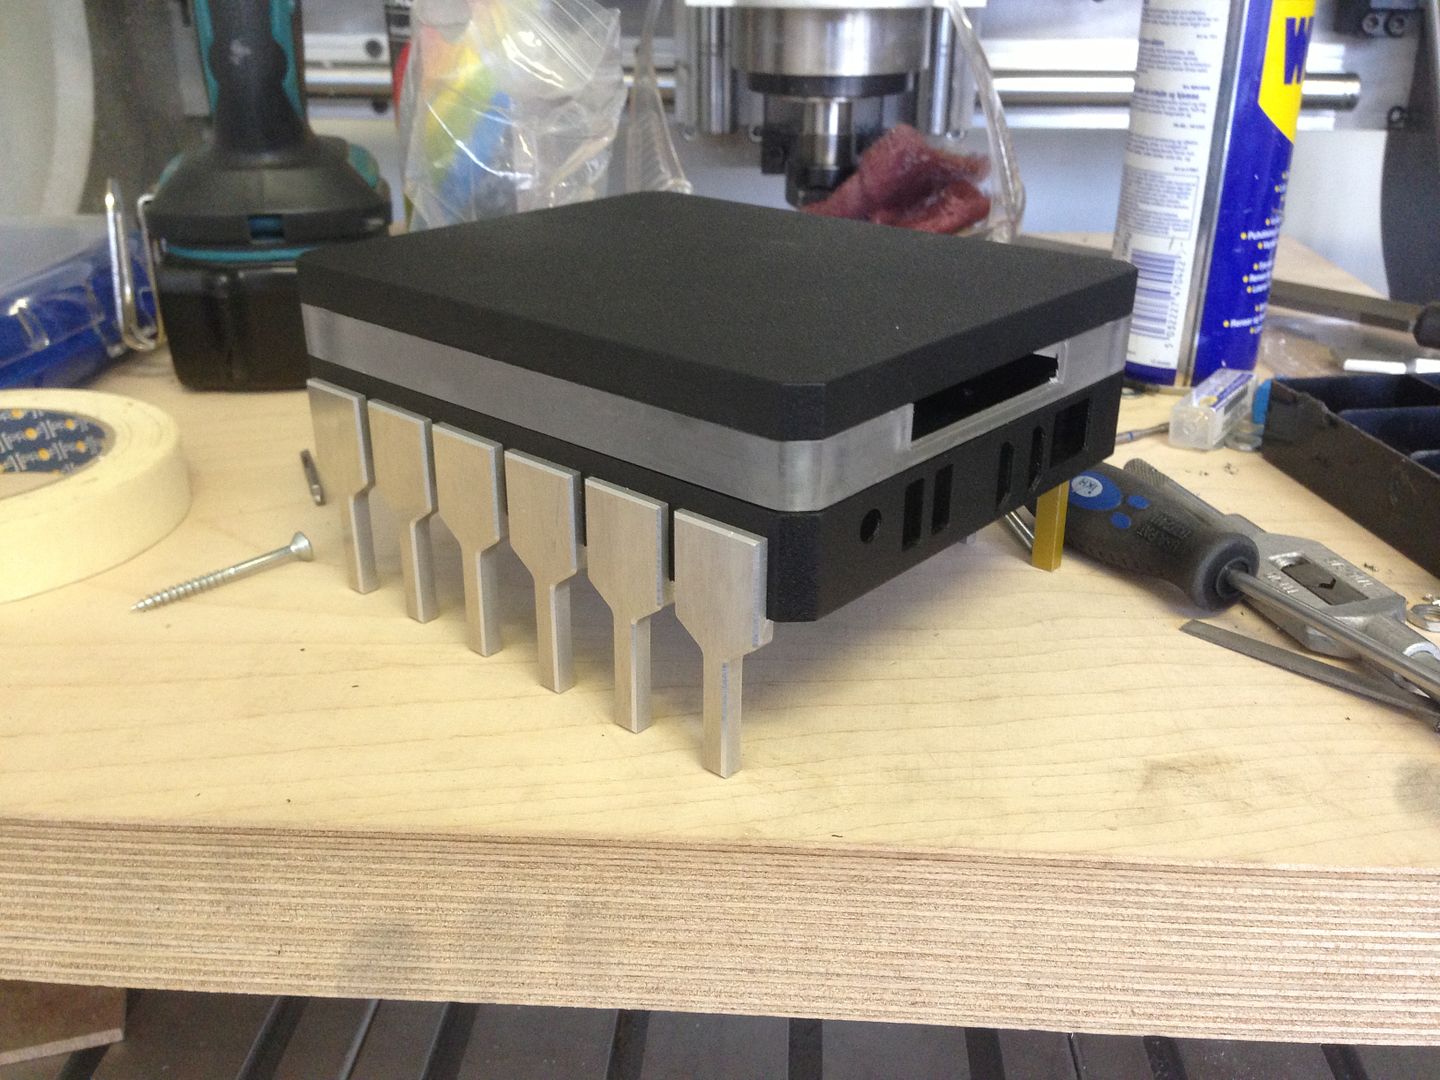
Nuc, 8GB of vengence 1600 ram and a wireless & BT card from Intel
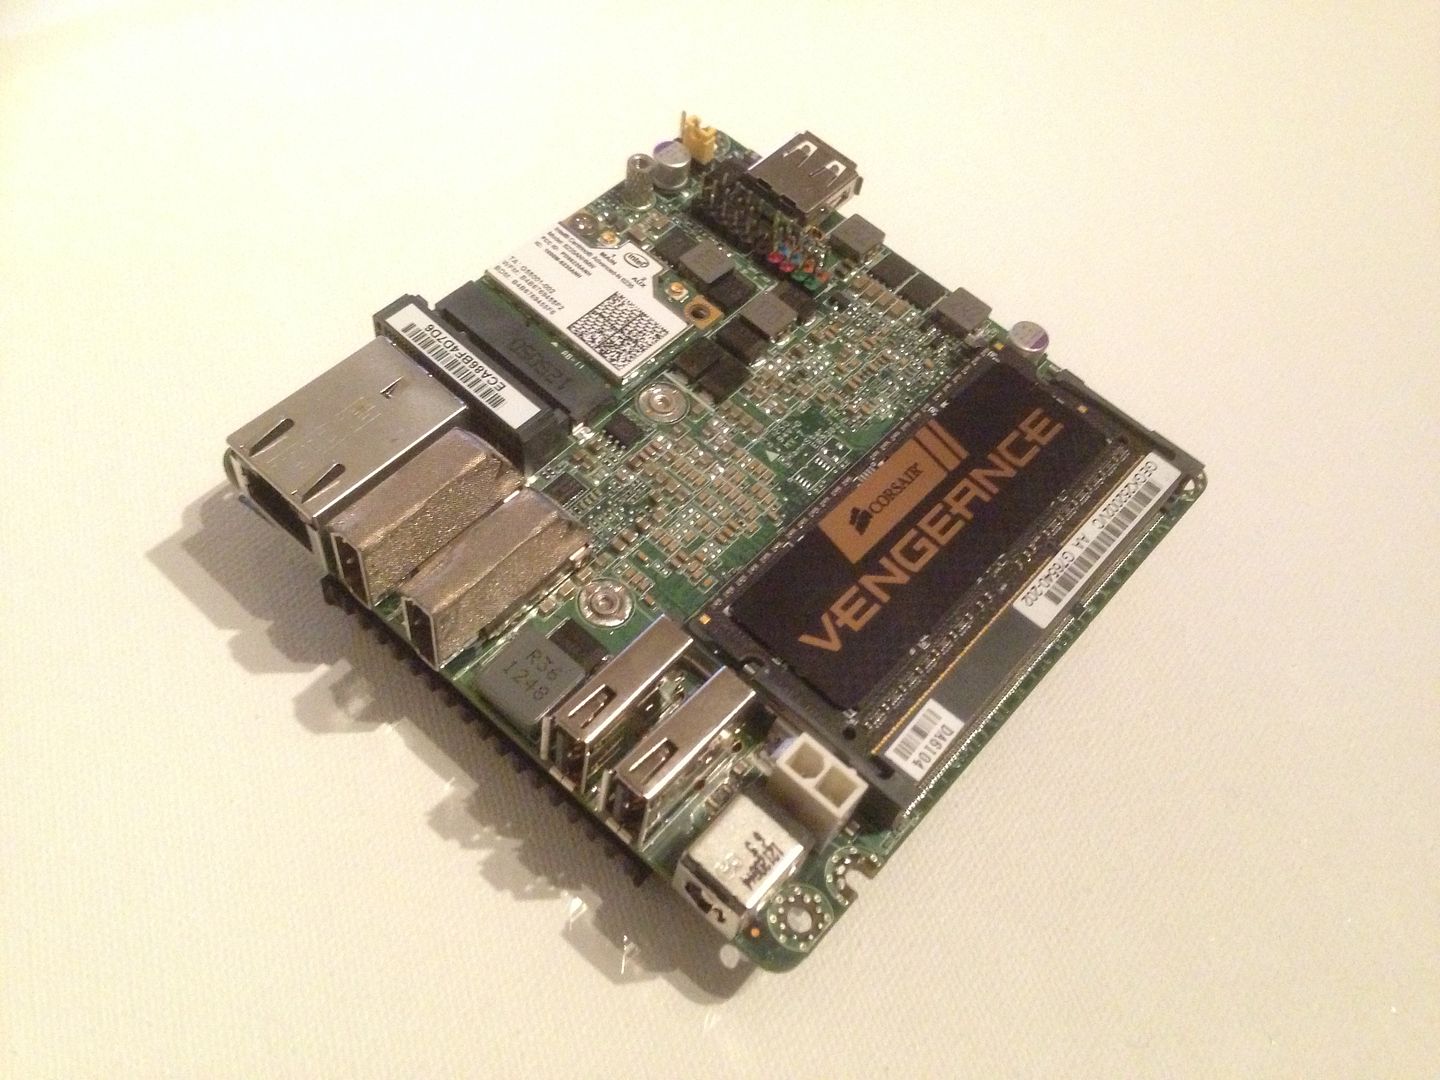
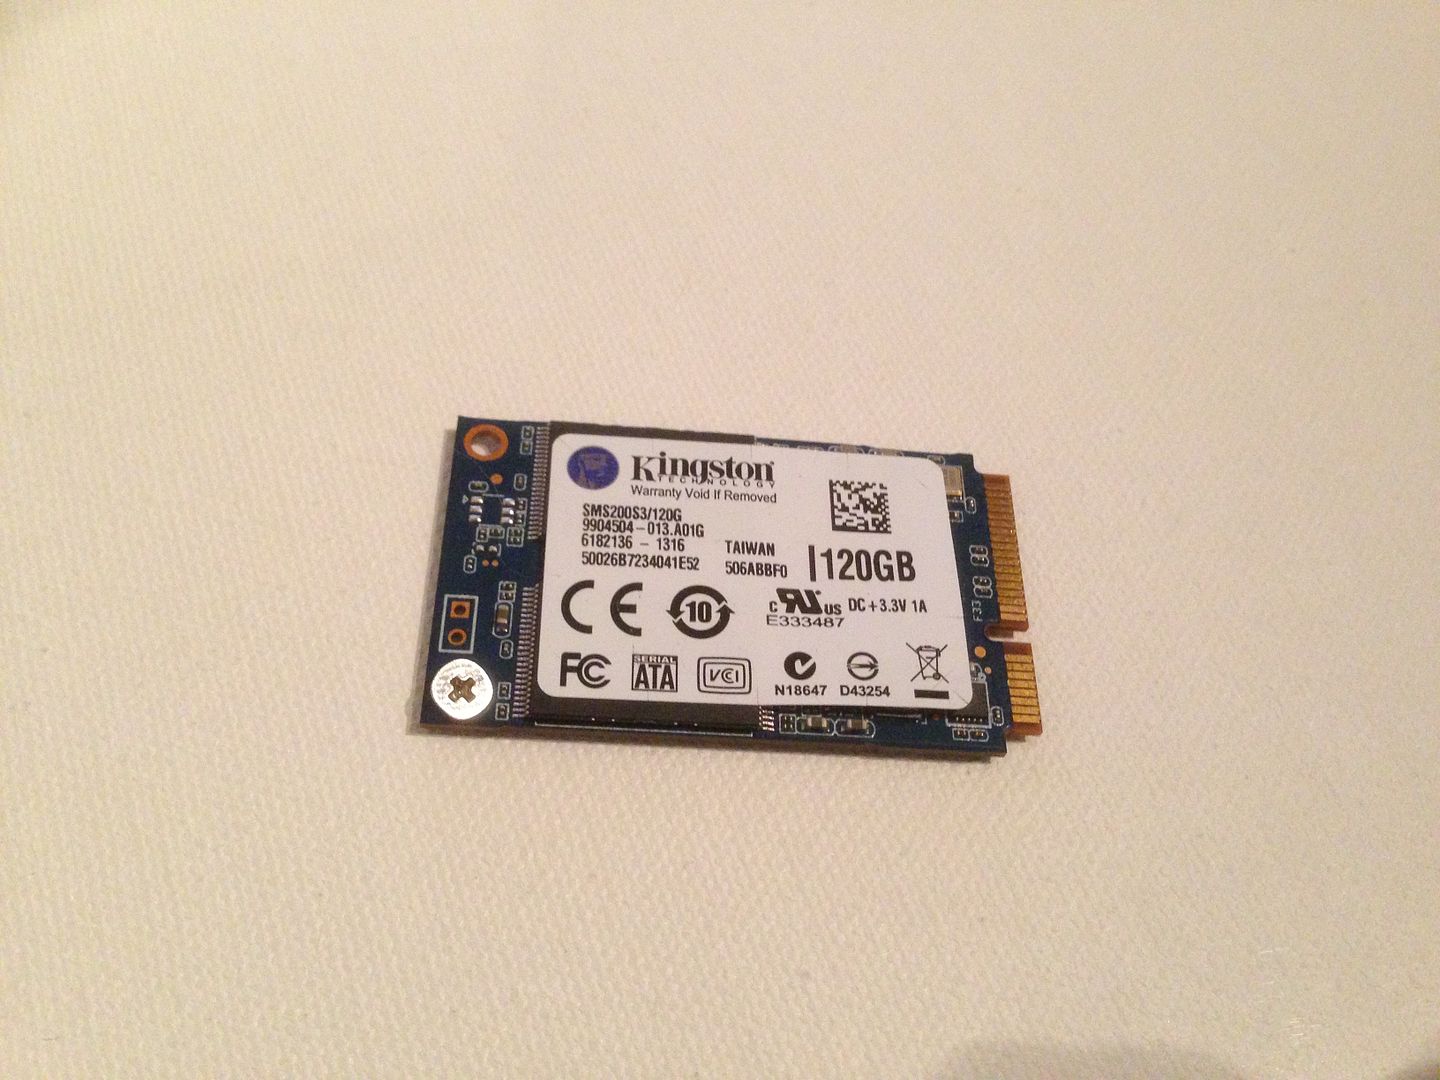
2013-09-11223700_zps4250d314.jpg


120GB Kingston SSD
2013-09-11223724_zpsf36ae6dd.jpg


Now that that is over lets start with the build pictures
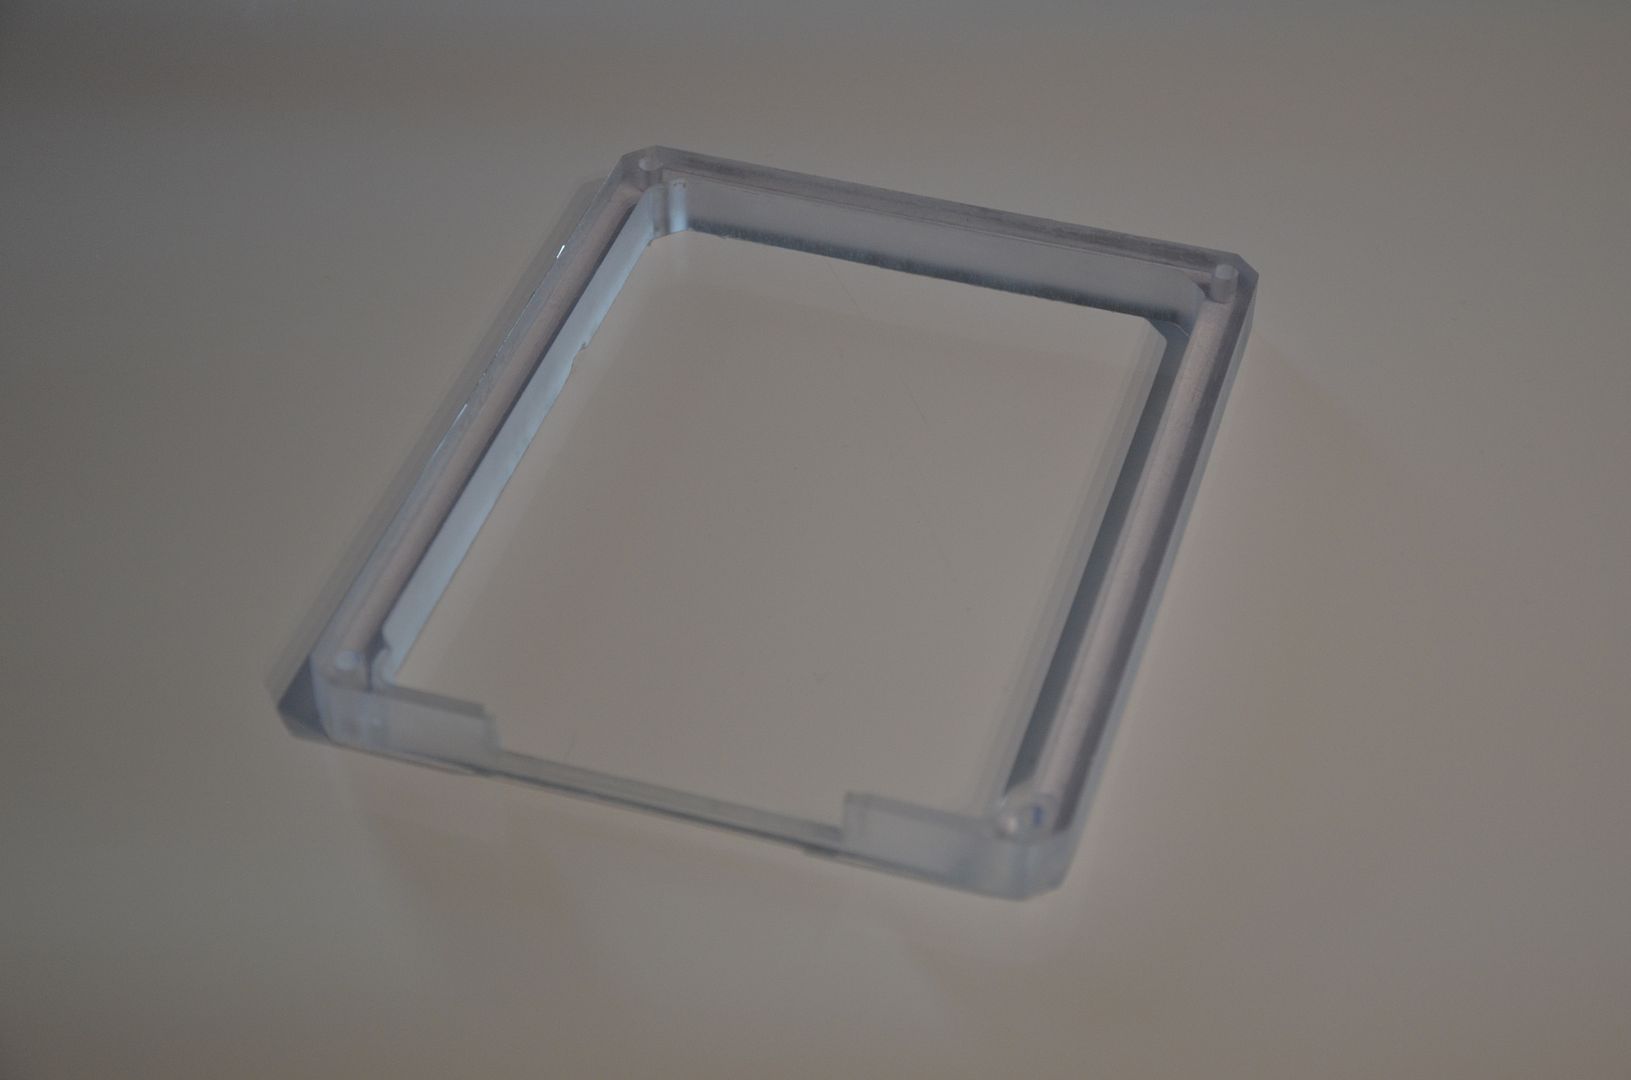
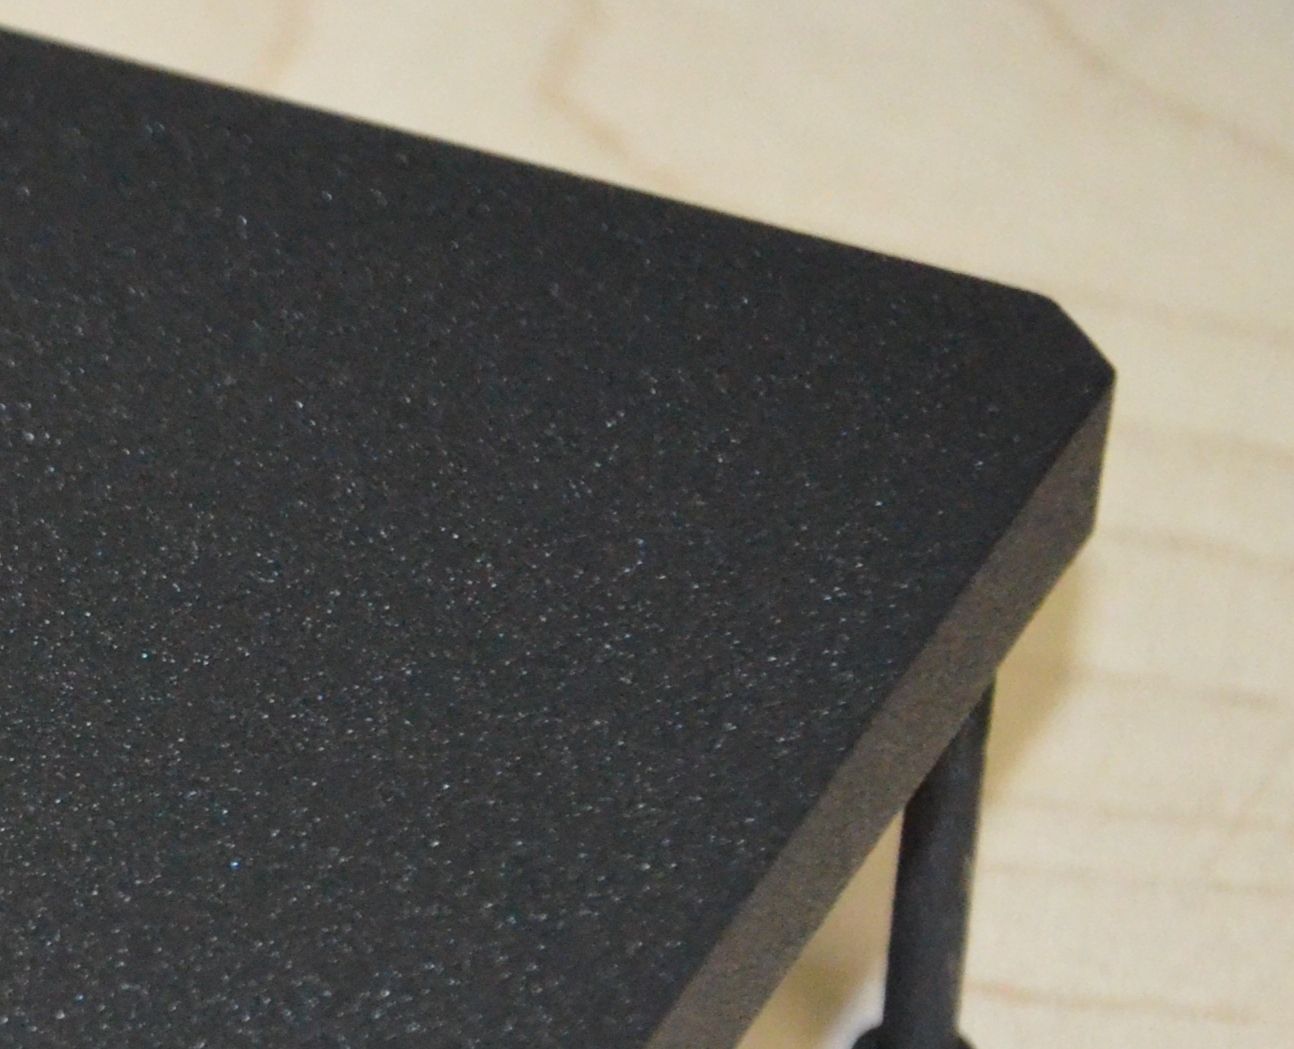
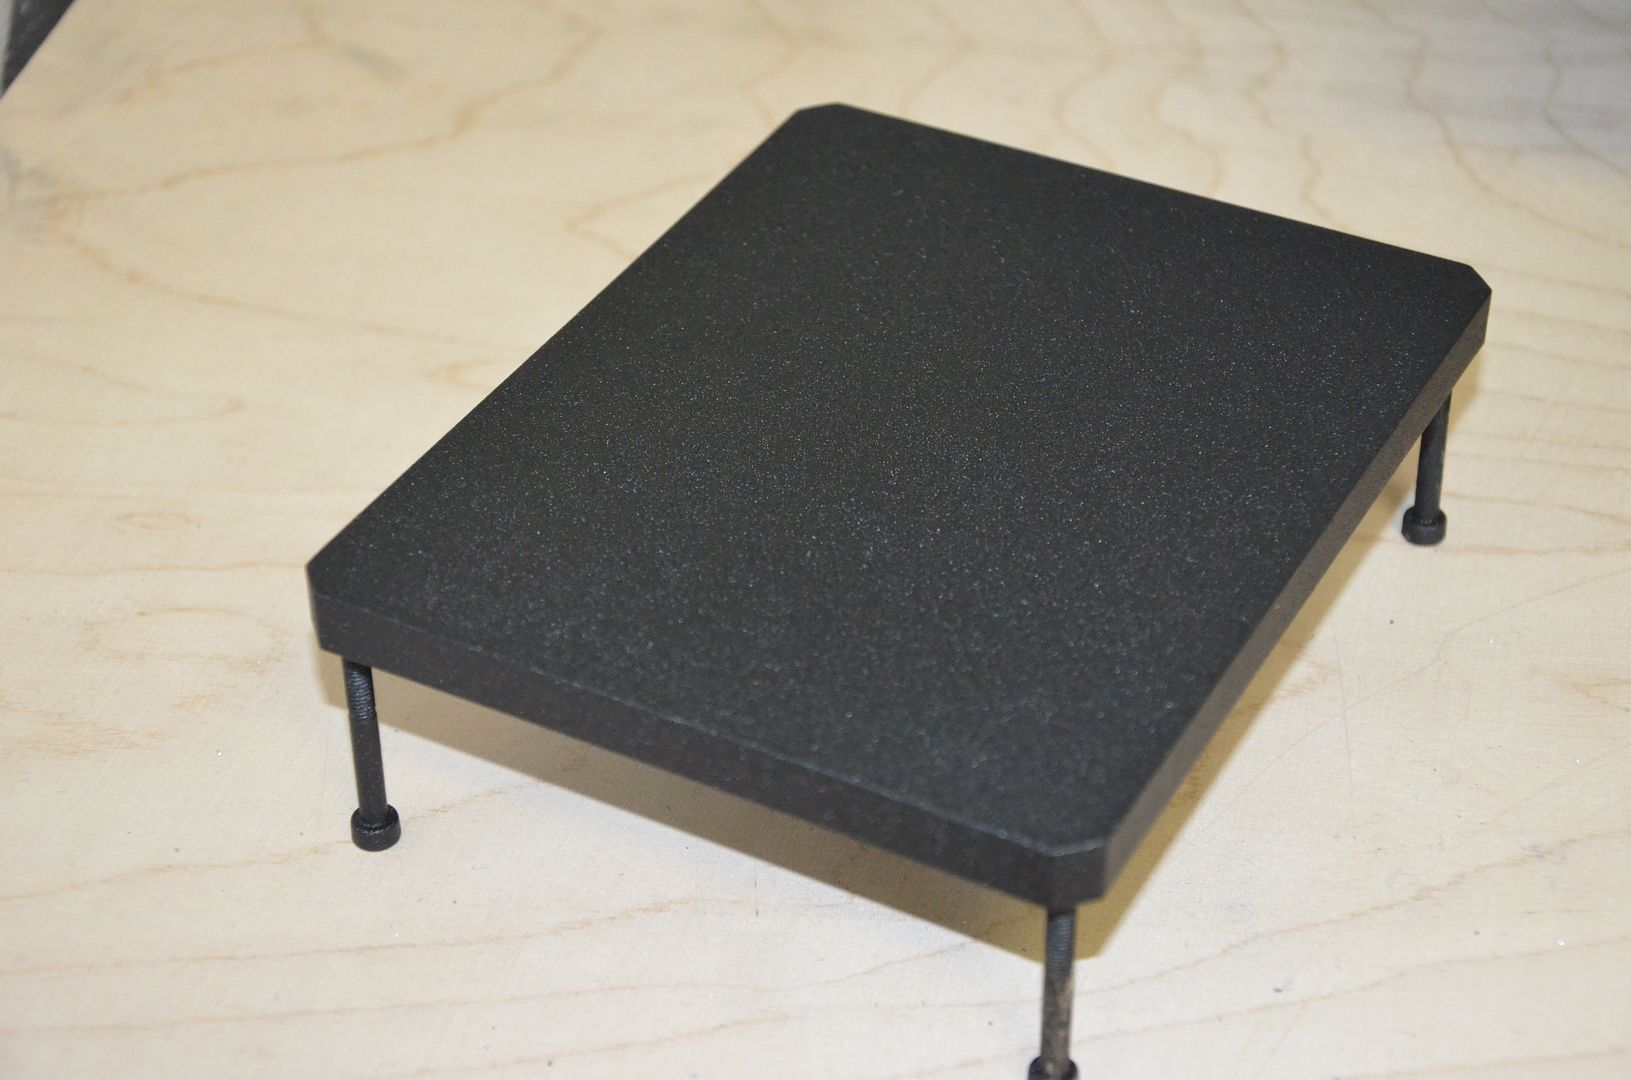
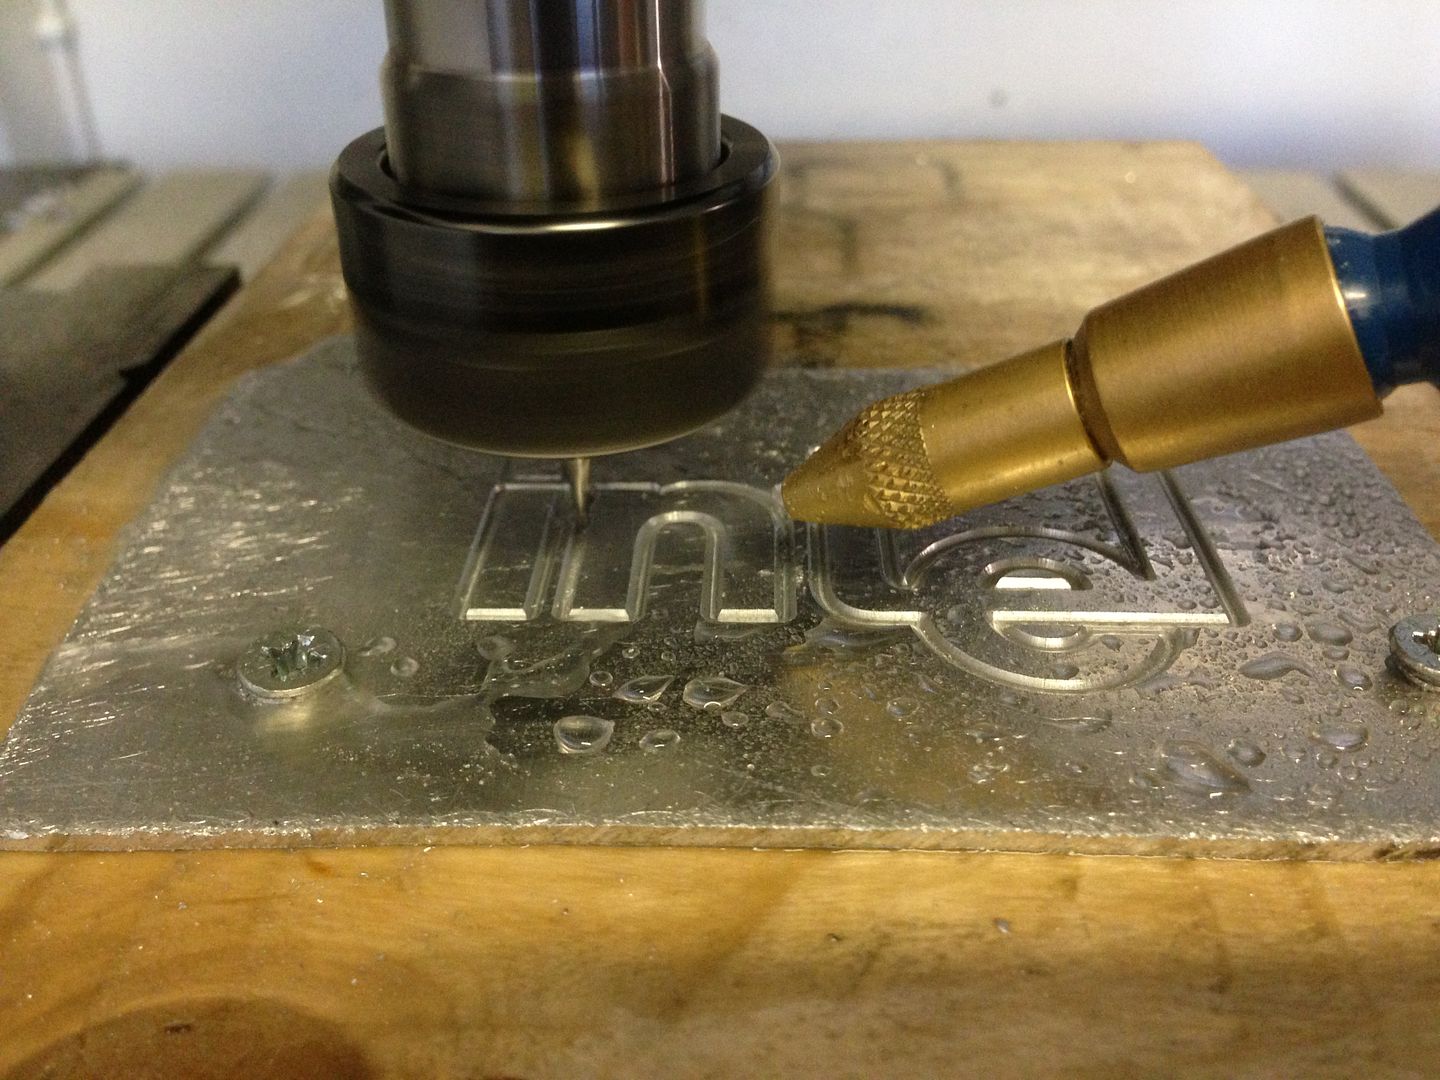
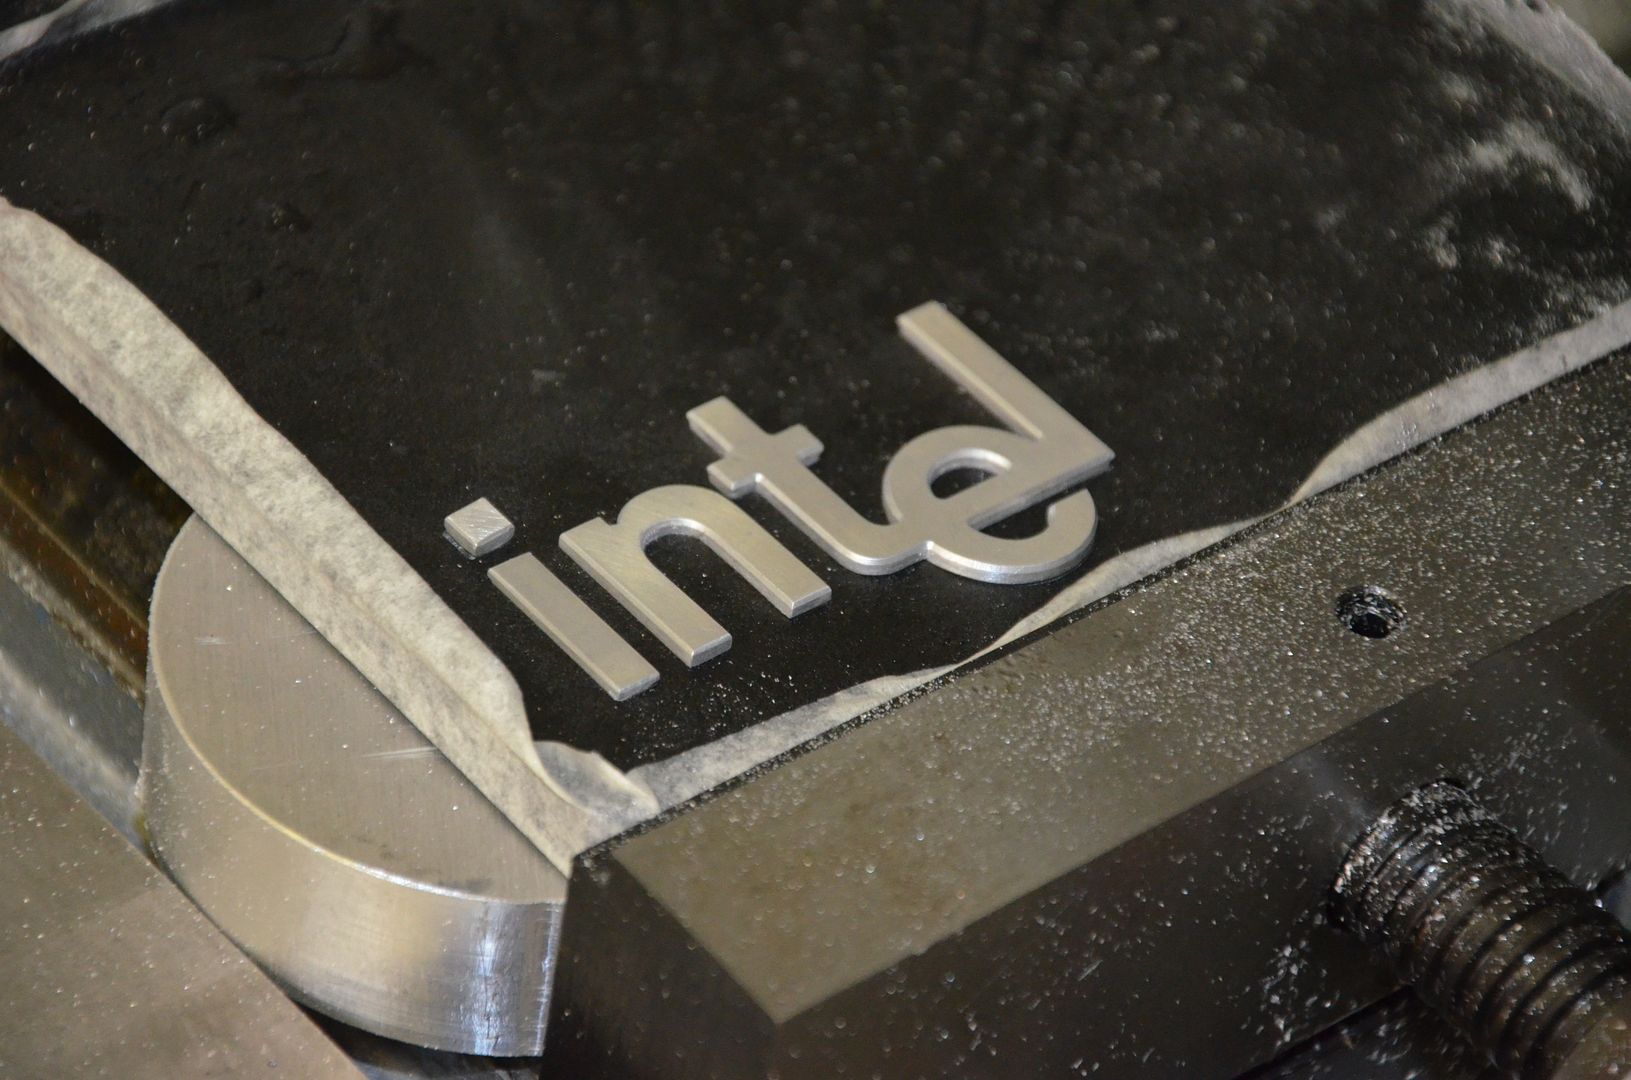
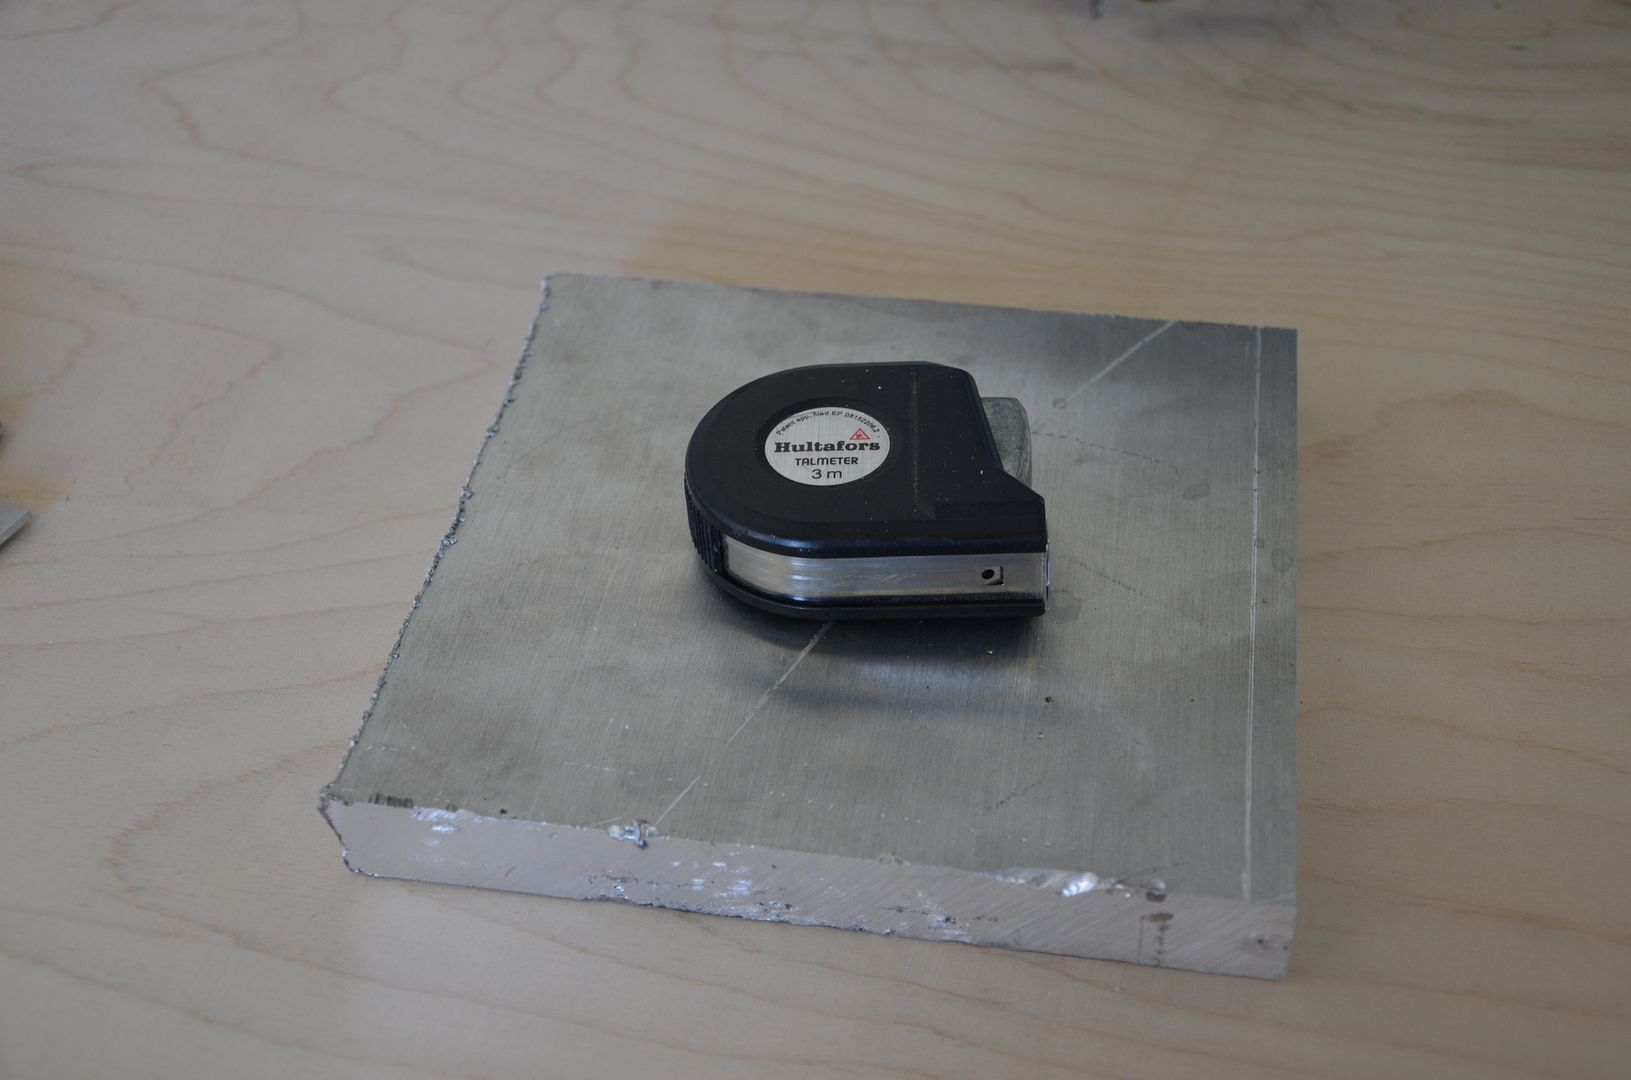
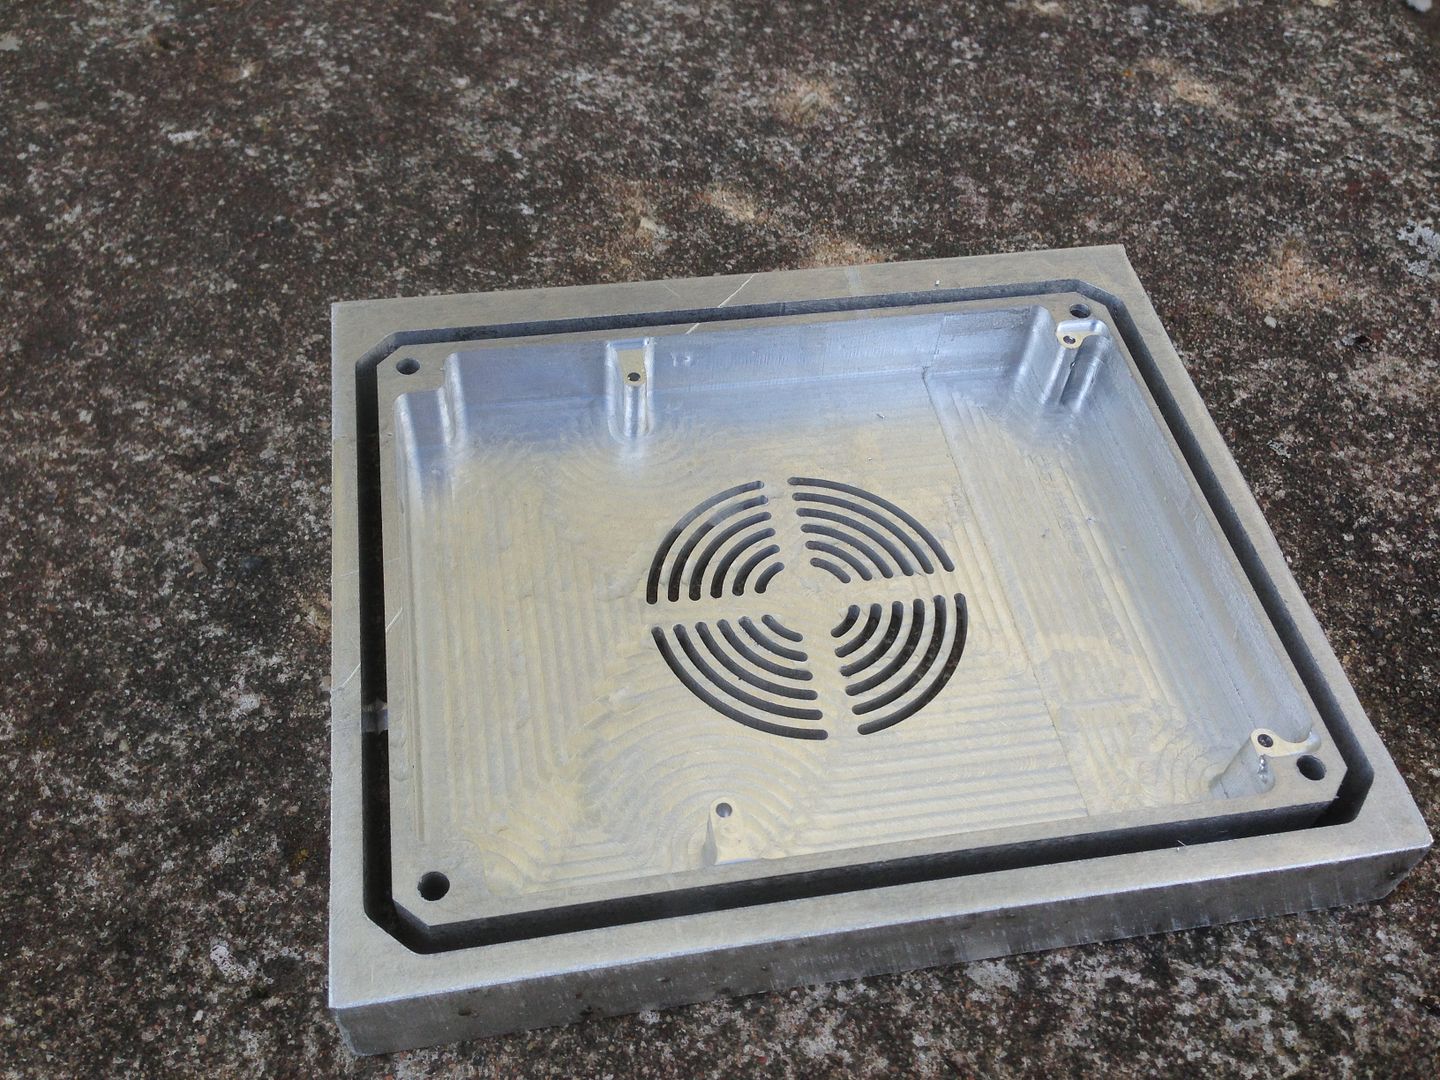
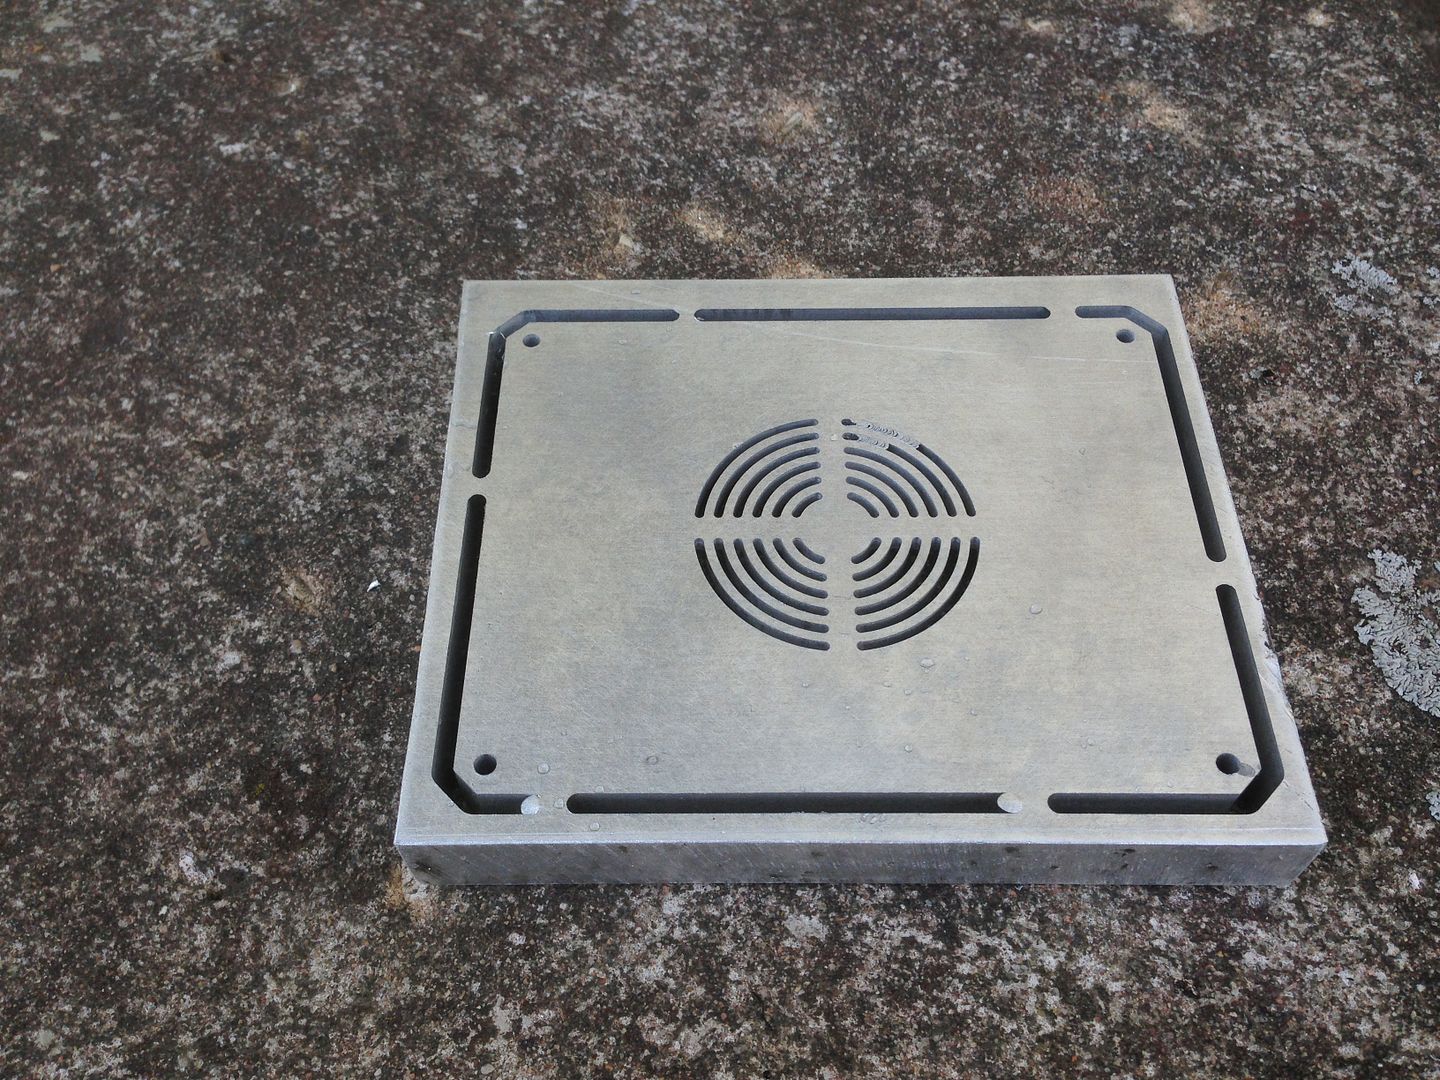
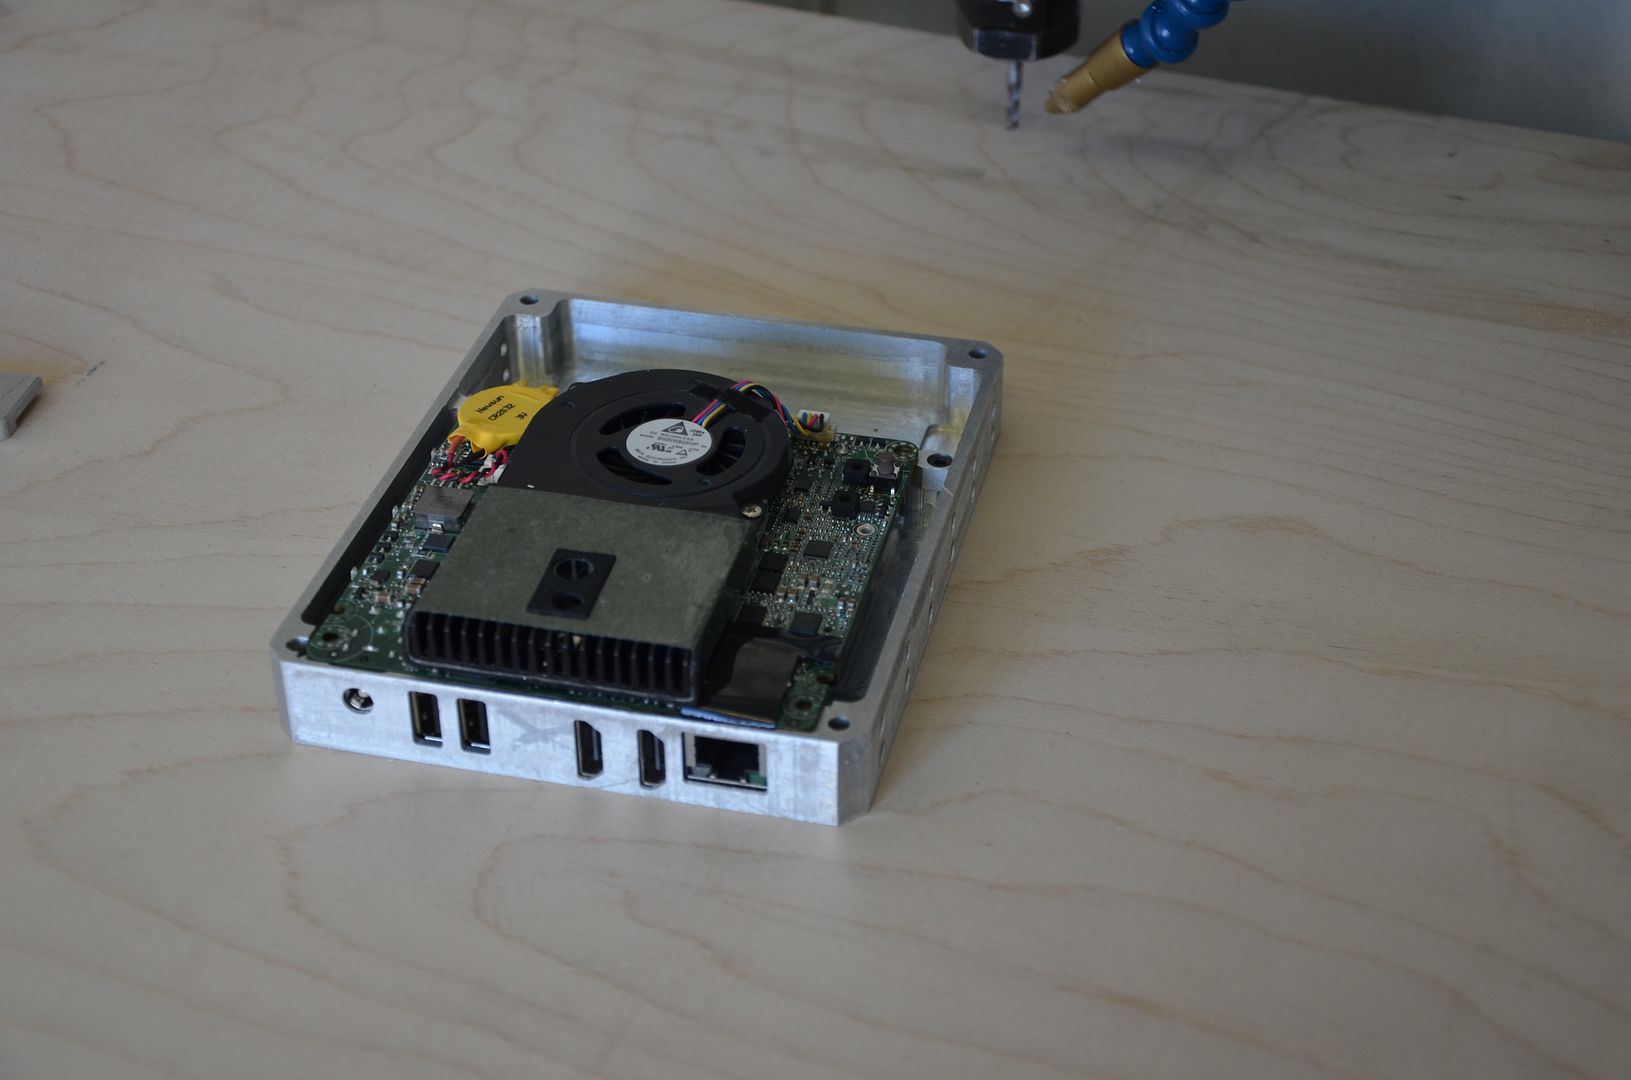
200x200x20mm piece of aluminum cut with a circular saw, worked a lot better than i thought it would.
DSC_0341_zpsa7c0788c.jpg


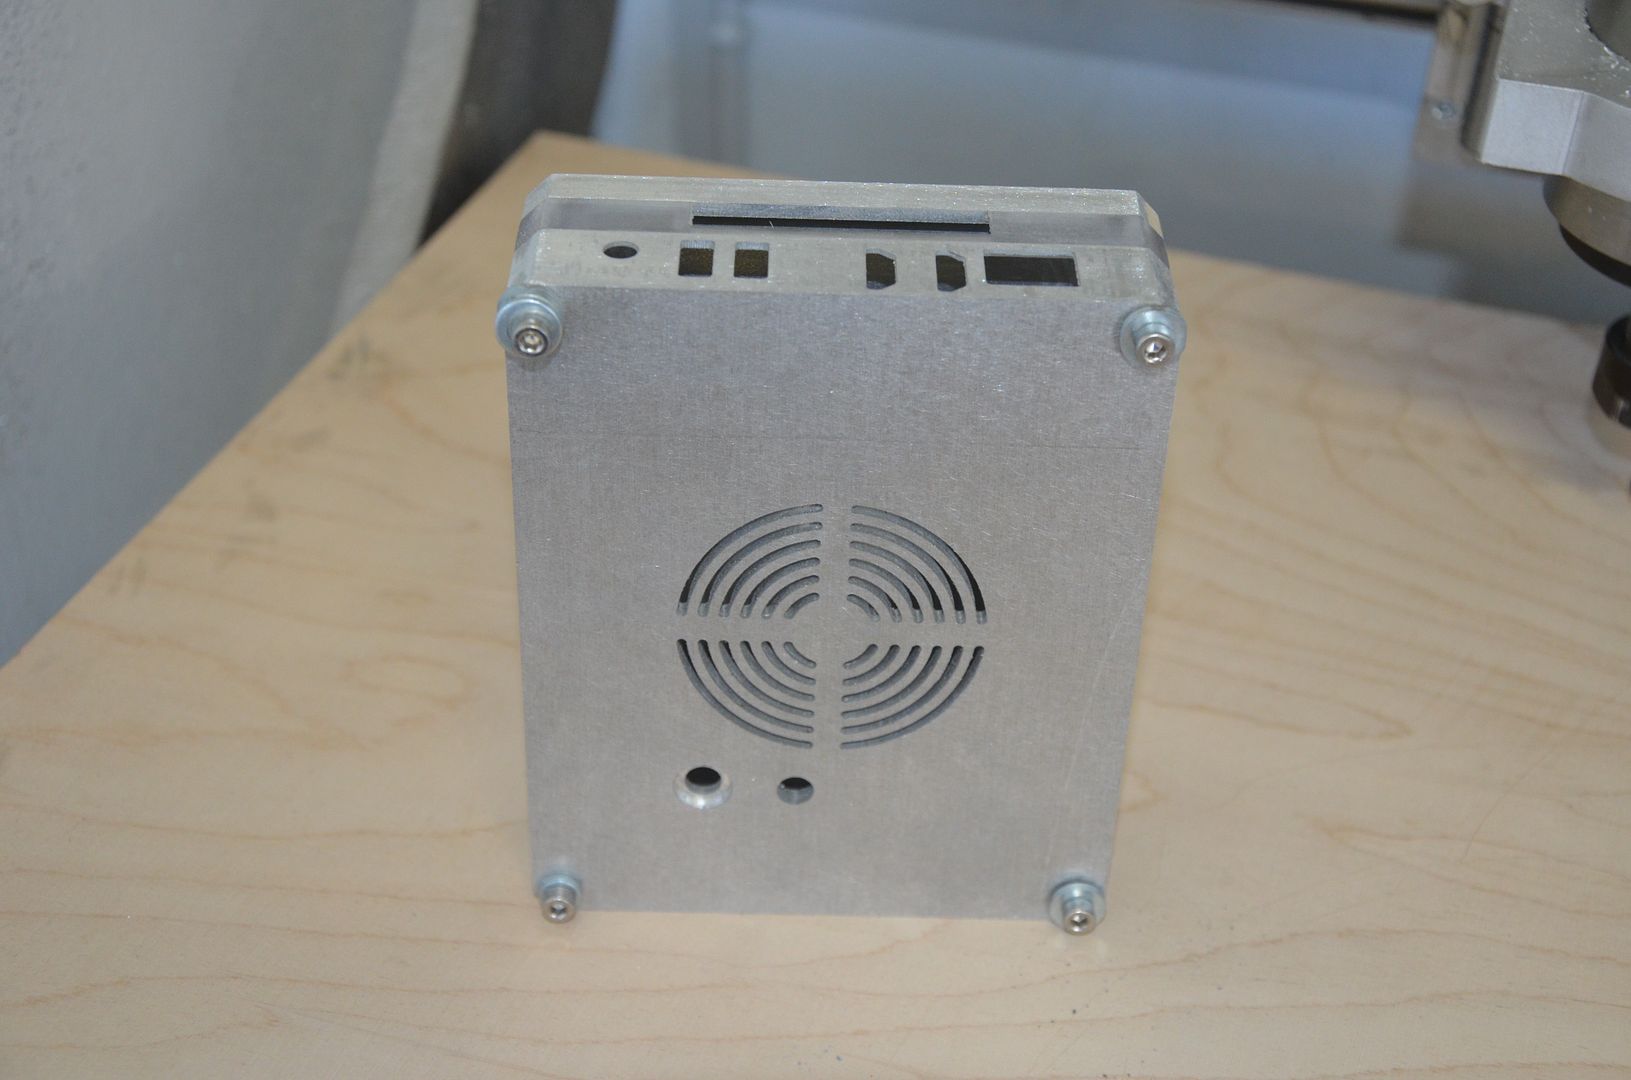
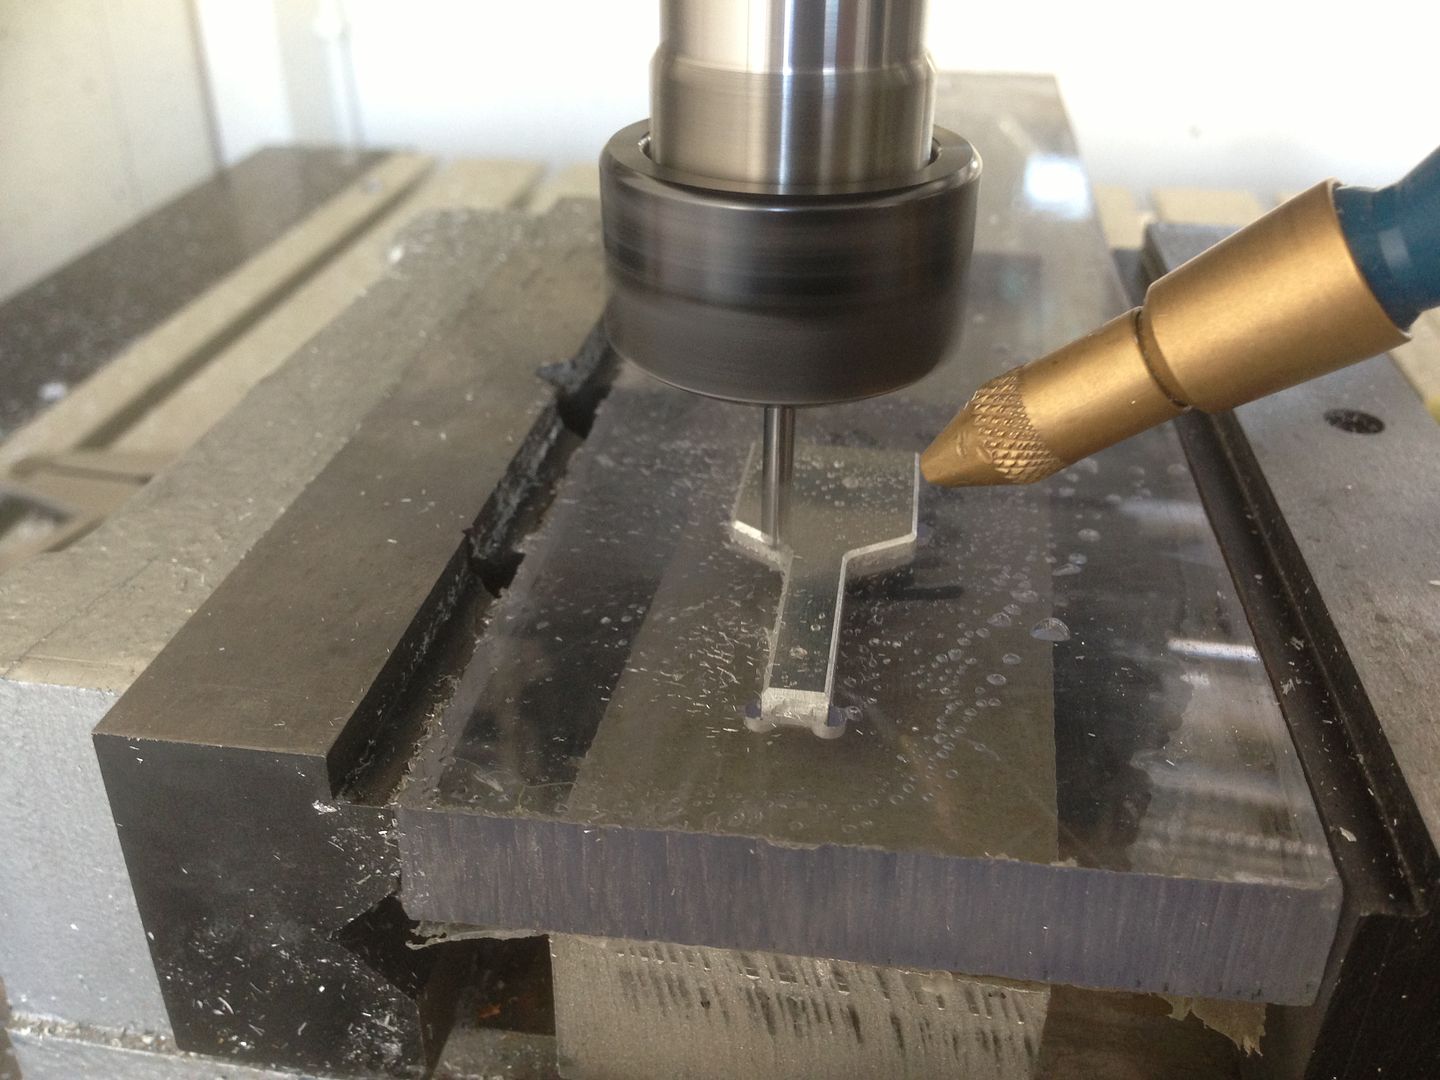
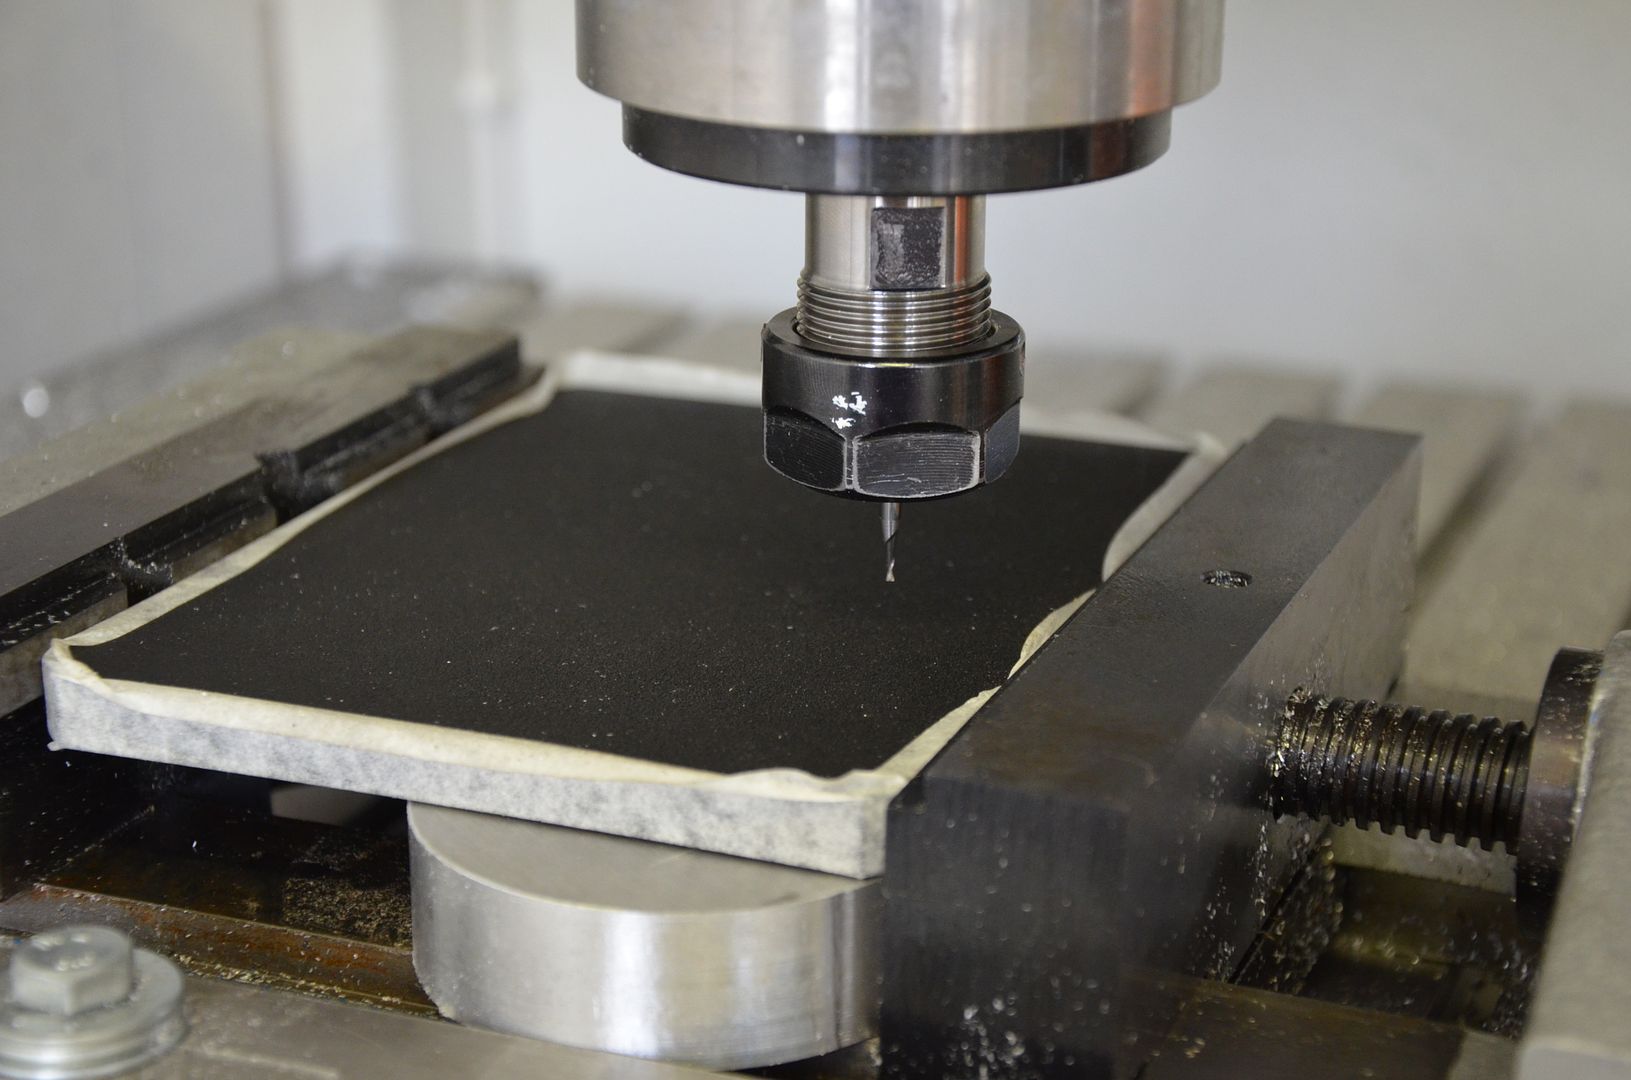
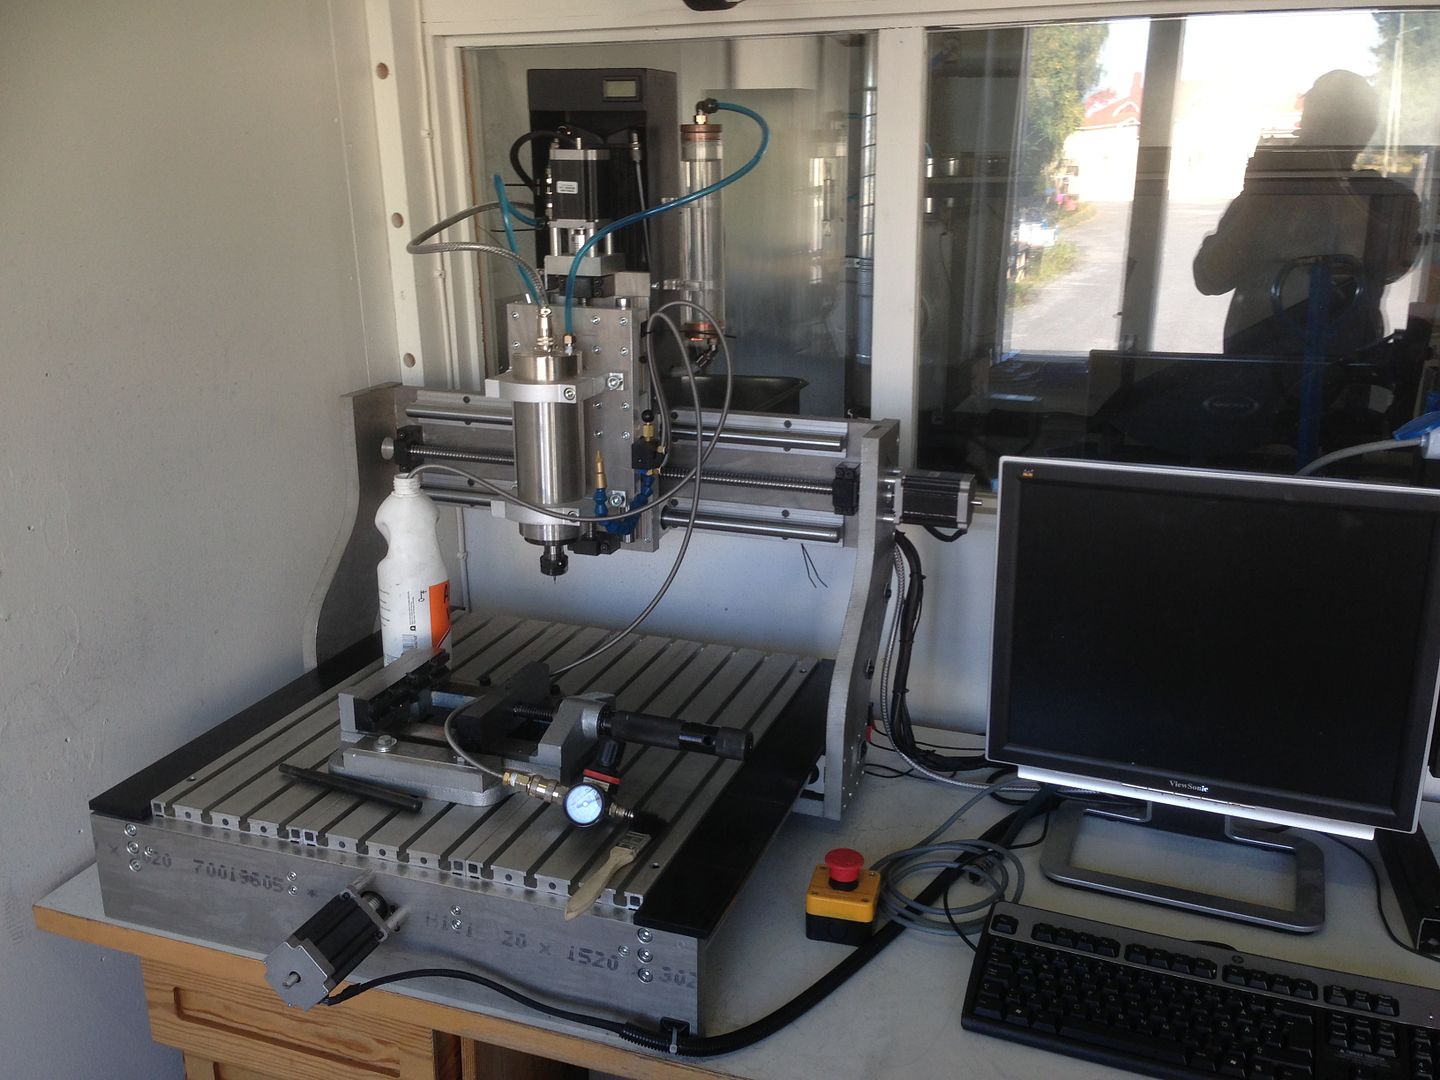
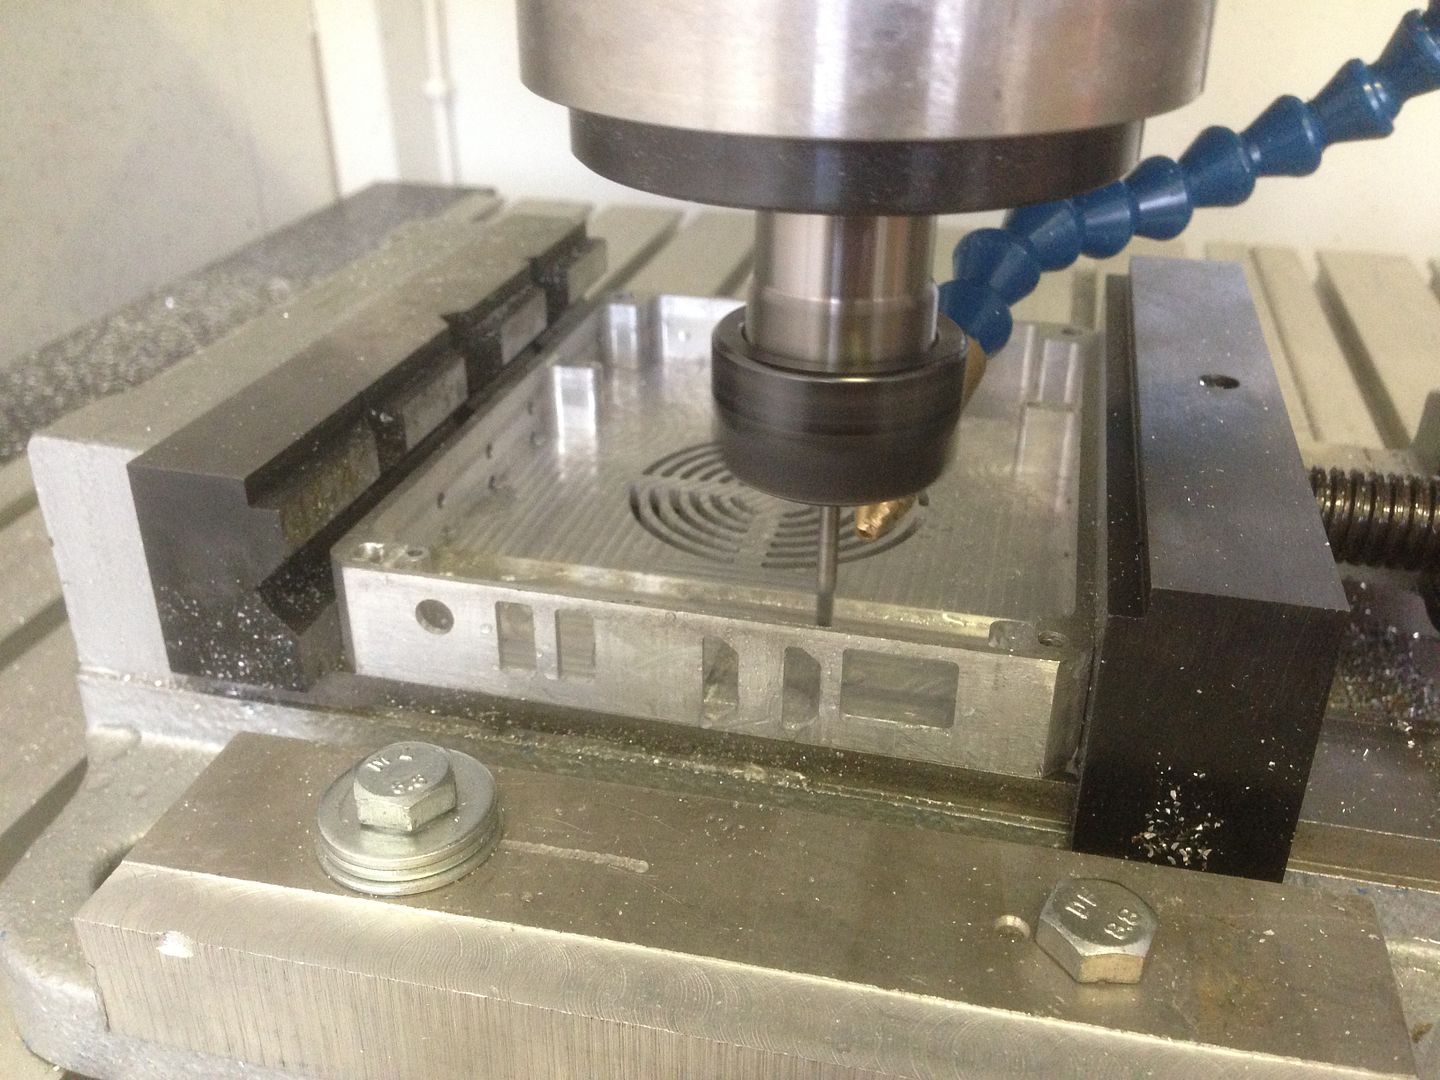
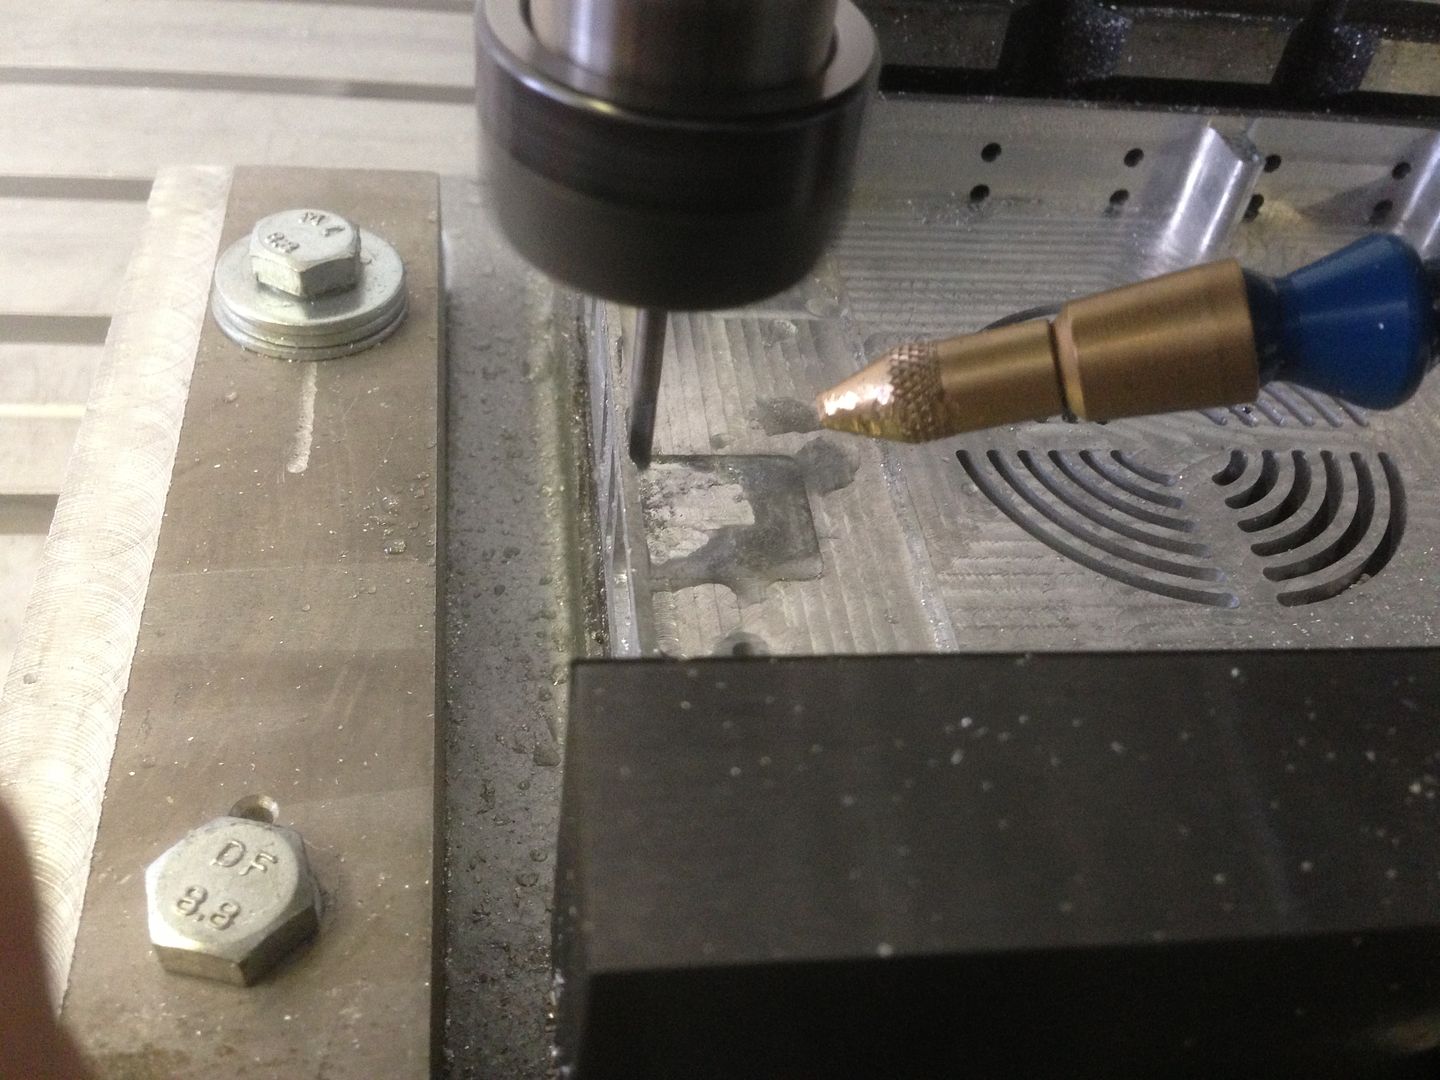
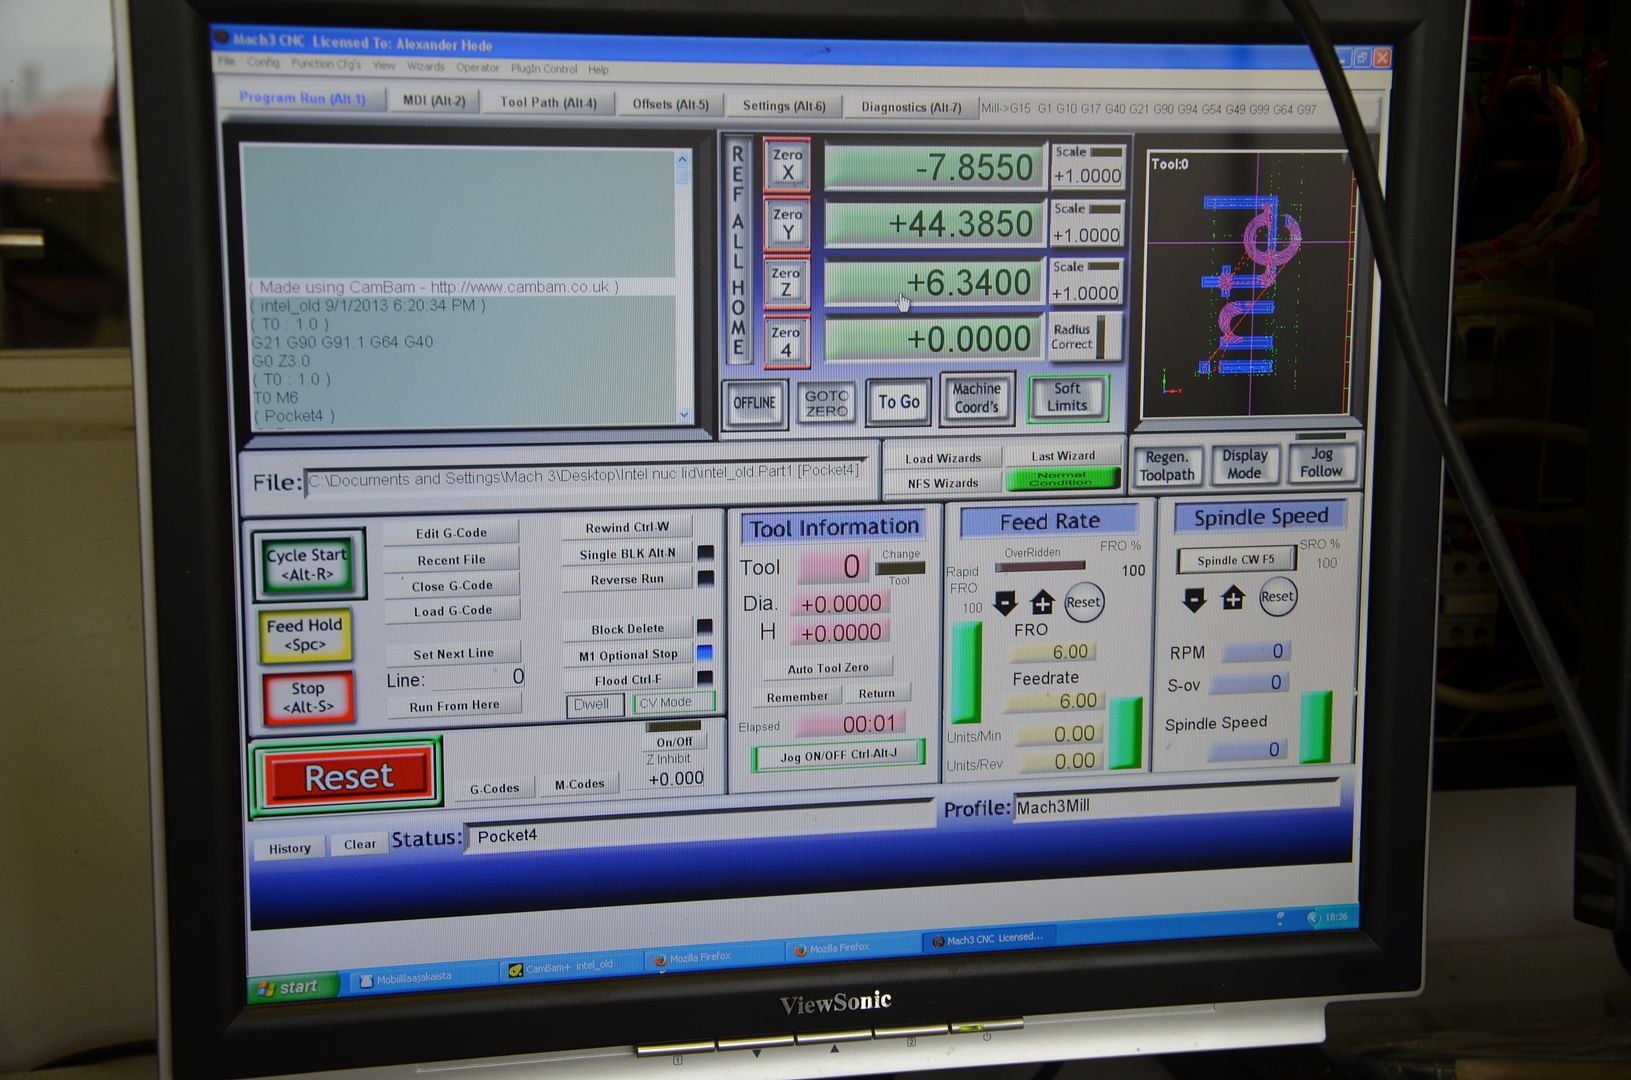
As i recently finished upgrading my homebuilt CNC mill/router i thought i would put it to the test during this build

The Mill
2013-09-08162819_zps3b9fd492.jpg

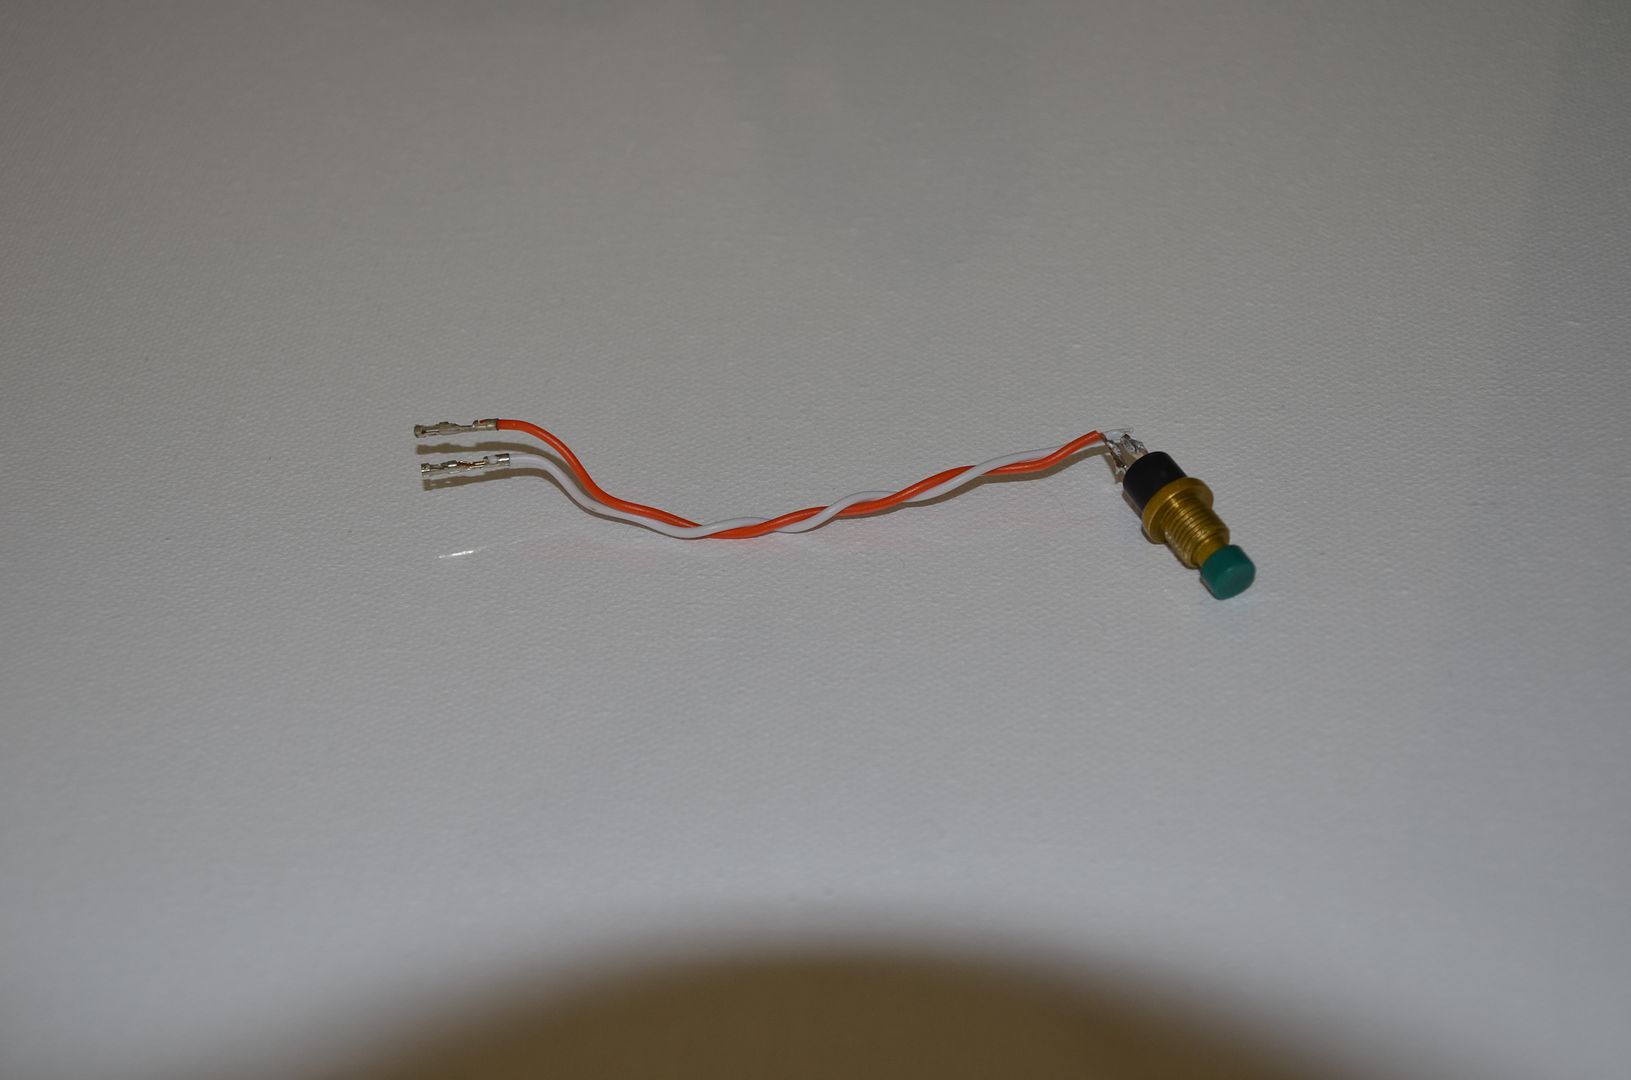
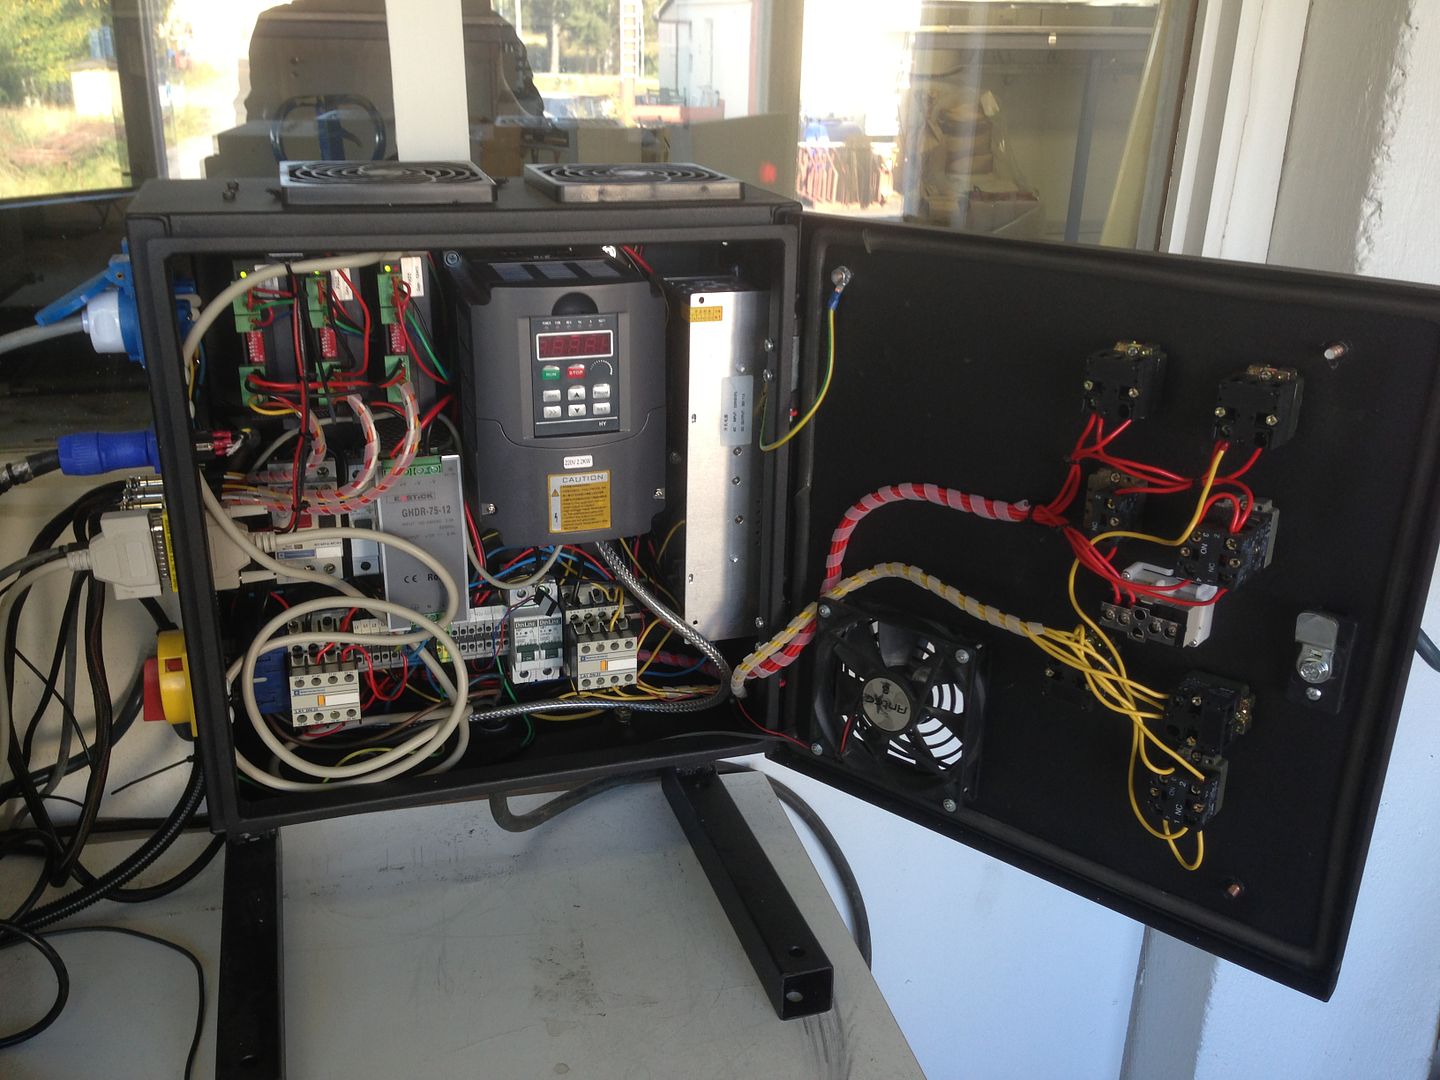
Took me a while with the electronics since im no electrician and don't have a lot of skills with it, luckily no smoke
2013-09-08162855_zpsc975955c.jpg


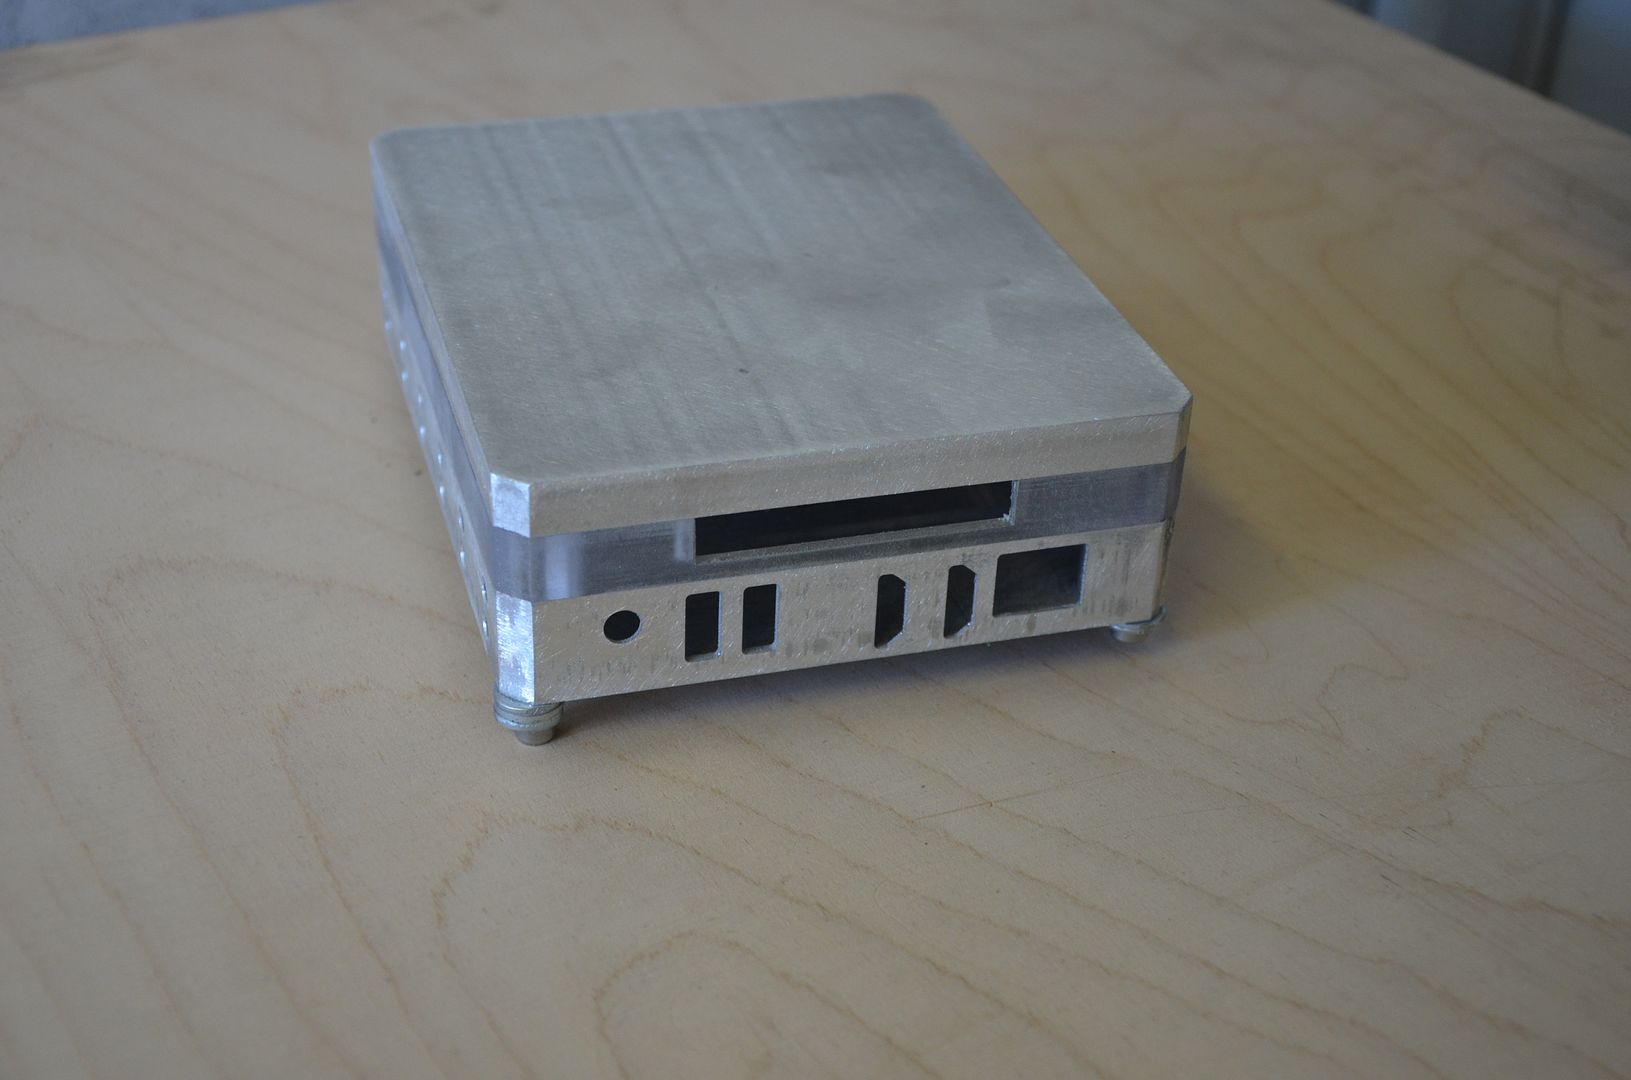
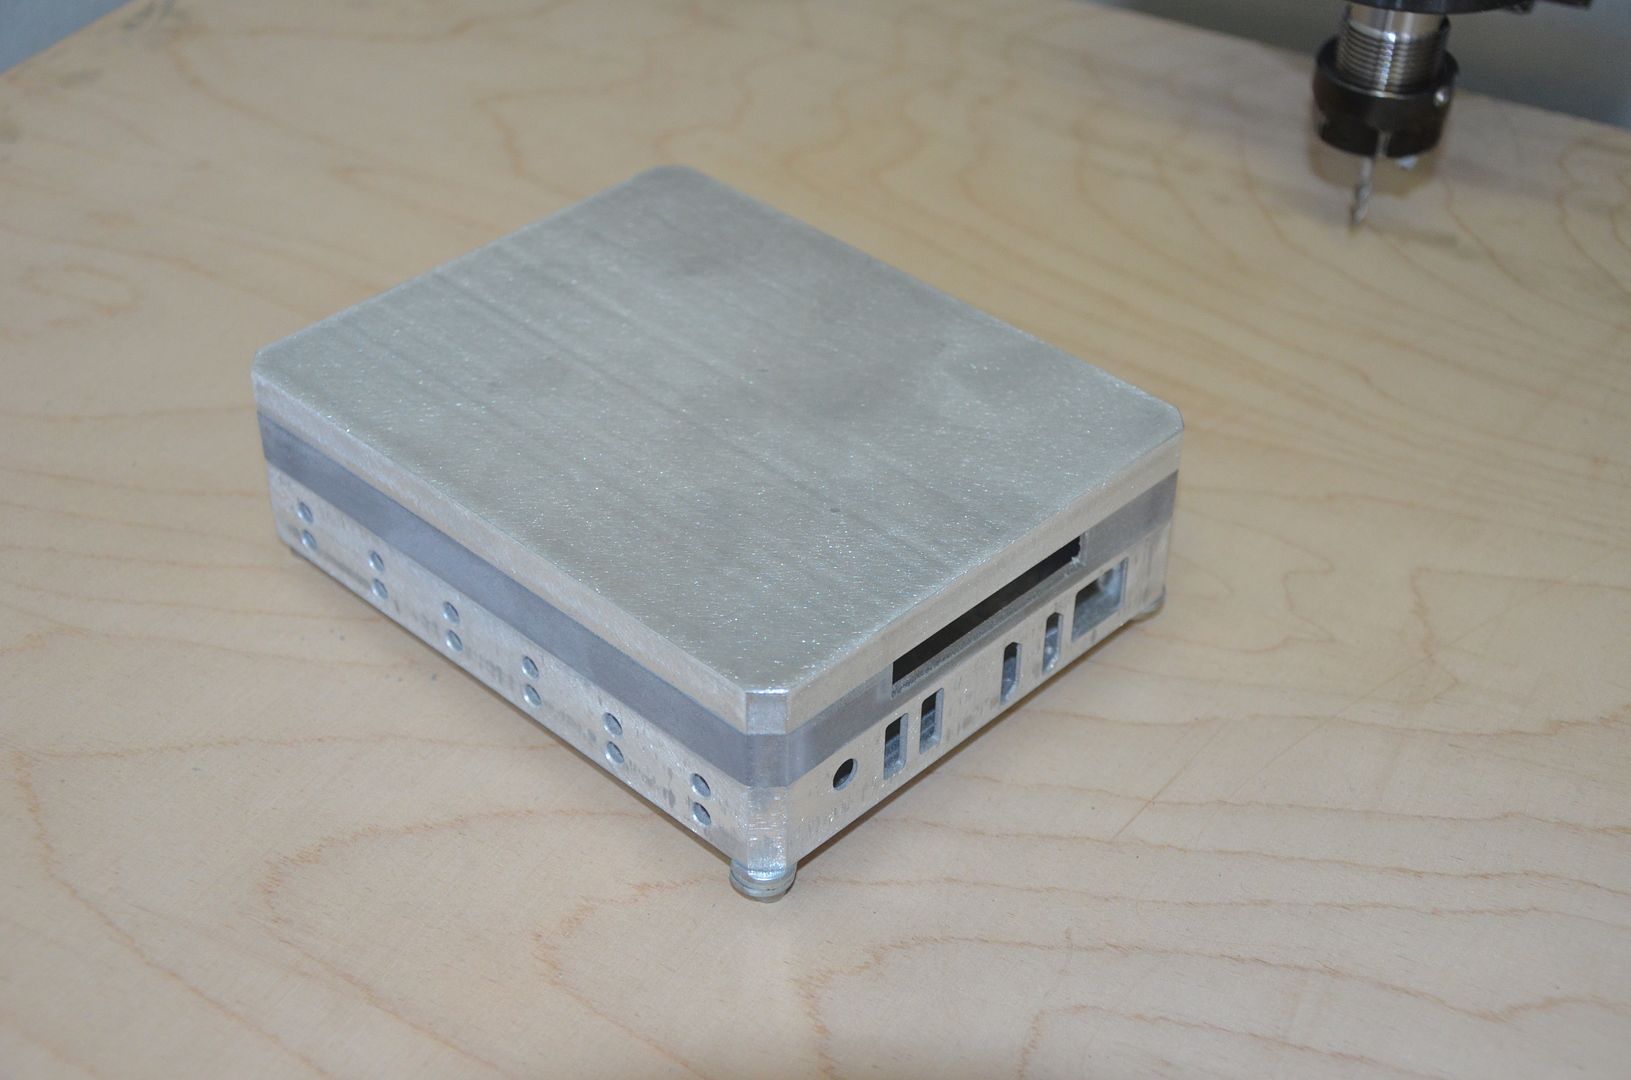
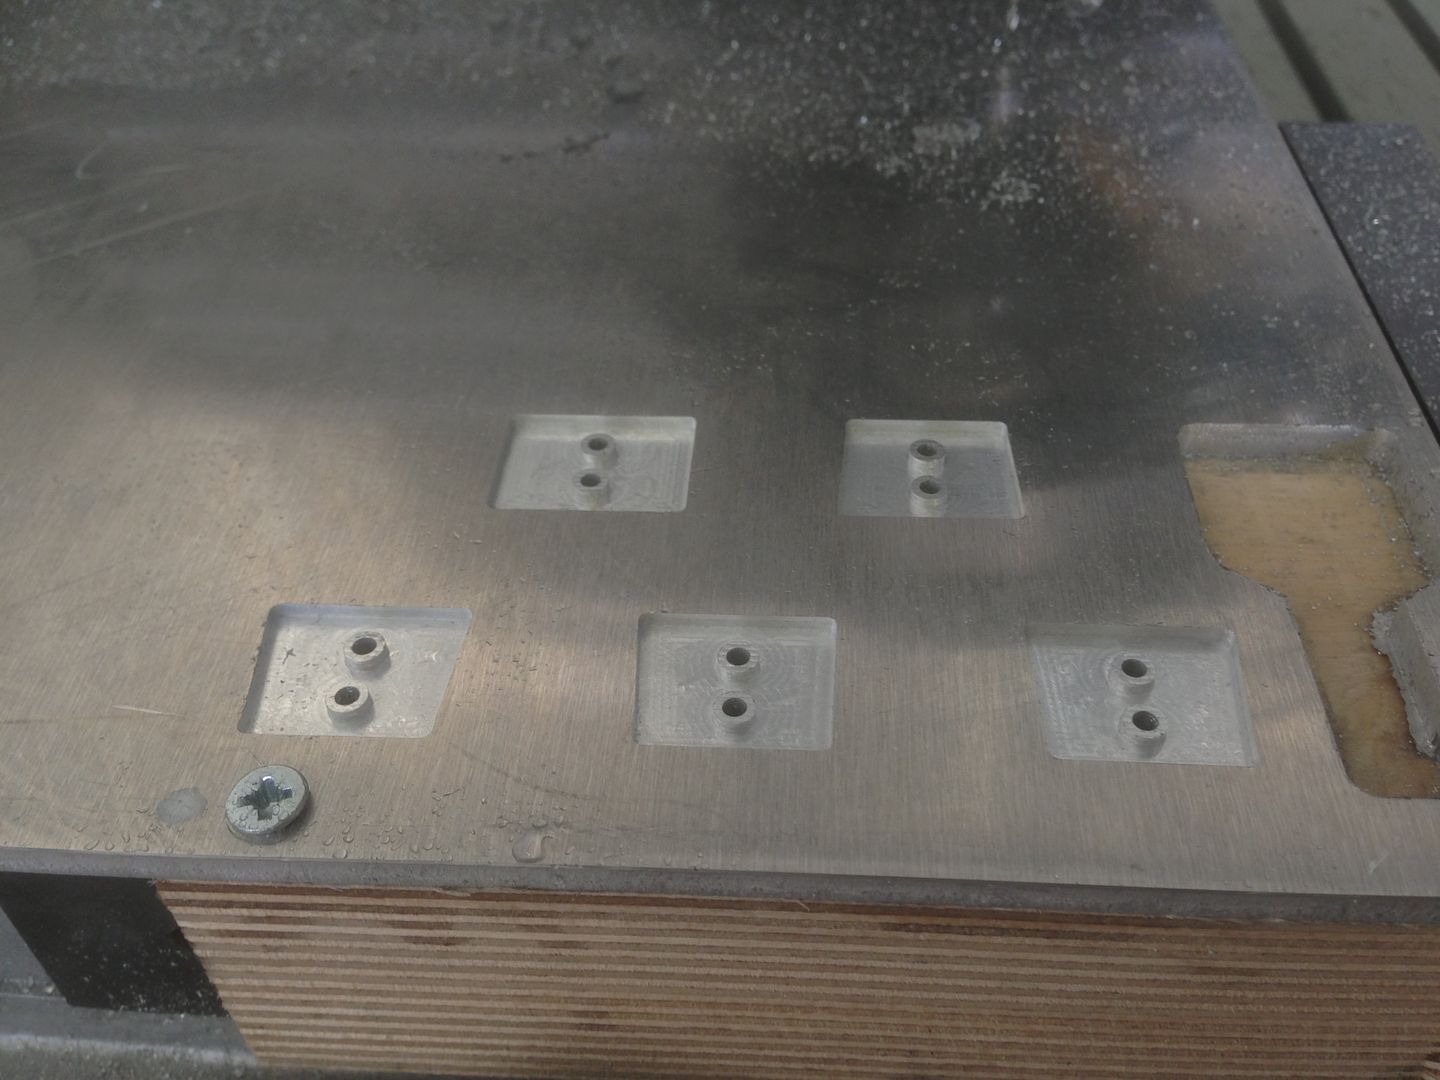
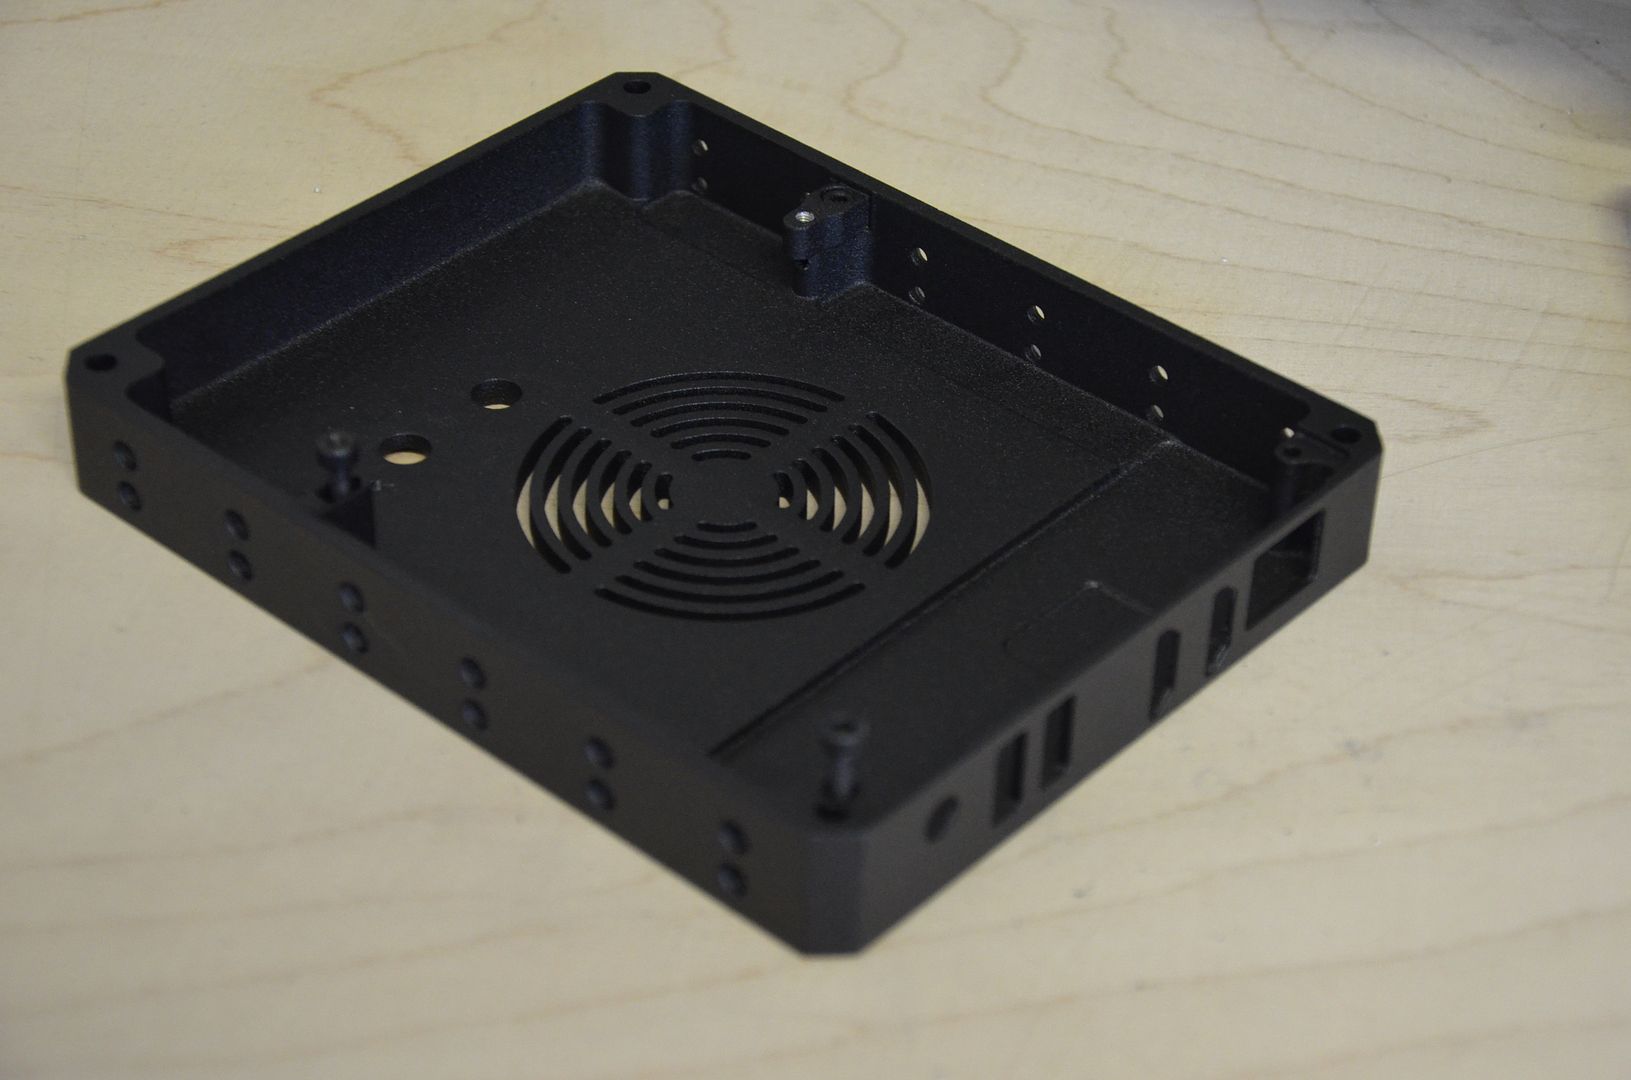
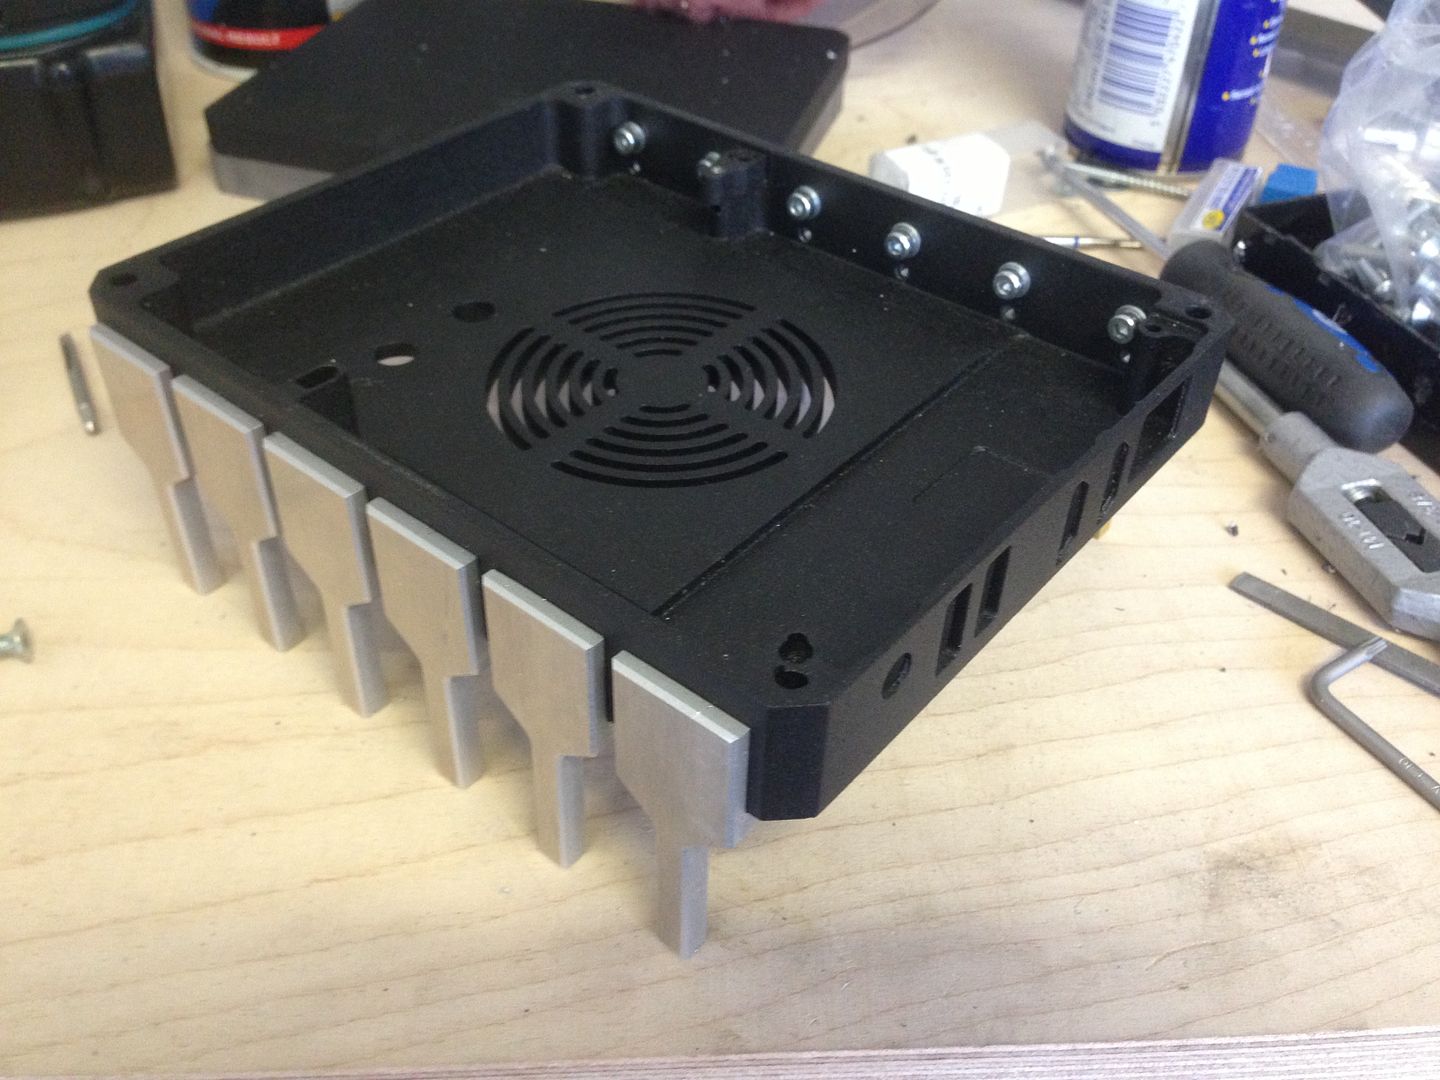
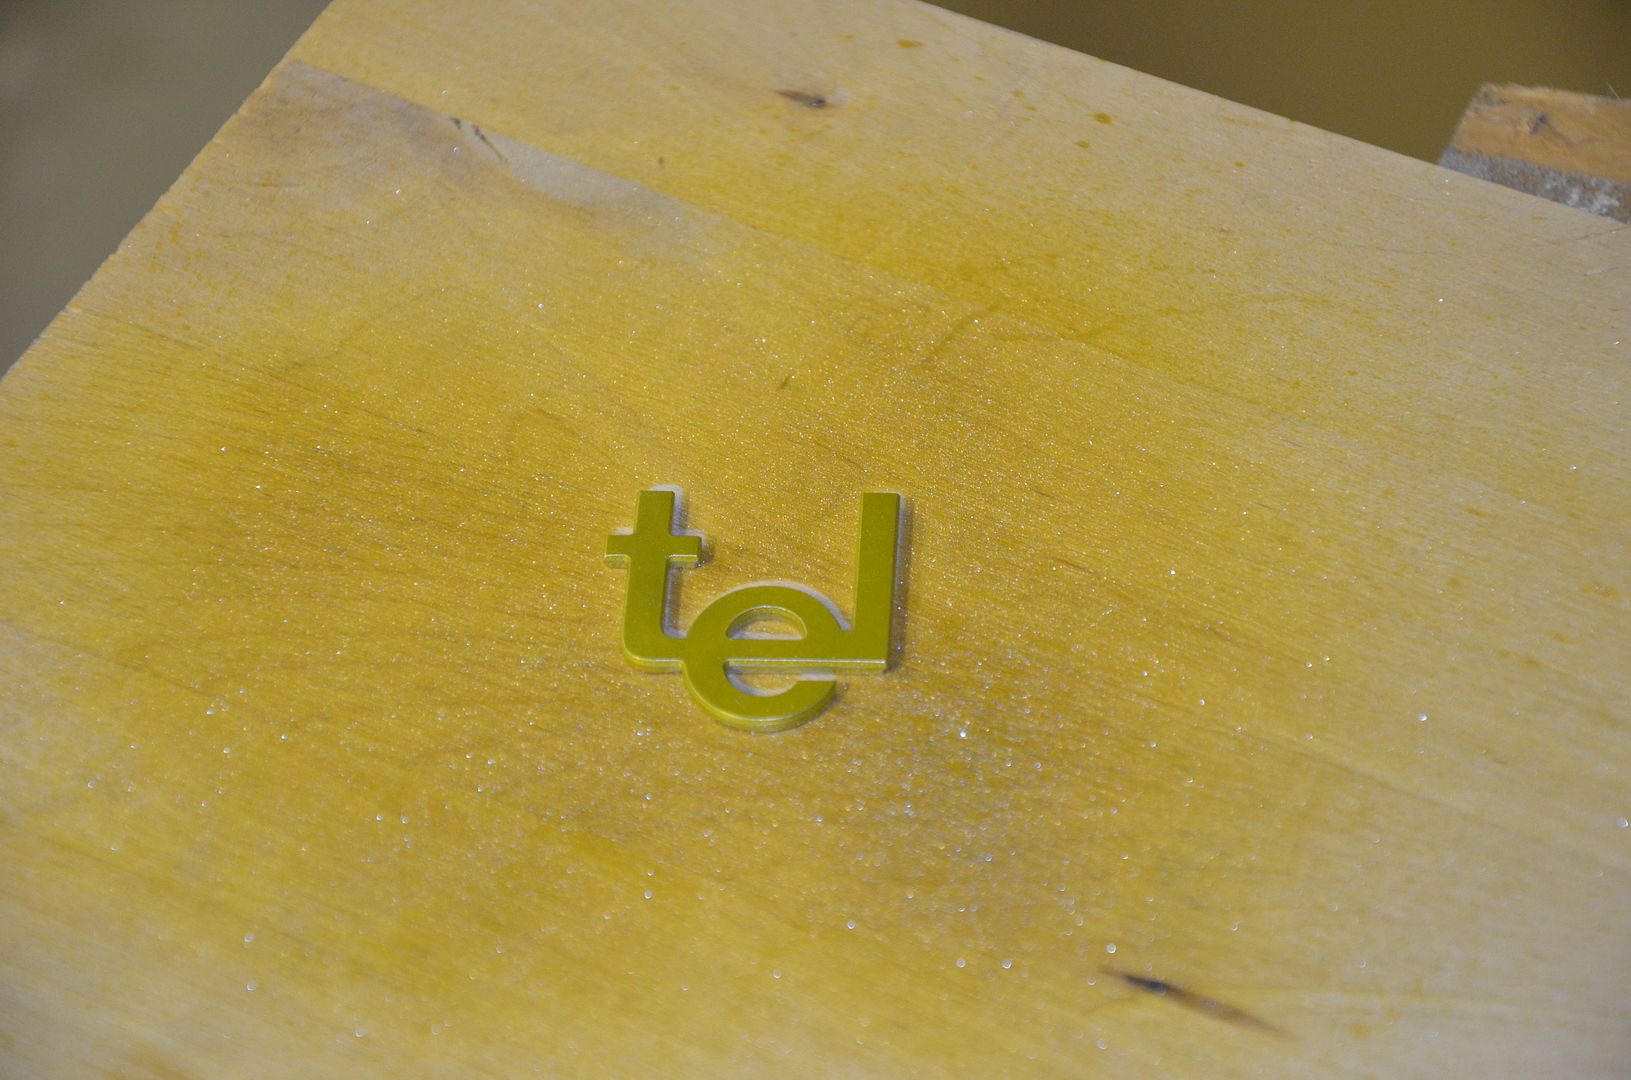
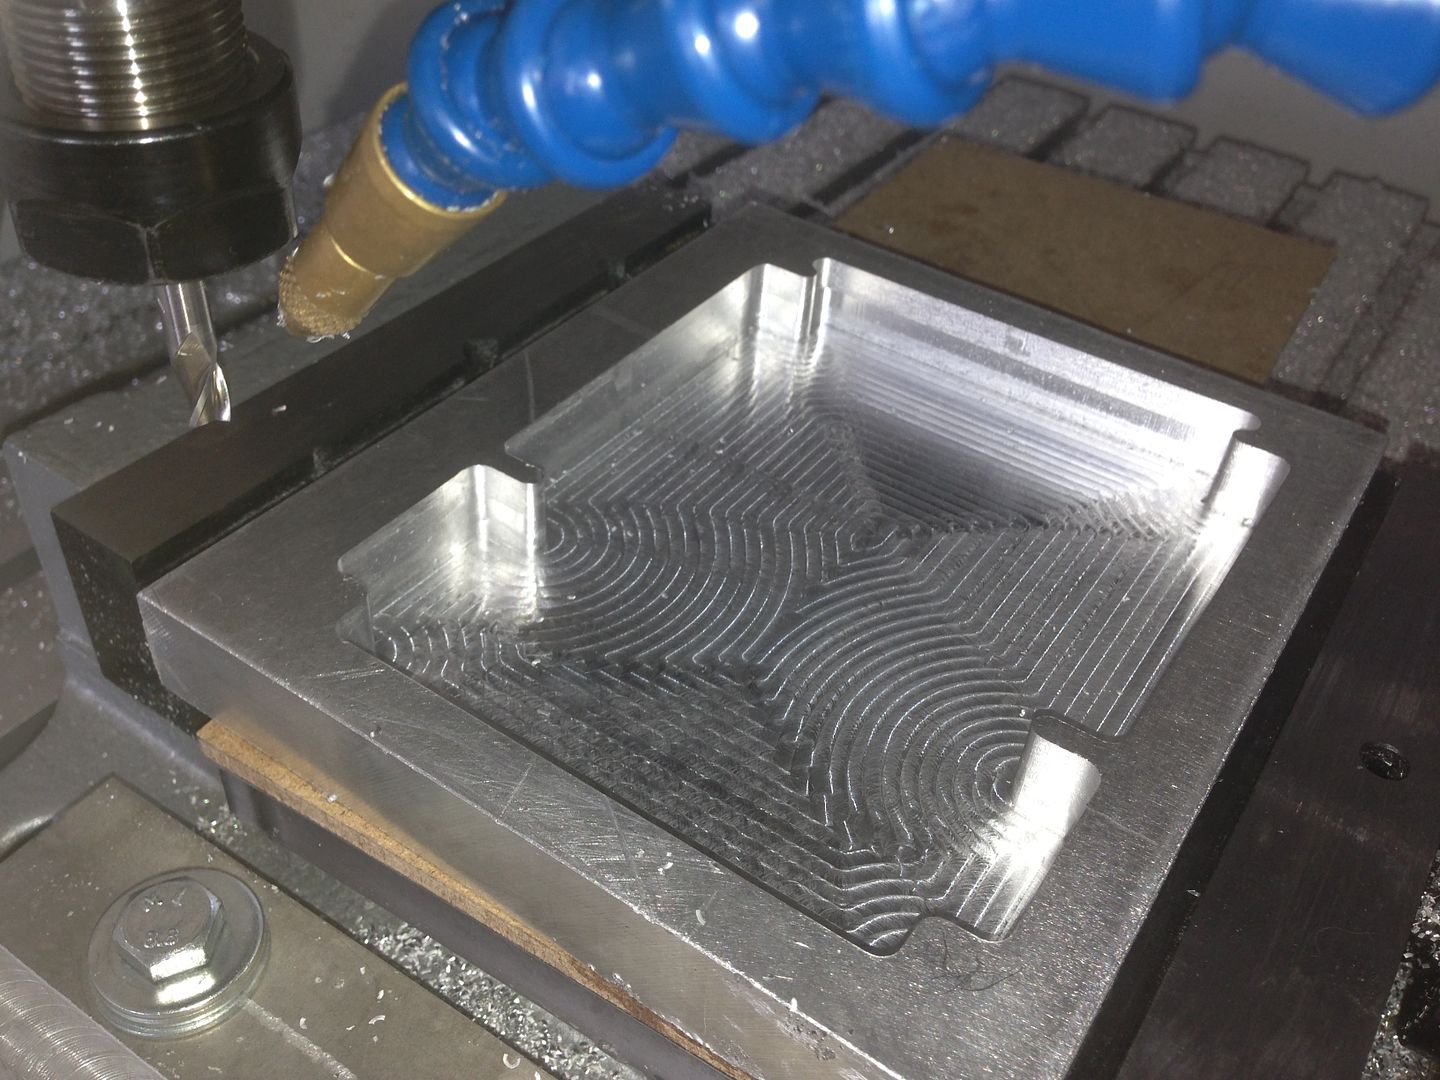
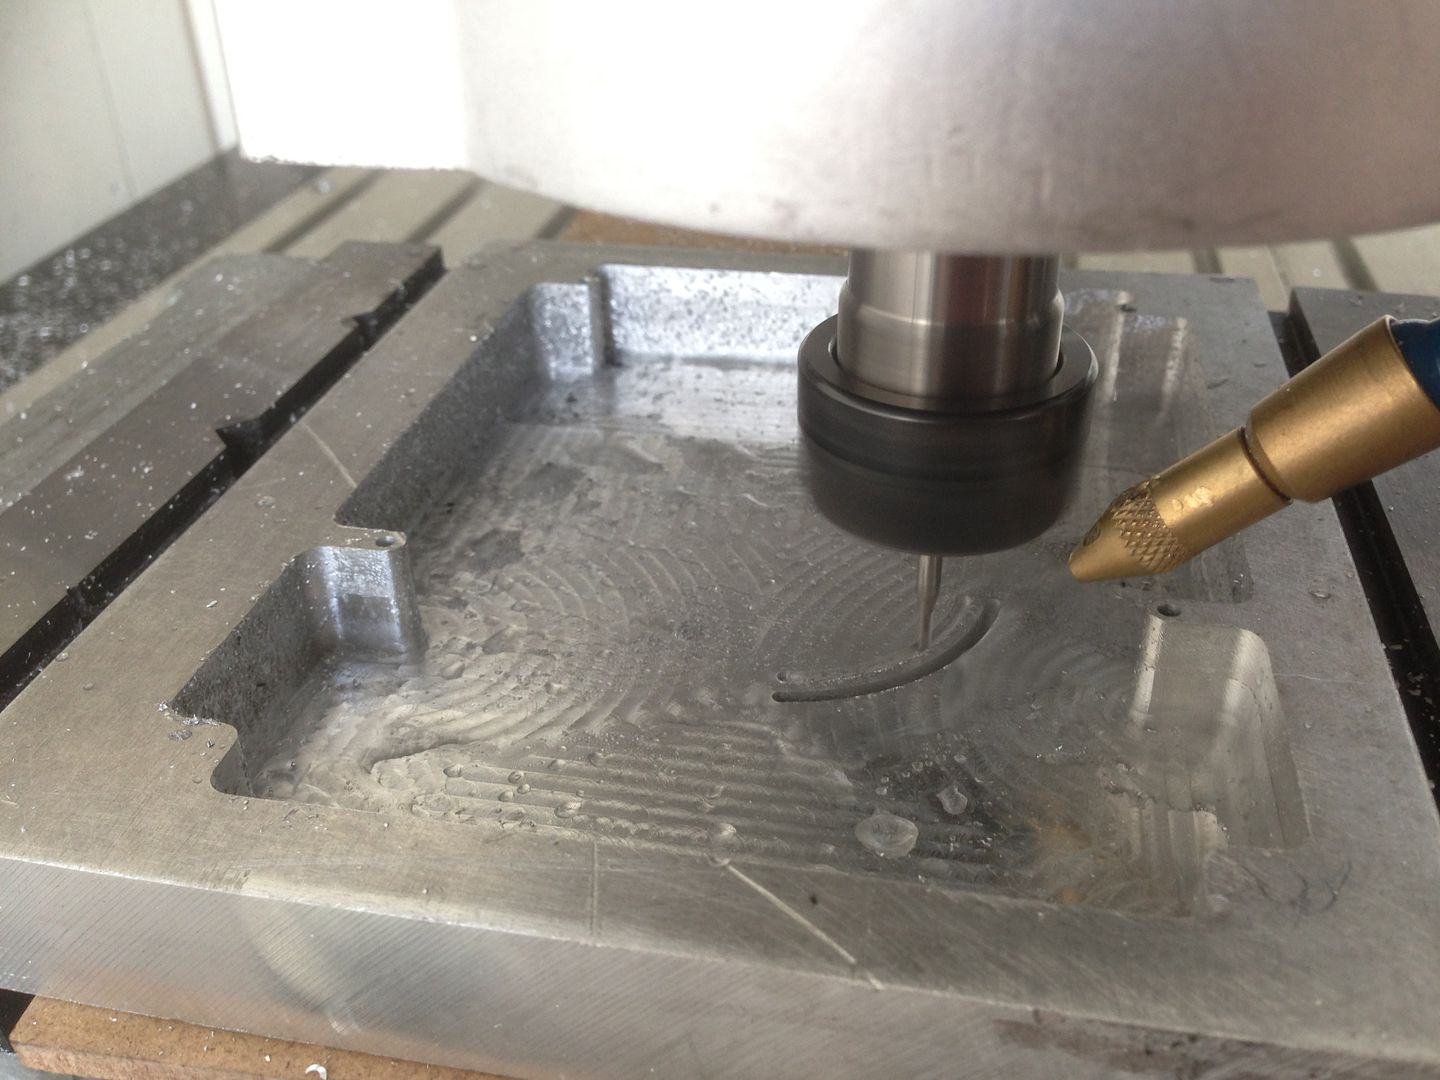
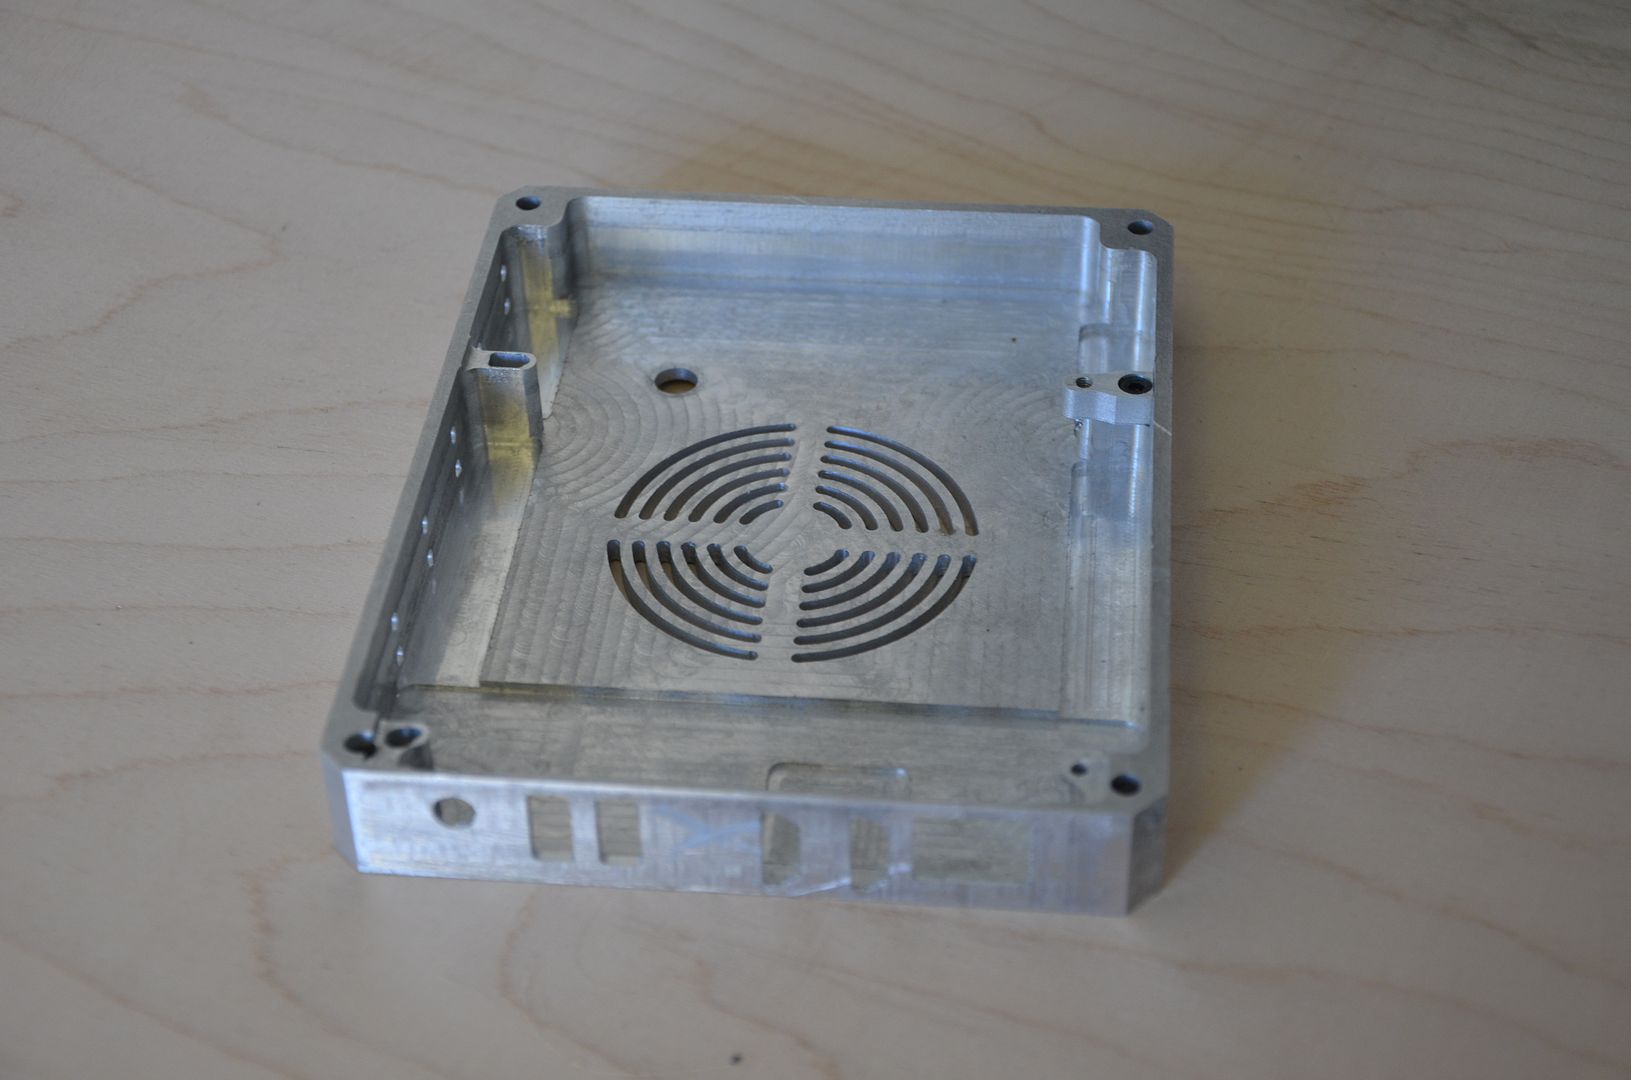
A bit of roughing with a 6mm endmill
2013-08-12154908_zps561c3771.jpg


More pictures soon as i have gotten a bit further than this.

Hope you like it and please drop a comment :)
 
Very interessting. I'm always amazed what people with the skillz and acces to the right tools can do. Keep the pics comming!

Greetz Lazlo
 
Thx for the comments!

Forgot to post this in the first post but this is from where i got the inspiration, its not to scale since that would have meant making it very long
museum-microprocessor-4004-921x307-3-1_zps8ce5df5c.jpg


Started with milling som slots for the air intake
2013-08-13145206_zpsbe5e336b.jpg


The air intake is done, and lowerd the tabs for where the nuc will be seated
2013-08-13171604_zps21026258.jpg


Bottom side, as you can see i left a few tabs so the piece wouldn't move while milling through the sheet. Just cleaned of the tabs with a file as they were only around 2mm thick
2013-08-13171558_zpseb5f2173.jpg


For some reason i'm missing a lot of photos from milling the slots and the holes for the legs. But here are the slots :)
2013-08-14194326_zps46b5939e.jpg


Had to mill out a bit for some of the slots because they all connectors are not on the same line
2013-08-14194344_zpsb17b2c32.jpg


As usual something is bound to go wrong and while milling the slots for the connectors i forgot to zero the mill bit so all connectors are 1mm off to one side. That's why up in the right corner i had to make an extension bit for the motherboard
DSC_0342_zpse7755f17.jpg


Test fit of the powerhouse :) As u might have noticed the air intake is on the bottom side, i didn't want to have an air intake in the lid and making it this way i can get airflow through all components before leaving the case.
DSC_0350_zpsb851b094.jpg


Sneak preview of next update
DSC_0456_zps16b41e51.jpg

more updates coming soon :)
 
One day, when (OK, if :rolleyes: ) I have lots of disposable income I will mill myself a case the
size of a Caselabs or something like that. You know, because I really need it, because reasons :lol:

Anyway, keep the pr0n coming :D
 
Lol, that would be a big chunk of alumium :) Thx, more updates coming soon ;)

Yeah, I think it would take a while to find somebody who actually makes such a big block
(although since we're talking pure insanity anyways: Titanium? :lol: ) and would sell it to a
private person and not just a company. And then you'd still need one hell of a CNC machine
to actually work it.

On a more realistic note, I have actually seriously considered doing this with a solid block of
wood; buy a nice and solid block and then carve out the case by hand. Still not cheap, but
feasible I'd say (although not in the immediate future).

I've seen some germans who made a computer case from a log, looked pretty cool.


Seem to get less and less time with modding every week but got a lot done during the weekend :)


The acrylic, Not much about it yet but i still need to get the film of the die on it, but that will be in a later update. Not the greatest finish on it but needs to be as "frosty" as possible to spread the light evenly.
DSC_0543_zps657bd315.jpg


The lid itself is just hollowed out on the inside, did a quick test fit to see if everything lines up. The lexan is slightly bigger than the aluminum. This might be because i removed the inner part first and then milled the outer profile, just give it a good sanding and it will be alright
DSC_0355_zpsde20aff5.jpg


The second mystery hole is for a fan controller to adjust the brightness of the leds (so u know cheapskate :) )
DSC_0356_zps9bb33598.jpg


DSC_0354_zps57bbbfc4.jpg


Time to give the case some legs :), decided to go with m3 socket head screws so milled some 2,5mm holes
2013-08-16142659_zpsf9cf60b2.jpg


Milling a few legs at a time, didn't wanna mill all in one go in the event none of them would fit.
2013-08-16145441_zps8a778219.jpg


After finishing the leg cut outs i was thinking a while how i could chamfer the other side without using a file. So i milled out a pocket of the lexan where the legs fitted perfectly and then just jammed them in there with a plastic hammer and started chamfering. Worked a lot better than i thought it would
2013-08-18144041_zps615fdacf.jpg


The three stages of the legs and the final color i picked. Did not expect the gold color looking so good. usually u need to try all brands before finding a good one.
2013-08-18144644_zps9ff7718a.jpg


All 12 legs milled and chamfered. Threading was a pain but eventually i got them all done. Had to use a normal one to get the start and made a custom flat end one to get it all the way to the bottom
DSC_0346_zps4541a066.jpg


quick test fit to see how it looks.
DSC_0352_zpsb96447e0.jpg


Next update coming tomorrow!
The color i chose, same as the test bench i made last year. It's called fine black, a very light texture which makes it look very "oem". Def my favorite black. Looks very bumpy but it's due to the ridiculous cropping i did to not show the hole thing :)
d323d482-33b7-47f0-bda3-847fd4a19f84_zps2c8ba327.jpg
 
Looking awesome! :rock:

And agreed about that black, it does indeed look very OEM. :D
Thx! If i could i would paint my car in that color :)

well nice mate
Thx!

Time for another update,

The lid painted
DSC_0359_zpsacb41787.jpg


Need to practice on taking photos, they all are the same color but look different in every photo :)
DSC_0360_zps7cc63b88.jpg


2013-08-20203148_zpsf2e4aad1.jpg


Quick assembly to see what it looks like
2013-08-20203526_zpsebcbec70.jpg


From the oven straight back to the mill
DSC_0455_zpse6afe0e5.jpg


First youtube video! Milling with a 1mm end mill to get as sharp edges as possible. The sound might be a bit loud so be prepared


All done, Decided that the old intel logo would fit the build better than the new one. The first plan was just to do a slight pocket and paint it. After finishing the pocket i realized that it would not look like i wanted it to.
DSC_0468_zps50b4d4d7.jpg


So i came up with this, took a 2mm aluminum sheet, milled 1mm, chamfered all the edges and milled through the rest. As the pocket is 1mm deep and logo is 2mm thick it will be about 1mm above the lid. Also makes painting it a lot easier
2013-08-27203631_zps483071c5.jpg


Some of the edges needs a clean up but it will fit after some convincing.
DSC_0470_zps8de6fc82.jpg


Some paint after sanding and cleaning up the edges
DSC_0473_zps47f7ac45.jpg


Gave the on/off button some paint at the same time
DSC_0477_zpsa1590cda.jpg


Screws for the case
DSC_0545_zpsdb801728.jpg


Just had to try it, still needs a bit of fiddling but very happy i went down this road
DSC_0541_zpsc11004fa.jpg


More updates coming soon!
 
just a thought, but it would be kinda cool if the dot of the 'i' in 'intel' was the on/off button. Also love your cnc mill, im just about to start making one myself. Where did you get your spindle?
 
Back
Top