Blade Runner
New member
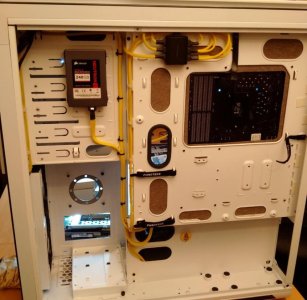
Having moved my hardware from my Ethnoo case to my STH10 I had an empty nearly new case. My daughter needed a proper PC to have set up for her homework at her desk (She is really into minions, who isn't?) so the plan is the following.
Hardware
The aforementioned Phanteks case - White
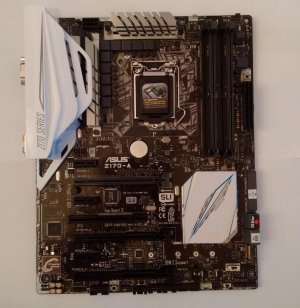
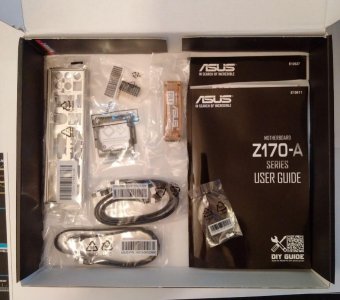
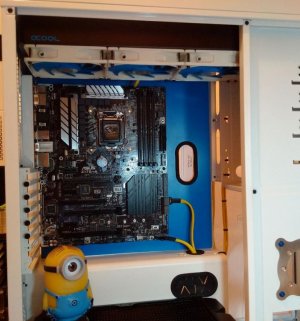
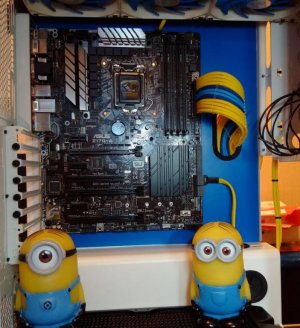
Asus Z170A motherboard
CPU - To be decided, one of the K type Skylakes but not urgent at the moment and hoping the prices come down a bit - I mean, the i7 Skylake is the same as a 5820K!
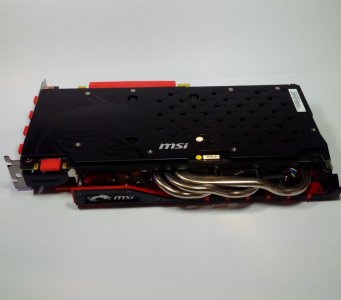
Gigabyte Radeon R9 280 Windforce (B grade at OCUK £105.00)
RAM - Again not urgent so waiting for DDR4 to drop a bit more in price.
OS Drive Corsair Neutron GTX 240GB
HDD WD 1TB
Watercooling
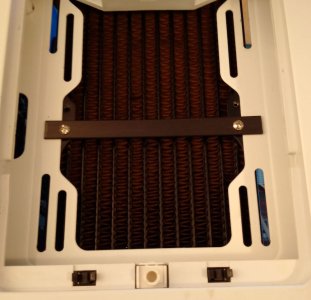
Alphacool 480 ST45 Push pull
Alphacool 280 ST60 Push pull
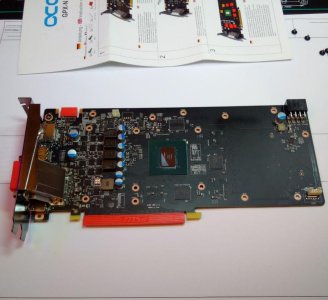
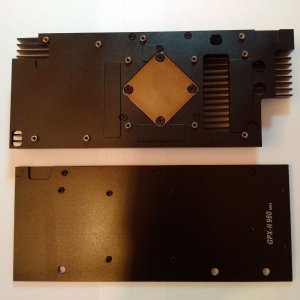
Alphacool NexXxos GPX - ATI R280 M02 Waterblock
Alphacool CPU and RAM Blocks
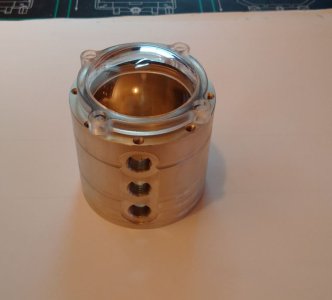
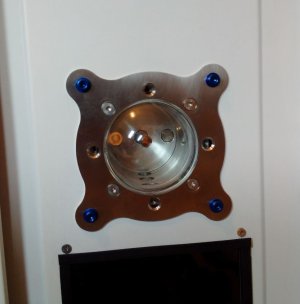
Alphacool Cape Corp Bullseye reservoir
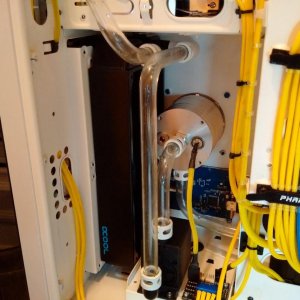
Monsoon Hardline 16mm pipes and free centre fittings
Lighting
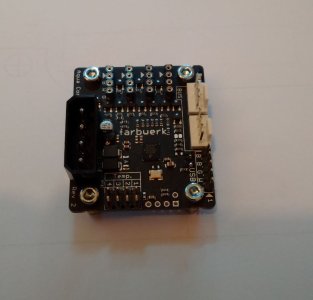
Aqua Computer Farbwerk USB Aquabus LED controller
General
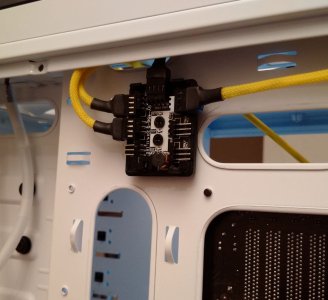
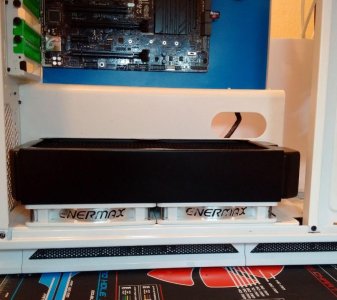
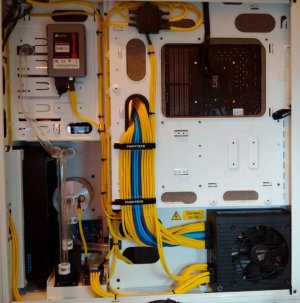
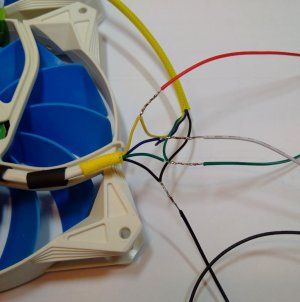
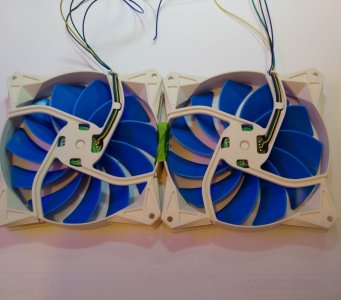
Fans are what I had on the old build, Phanteks and Enermax. I am having to buy 4 120 fans for the 480 rad, Silverstones with most wired back to the excellent Phanteks Fan Hub.
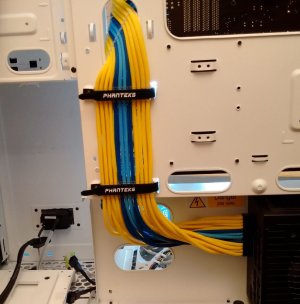
Minion theme - lots of yellow with black and blue highlights.
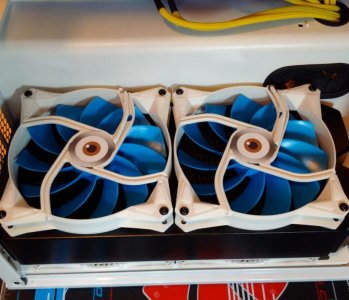
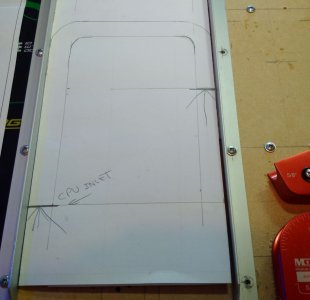
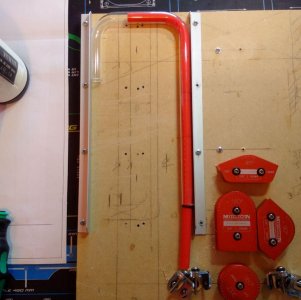
I have made a start on the pull fans for the 480 rad, these are 140s which were left over from the old build. They wont line up with the 480 rad so they will be fixed with 3M tape in the top of the case in the locations as shown.
ETA:-
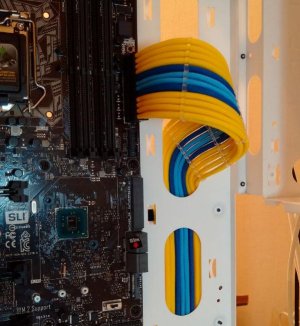
Got the 24 pin cable made up and sleeved this evening, its yellow and blue.")
Hardware
The aforementioned Phanteks case - White
Asus Z170A motherboard
CPU - To be decided, one of the K type Skylakes but not urgent at the moment and hoping the prices come down a bit - I mean, the i7 Skylake is the same as a 5820K!
Gigabyte Radeon R9 280 Windforce (B grade at OCUK £105.00)
RAM - Again not urgent so waiting for DDR4 to drop a bit more in price.
OS Drive Corsair Neutron GTX 240GB
HDD WD 1TB
Watercooling
Alphacool 480 ST45 Push pull
Alphacool 280 ST60 Push pull
Alphacool NexXxos GPX - ATI R280 M02 Waterblock
Alphacool CPU and RAM Blocks
Alphacool Cape Corp Bullseye reservoir
Monsoon Hardline 16mm pipes and free centre fittings
Lighting
Aqua Computer Farbwerk USB Aquabus LED controller
General
Fans are what I had on the old build, Phanteks and Enermax. I am having to buy 4 120 fans for the 480 rad, Silverstones with most wired back to the excellent Phanteks Fan Hub.
Minion theme - lots of yellow with black and blue highlights.
I have made a start on the pull fans for the 480 rad, these are 140s which were left over from the old build. They wont line up with the 480 rad so they will be fixed with 3M tape in the top of the case in the locations as shown.
ETA:-
Got the 24 pin cable made up and sleeved this evening, its yellow and blue.
Attachments
-
 Dave.JPG95.2 KB · Views: 95
 -
 PhanteksHub.JPG80.5 KB · Views: 103
 -
 3FansTrialFit.JPG75.7 KB · Views: 91
 -
 PhantekFan.jpg87.8 KB · Views: 87
 -
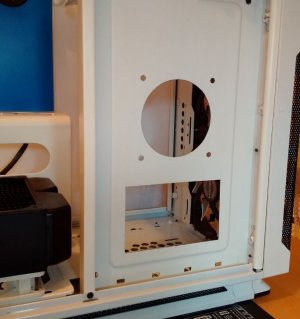
 MotherboardTrialFit.jpg91.5 KB · Views: 90
 -
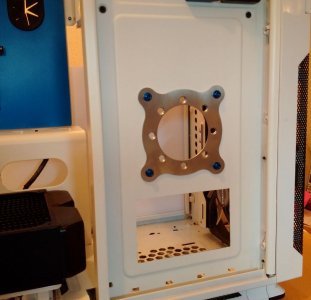
 Motherboard_1.jpg91.1 KB · Views: 82
 -
 MotherboardBoxedGoodies.jpg83.2 KB · Views: 91
 -
 MotherboardBoxed.jpg85.2 KB · Views: 88
 -
 DaveStripped.jpg86.2 KB · Views: 91
 -
 24PinSleeved.jpg81.1 KB · Views: 85
 -
 24PinSleevedRearView.JPG83.4 KB · Views: 90
Last edited:


")


 The Alphacool water block should be here tomorrow to fit it.
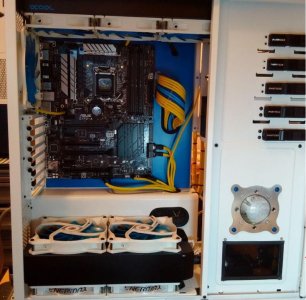


 I always remembered aluminium and water are no good together. But other than that I'm not a chemist or anything so no idea what exactly caused this green gunk.