C4B
New member
Hello again!
Now that Im finished with CURV3D I can start with my next project. I have been waiting to start working on this. Ive been planning how to make this as good as possible. This is the project I will spend most time on ever. Hope you will enjoy this log, feel free to comment and please give me advice and tips.
Lets start with a little info about this build. You may remember my log of this build from another forums that I posted around a year ago. I also made a version 2 of it, and now the third and last version is coming.
This is my favorite build of all time, so now I want to make it as goodlooking as possible. What Im going to do is to correct the mistakes Ive made before, add some features to hide cables and things like that. I will also fill it with a little bit newer hardware and this time Im going for some nice watercooling, not an all-in-one like the Antec Kuhler I had in V.2.
List of things to do:
Hardware:
MB: ASRock FM2A85X-ITX
CPU: AMD A10-5800K
RAM: Corsair Dominator Platinum 2x4gb 2133MHz
SSD: 2x Samsung 840 120gb
PSU: Silverstone ST45SF-G
In V.2 I used AMDs Llano, and I fell in love. Since then I have been waiting for the next generation and now Trinity is here. When I have time for games I either play Starcraft 2 or Dota 2 and those arent really hardware demanding games, but the Trinity still is pretty good. So what I want is a HTPC but with possibilities of some simpler games to be played. So what I want to add for hardware is a m-itx motherboard for Trinity, socket FM2. As APU I want the best possible so Im trying to get a hold of a A10-5800K, and then add 2 sticks of 4GB DDR3 2133MHz ram. Im currently looking for sponsors so lets see what happens!")
EK DCP 2.2 Combo:
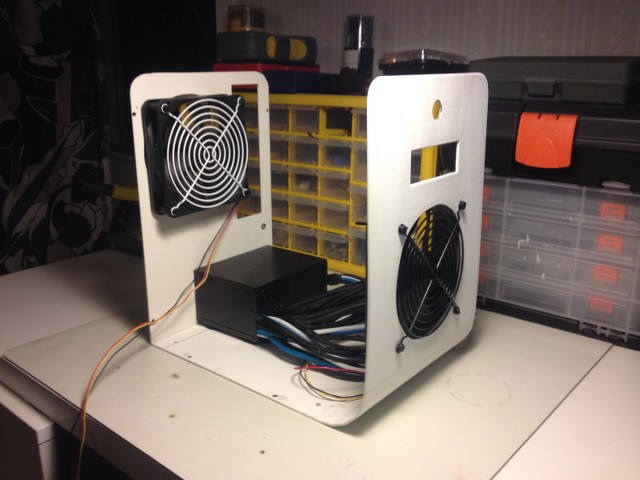
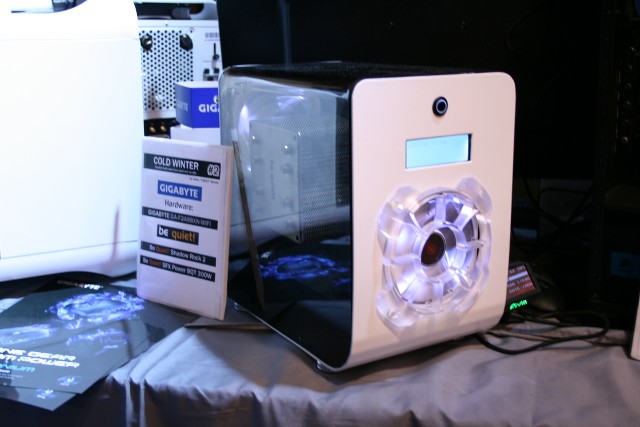
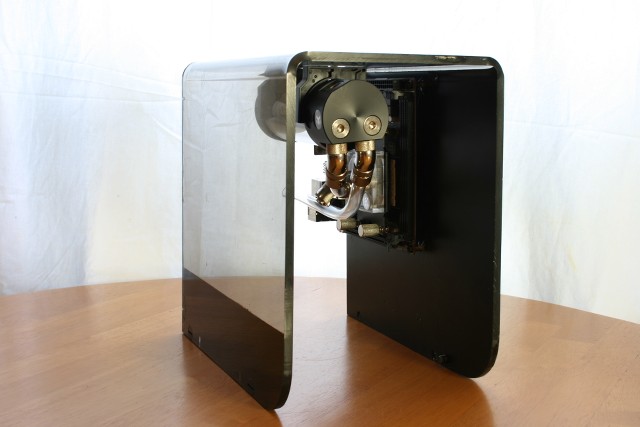
What Ive done so far is to strip the case from almost everything except the LCD and powerswitch.
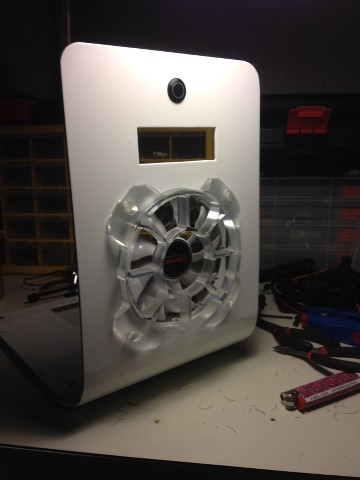
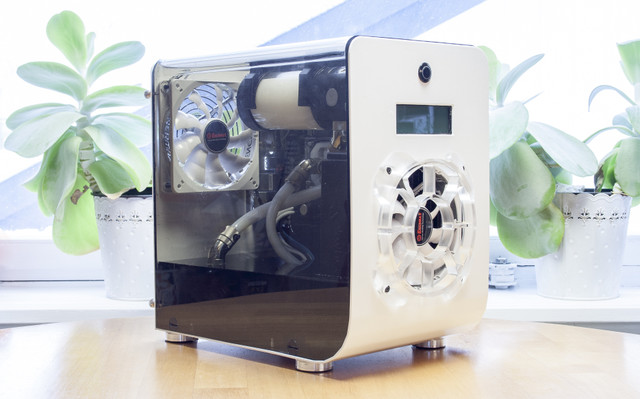
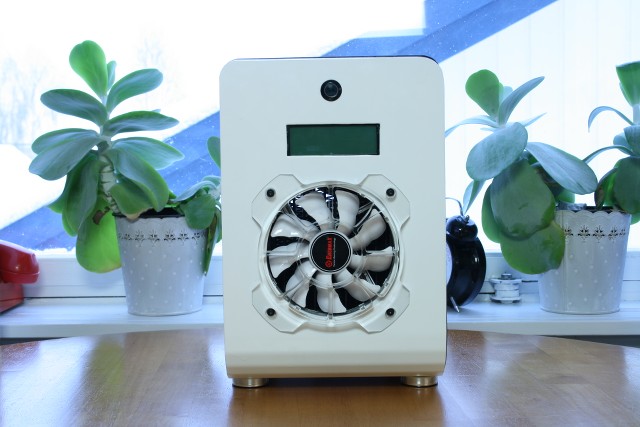
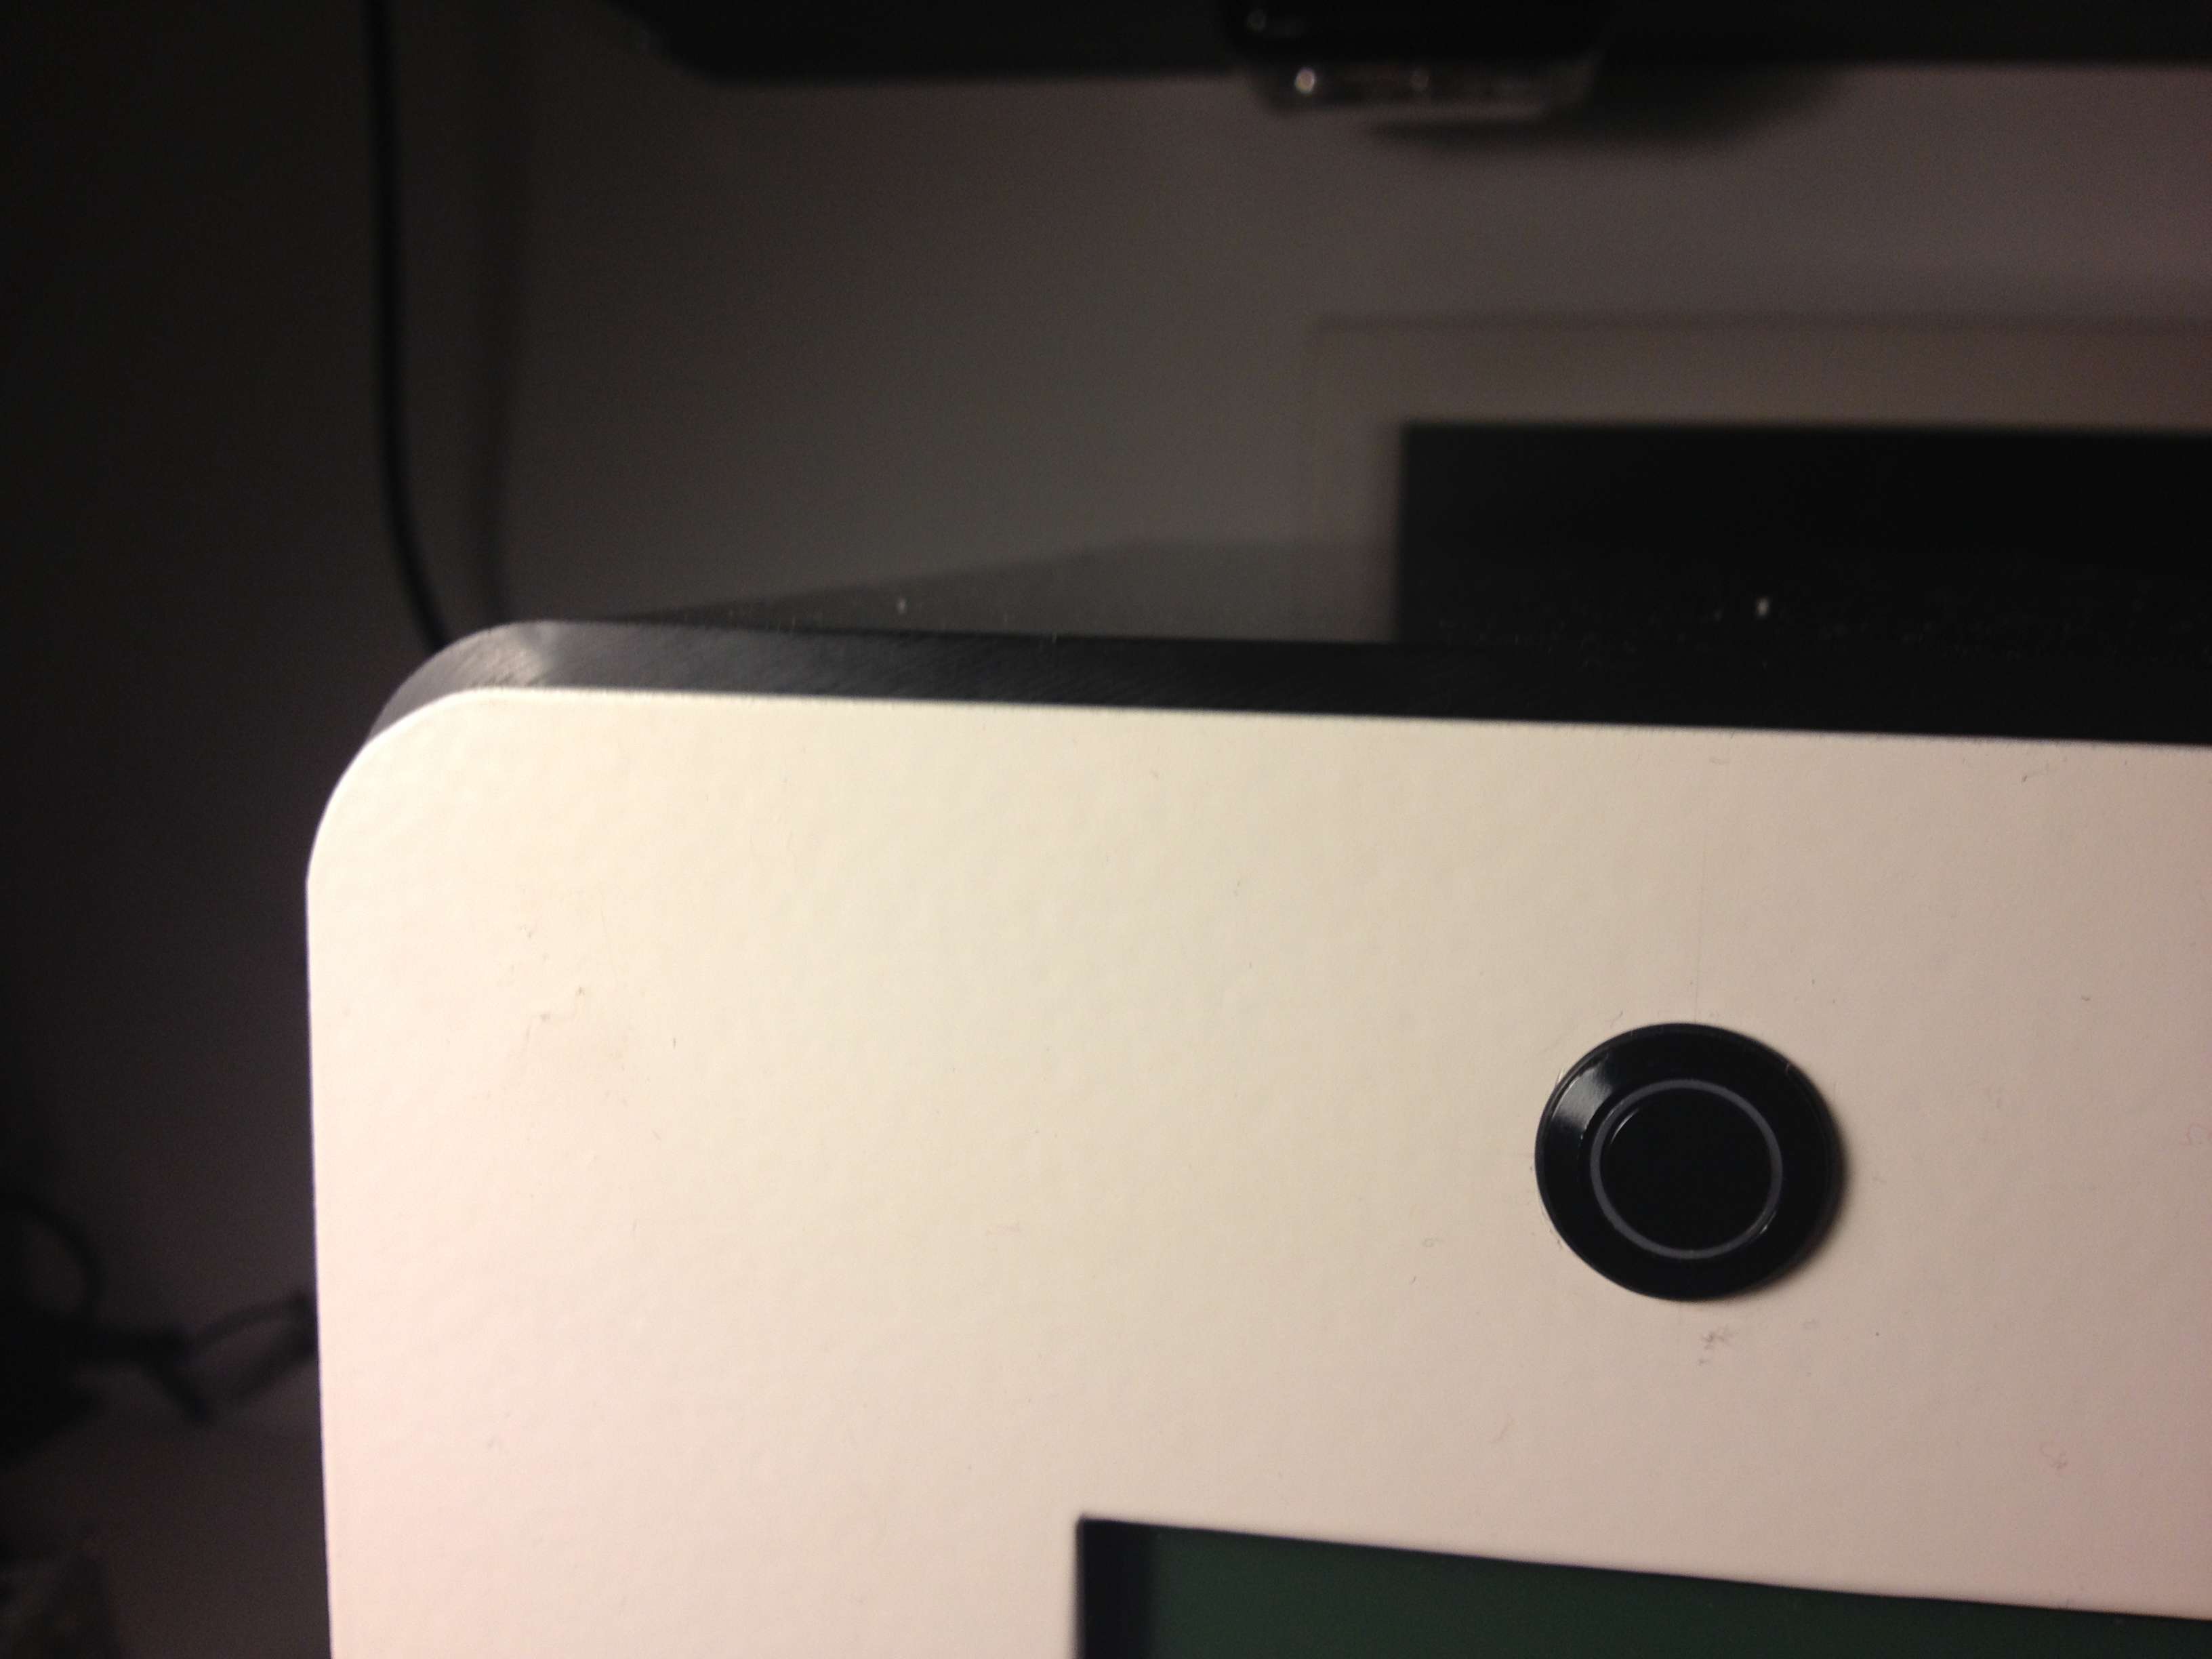
Front:
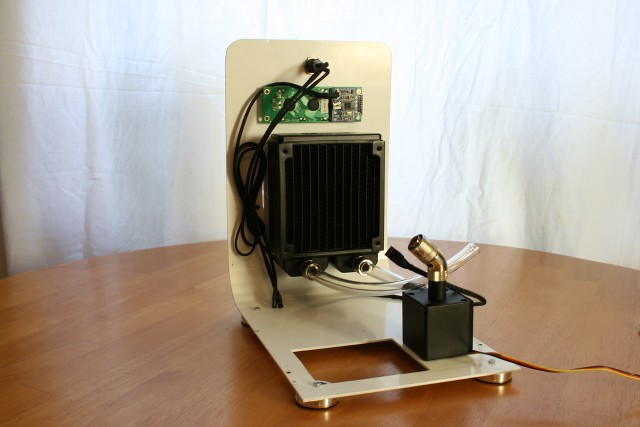
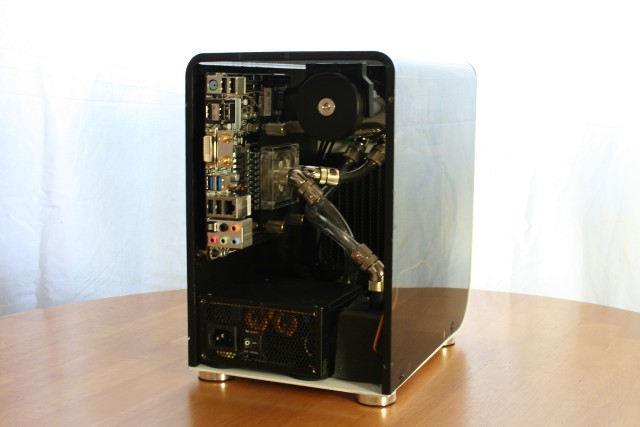
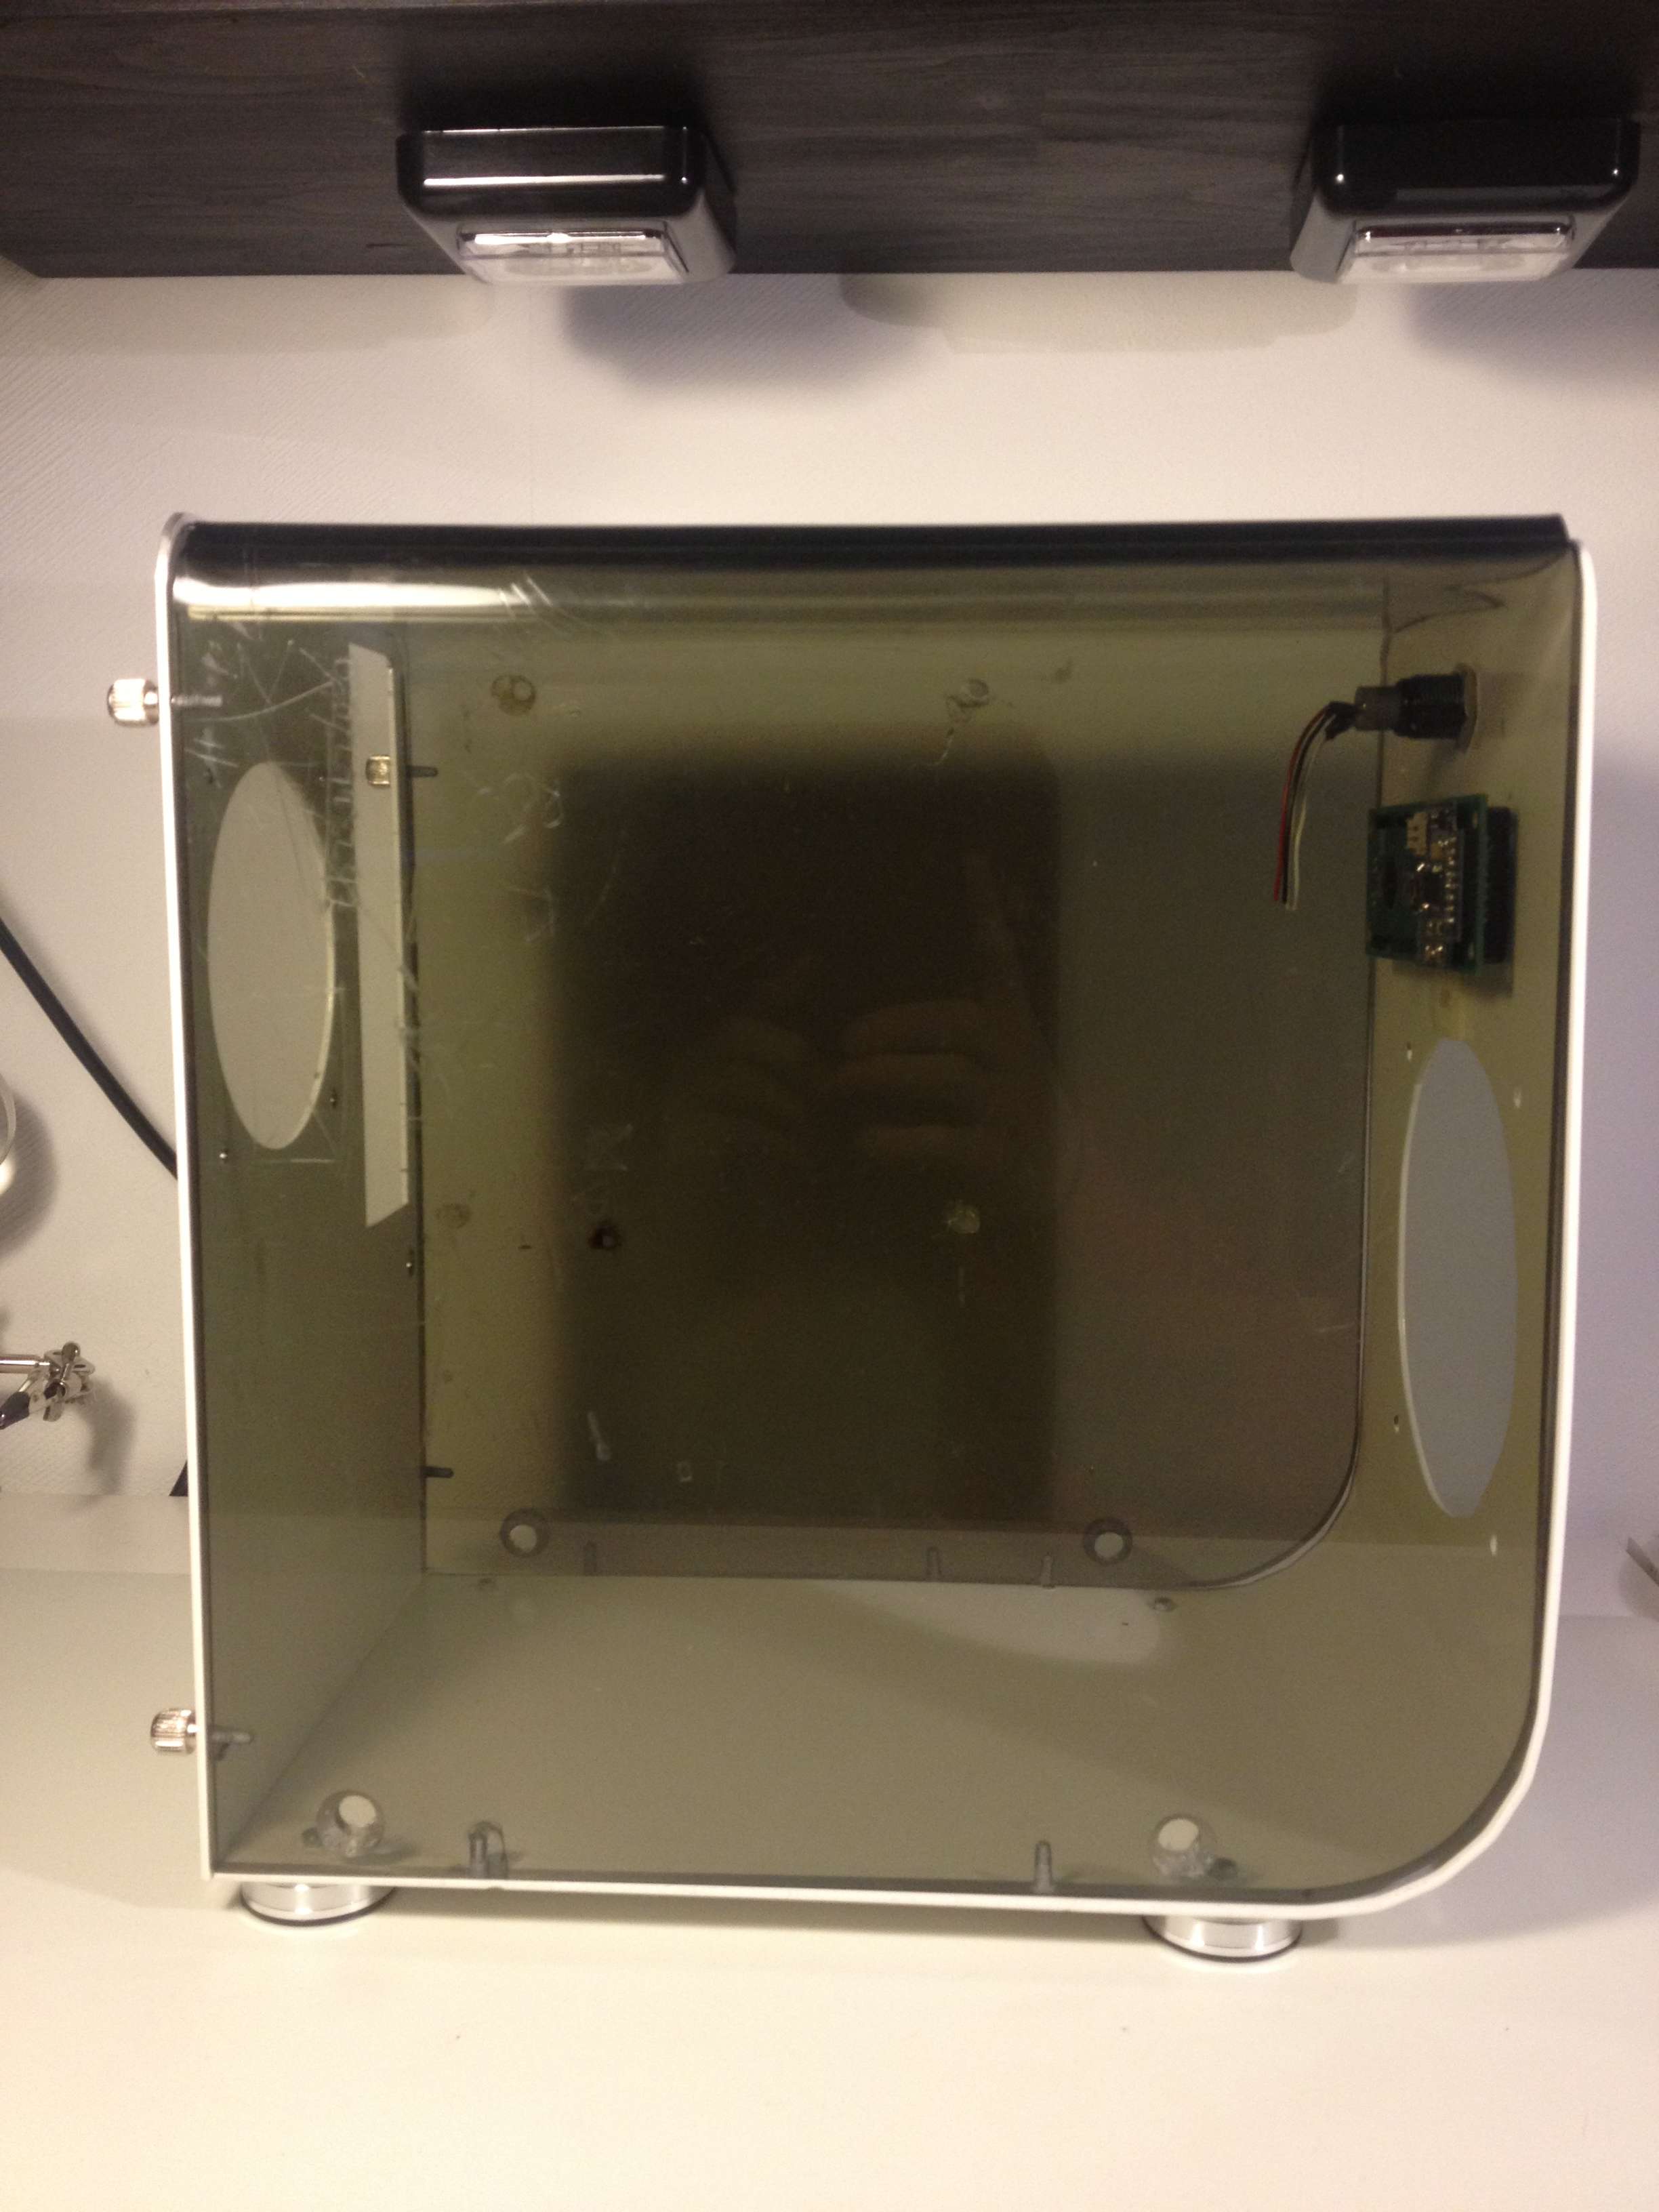
Back:
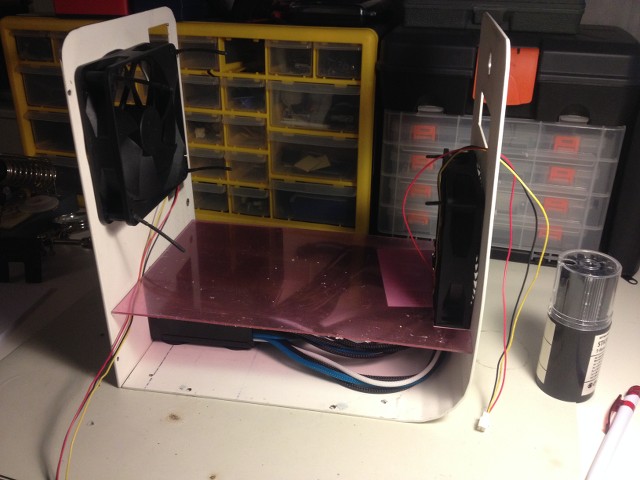
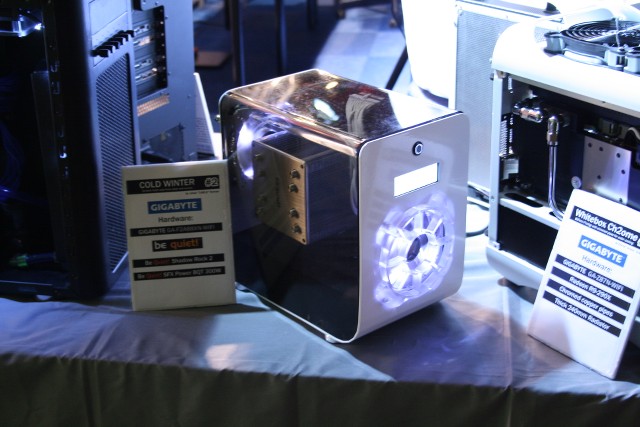
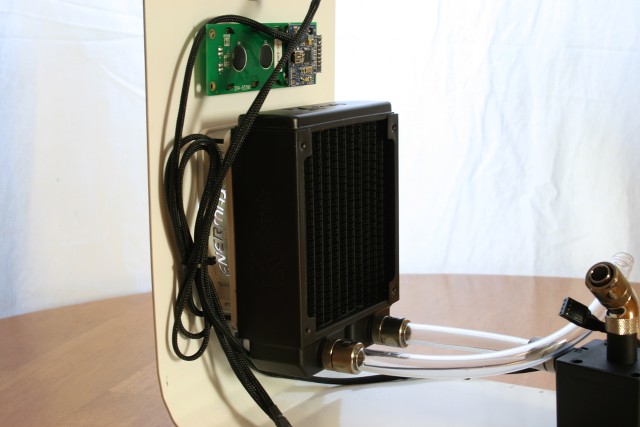
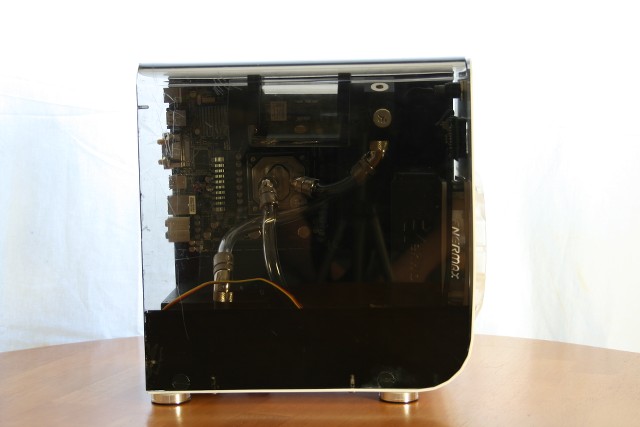
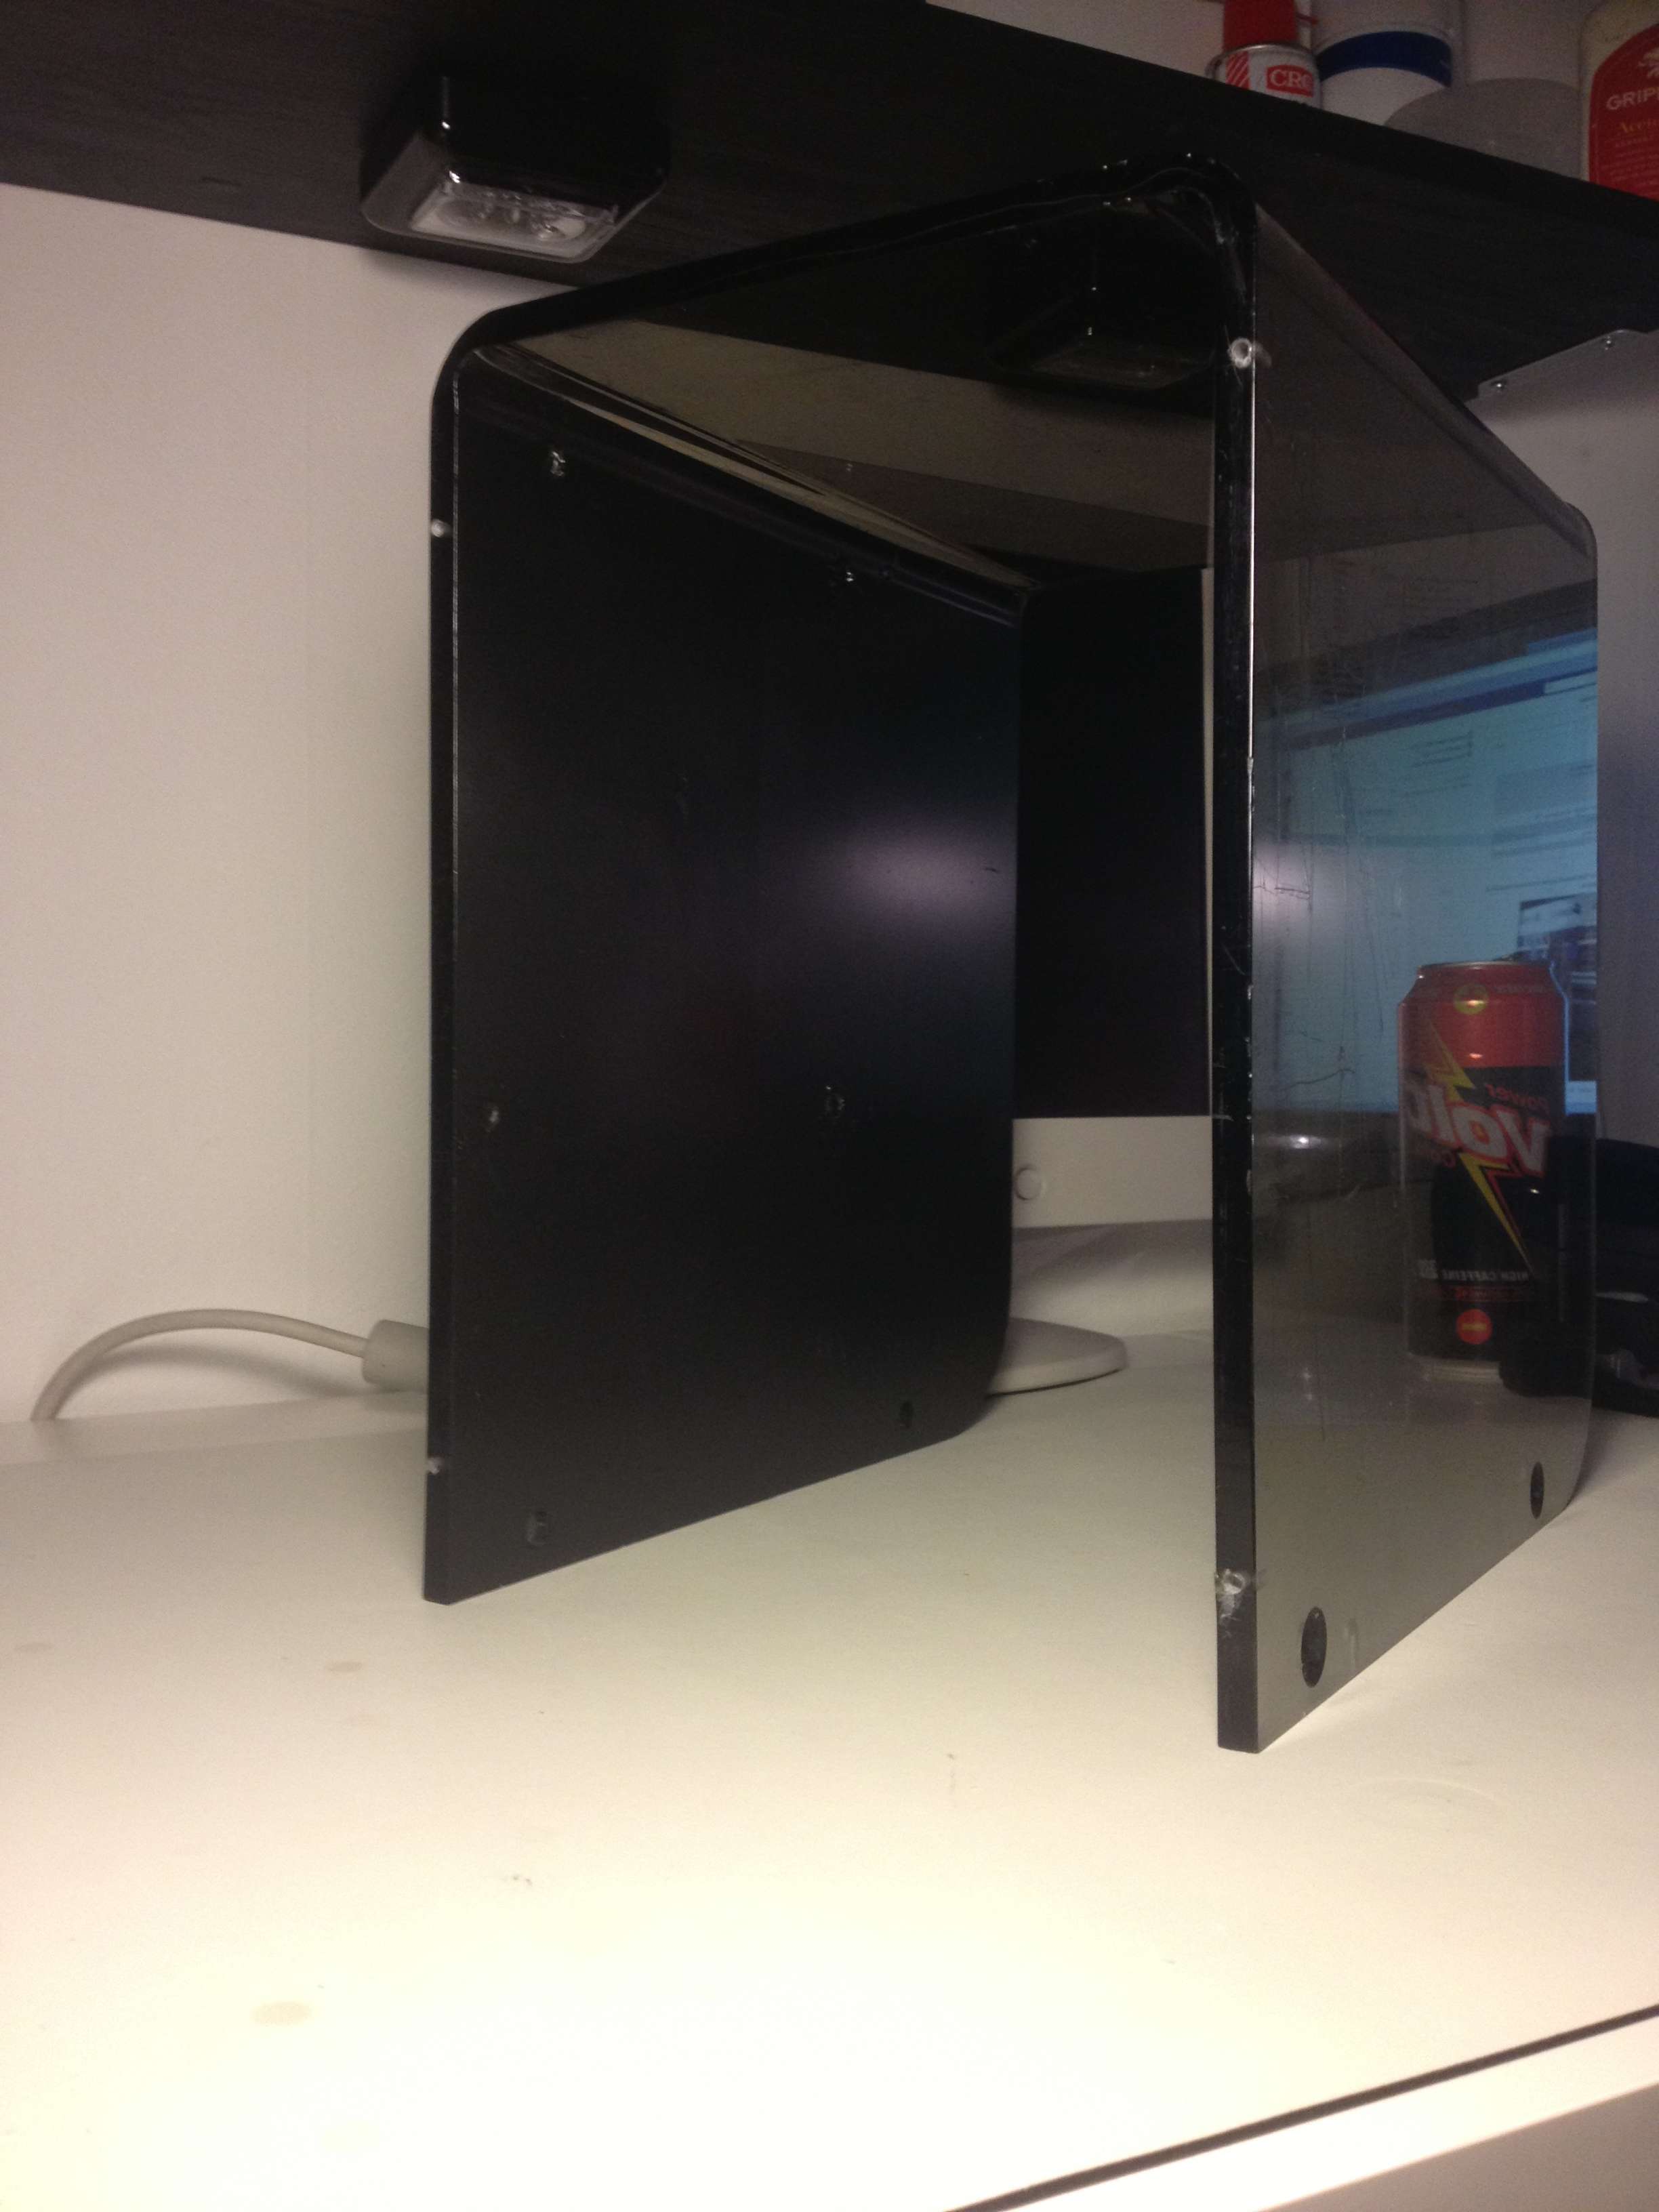
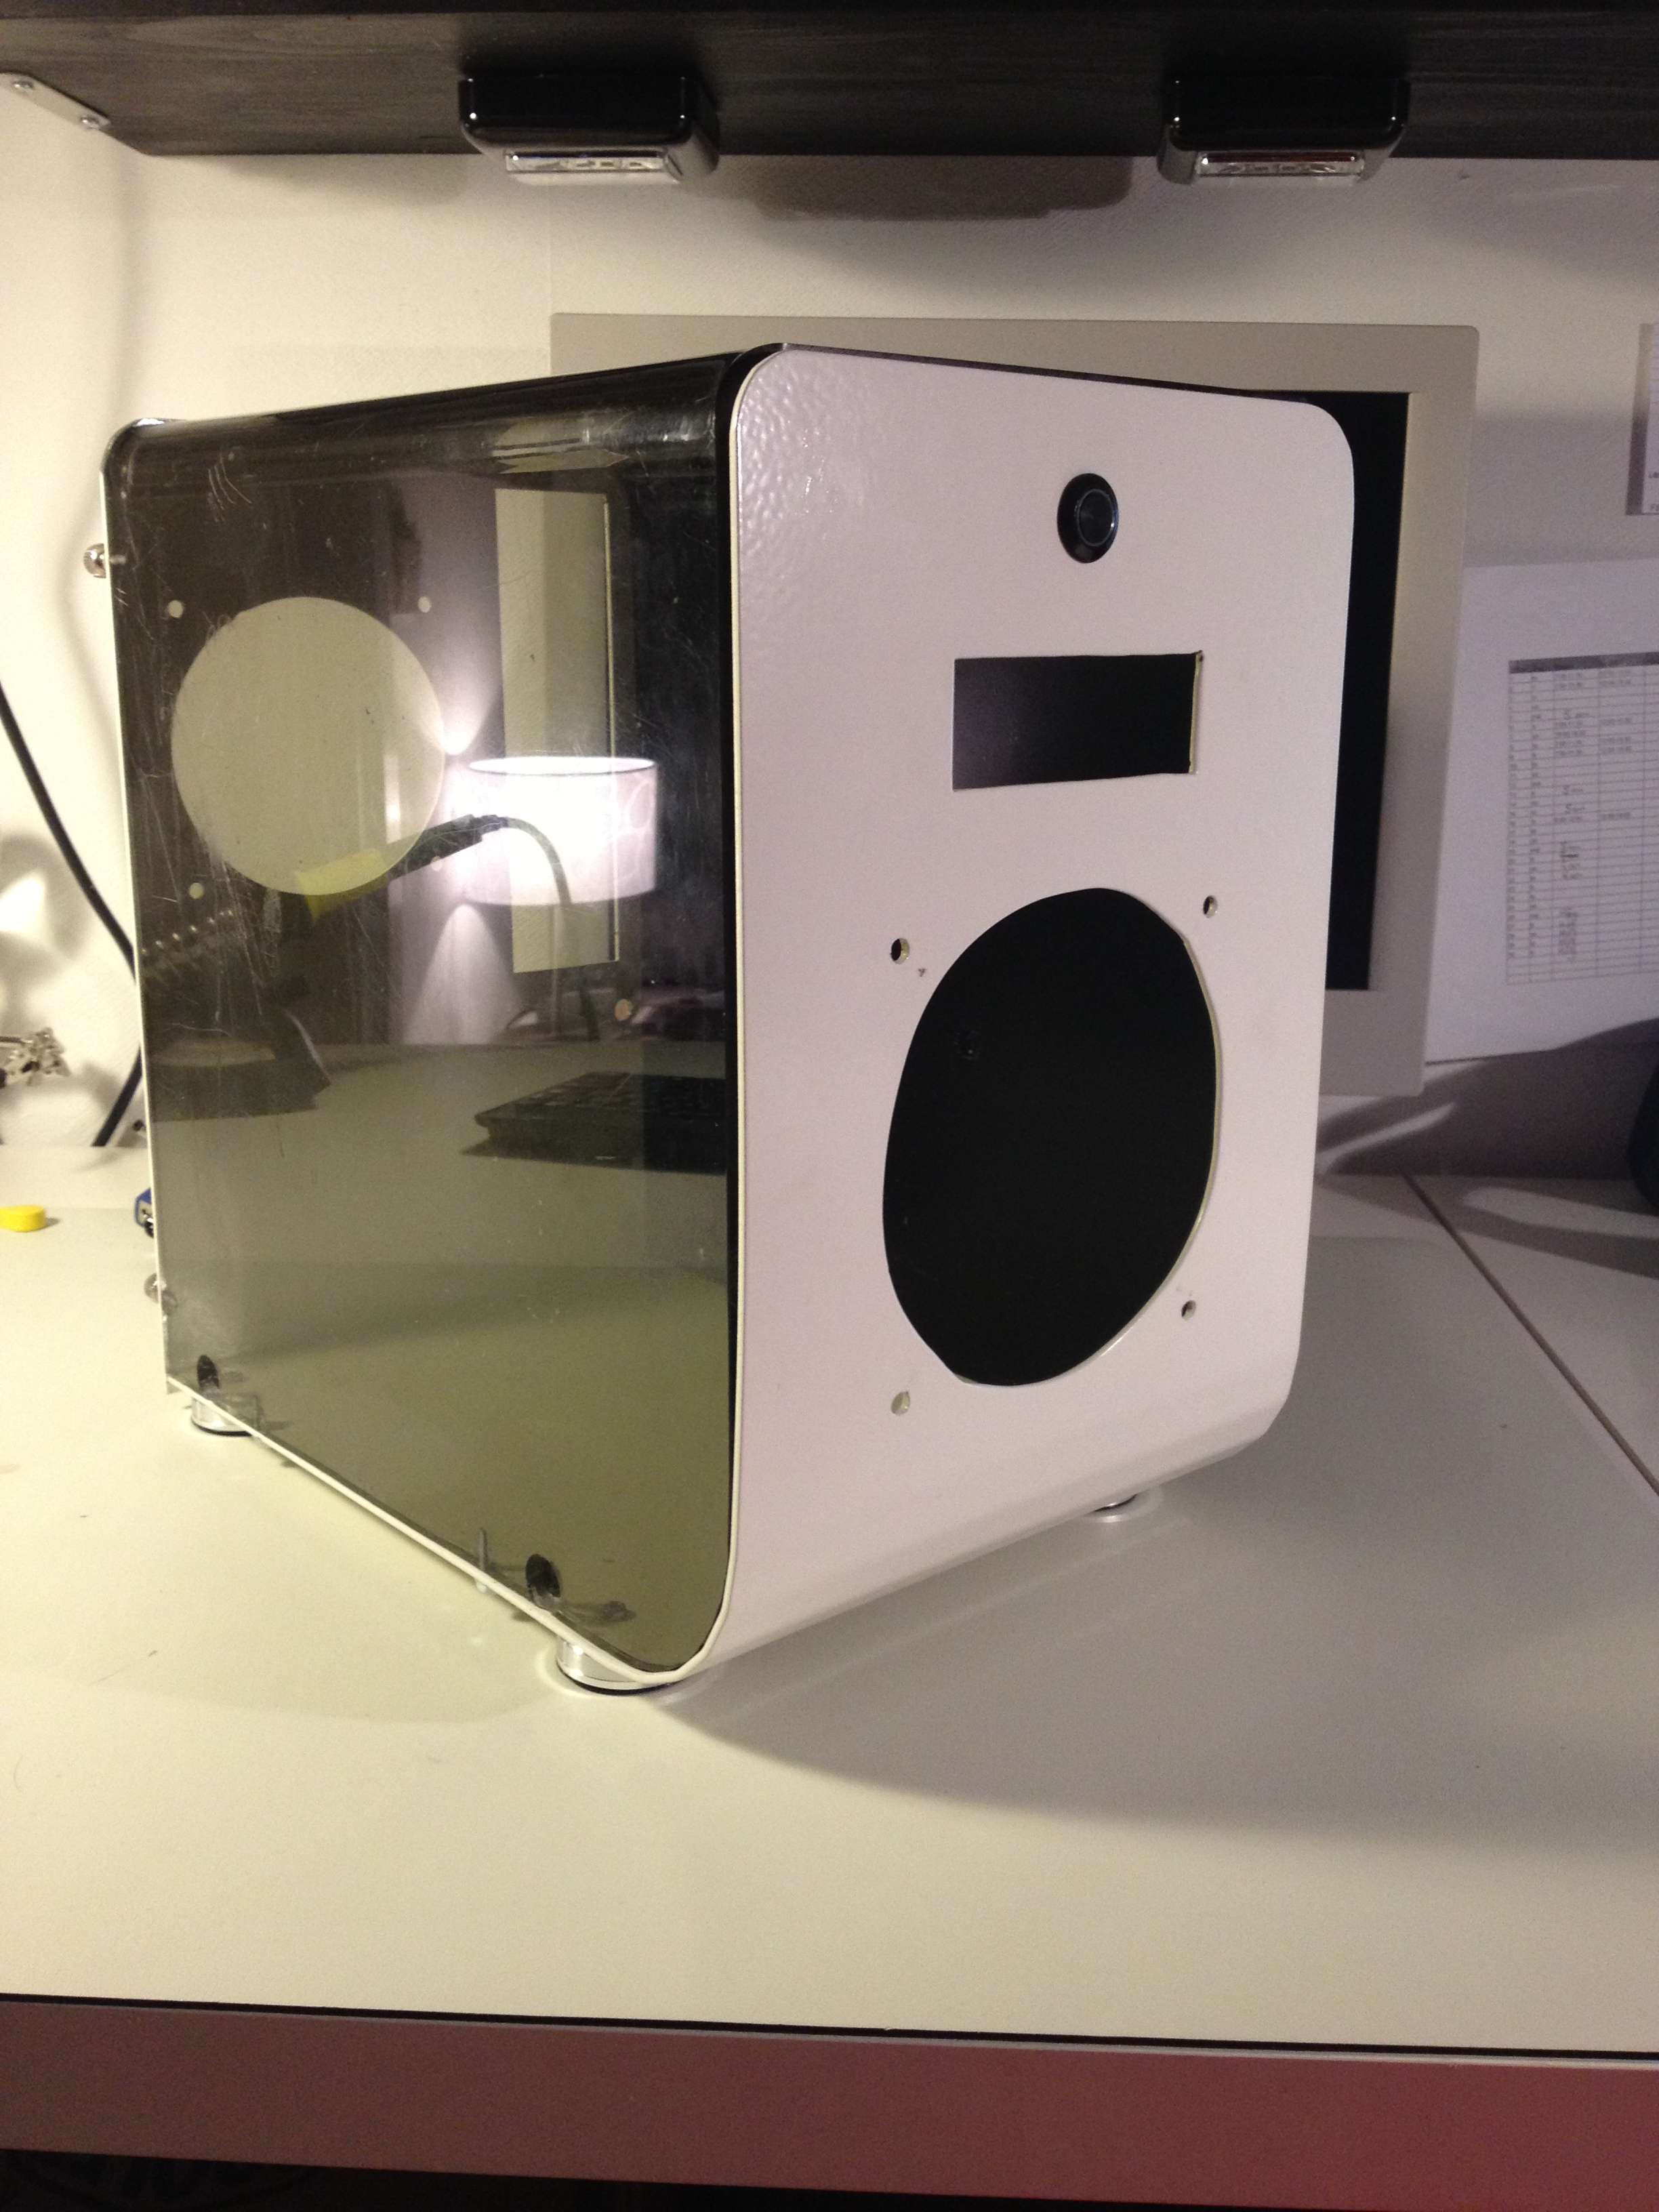
Left side:
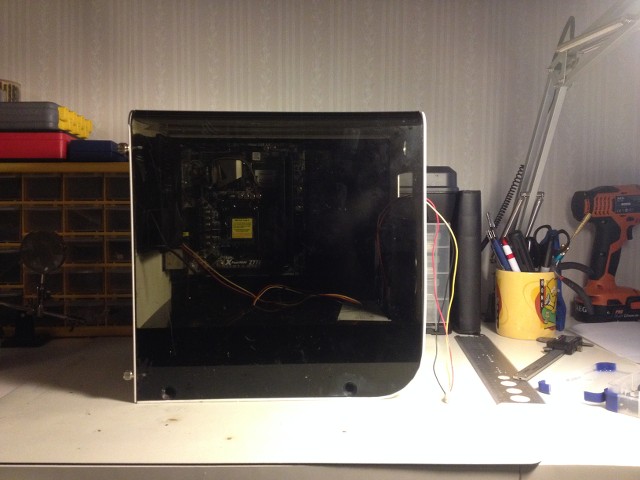
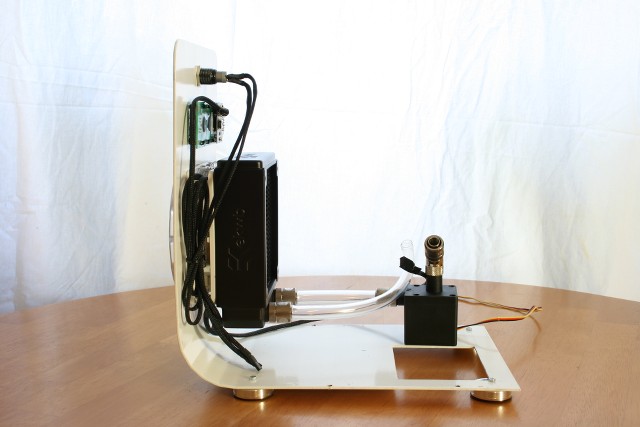
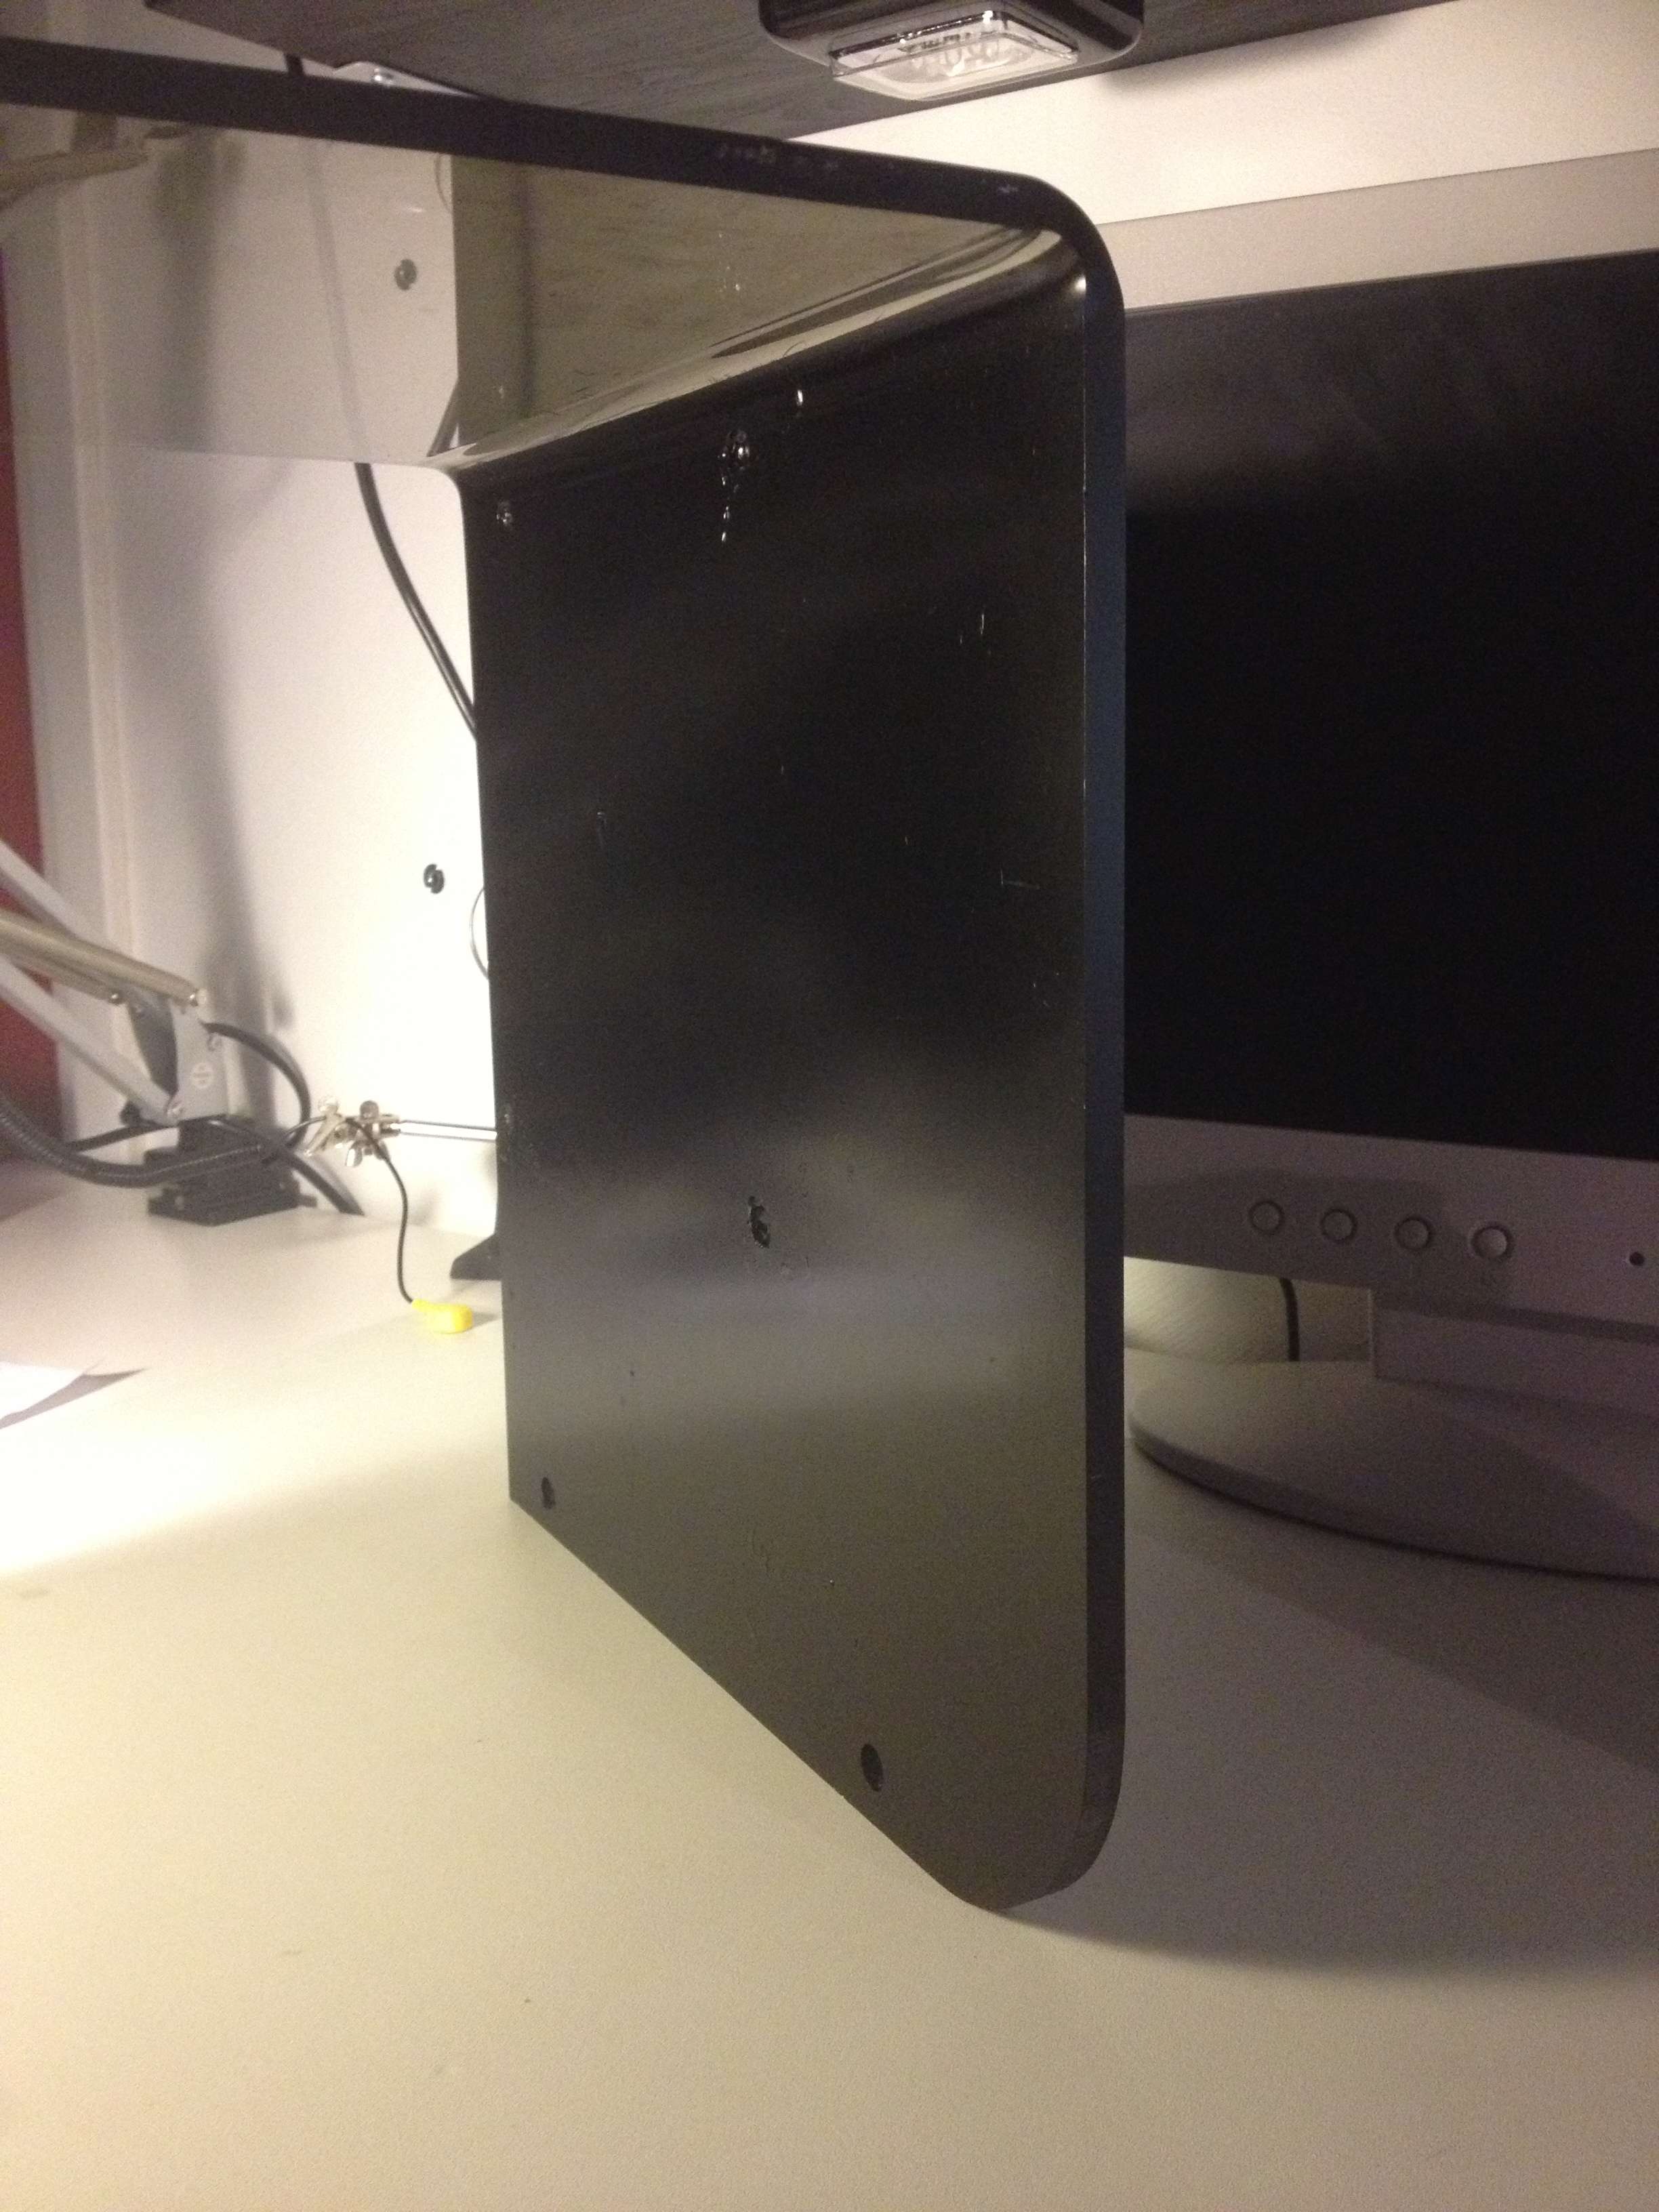
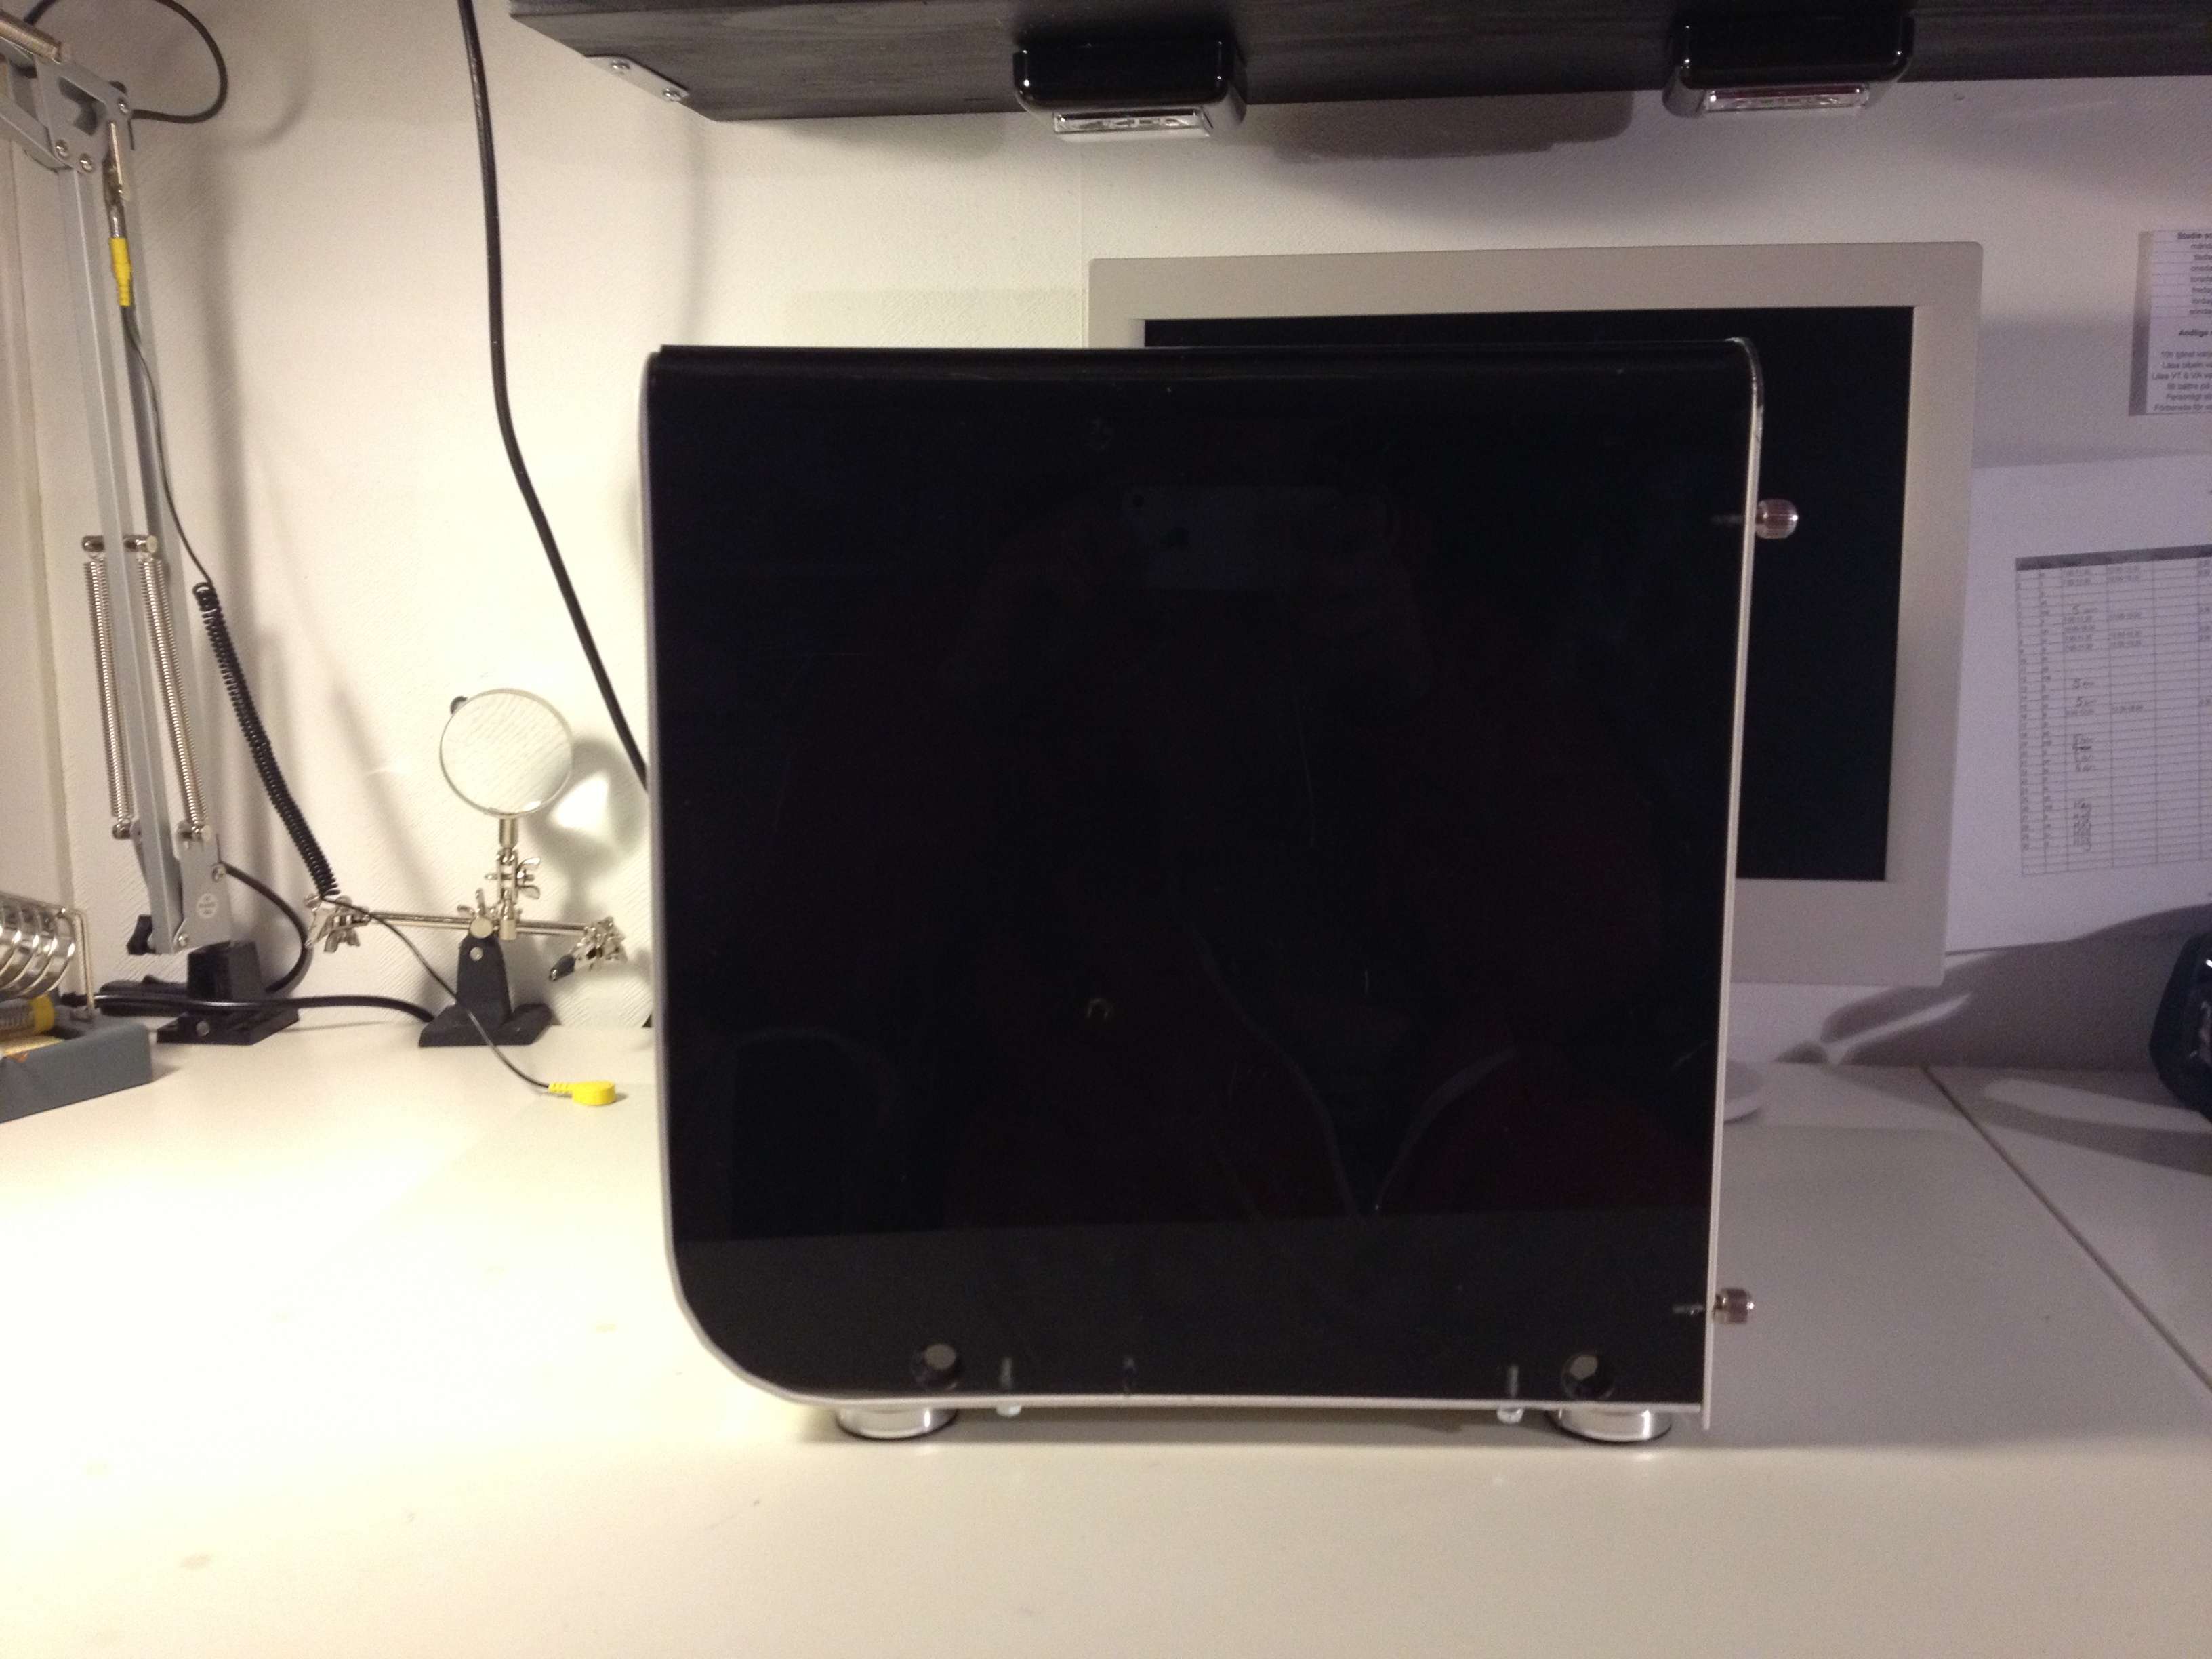
Right side. This is the side I want to paint black on the inside so you cant see into it from here.
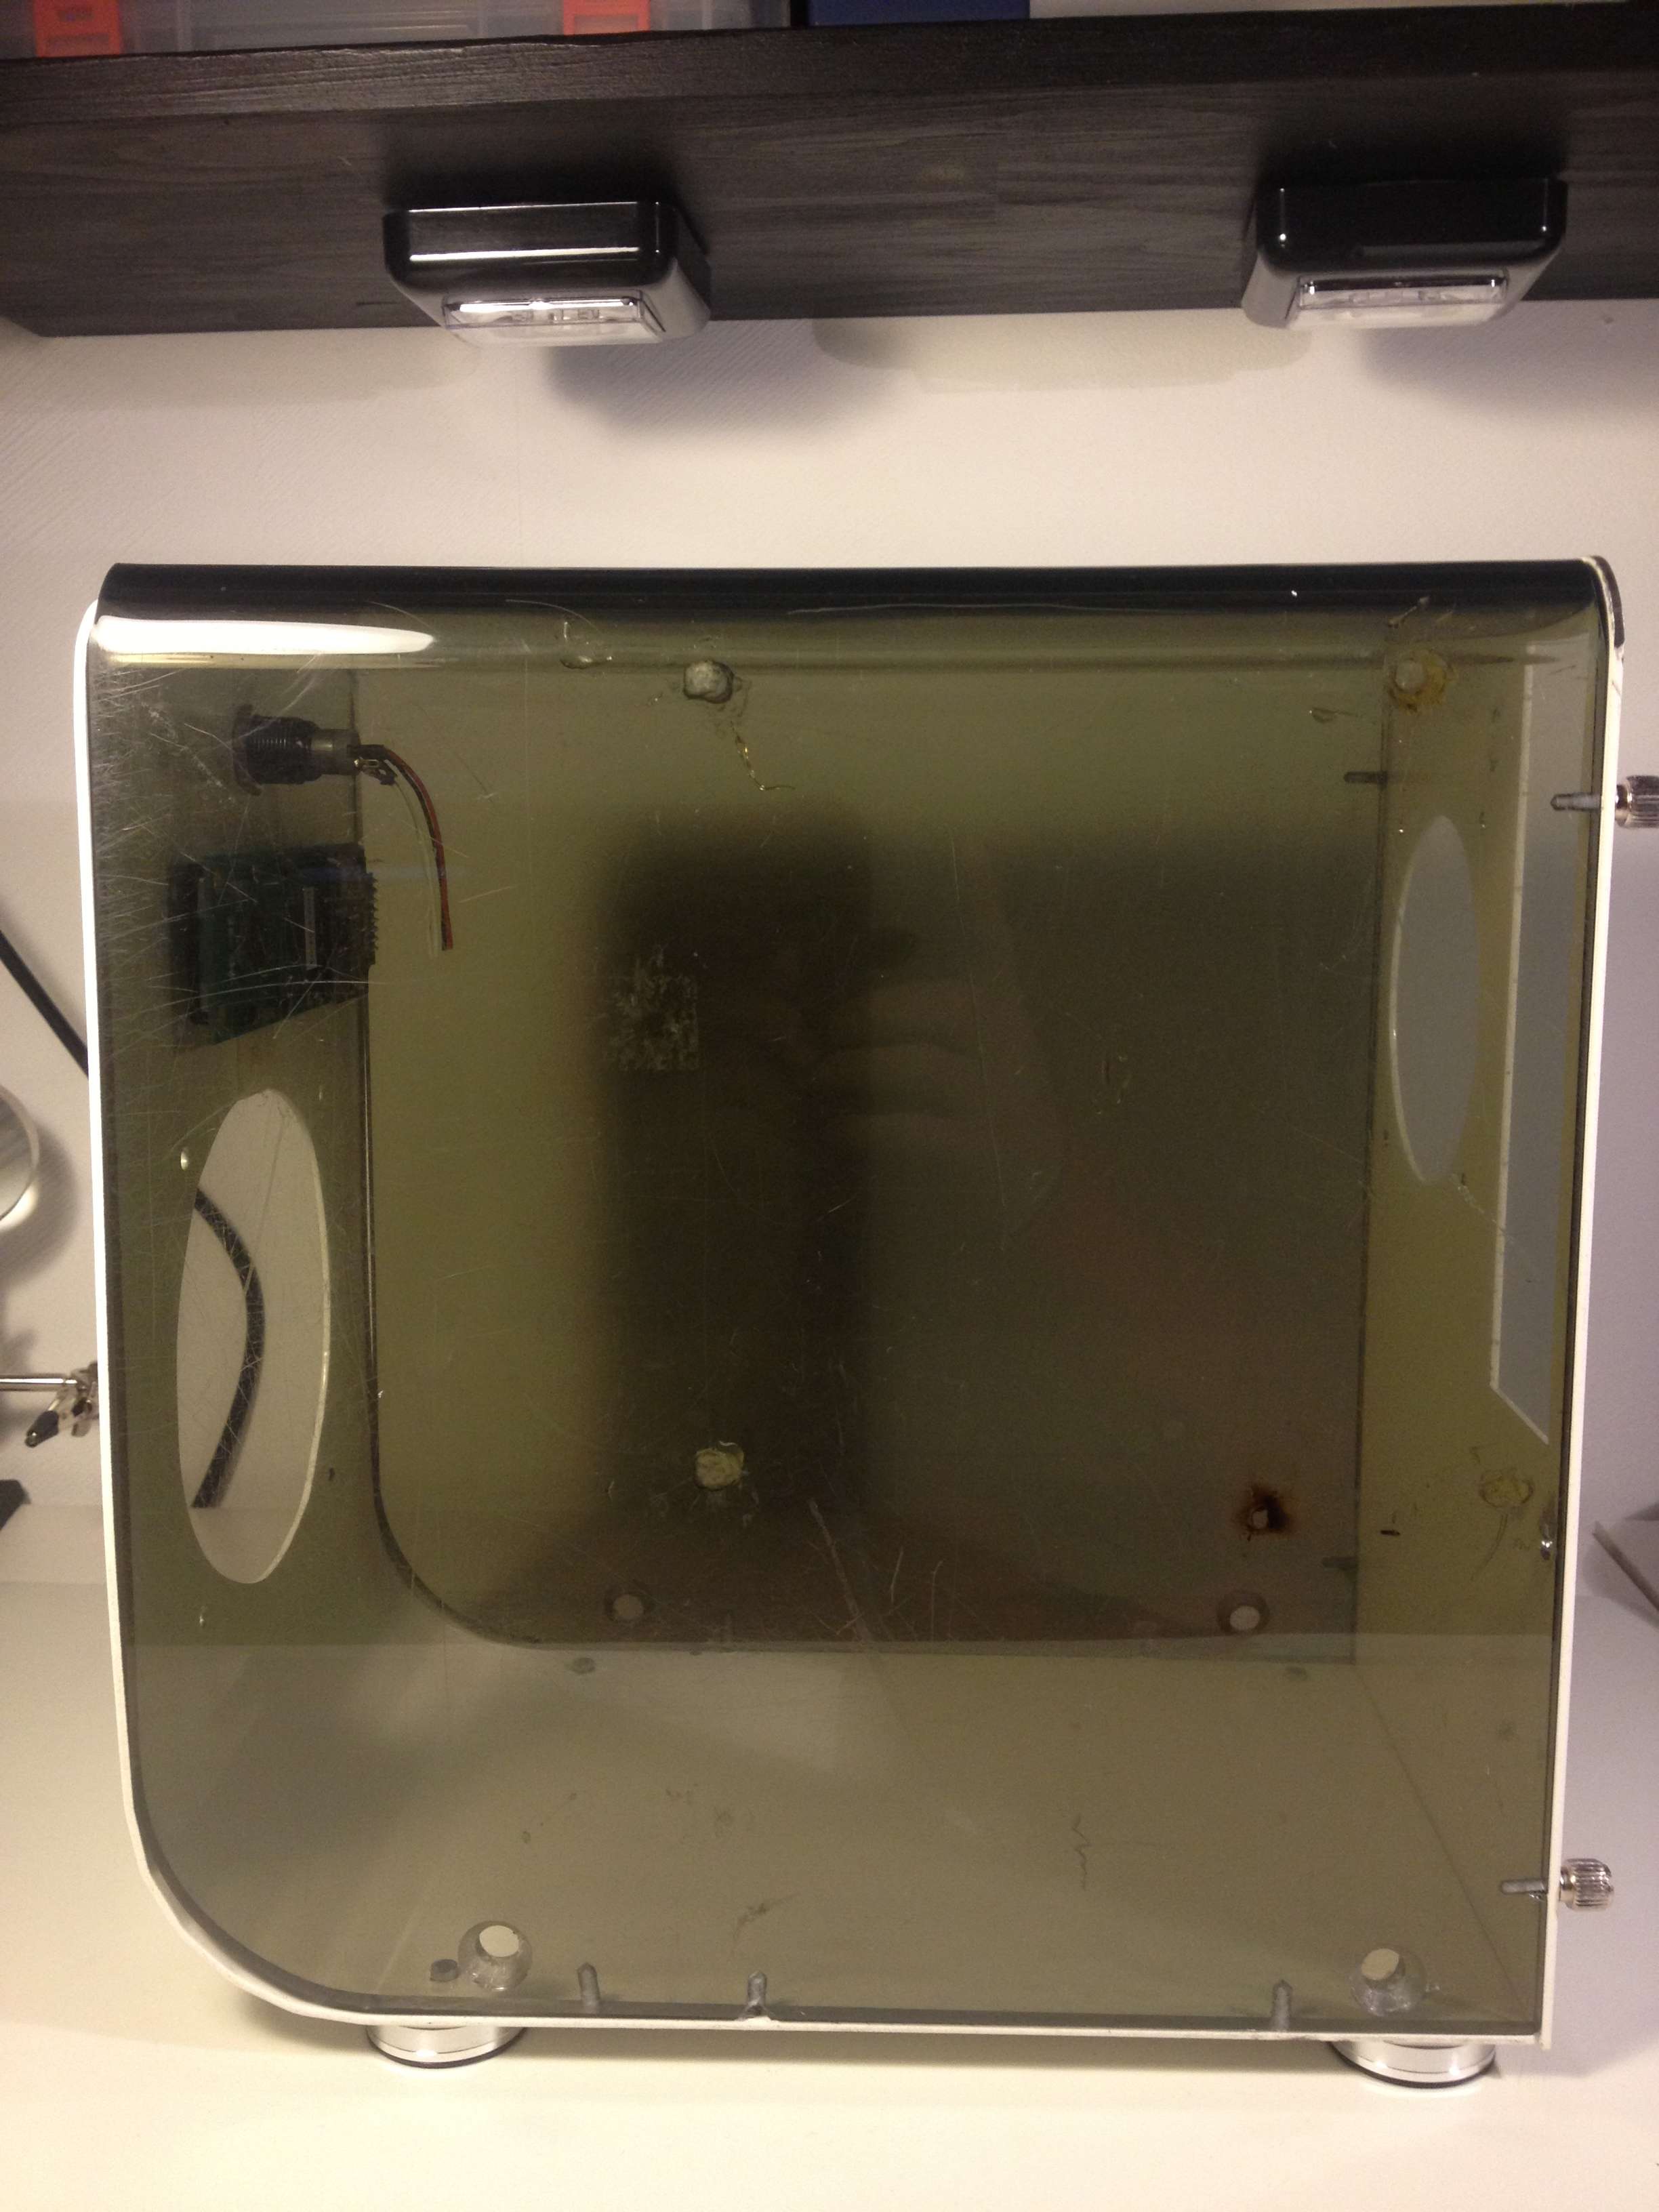
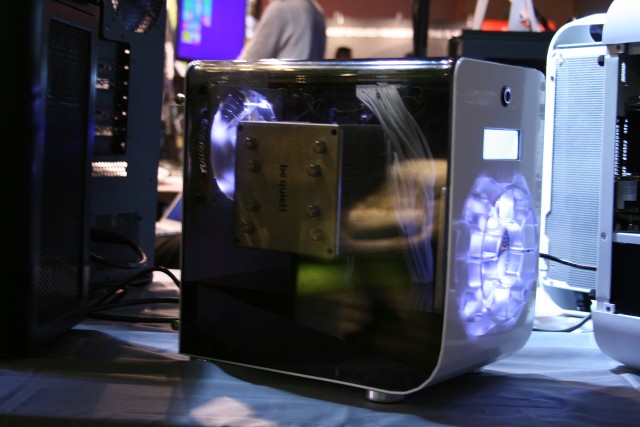
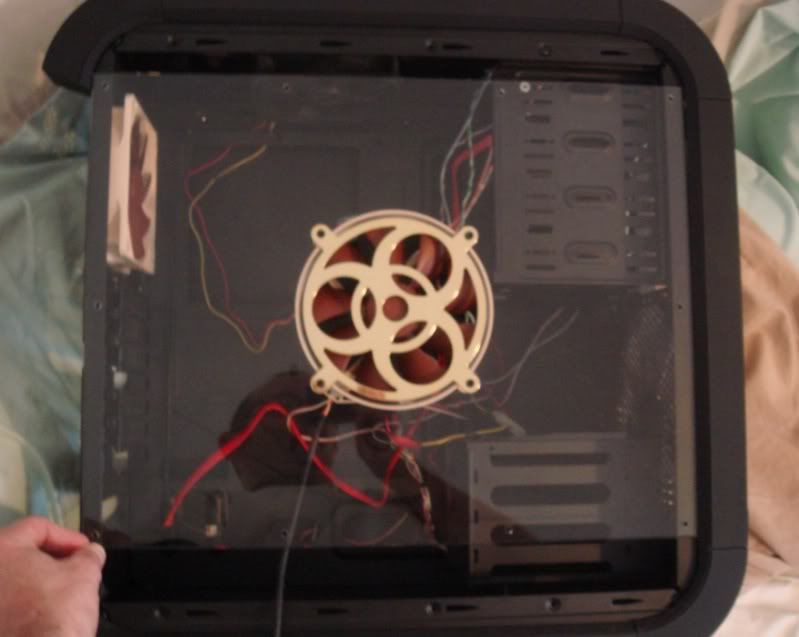
The acrylic is pretty messed up as you can see. It was that from the beginning. Many scratches. But at the same time I feel like it gives the case a kind of vintage look, I still want to make it look a bit nicer though. So I will start by cleaning and polish it as much as possible. Do any of you guys know how to remove scratches from acrylic? Clearcoat it? Use a little blowtorch? Any advice?
First thing Im going to start with is to cut the acrylic maybe 3-4mm so it fits perfect with the white plate. Then paint the backside of the acrylic black. So this is what I have to work with for a couple of weeks:
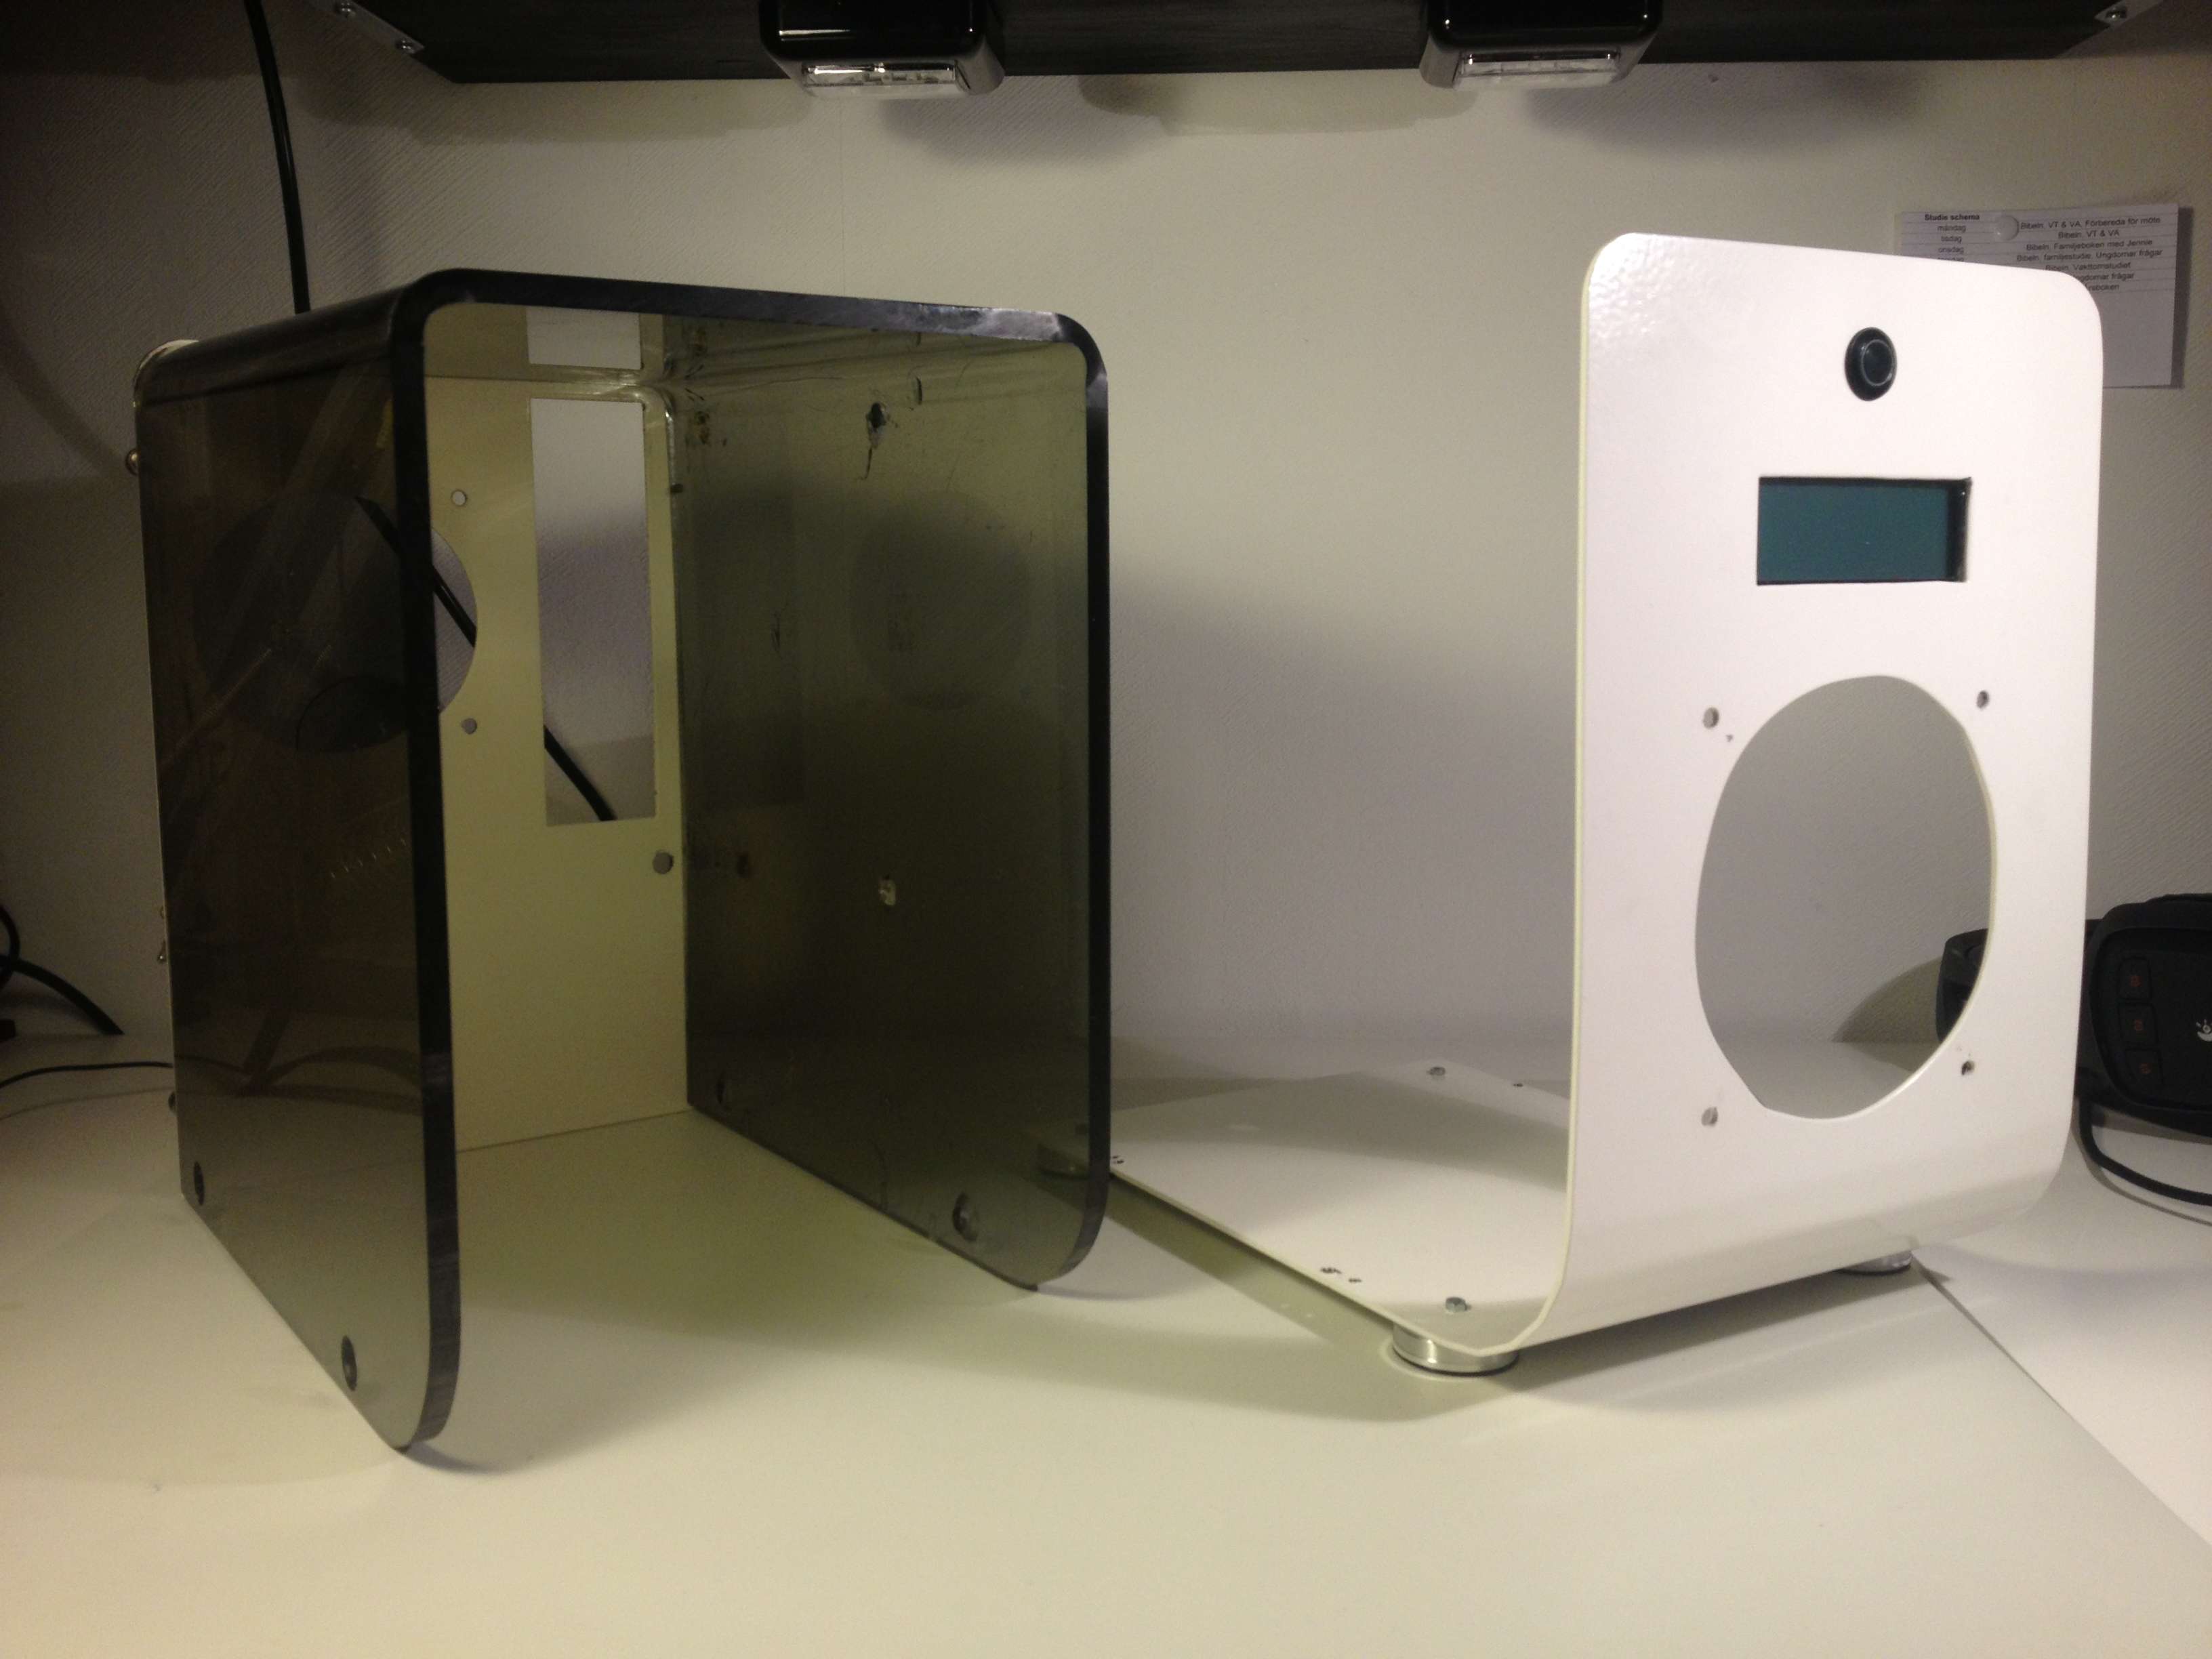
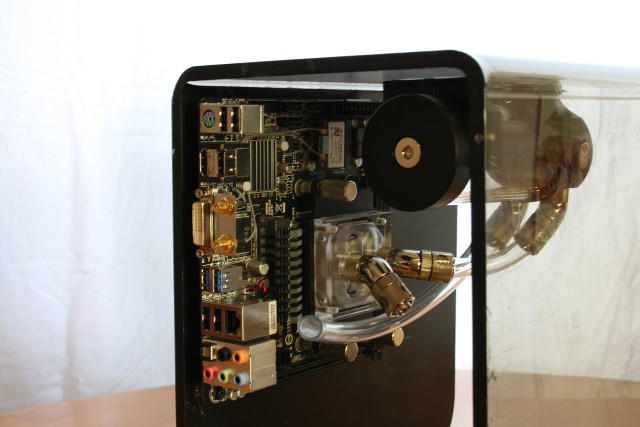
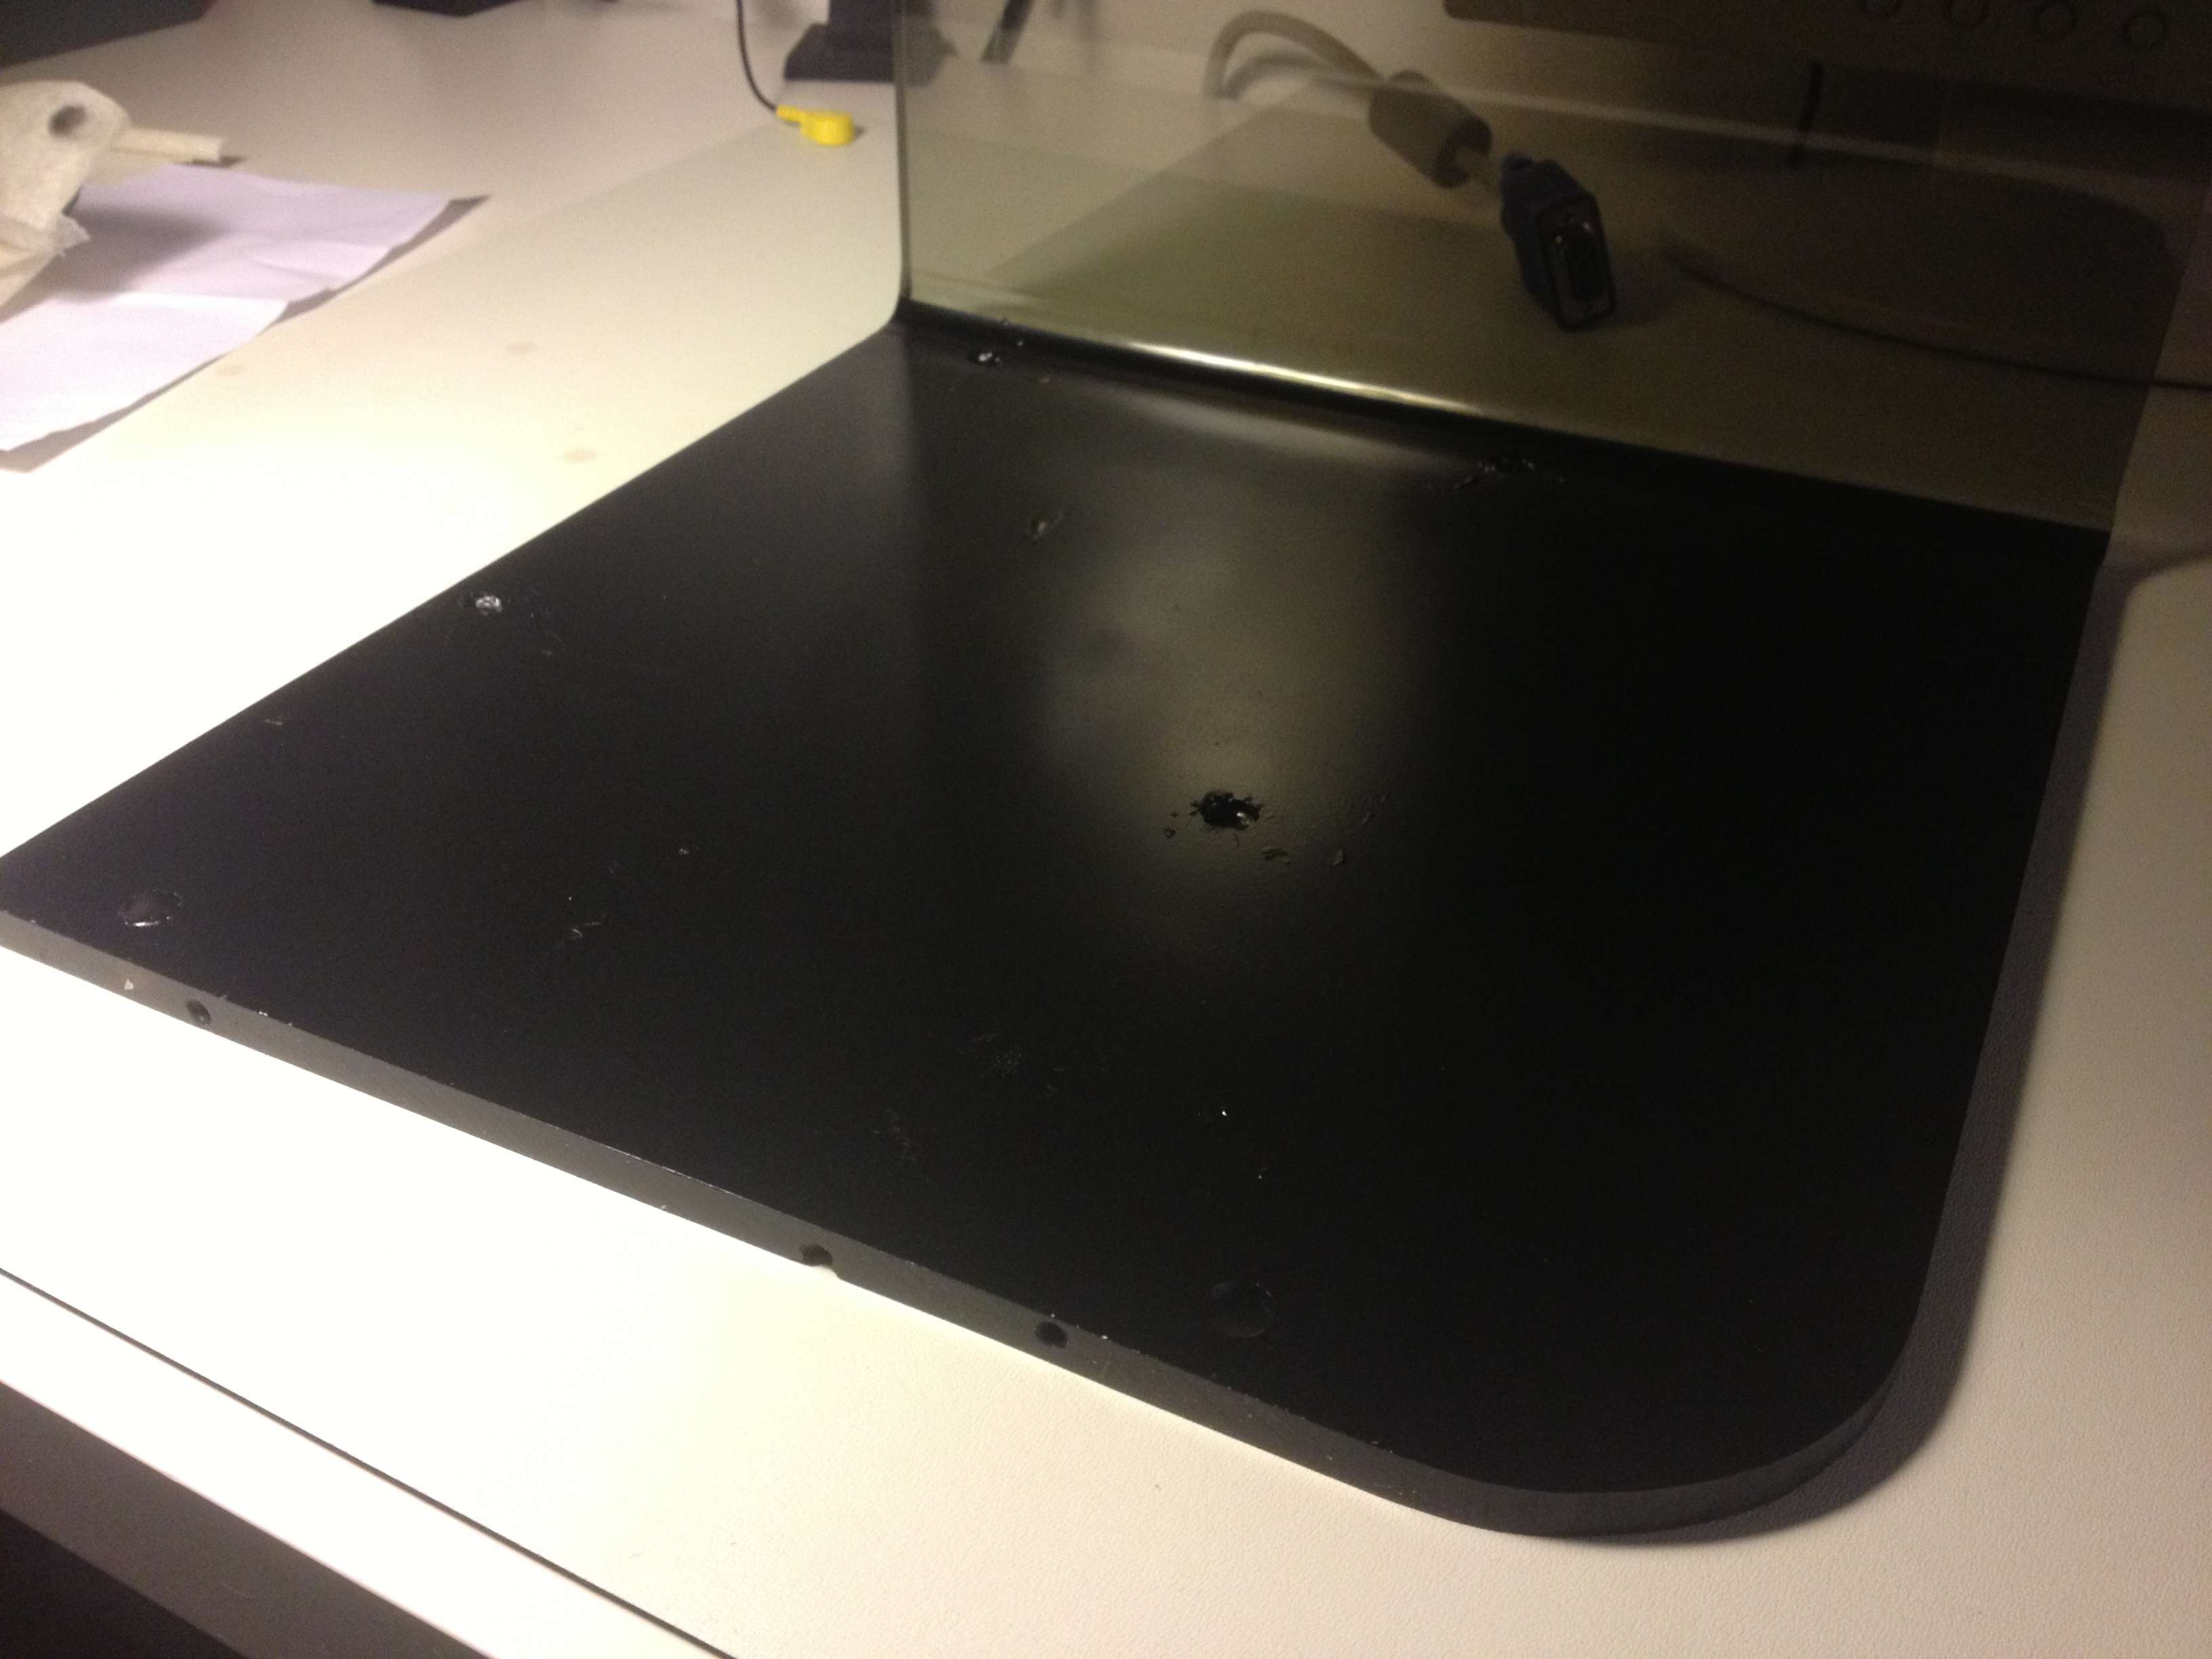
I painted the right inner side of the acrylic piece black. Looks pretty good. Now you cant see anything from the other side, just as I wanted.
I started with isolate a little bit.
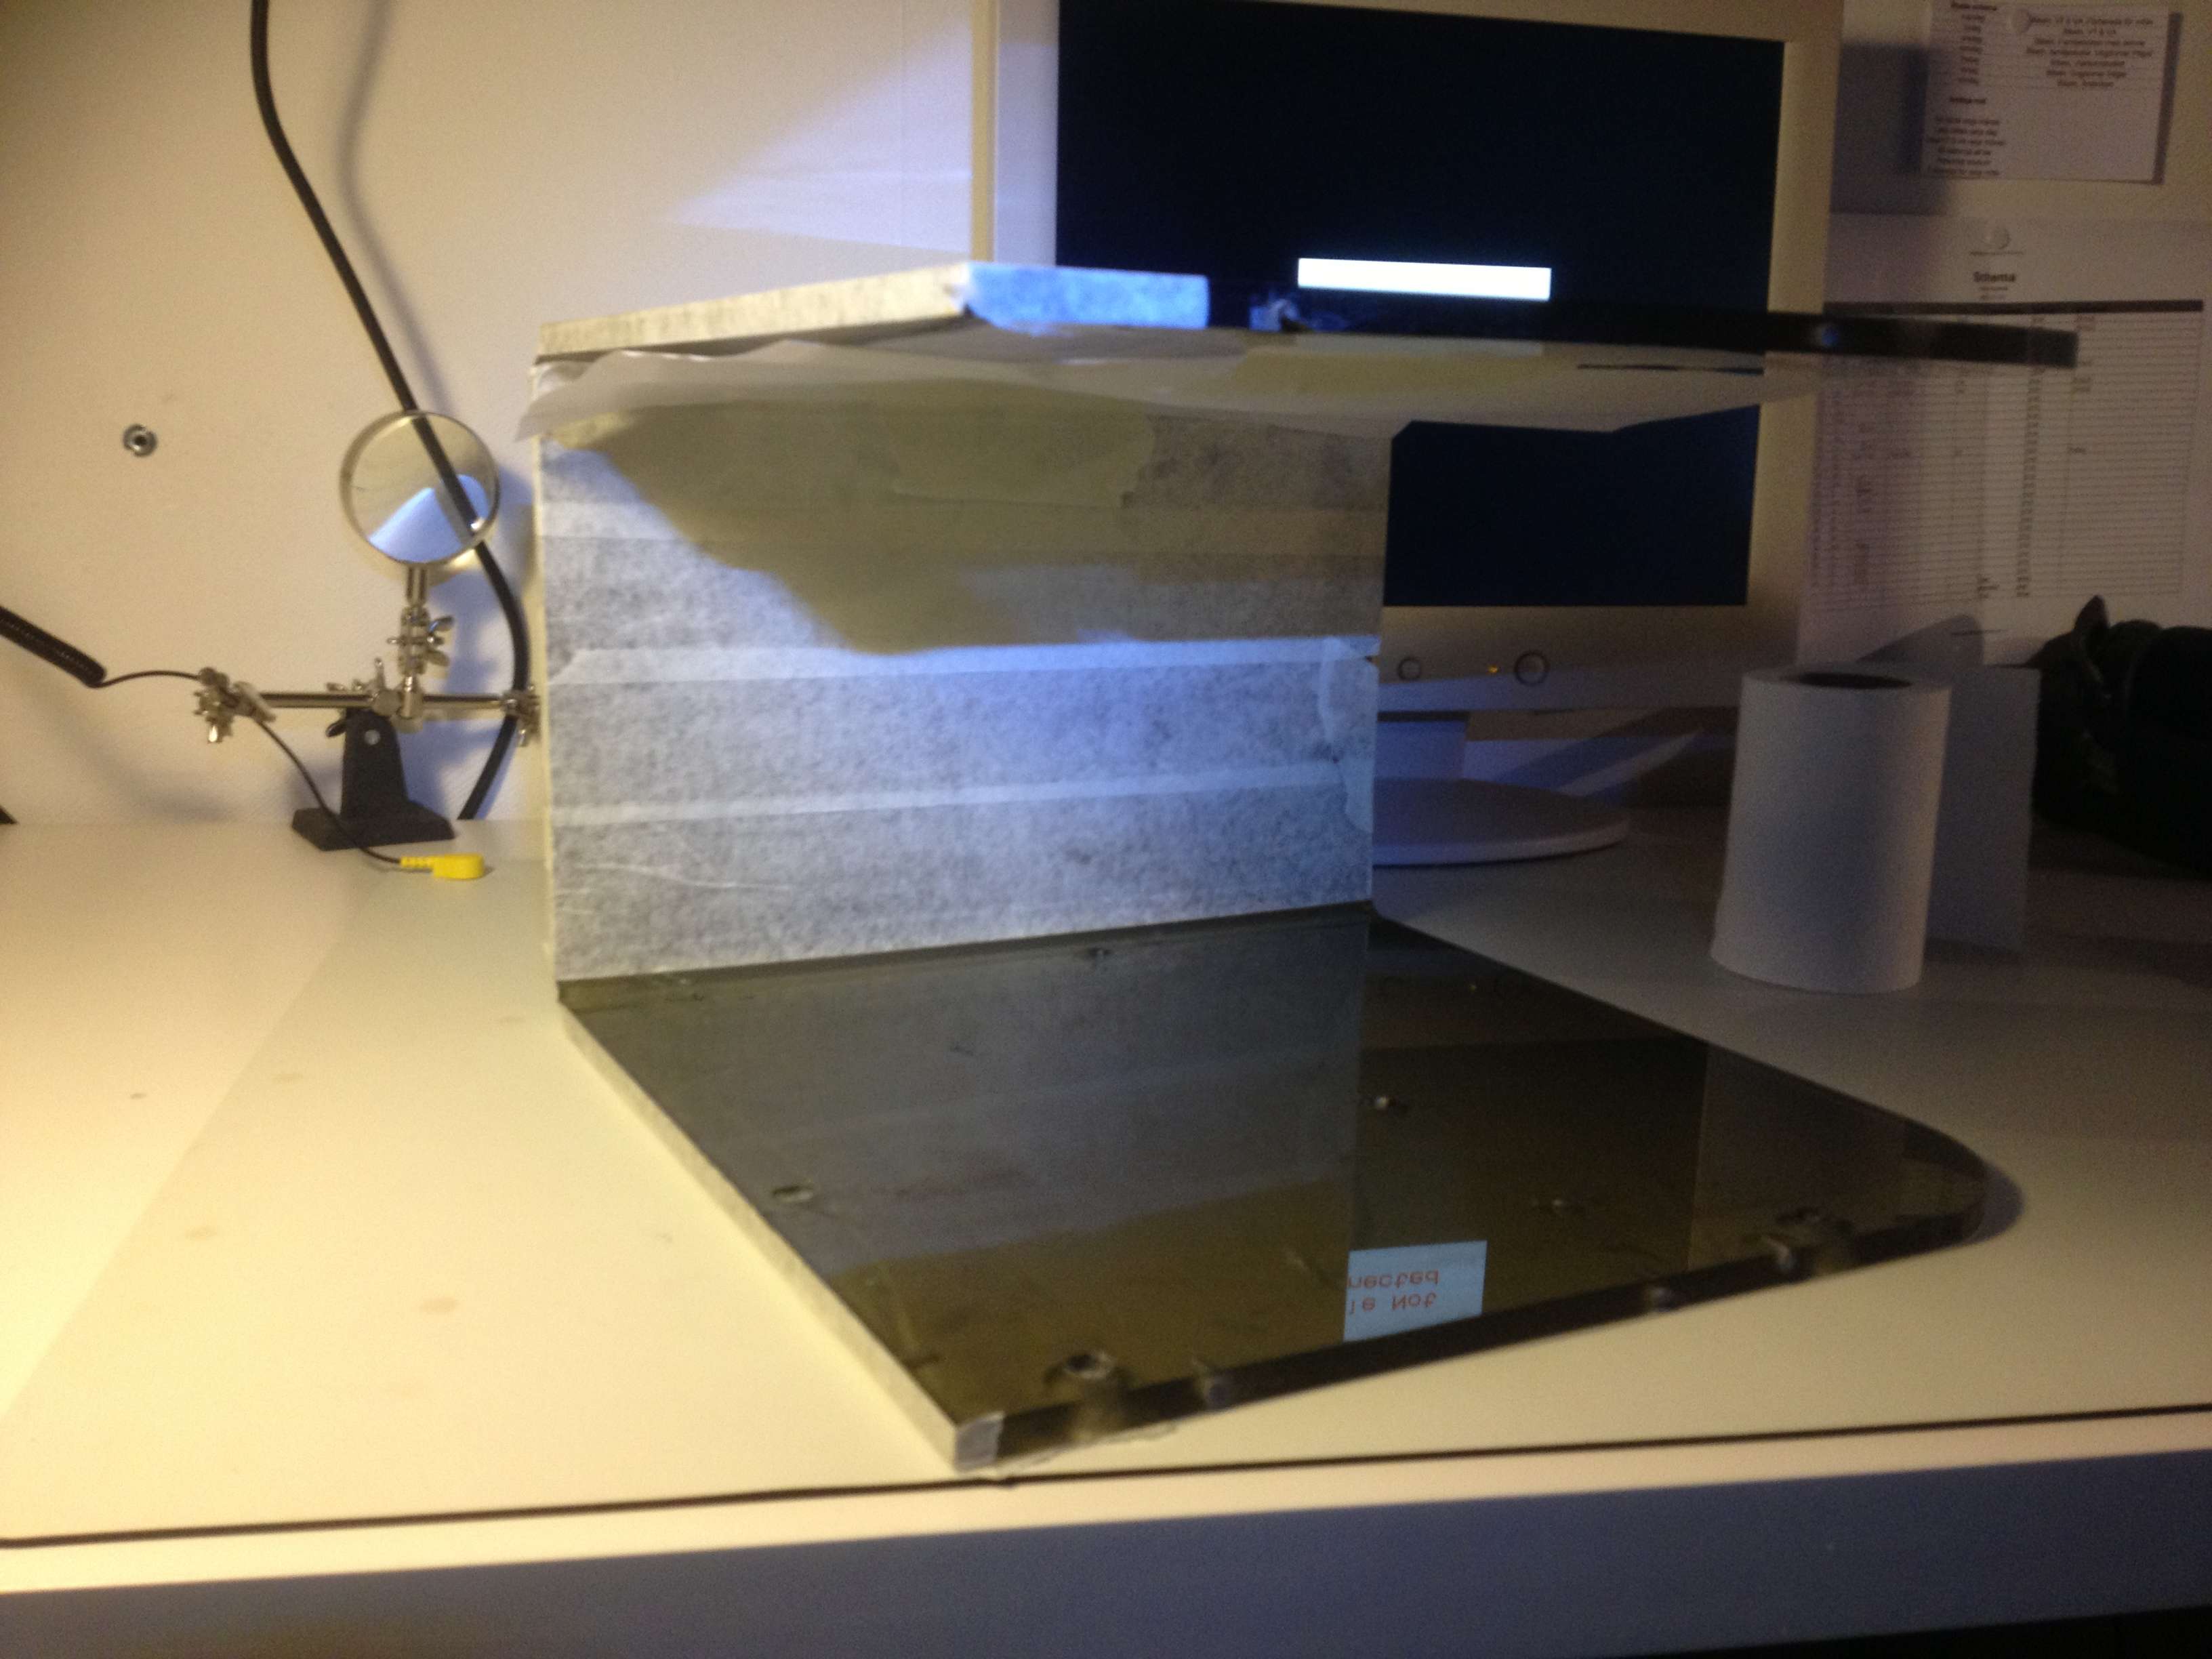
Then I just painted it, 3 layers.

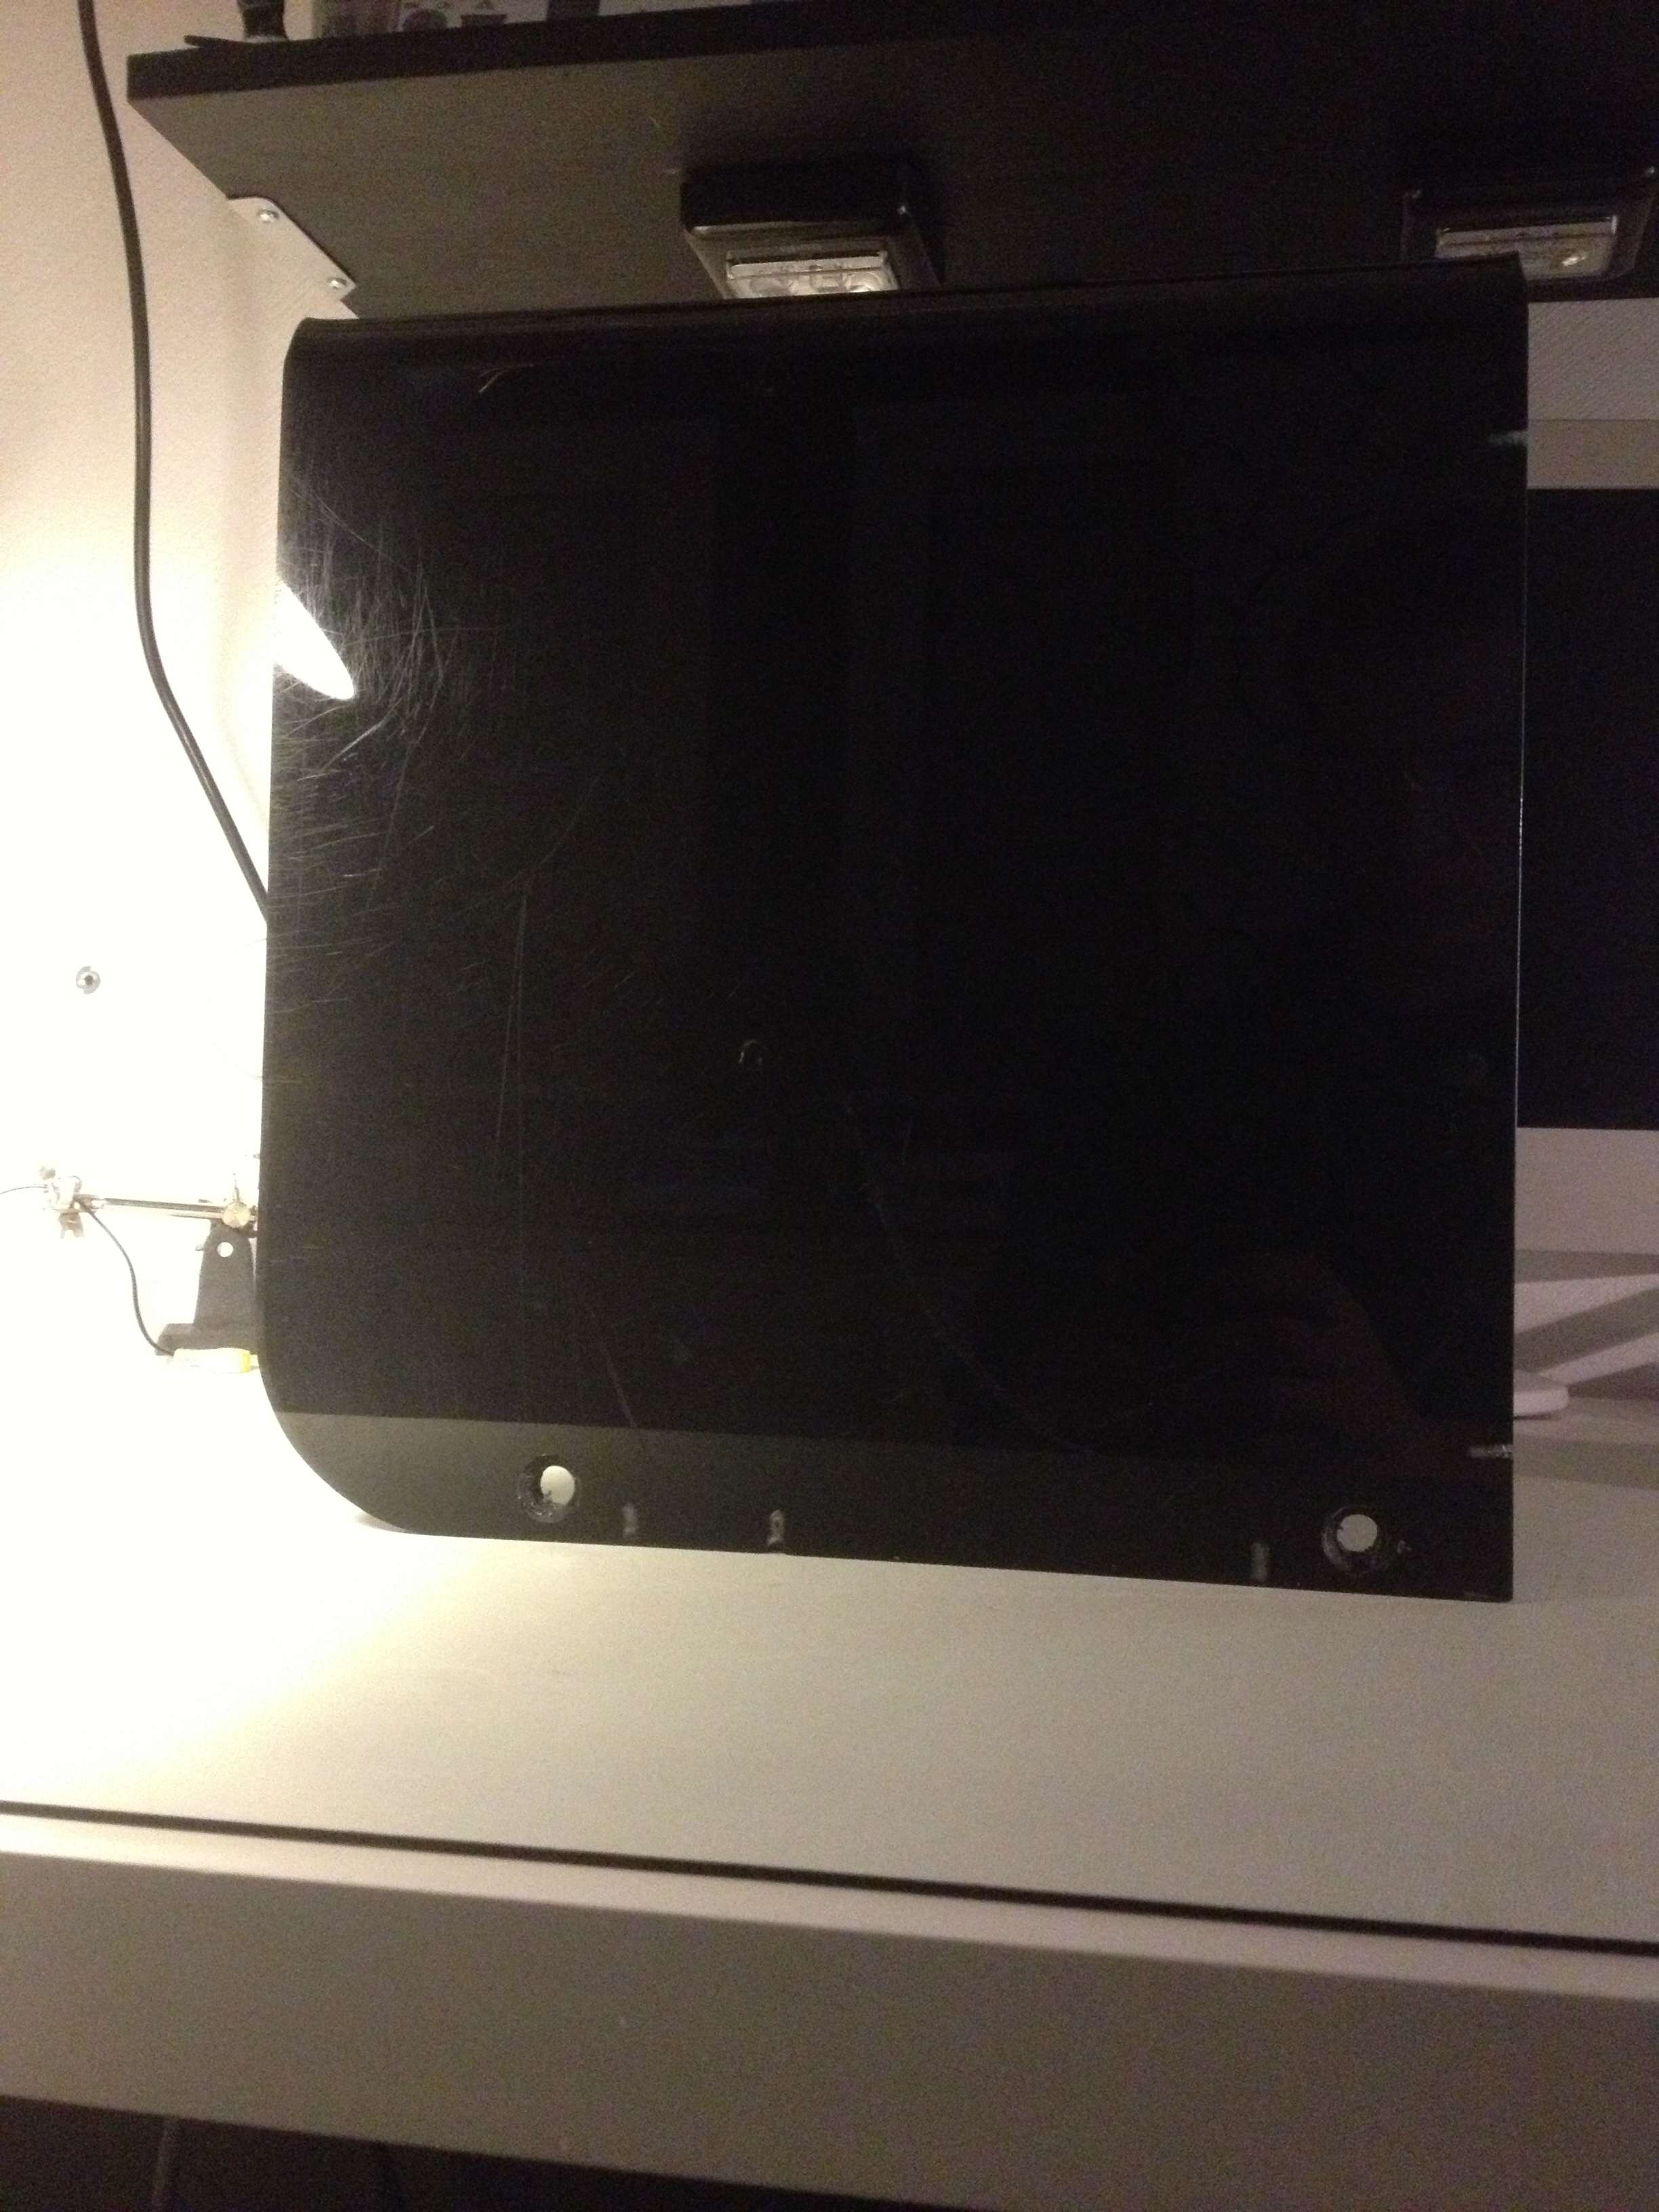
And this is how it looks from the outside.
Ive lowered the plexi a few mm to fit better to the white bended plate. I put everything together and took some pictures, I really love the black side.
The edge before. A little bit to high.
Measured how much to cut.

Dada!
Think this looks really good.
Right now Im waiting for the hardware so I can start measuring out how to fit everything, how to make the shroud and so on.
Will be updating as much as possible. Please comment and give me advice and tips. Everything and everyone is welcome.
With kind regards
Johan Nyman
Now that Im finished with CURV3D I can start with my next project. I have been waiting to start working on this. Ive been planning how to make this as good as possible. This is the project I will spend most time on ever. Hope you will enjoy this log, feel free to comment and please give me advice and tips.
Lets start with a little info about this build. You may remember my log of this build from another forums that I posted around a year ago. I also made a version 2 of it, and now the third and last version is coming.
This is my favorite build of all time, so now I want to make it as goodlooking as possible. What Im going to do is to correct the mistakes Ive made before, add some features to hide cables and things like that. I will also fill it with a little bit newer hardware and this time Im going for some nice watercooling, not an all-in-one like the Antec Kuhler I had in V.2.
List of things to do:
- Paint the right acrylic side of the case (on the inside) black, so you cant see in from the side. Thats the side where the motherboard will be installed. DONE
- Make coverplates out of acrylic to cover cables, psu and waterpump.
- Make a hole in the bottom and in the backpanel for the new psu.
- File down the acrylic so it fits perfectly with the acrylic piece. DONE
- Sleeve everything white, black and aqua.
- Hide as much of the cables as possible
- Install watercooling
- Getting the hardware
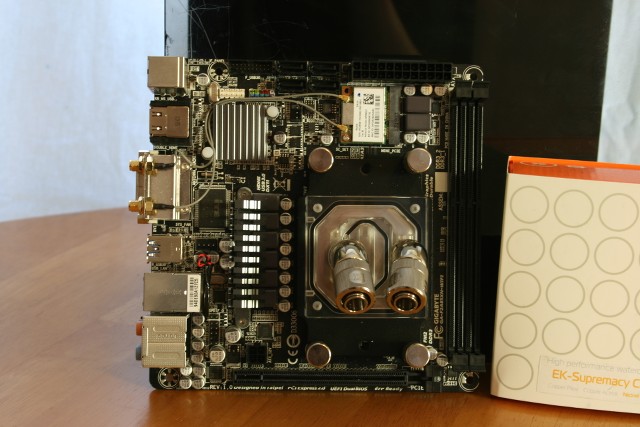
Hardware:
MB: ASRock FM2A85X-ITX
CPU: AMD A10-5800K
RAM: Corsair Dominator Platinum 2x4gb 2133MHz
SSD: 2x Samsung 840 120gb
PSU: Silverstone ST45SF-G
In V.2 I used AMDs Llano, and I fell in love. Since then I have been waiting for the next generation and now Trinity is here. When I have time for games I either play Starcraft 2 or Dota 2 and those arent really hardware demanding games, but the Trinity still is pretty good. So what I want is a HTPC but with possibilities of some simpler games to be played. So what I want to add for hardware is a m-itx motherboard for Trinity, socket FM2. As APU I want the best possible so Im trying to get a hold of a A10-5800K, and then add 2 sticks of 4GB DDR3 2133MHz ram. Im currently looking for sponsors so lets see what happens!
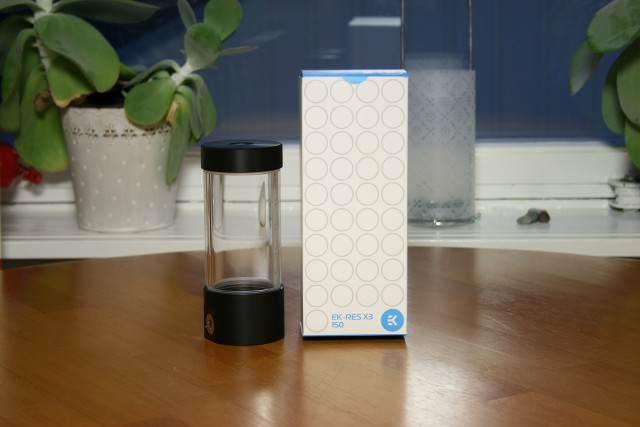
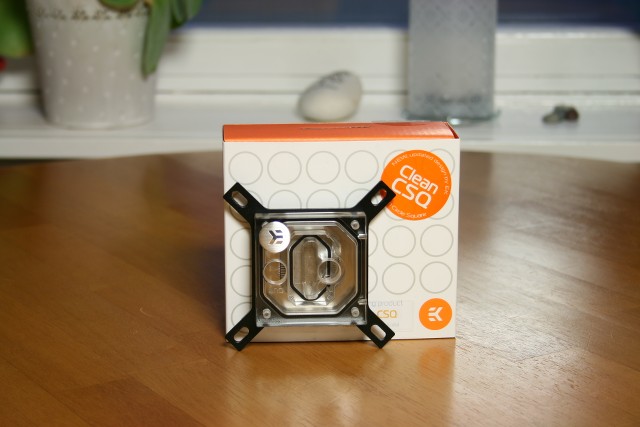
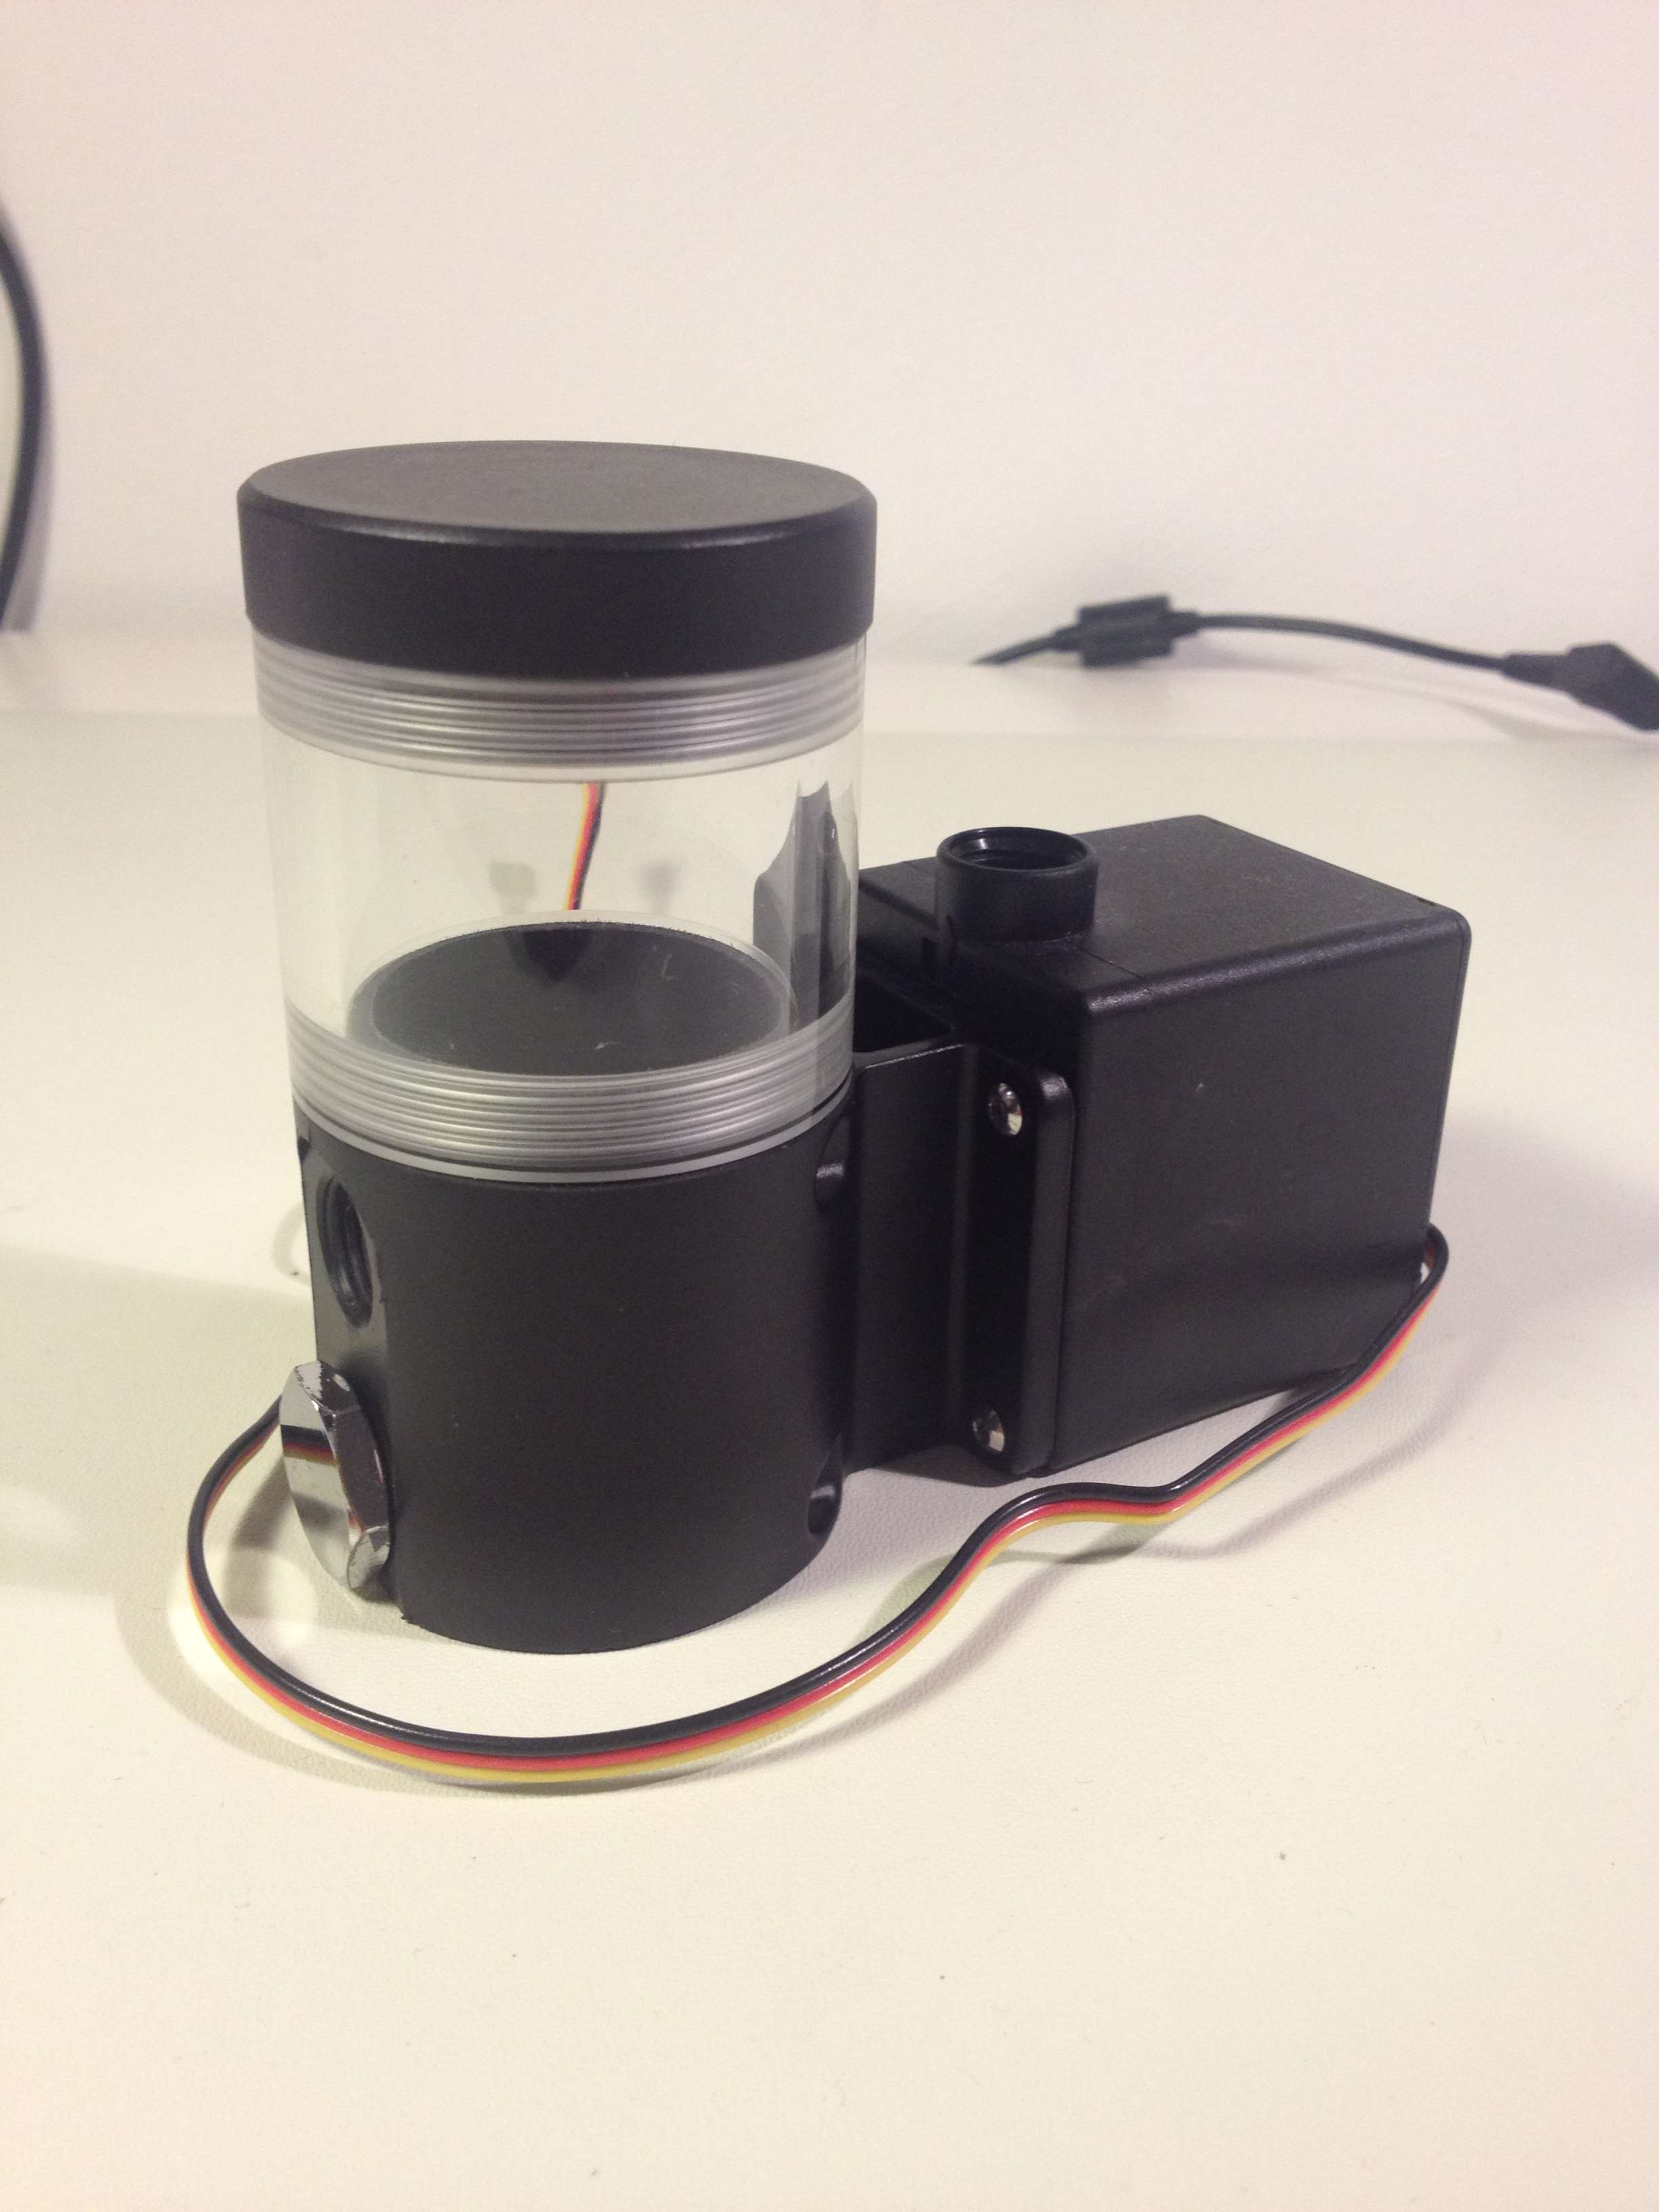
EK DCP 2.2 Combo:
What Ive done so far is to strip the case from almost everything except the LCD and powerswitch.
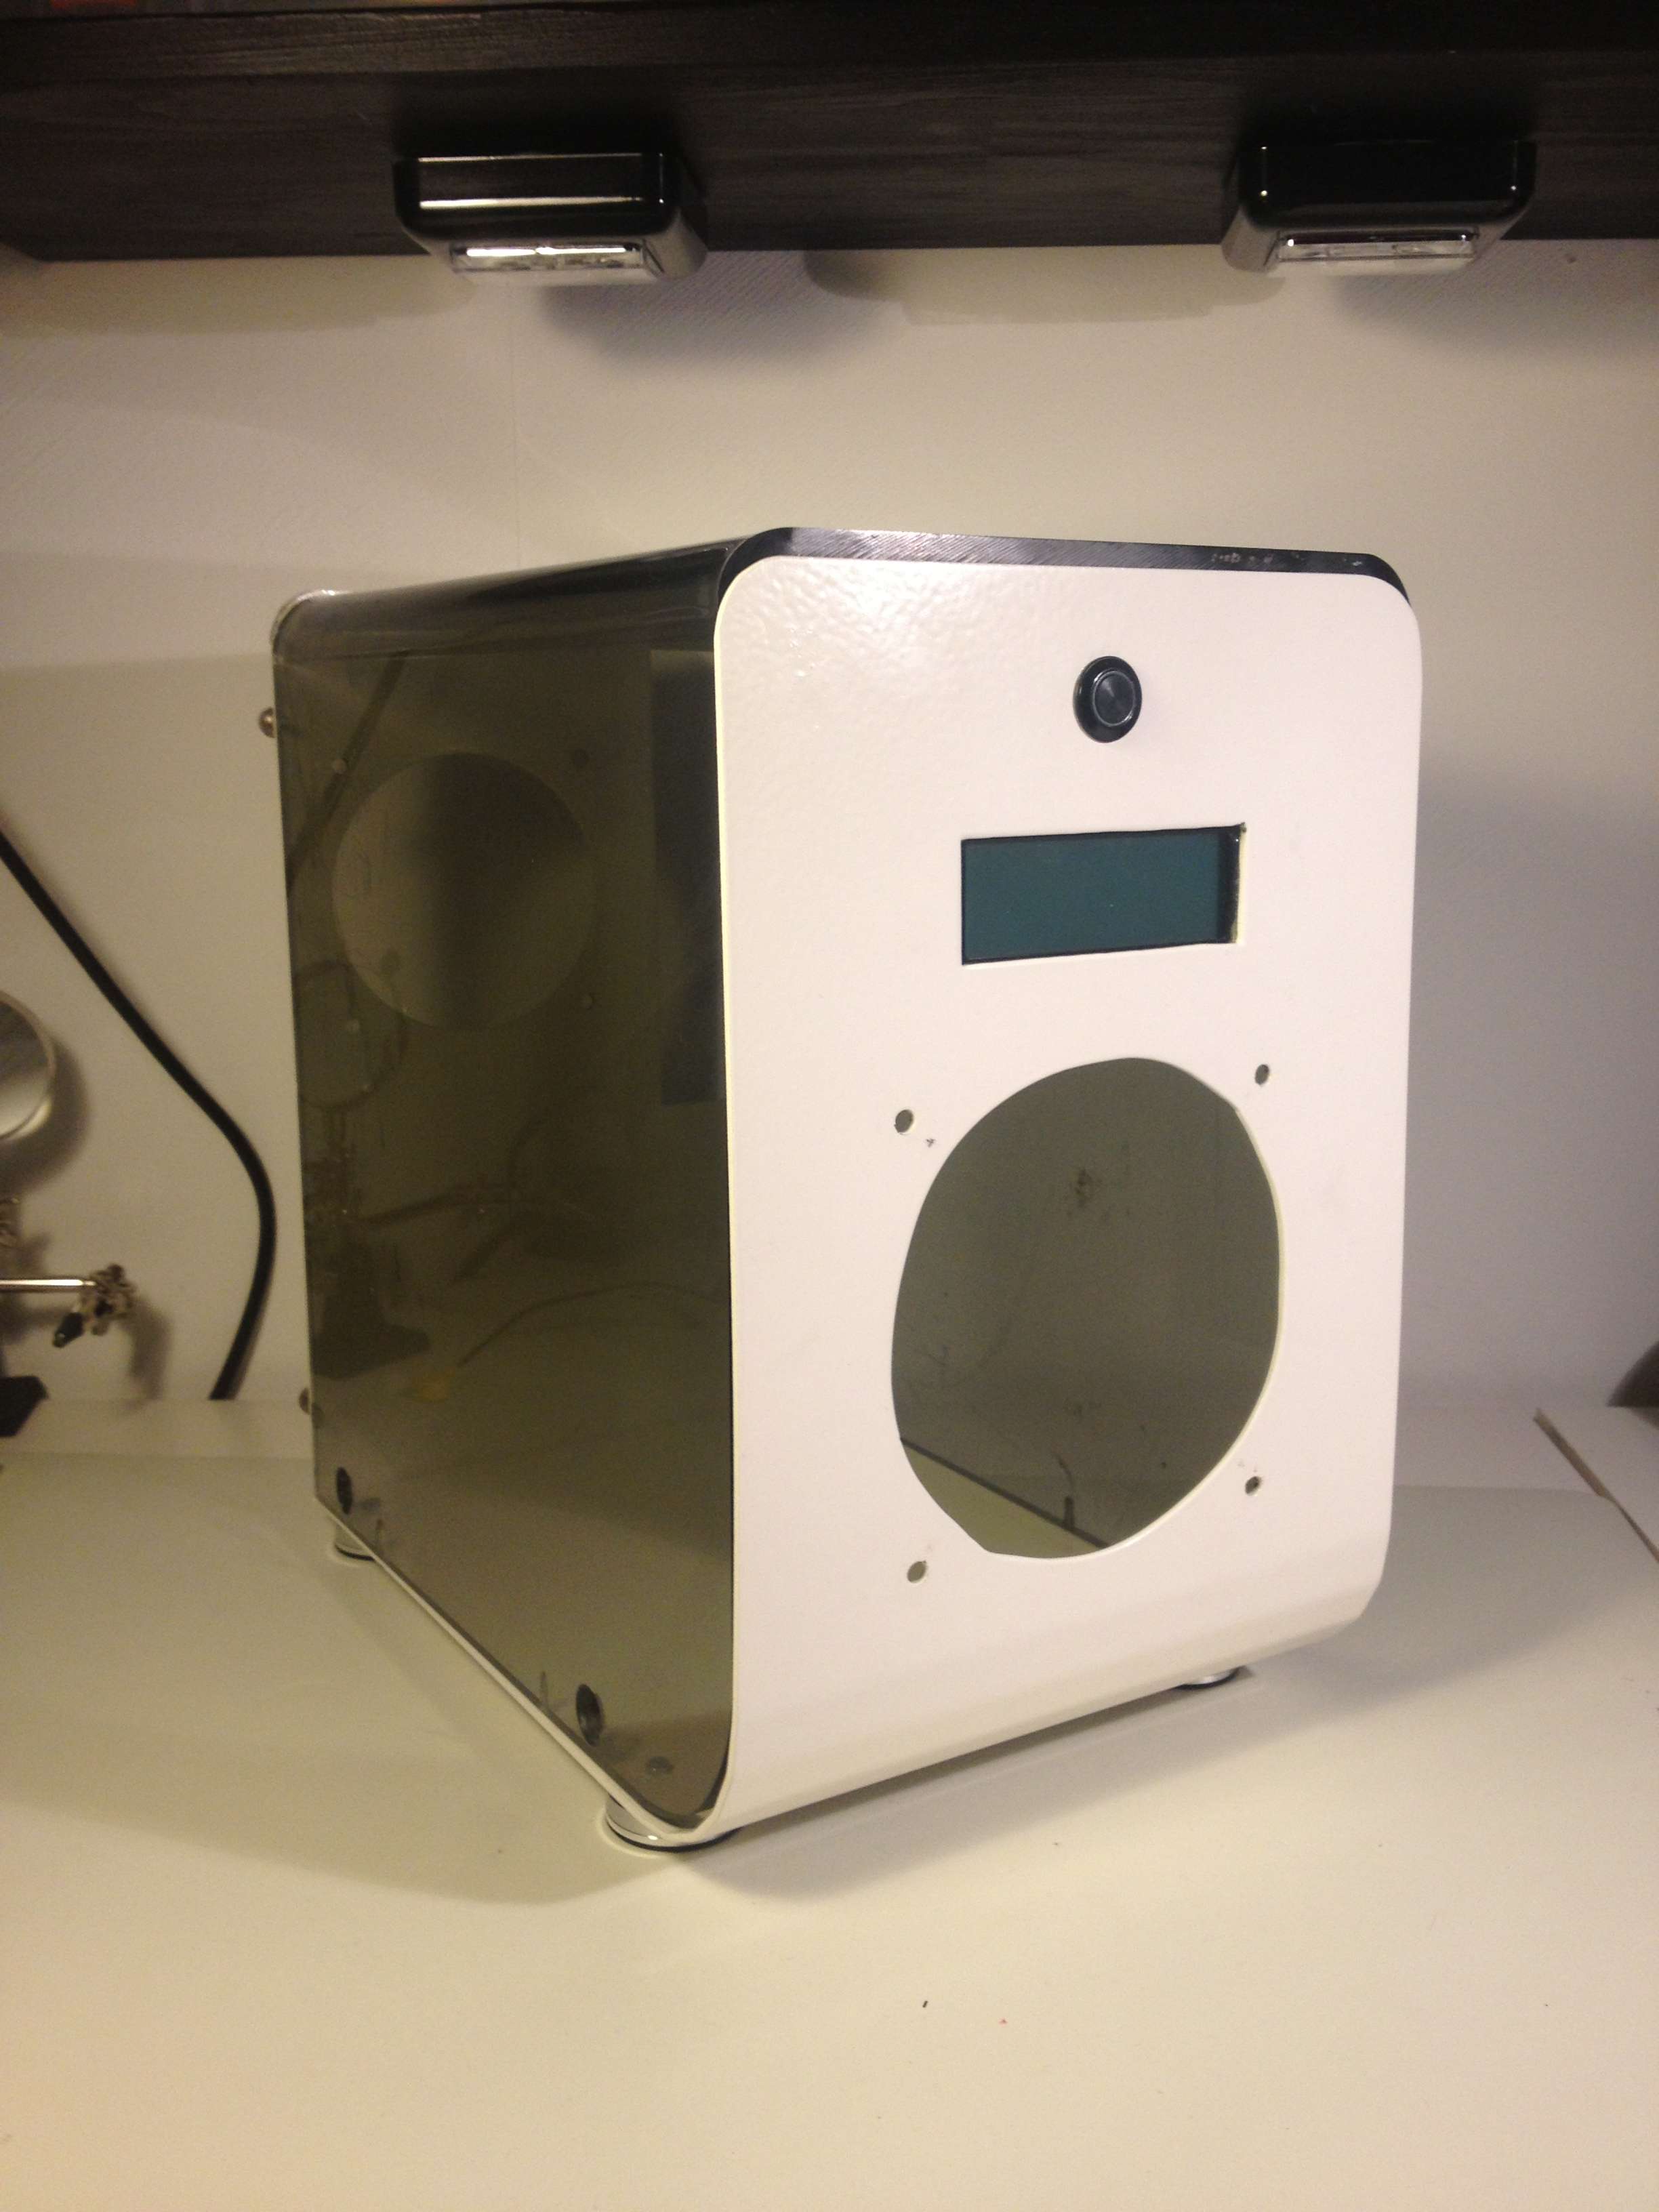
Front:
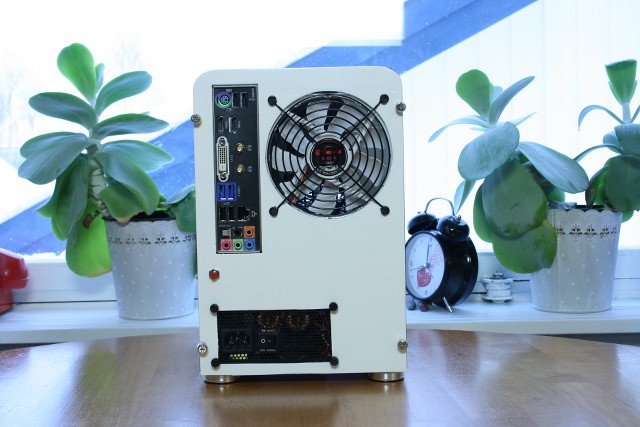
Back:
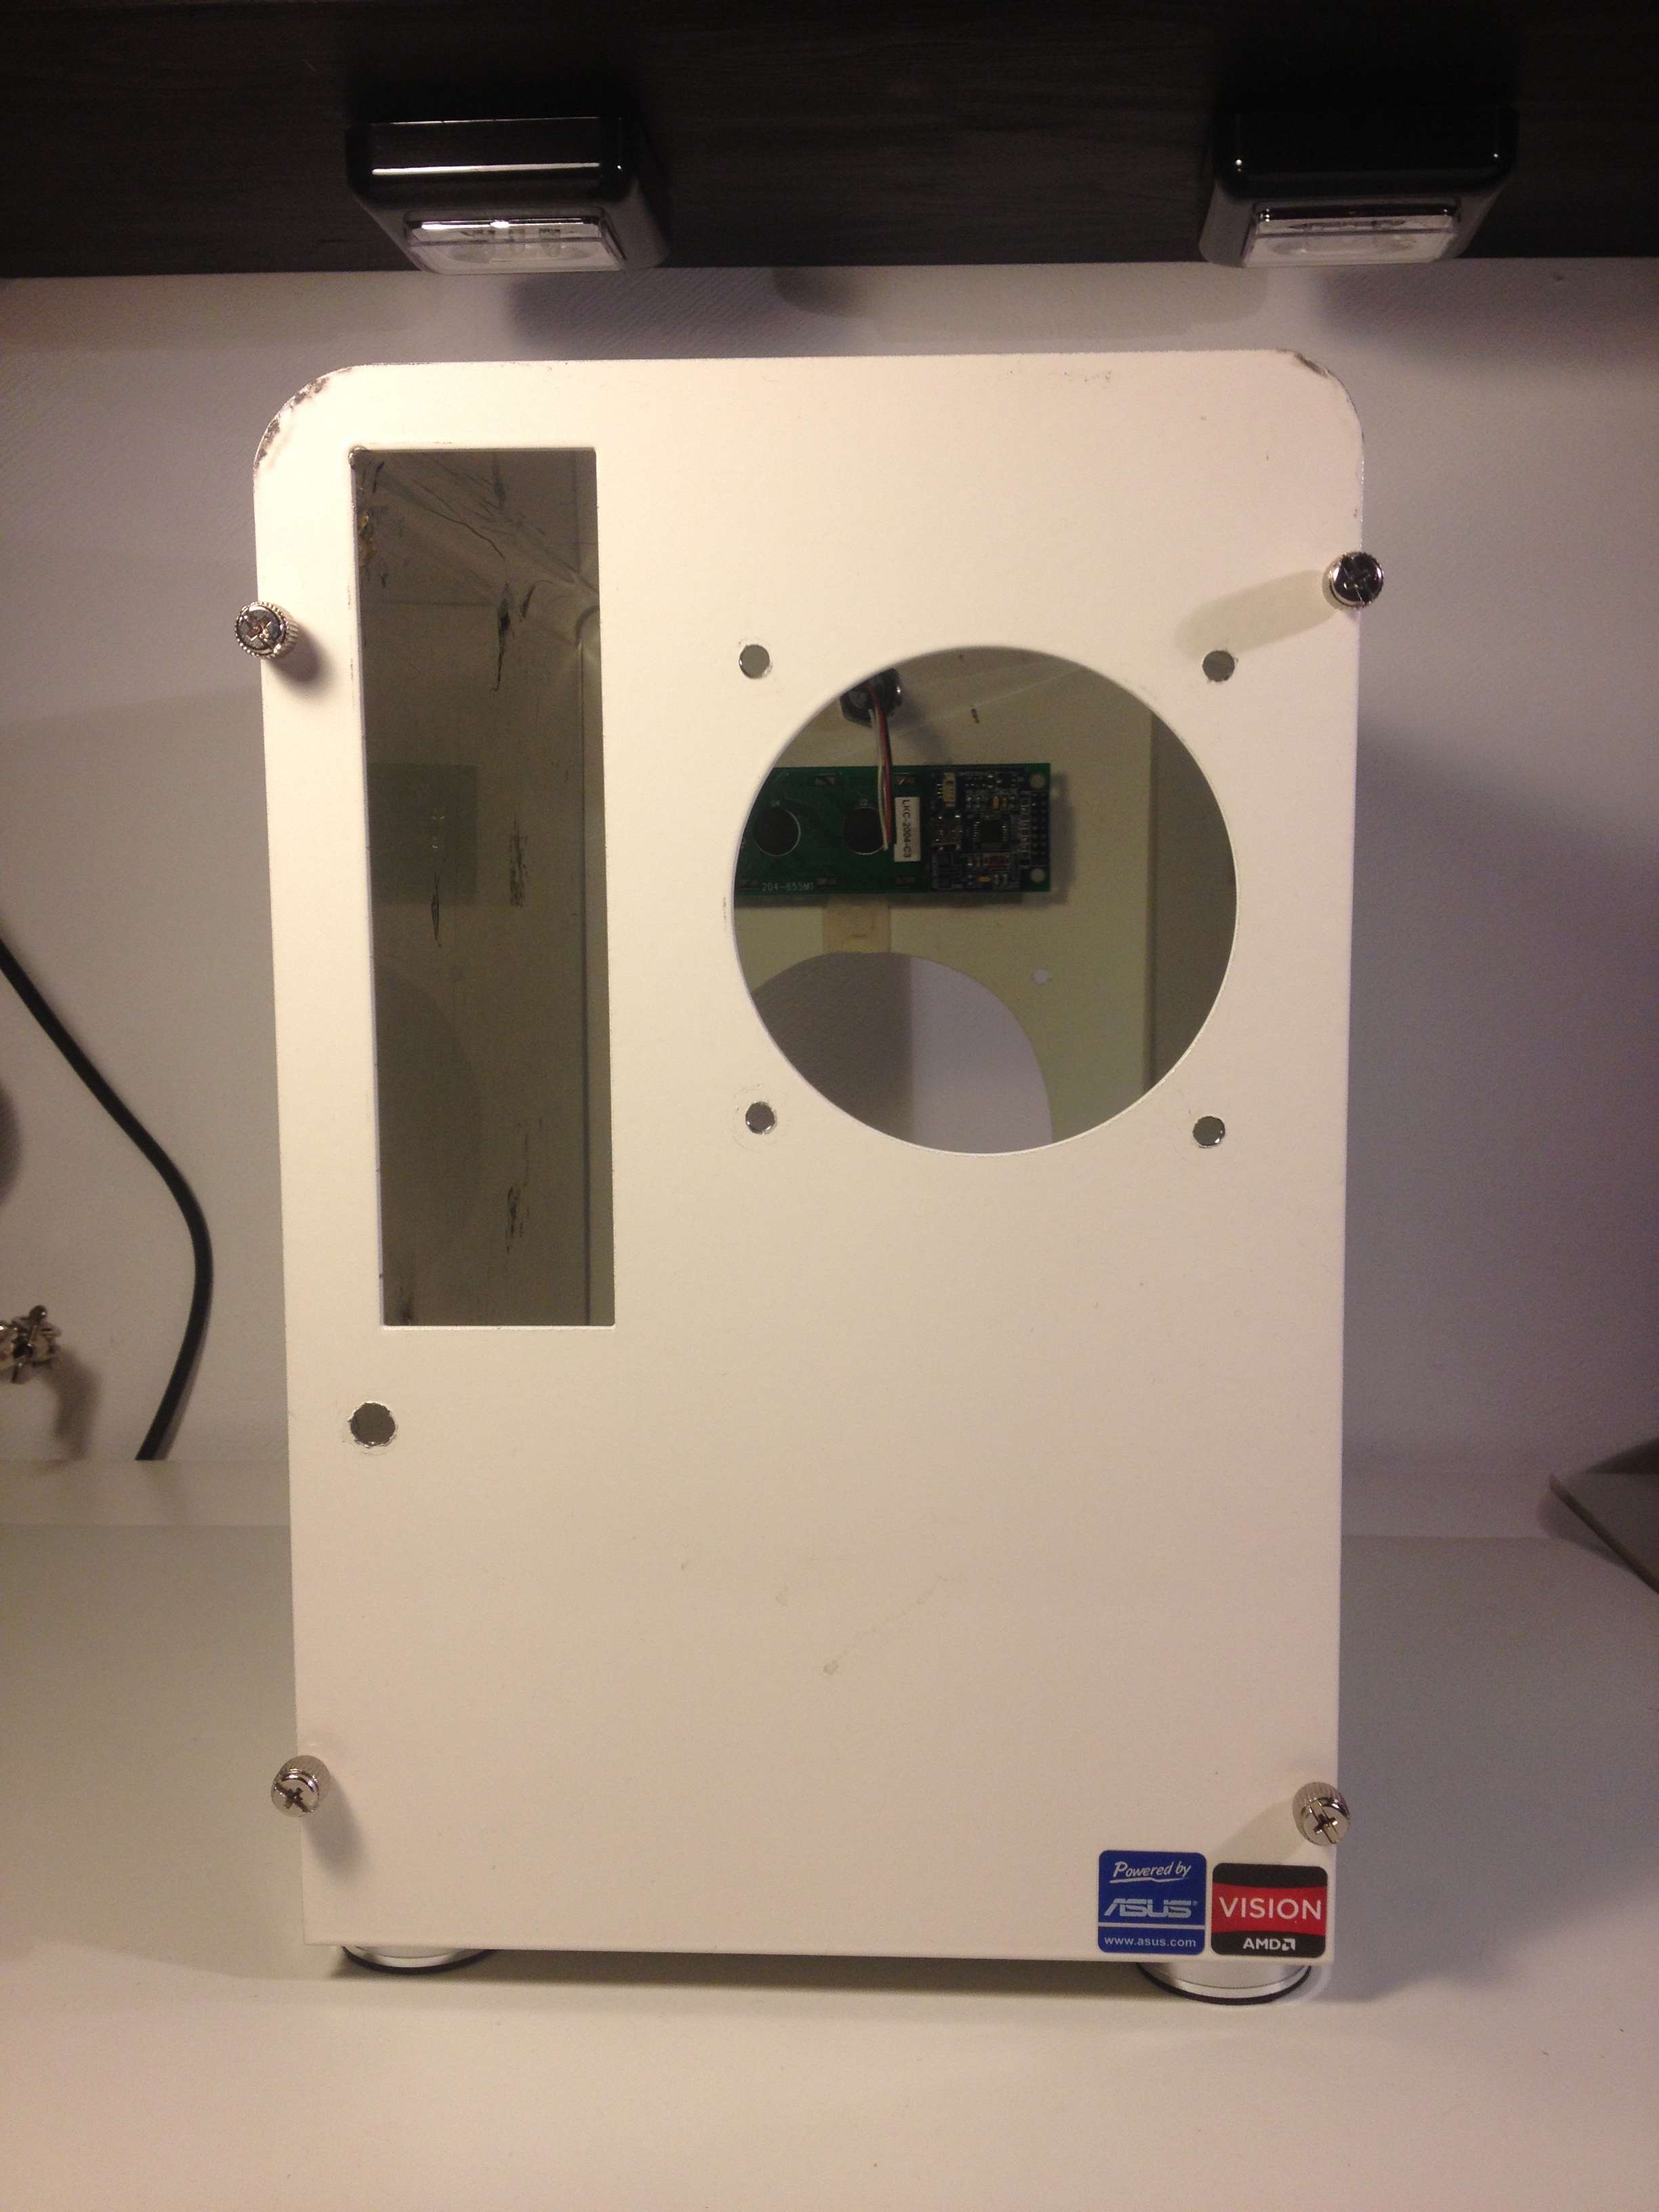
Left side:
Right side. This is the side I want to paint black on the inside so you cant see into it from here.
The acrylic is pretty messed up as you can see. It was that from the beginning. Many scratches. But at the same time I feel like it gives the case a kind of vintage look, I still want to make it look a bit nicer though. So I will start by cleaning and polish it as much as possible. Do any of you guys know how to remove scratches from acrylic? Clearcoat it? Use a little blowtorch? Any advice?
First thing Im going to start with is to cut the acrylic maybe 3-4mm so it fits perfect with the white plate. Then paint the backside of the acrylic black. So this is what I have to work with for a couple of weeks:
I painted the right inner side of the acrylic piece black. Looks pretty good. Now you cant see anything from the other side, just as I wanted.
I started with isolate a little bit.
Then I just painted it, 3 layers.
And this is how it looks from the outside.
Ive lowered the plexi a few mm to fit better to the white bended plate. I put everything together and took some pictures, I really love the black side.
The edge before. A little bit to high.
Measured how much to cut.
Dada!
Think this looks really good.
Right now Im waiting for the hardware so I can start measuring out how to fit everything, how to make the shroud and so on.
Will be updating as much as possible. Please comment and give me advice and tips. Everything and everyone is welcome.
With kind regards
Johan Nyman
Last edited:

")