Eddie long
Member
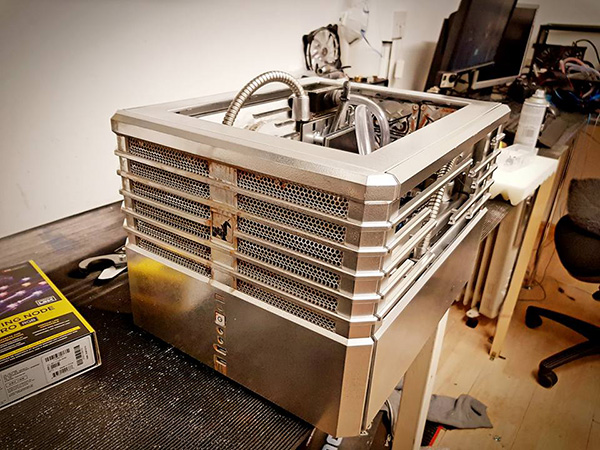
all i can say is nice paint job
")
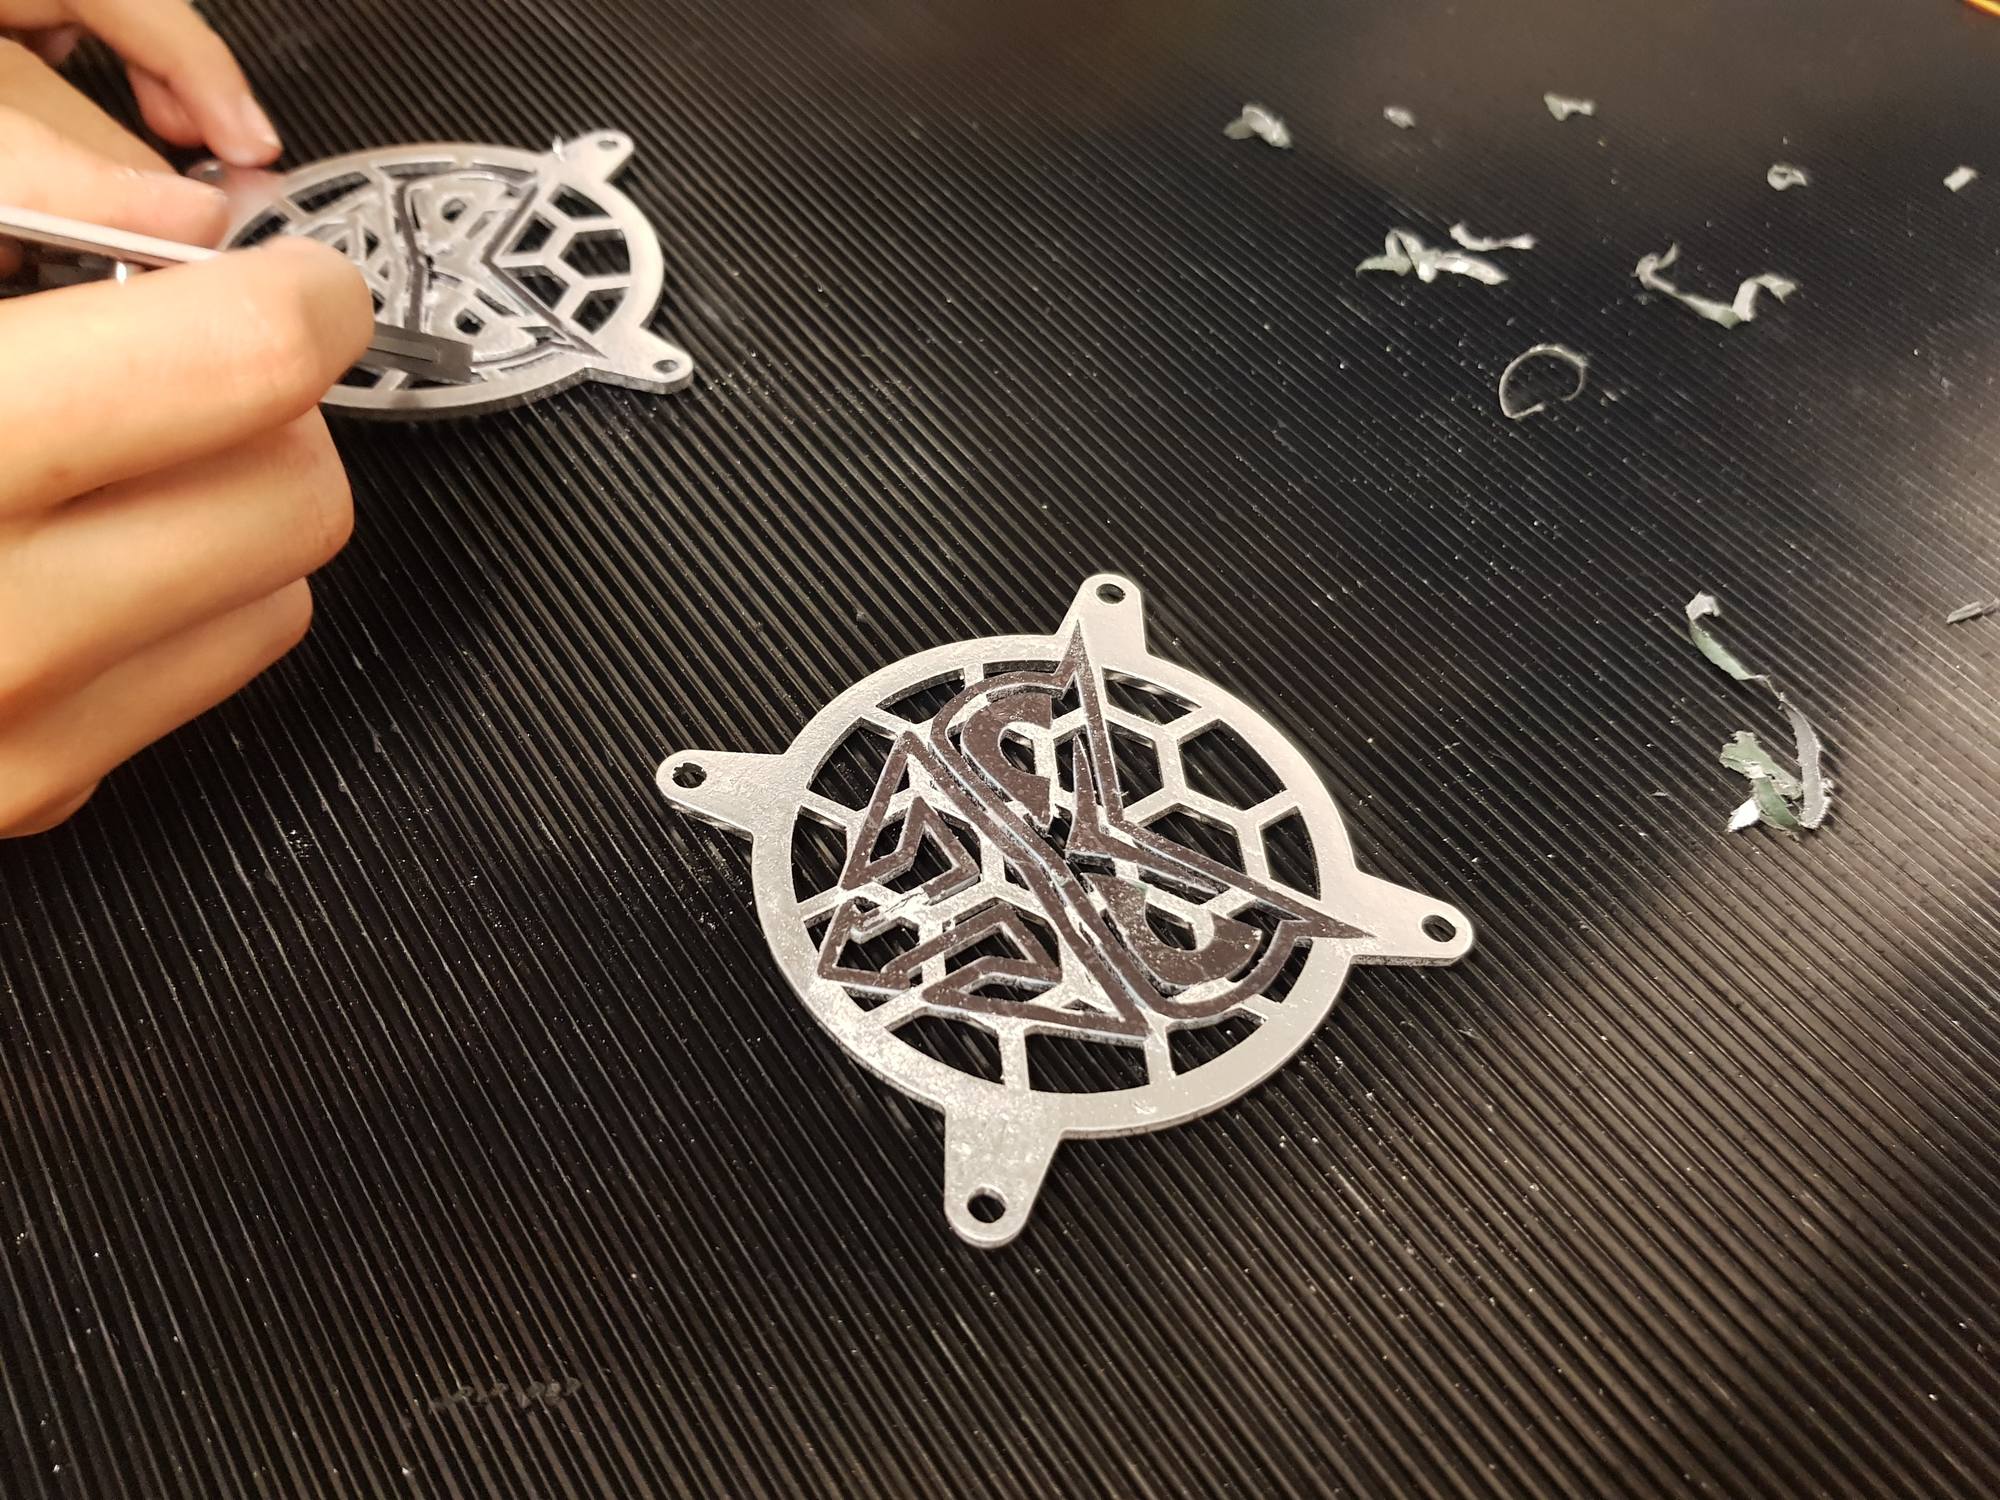
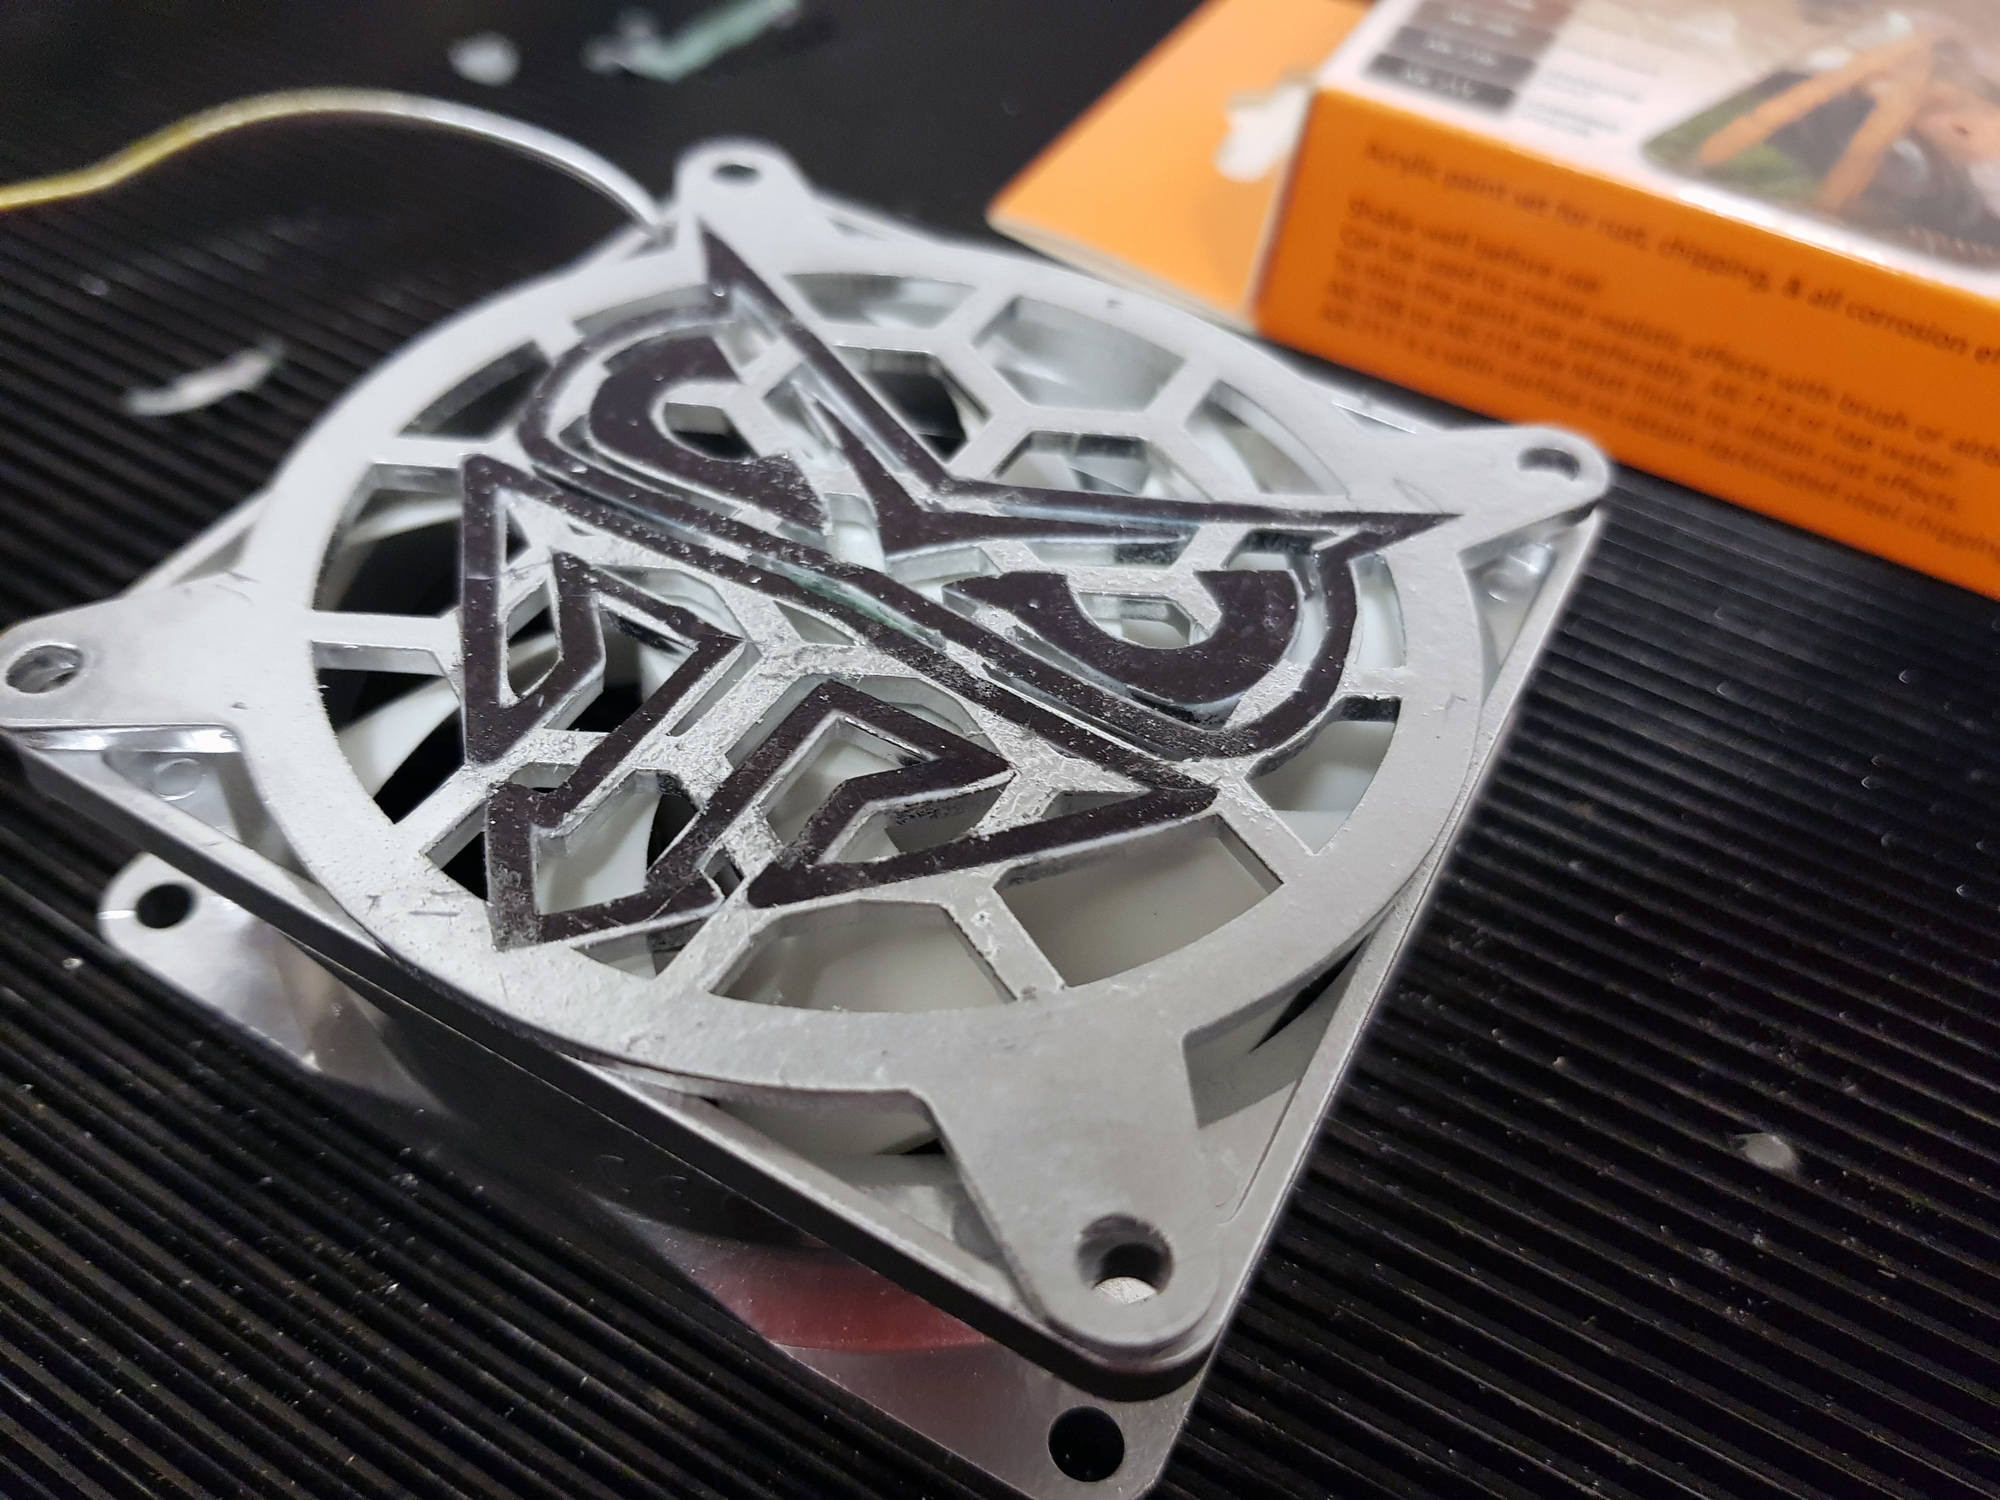

AK paints are amazing. I use these on all my miniatures too.
Ah great thats reassuring to know, was thinking of using some sand also to give texture to some of the rust.

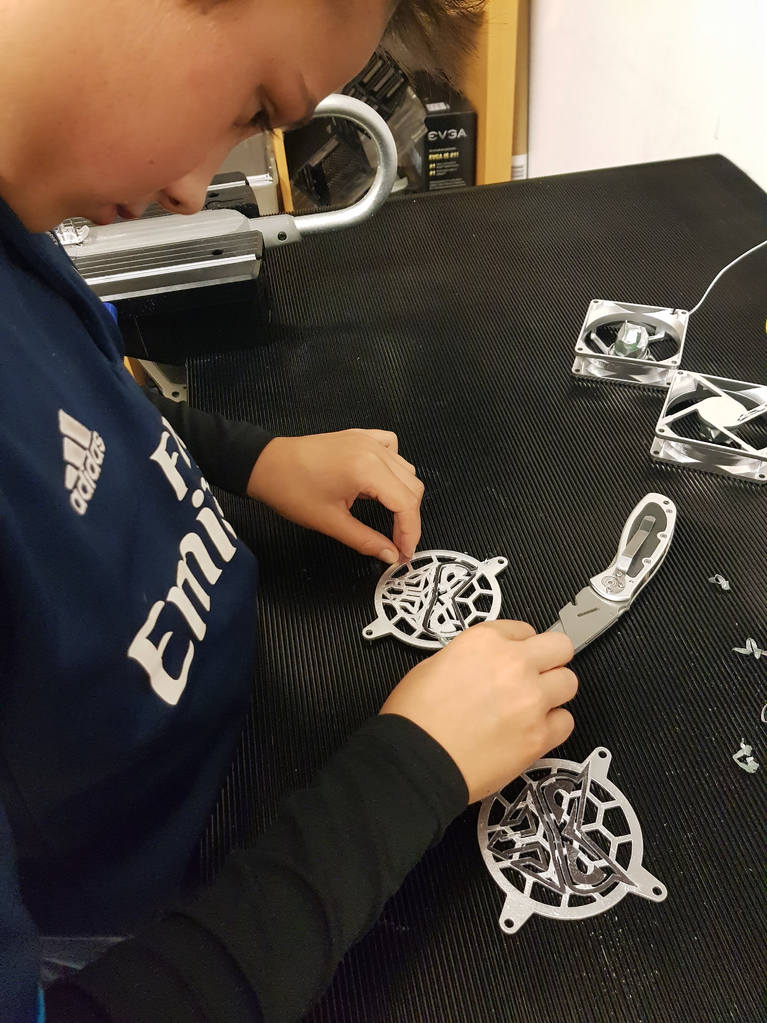
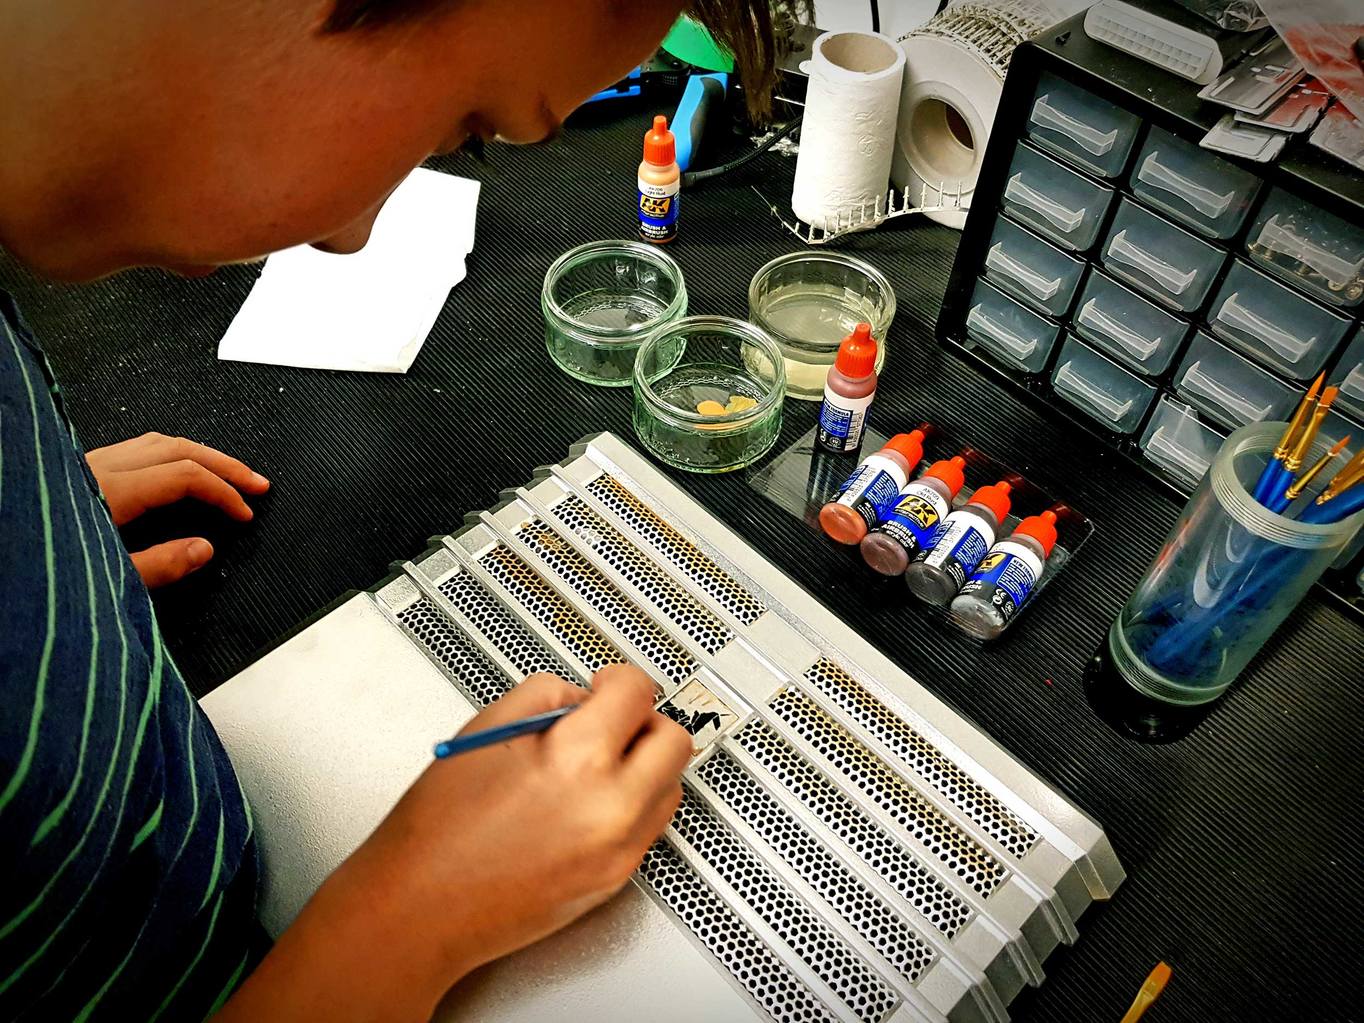
Awesome stuff mate I had many years with my late father in his garage working on things it's good to see family values these days
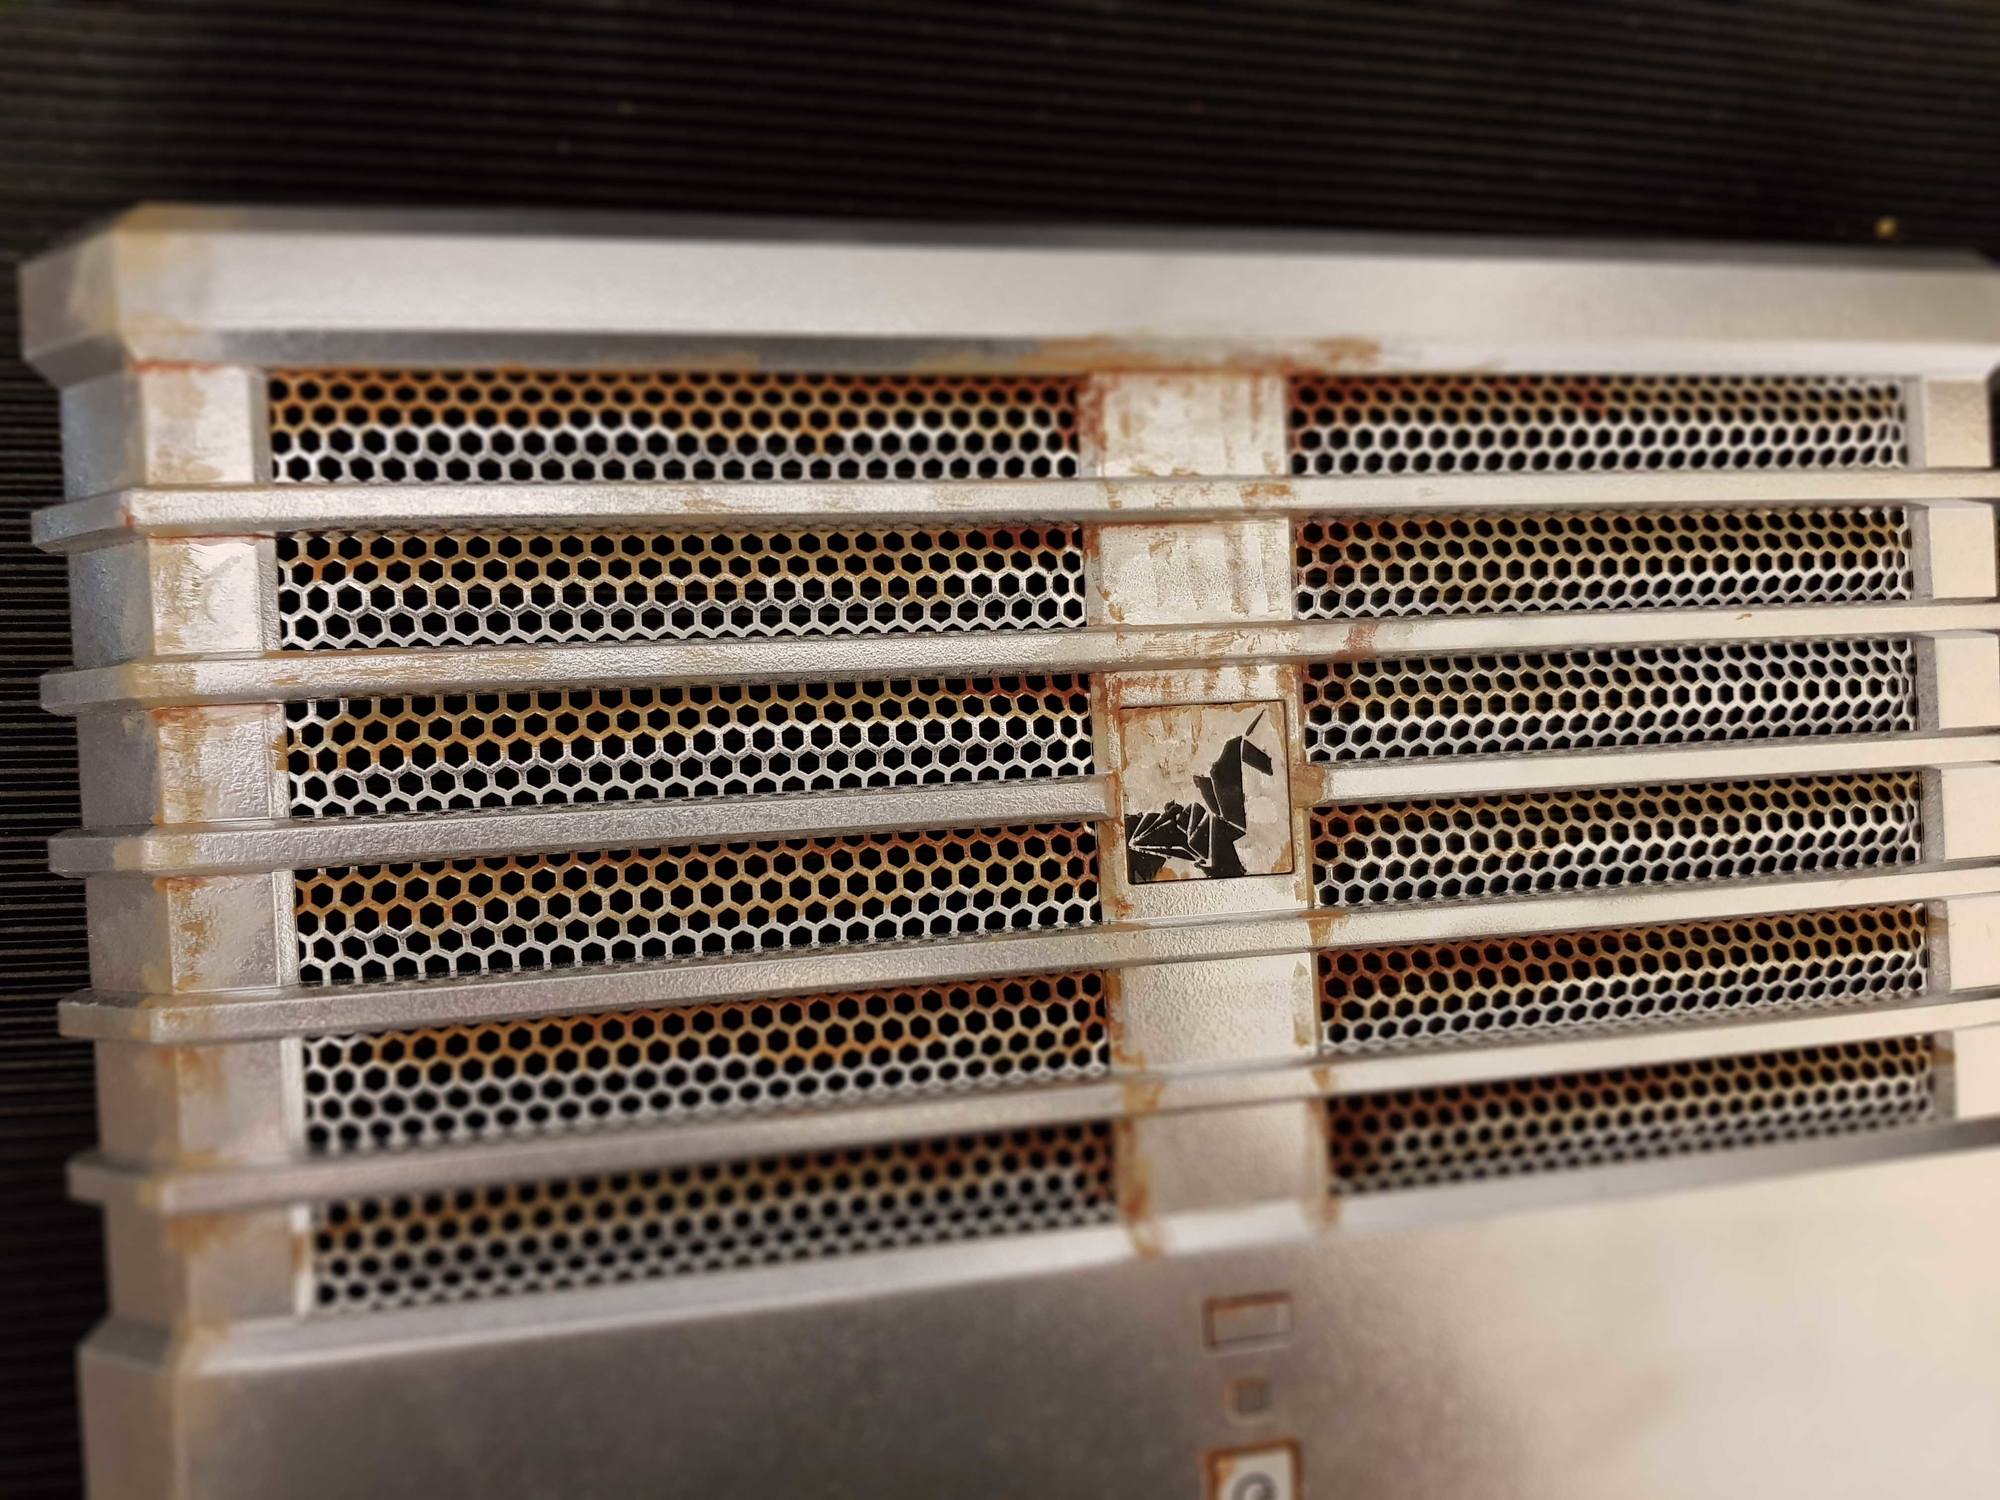
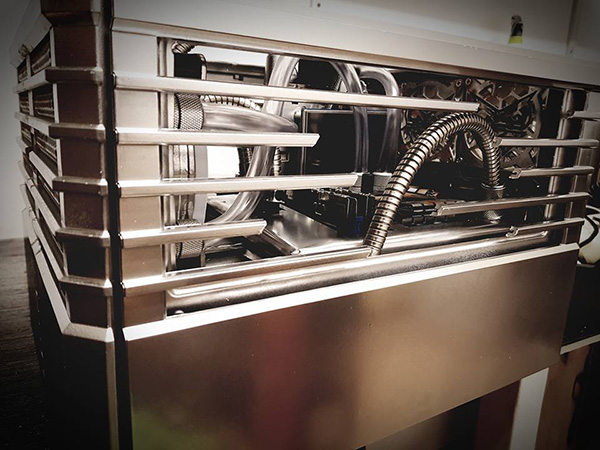
You should make the grills look corroded too
Or apply heavy thick rust so some grill holes are almost covered up/closed. Your boy has some serious good skill there.
I use this stuff with pigments for great effects.

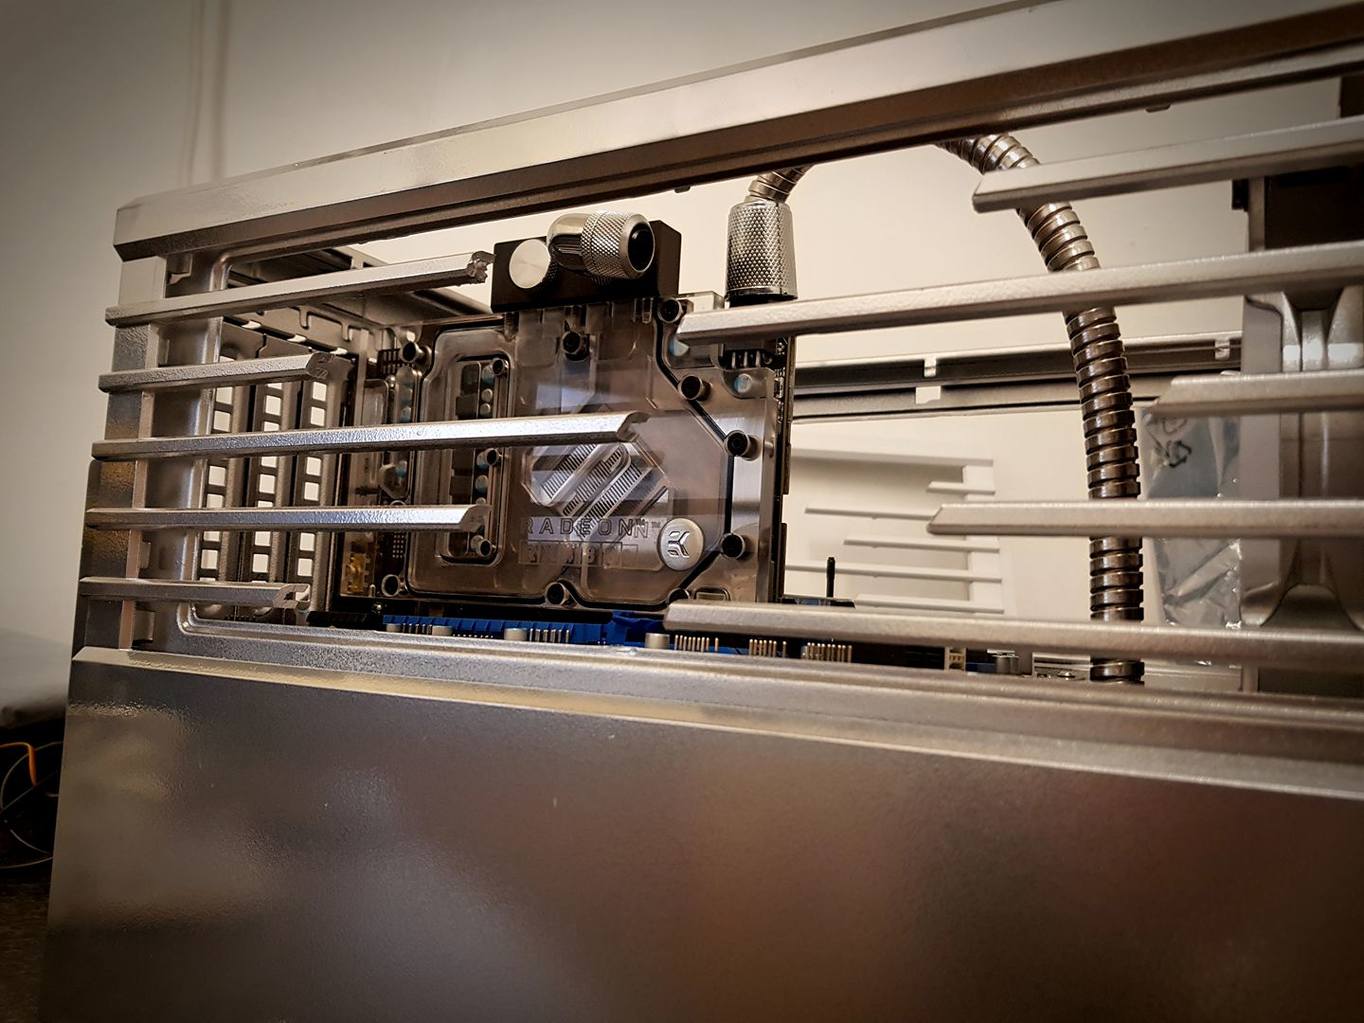
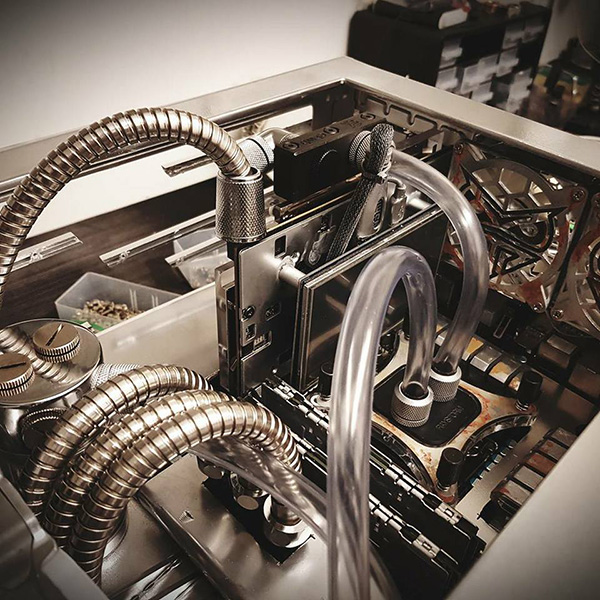
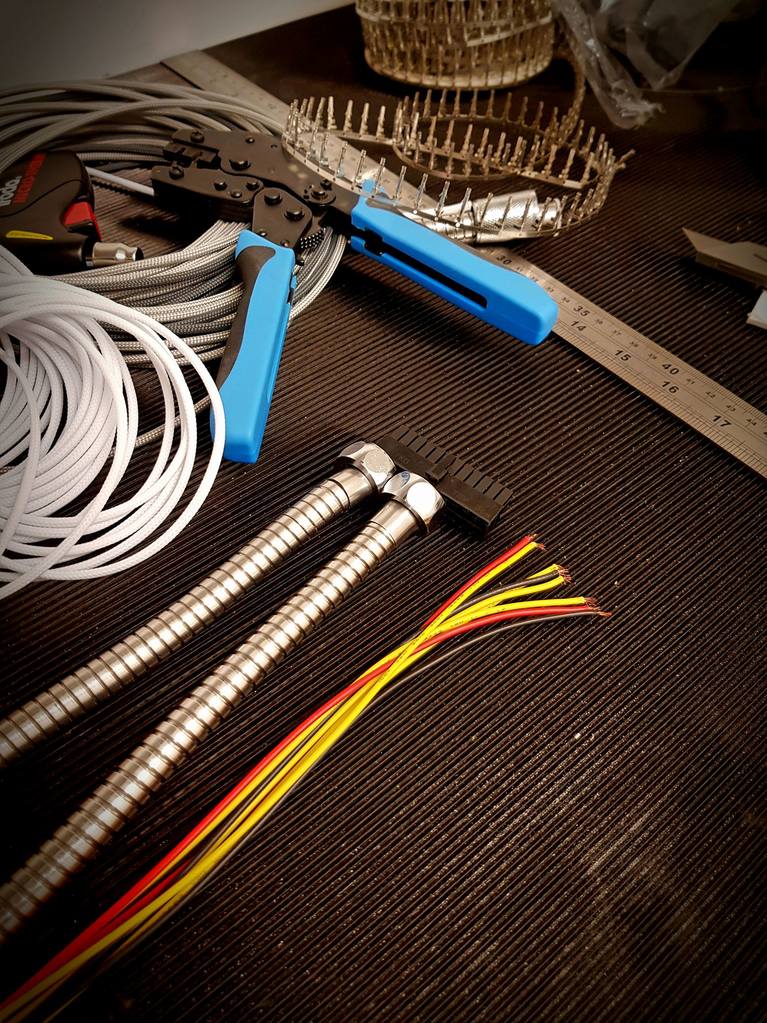
Looking incredible man ! love the shower hoses, not seen that done in years !