HELIOS (Caselabs SMH10 | black/copper | EVGA SR-2 | Geforce Titan) - by alpenwasser

hoooolyyyyyyyyyy geezuss that looks good! 15/10 :P

Hehe, thanks! :)

:notworthy::notworthy::notworthy:best looking fans i have ever seen :notworthy::notworthy::notworthy:

bitfenix needs to produce these:)

Thanks mate. Would be pretty awesome if they did. Although I must say I'm already
glad that they're making a fan with a frame composed of two parts. That's what
makes this possible in the first place.

If I painted the impeller in copper it wouldn't really come across as copper anymore
as soon as the fan starts spinning (it would just get blurred with the background,
which would be black). And if I painted the entire frame in copper I think it would
be too much.

I'm pretty happy with it like this. Black with copper accents, just how I like it.
icon14.gif


Wow that fan is incredible!

Damn... that's sexy.

What they said. :drool: Damn that looks good!

Thanks fellas. :)
 
Prototype: Bitfenix Spectre Pro Copper Edition

This is just a prototype. The fan is very annoying to take apart and before I do this
with all the rest of them I need to make sure the process doesn't damage the bearing
or anything like that. So: testing.

But, in the meantime, I thought I'd present you with this:

(click image for full res)


(click image for full res)


(click image for full res)


Nicely done alpenwasser ,
I like the way you did the fan , some copper color but not too much.
Great job.

Edit: By the way , it's great to hear that your on the mend. Pace yourself for a little while , don't over do it.
 
Last edited:
MIPS SR-2 Block: Painted Screws


Originally, the MIPS block looked like this:


(click image for full res)


(click image for full res)


While I really like the block, the standard steel screws have always been bugging
me. They did make a Nickel Edition, for which those screws are of course much better
suited, but to me this just never really looked 100% right. I considered going with
black screws, but then I thought I might as well add some contrast in there while
I'm at it and painted the screws in copper today (same paint I'm using for the
fans).

I have to say, I really like the result. Also, apologies about how dirty the large block
looks in this picture, the lighting hit it just at the right angle to bring it out perfectly. :lol:

It has lots of fine marks and scratches on it because the Acetal is so soft, so I will
be polishing this a bit before putting it in. But I wanted to show you the current state
of affairs anyway.

(click image for full res)


(click image for full res)


(click image for full res)
 
can i come live with you? so far every update in this thread was just incredible.

As long as you don't mind this guy:

2013-04-22--dinner.jpg


As a side note: No I don't usually feed him from my pan, but occasionally he's allowed
to pre-clean it for me before it goes into the dishwasher :D
And no, he doesn't take anything from the table (ever) and he does not suffer from
digestive problems from human food (mixed breed, just don't give him anything too
spicy and he's fine), so don't anyone start getting panic attacks about this. ;)

no problem, i'm just gonna live in some old case and watch the build progress through the window.
 
WOW , the detail in this rig is going to be eye popping.
Great job again , the blocks look so much better with copper painted screws.
I'm not sure why they didn't put copper screws in them from the factory.
 
Last edited:
love them fans :wub:

Hehe, yeah, me too :wub:

WOW , the detail in this rig is going to be eye popping.
Great job again , the blocks look so much better with copper painted screws.
I'm not sure why they didn't put copper screws in them from the factory.

Thanks mate! Yeah having it come stock with copper screws really would have made more
sense. Ah well, this way I at least get to do some modding :D
 
Lawlz, 2 German dudes in a lian li... Epic !

Is this the way you will wake them up Alpenwasser ?


Nice progress on your modding by the way !
 
Last edited by a moderator:
Lovin your copper styling on the fans & blocks giving me some ideas for a future build.

Thanks mate. Inspiring others is the best compliment one can get IMO. :)

Lawlz, 2 German dudes in a lian li... Epic !

Is this the way you will wake them up Alpenwasser ?

<moepsehorn>

Nice progress on your modding by the way !

:rollinglaugh: :rollinglaugh: :rollinglaugh:

I love Scrubs!

I really wish we had rep/like/thumbs up on this forum.

In any case, I don't know how to play the Alphorn, but hey, I might learn just for the sake
of this (you know, for the cause :lol: ).
 
Loving the fans, they look so good you would think they were actually from the factory. Though stuff from the factor doesn't always look as good as your stuff. The copper screws is also a huge improvement for the blocks. Your build is just gonna be epic when its complete.
 
Loving the fans, they look so good you would think they were actually from the factory. Though stuff from the factor doesn't always look as good as your stuff. The copper screws is also a huge improvement for the blocks. Your build is just gonna be epic when its complete.

Thanks for the kind words mate! :)

I have taken all the remaining fans apart and will be masking and painting them some time this
week.
 
Fan Disassembly

Fan Disassembly

I actually wanted to make a video of this, but I didn't have the time to do it properly,
and I'd rather do it not at all than sub-par. It would have been easier to follow along
if somebody else wanted to take their fan apart, but for the time being still pics will
have to do.

Side note: This post is more geared towards those who've never taken a fan apart.
For most other people it will probably be rather boring and trivial.

(click image for full res)


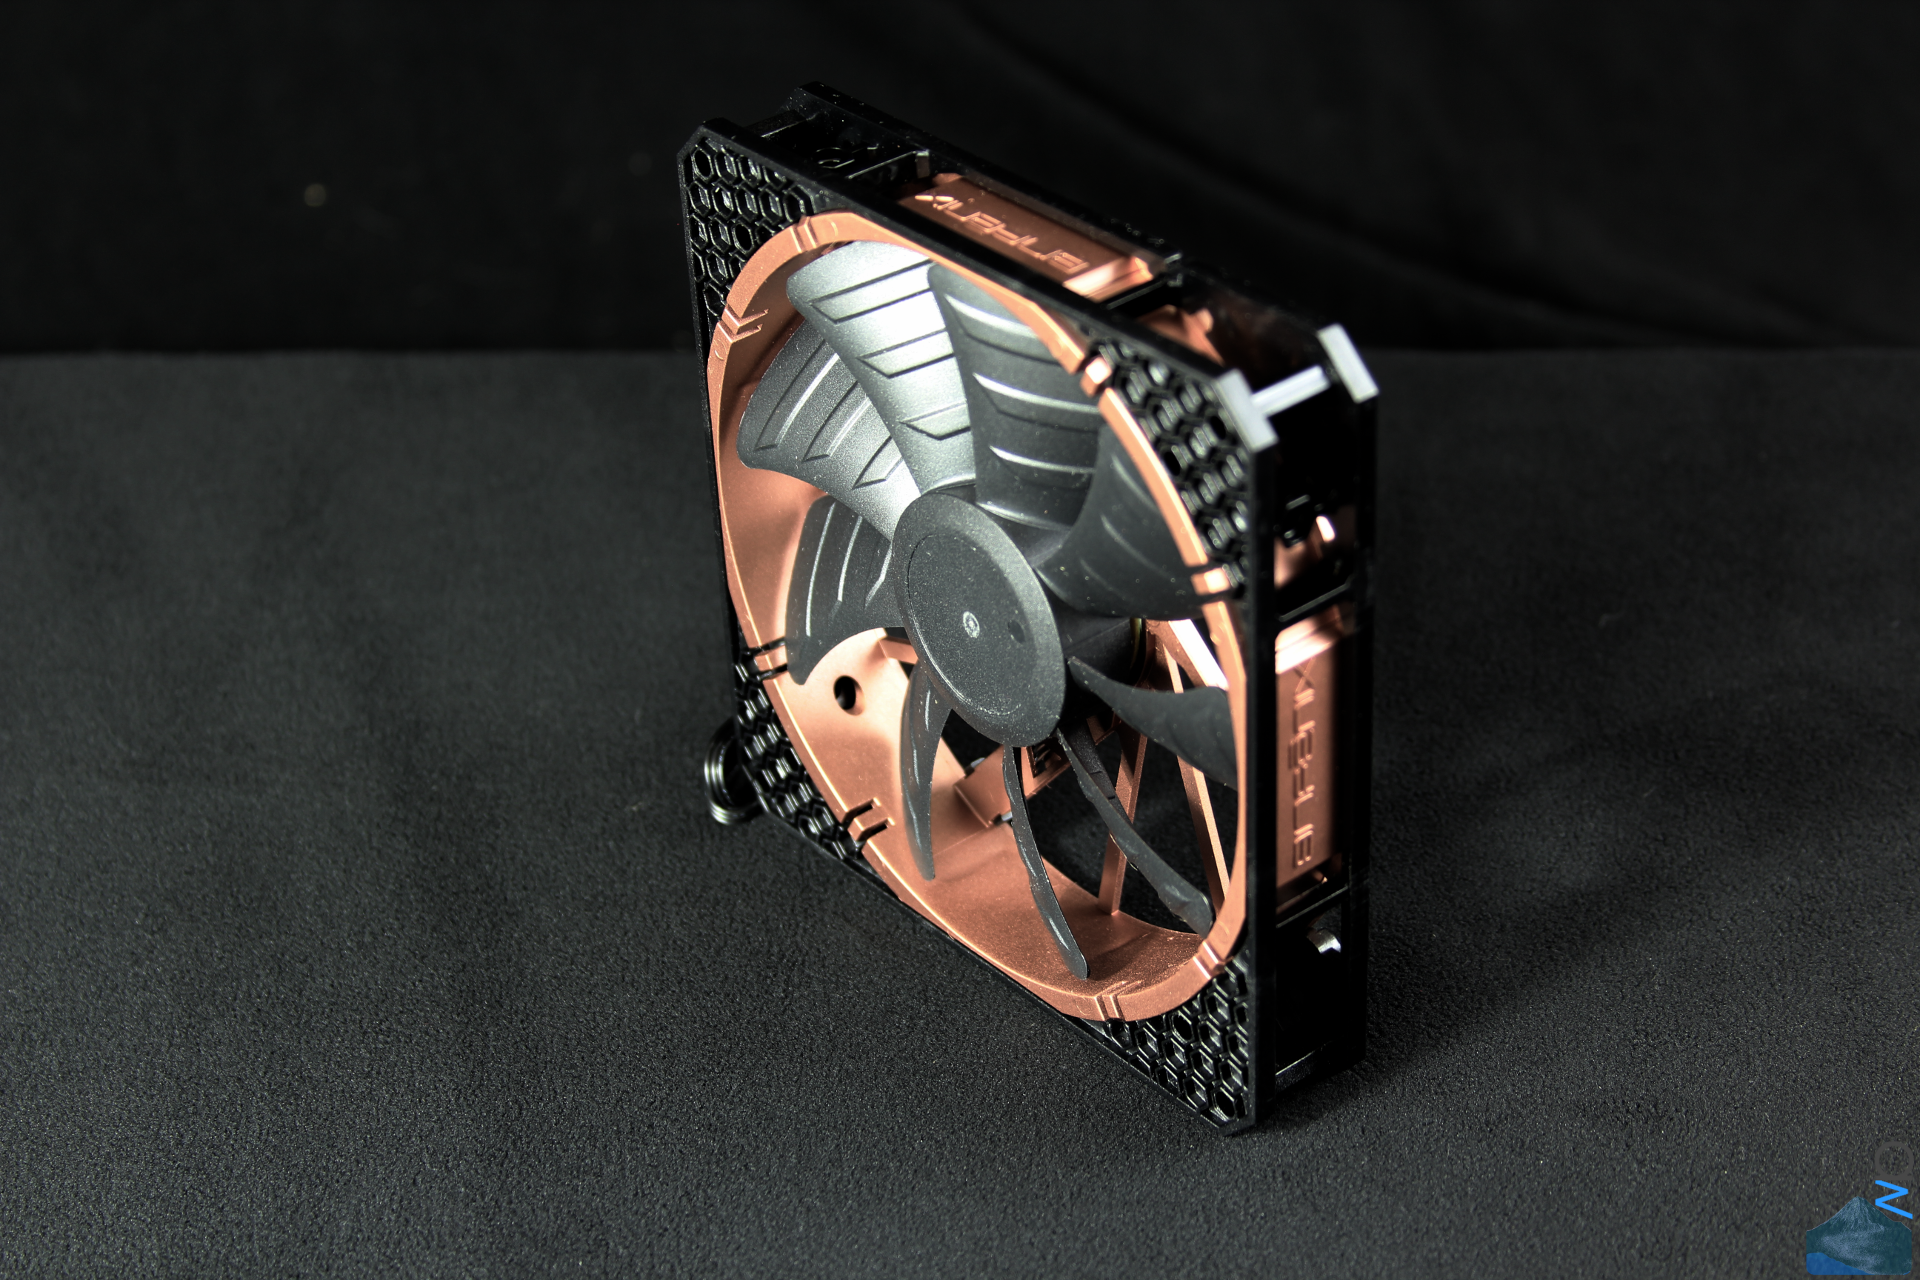
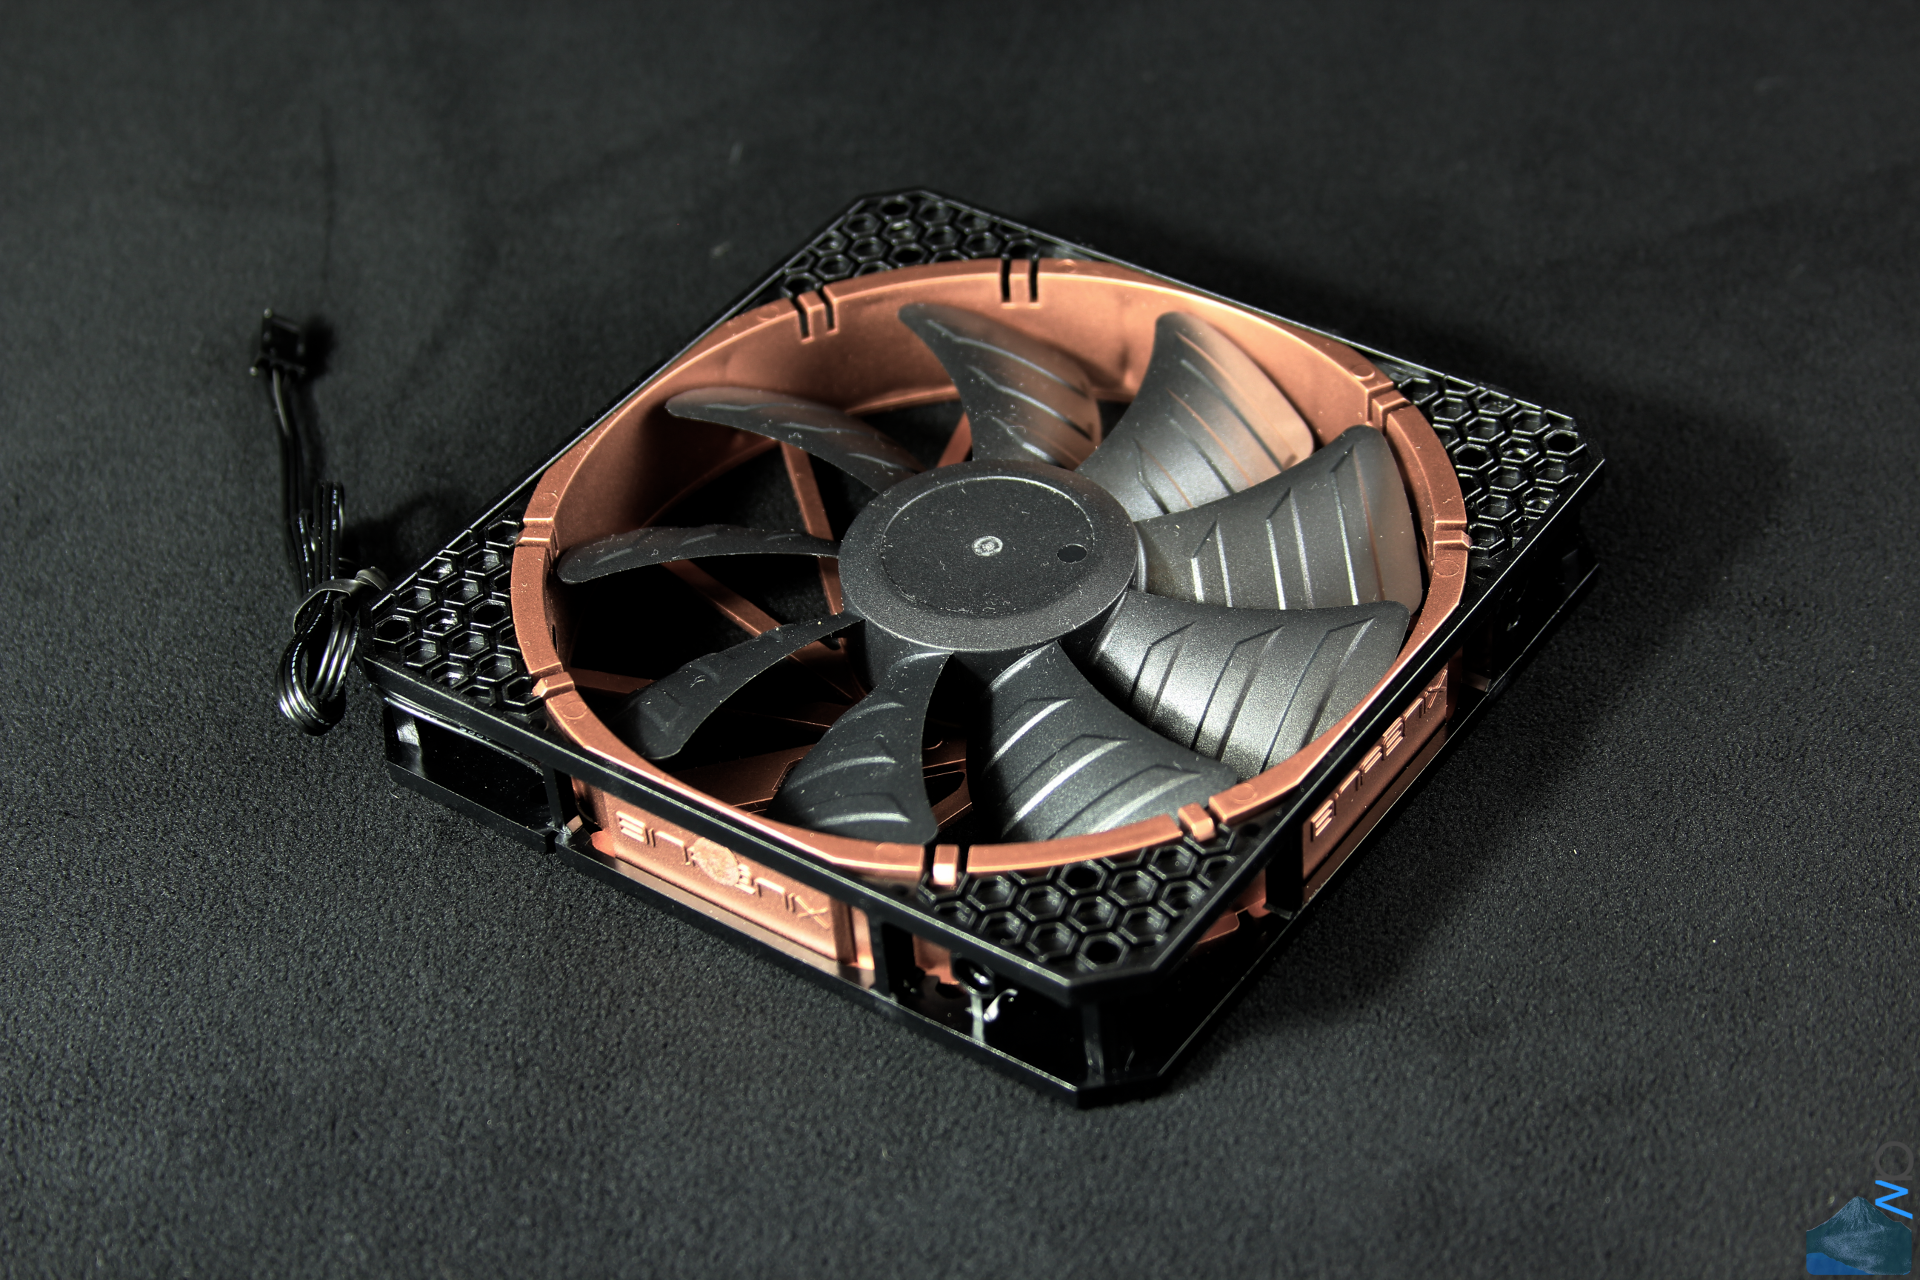
First, take the inner frame out of the outer one. I have found it is easiest to do this
by pressing on the inner frame between the two lugs in each corner instead of the
lugs directly.

(click image for full res)


Next, take off the sticker on the back. I use some petroleum ether to get rid of the
sticky residue (very annoying stuff).

(click image for full res)


Then take out the gasket which covers the bearing's back side. It's not extremely
delicate, but if you're not careful you can damage it nonetheless. Also, you can see
my most important tool for this process: A dental tool. :D

(click image for full res)


And here comes the part which is actually tricky. The rotor is held in place by a small
washer which sits in a groove on the rotor's axis. The washer has a slit in it.

I found the easiest way to get this washer out of that groove to be this:
  • Take two of those dental tools from above.
  • Press down on the washer with one of them and make sure it doesn't rotate
    anymore (remember: this is a bearing made for rotation, so it moves rather
    easily and is well lubricated, i.e. slippery).
  • Press the tip of the second dental tool into the slit of the washer and twist
    one of the ends of the washer upwards (this usually takes me several tries since
    I often slip). The washer is very flexible, so don't worry too much about breaking
    it. Be careful, but not afraid.
  • Once the washer is nicely twisted and one of its ends pointing out of the
    bearing, get the second dental tool under the washer and pop it out.
  • That's it, you can now slide the rotor out on the other side. :)


The washer is the white thing inside the red circle.

(click image for full res)


The red arrow is pointing towards the washer's slit into which you need to get the
tool.

(click image for full res)


And here we have the bearing with the rotor removed. The red ring is actually an O-ring
resting on top of another washer. Both of these are actually loose and are only held in
place because the lubricant makes them a bit sticky (you will have noticed this when
taking out the washer in the above step). There is also one of these O-rings on the
rotor axis itself. You can take them out if you want, but I left them in.

(click image for full res)


The disassembled rotor and inner frame:

(click image for full res)


(click image for full res)


And my disassembled army of fans (you know, the other one :D ):

(click image for full res)


I don't think you necessarily need dental tools to do this, but I had them anyway,
tried them out and found them to work very well for this. If you want to buy some,
you can get them on eBay for a few bucks per set.

I'm currently painting the fans and should have an update on that some time over
the weekend.


That's it for today. Thanks for stopping by,
-aw
 
Back
Top