Hello everyone!
Now it's time for me to finally start another project!
I got the idea when I saw a preview image that BitFenix had posted on their Facebook page and I was instantly in love with the case, I thought to my self that I really wanted that case and hopefully do a buildlog from it. I immediately started talking to people on various forums and websites, but also some who posted reviews on Youtube and asked about different dimensions so I could start sketching how I would like to have the build. My goals are extraordinary and should strive to do the best Prodigybuild made so far. I will go with a full setup of watercooling into this project, i will try to make it as highend as i can make it, everything that can be watercooled in this build will be. I will build and mod everything to perfection and having fun throughout the whole project. It will normally include a lot of sleeving and lots of other things and I will keep the project relatively short so it will hopefully be updated at least once or twice a week. That was it for the little speech, and here comes the additional information on the project, I hope you think this is interesting and I wish you pleasant reading!
**
Hardware:
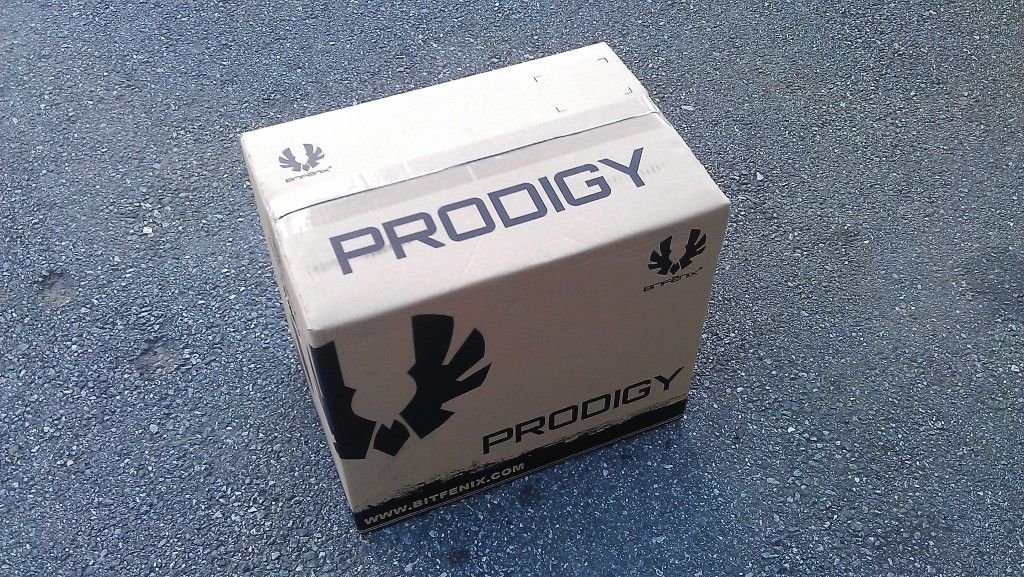
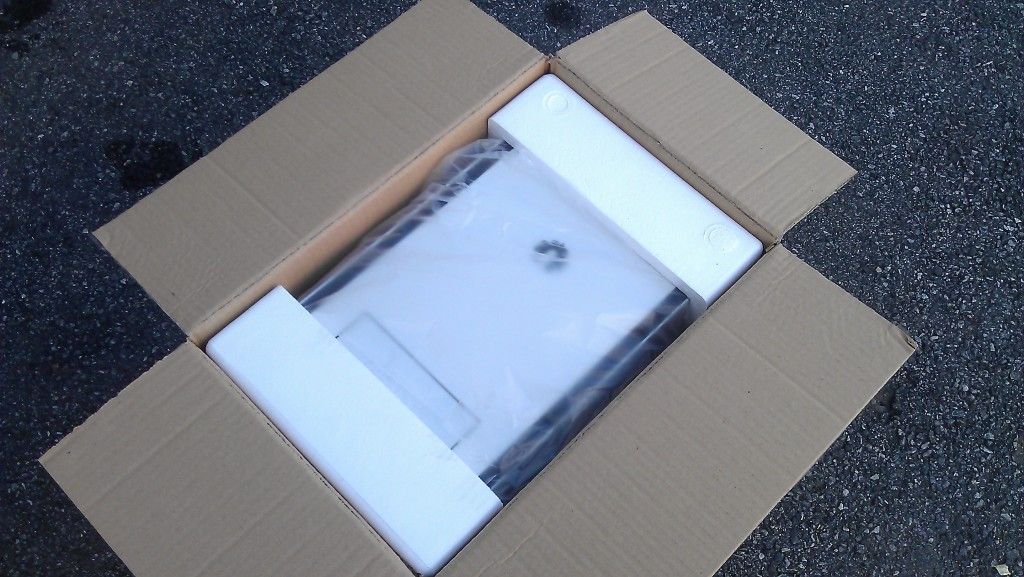
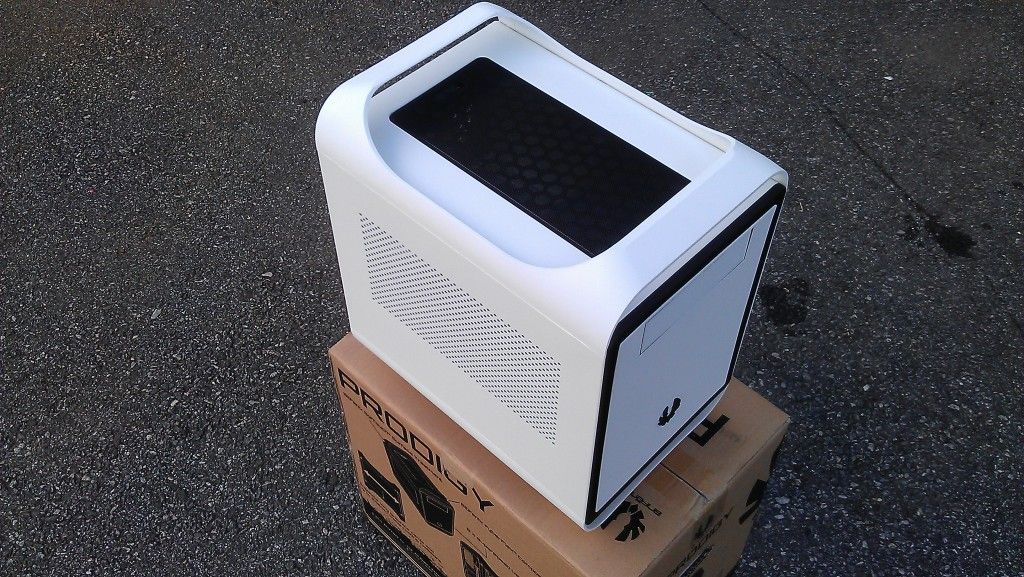
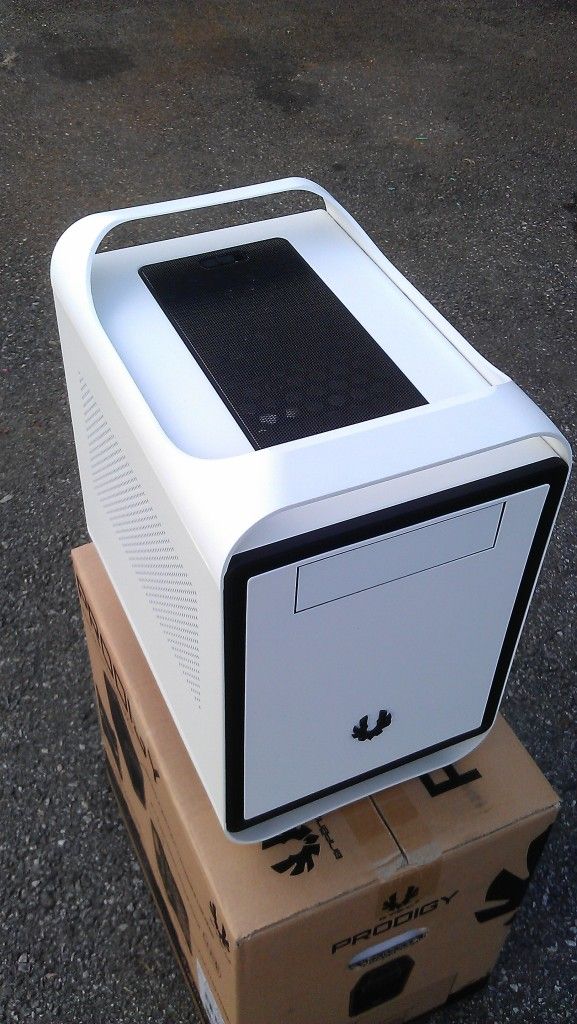
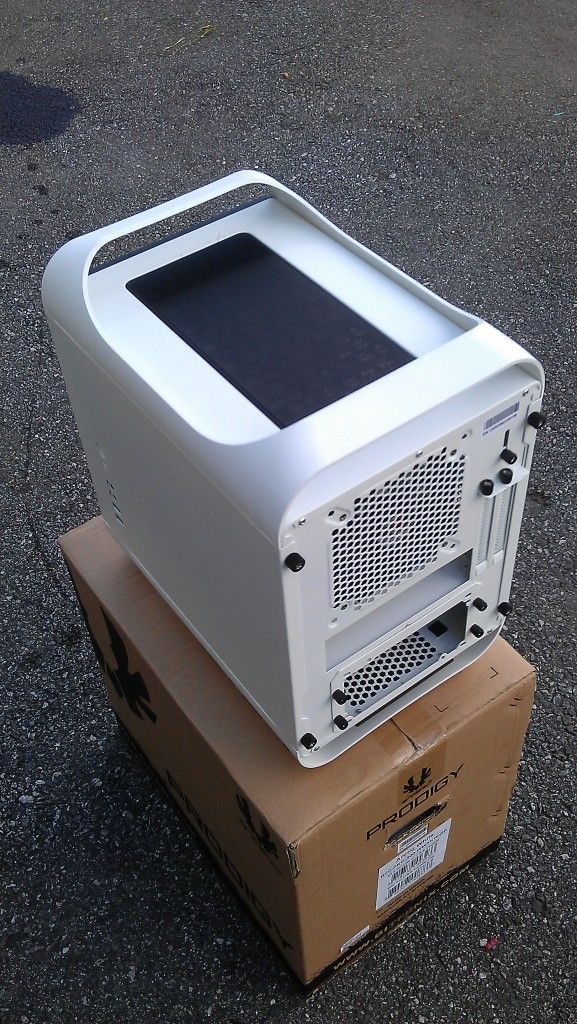
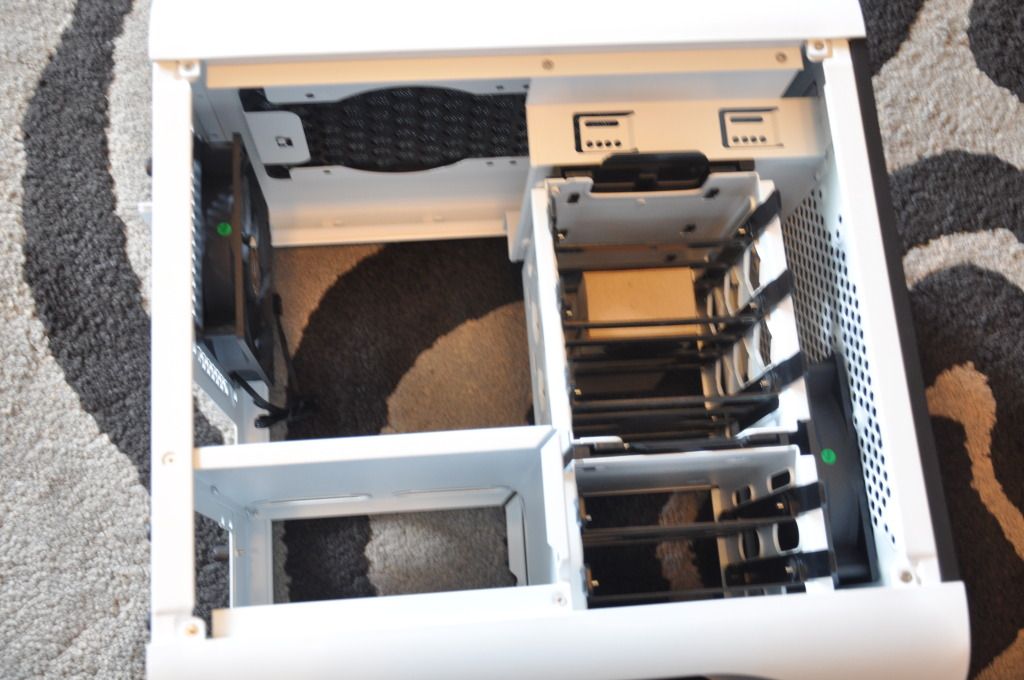
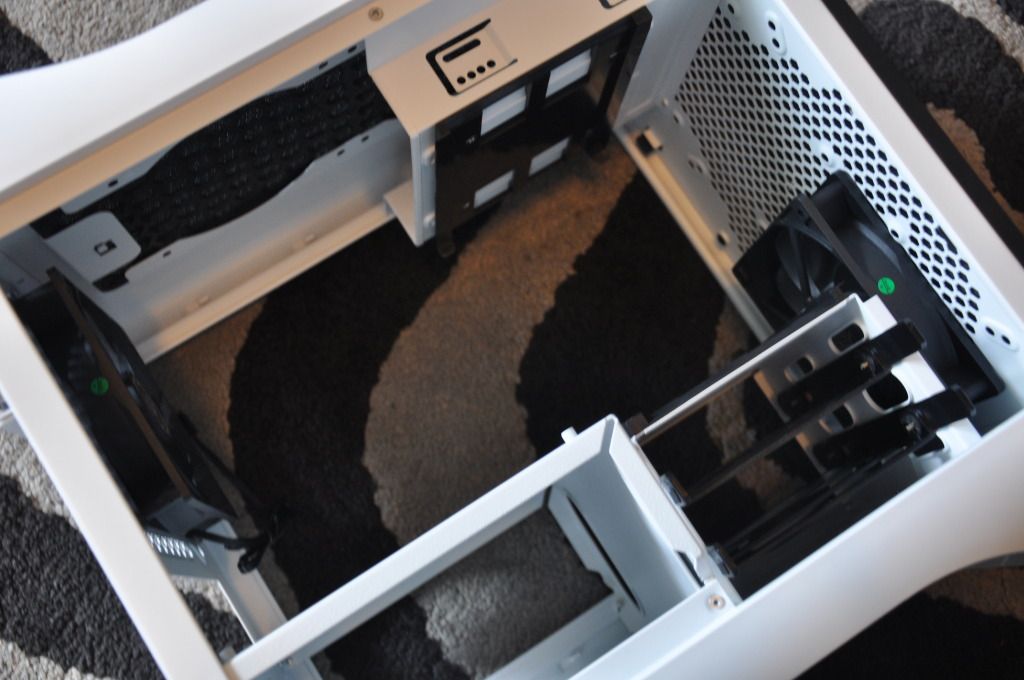
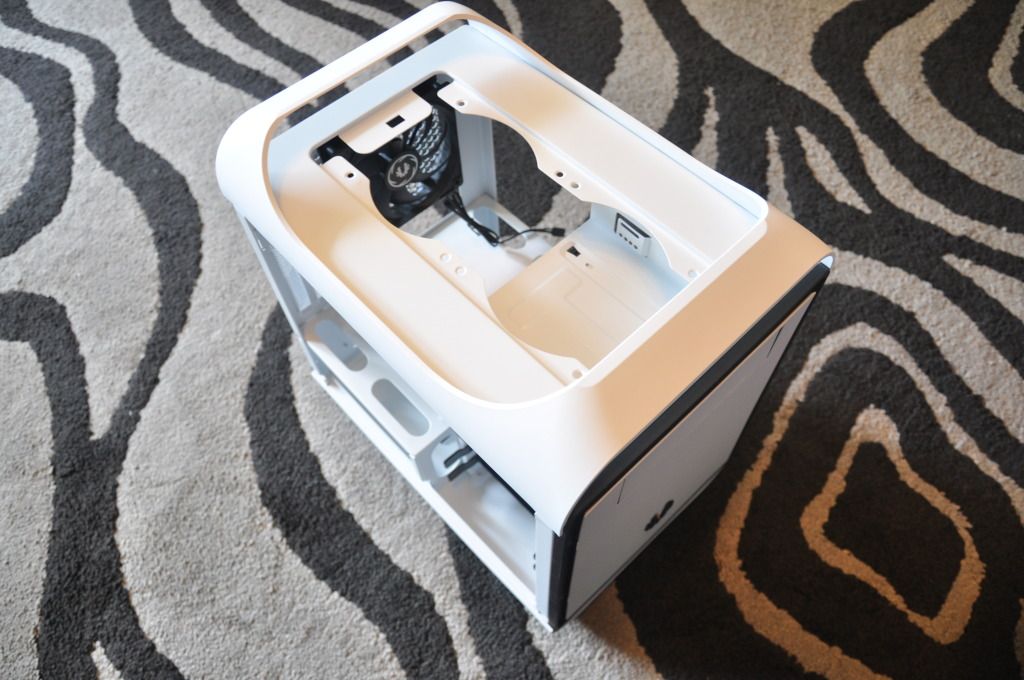
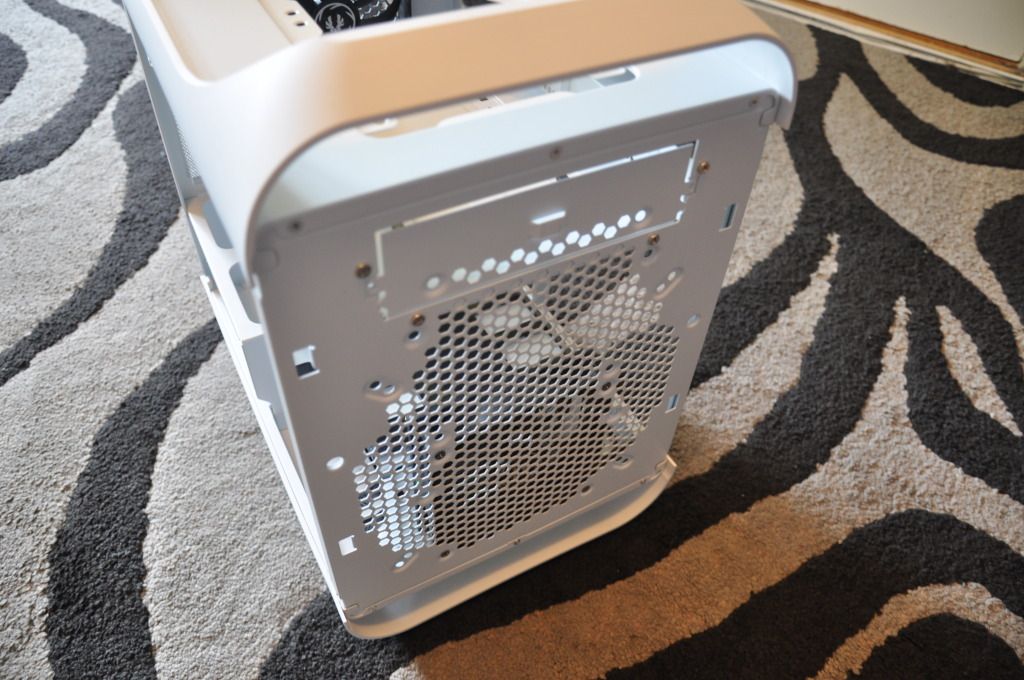
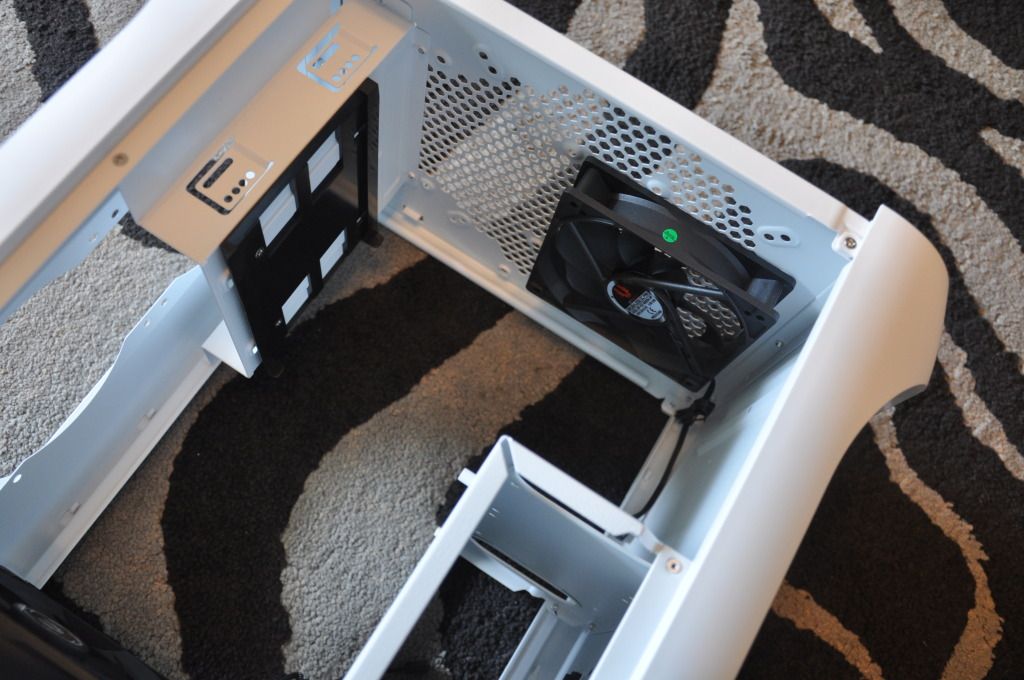
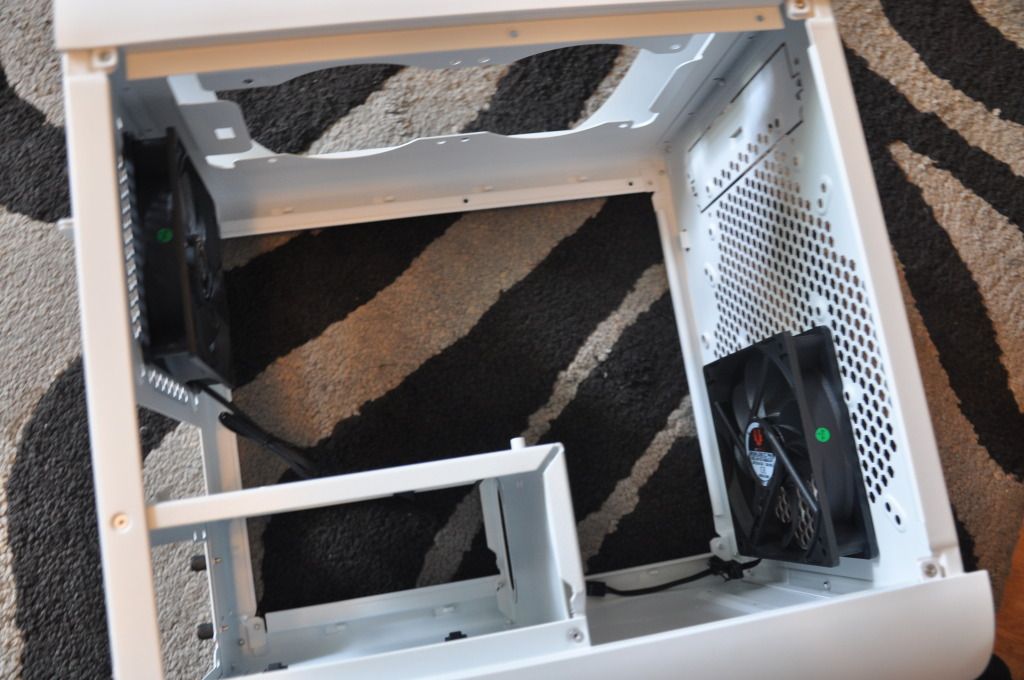
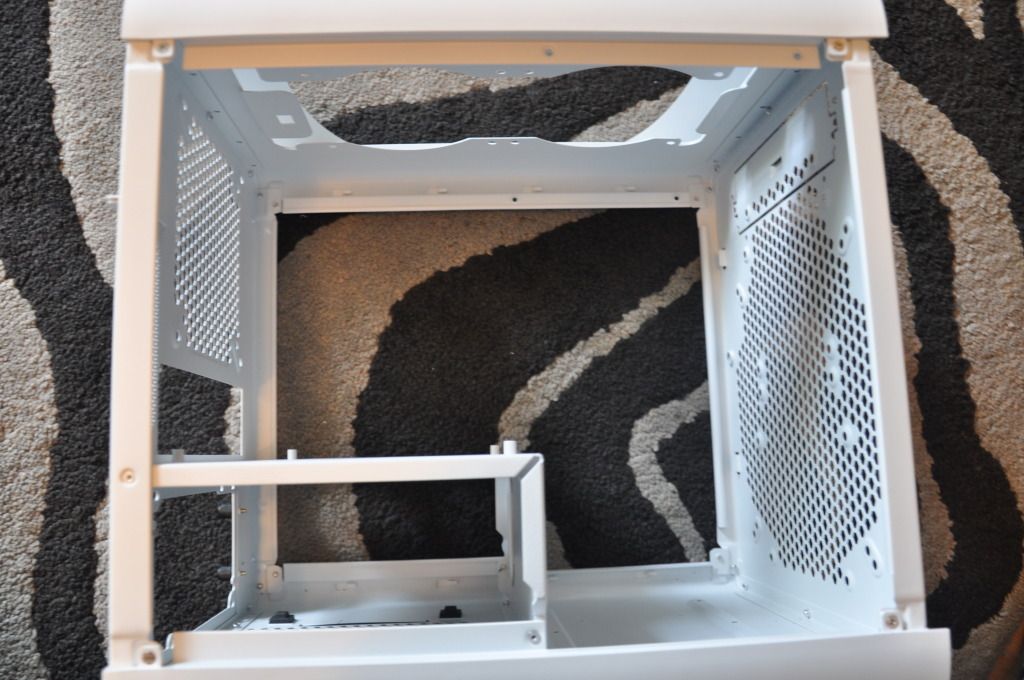
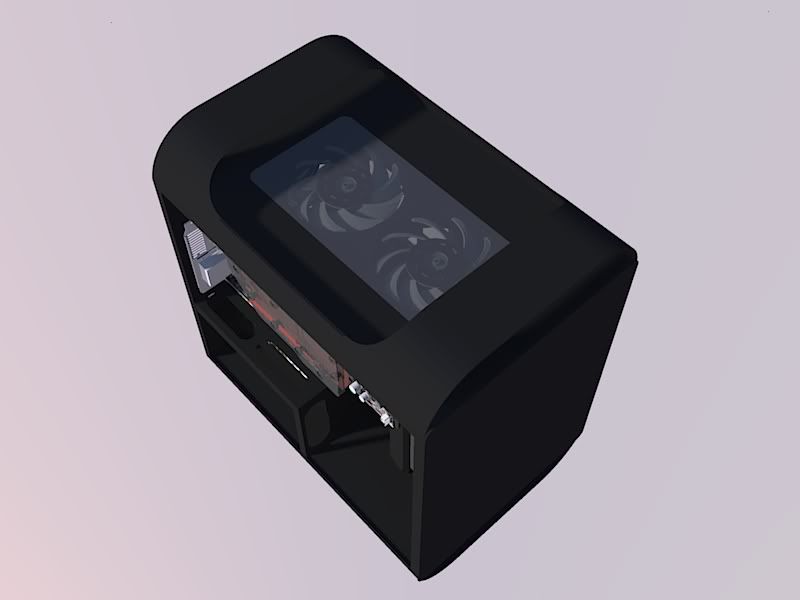
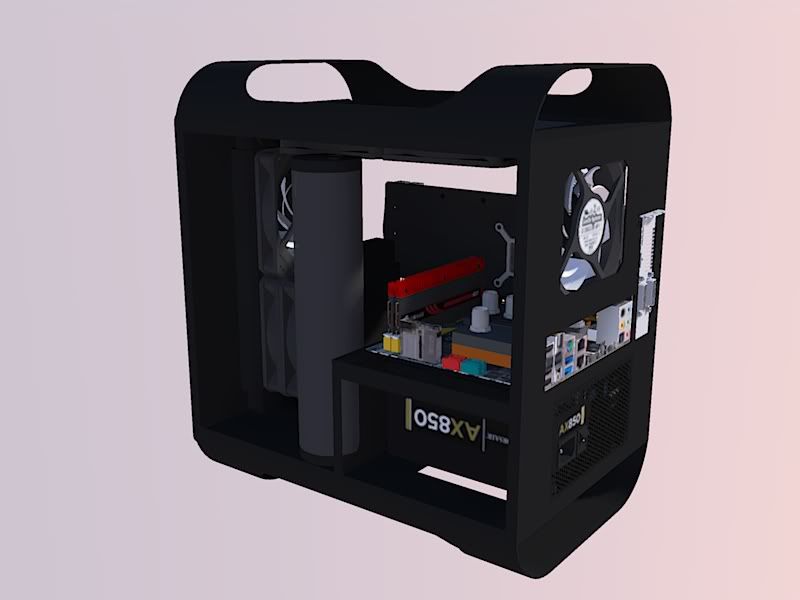
Case: BitFenix Prodigy White
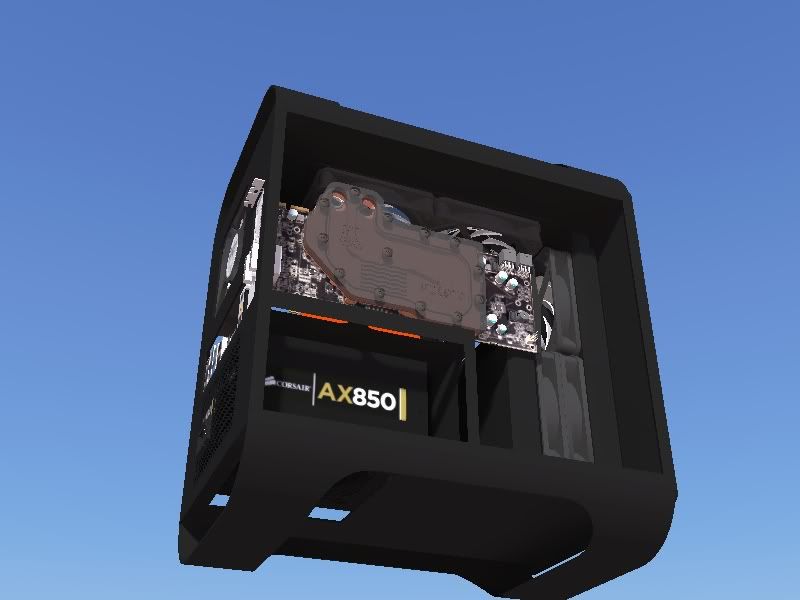
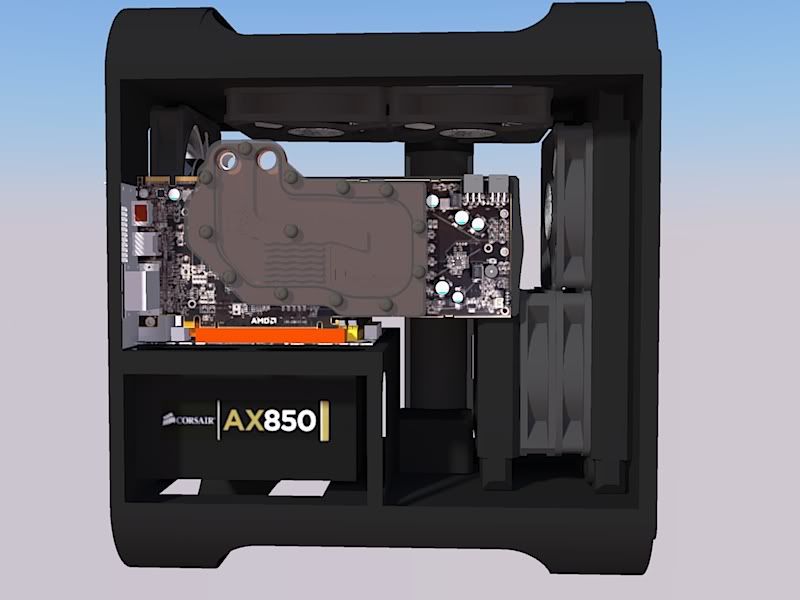
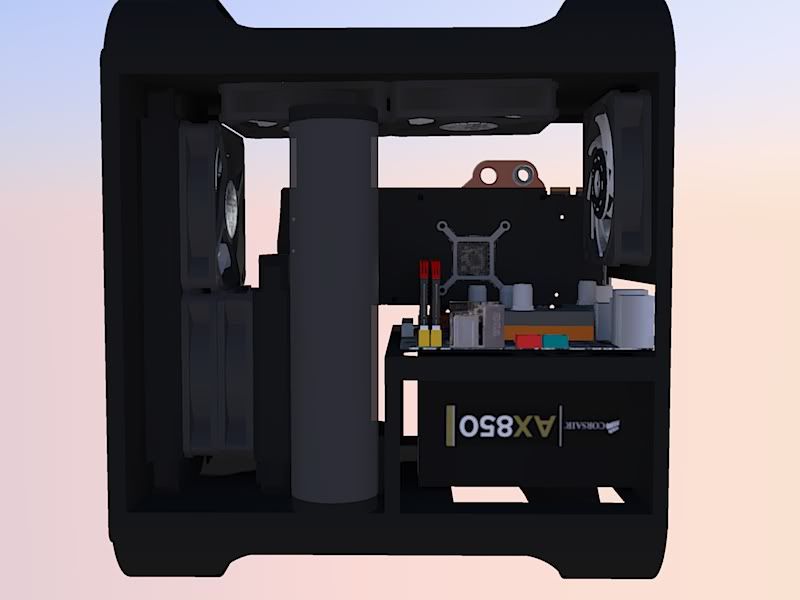
Power Supply: Silverstone Straider Plus 850w
Motherboard: Zotac Z68-ITX WiFi
processor: Inter Sandy Bridge 2500K
Memory: Corsair Dominator GT 2000MHz
Graphics Card: Asus GTX570 Direct CU II
SSD: 2x 120GB Corsair Neutron GTX
Watercooling
Fans: Corsair Air Series SP120 High Performance Edition High Static Pressure 120mm Fan
Controller: mCubed T-balancer MiniNG
Radiators: 1x Alphacool NexXxoS ST30 Full Copper 120mm, 2x Alphacool NexXxoS ST30 Full Copper 240mm
CPU-Block: Bitspower CPU Block Summit EF (Intel) (Acrylic Top Version)
RAM-Block: Bitspower Galaxy Freezer 2
GPU-Block:
Reservoir: Single D5 Top Upgrade Kit 150 (Black POM Cap) (Model Name: BP-D5TOPUK150P-BKBKCL)
Pump: Alphacool VPP655 - Single Edition
PumpTop: D5 MOD TOP V2 (POM Version) + D5/MCP655 MOD KIT (Model Name: BP-655D5P2-MBK)
Tube: Primochill 7/16"ID, 5/8"OD Clear
Fittings & Acessories: Bitspower
22x G1/4" Bronze Age Compression Fitting CC6 For ID 7/16" OD 5/8" Tube (Model Name: BP-BACPF-CC6)
10x G1/4" Bronze Age Rotary 45-Degree IG1/4" Extender (Model Name: BP-BA45R)
10x G1/4" Bronze Age Rotary 90-Degree IG1/4" Extender (Model Name: BP-BA90R)
2x G1/4" Bronze Age Triple Rotary 90-Degree IG1/4" Extender (Model Name: BP-BA90R3D)
8x G1/4" Bronze Age Stop Fitting (Model Name: BP-BAWP-C06)
2x G1/4" Matt Black CaseTop Water-Fill SET (Model Name: BP-MBWP-C04)
4x Thermal Pad A (94x19x0.5MM) (Model Name: BP-WBTP-A)
1x Matt Black Mini Valve With Black Handle (Model Name: BP-MVV-MBKBK)
1x Bitspower Flow Indicator (Model Name: BP-FI-CLBKMBK)
MonoBits is sponsored by:
Aqua Tuning
Bits Power
BitFenix
Cooling Tough
Corsair
Silverstone
Please visit and Like my Facebook Page and you will see my news, sneakpeaks, buildlogs, sleeving and much more!
Now it's time for me to finally start another project!
I got the idea when I saw a preview image that BitFenix had posted on their Facebook page and I was instantly in love with the case, I thought to my self that I really wanted that case and hopefully do a buildlog from it. I immediately started talking to people on various forums and websites, but also some who posted reviews on Youtube and asked about different dimensions so I could start sketching how I would like to have the build. My goals are extraordinary and should strive to do the best Prodigybuild made so far. I will go with a full setup of watercooling into this project, i will try to make it as highend as i can make it, everything that can be watercooled in this build will be. I will build and mod everything to perfection and having fun throughout the whole project. It will normally include a lot of sleeving and lots of other things and I will keep the project relatively short so it will hopefully be updated at least once or twice a week. That was it for the little speech, and here comes the additional information on the project, I hope you think this is interesting and I wish you pleasant reading!
**
Hardware:
Case: BitFenix Prodigy White
Power Supply: Silverstone Straider Plus 850w
Motherboard: Zotac Z68-ITX WiFi
processor: Inter Sandy Bridge 2500K
Memory: Corsair Dominator GT 2000MHz
Graphics Card: Asus GTX570 Direct CU II
SSD: 2x 120GB Corsair Neutron GTX
Watercooling
Fans: Corsair Air Series SP120 High Performance Edition High Static Pressure 120mm Fan
Controller: mCubed T-balancer MiniNG
Radiators: 1x Alphacool NexXxoS ST30 Full Copper 120mm, 2x Alphacool NexXxoS ST30 Full Copper 240mm
CPU-Block: Bitspower CPU Block Summit EF (Intel) (Acrylic Top Version)
RAM-Block: Bitspower Galaxy Freezer 2
GPU-Block:
Reservoir: Single D5 Top Upgrade Kit 150 (Black POM Cap) (Model Name: BP-D5TOPUK150P-BKBKCL)
Pump: Alphacool VPP655 - Single Edition
PumpTop: D5 MOD TOP V2 (POM Version) + D5/MCP655 MOD KIT (Model Name: BP-655D5P2-MBK)
Tube: Primochill 7/16"ID, 5/8"OD Clear
Fittings & Acessories: Bitspower
22x G1/4" Bronze Age Compression Fitting CC6 For ID 7/16" OD 5/8" Tube (Model Name: BP-BACPF-CC6)
10x G1/4" Bronze Age Rotary 45-Degree IG1/4" Extender (Model Name: BP-BA45R)
10x G1/4" Bronze Age Rotary 90-Degree IG1/4" Extender (Model Name: BP-BA90R)
2x G1/4" Bronze Age Triple Rotary 90-Degree IG1/4" Extender (Model Name: BP-BA90R3D)
8x G1/4" Bronze Age Stop Fitting (Model Name: BP-BAWP-C06)
2x G1/4" Matt Black CaseTop Water-Fill SET (Model Name: BP-MBWP-C04)
4x Thermal Pad A (94x19x0.5MM) (Model Name: BP-WBTP-A)
1x Matt Black Mini Valve With Black Handle (Model Name: BP-MVV-MBKBK)
1x Bitspower Flow Indicator (Model Name: BP-FI-CLBKMBK)
MonoBits is sponsored by:
Aqua Tuning
Bits Power
BitFenix
Cooling Tough
Corsair
Silverstone
Please visit and Like my Facebook Page and you will see my news, sneakpeaks, buildlogs, sleeving and much more!
")
")

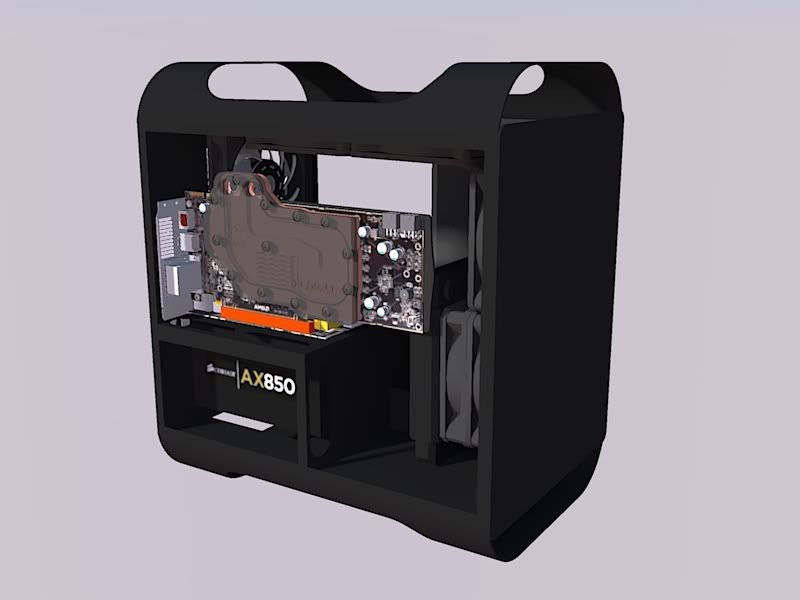
 now its perfect do do the tubing...i will need to get some slifittings and plastictubes from bitspower to make it cleaner