Passively watercooled SD31P **56k**

youpla

New member
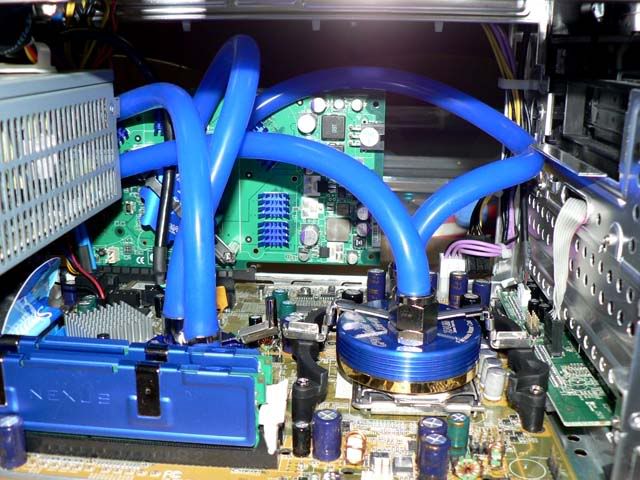
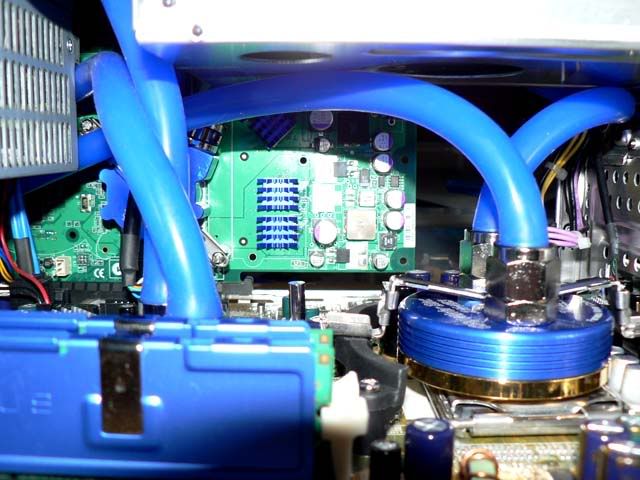
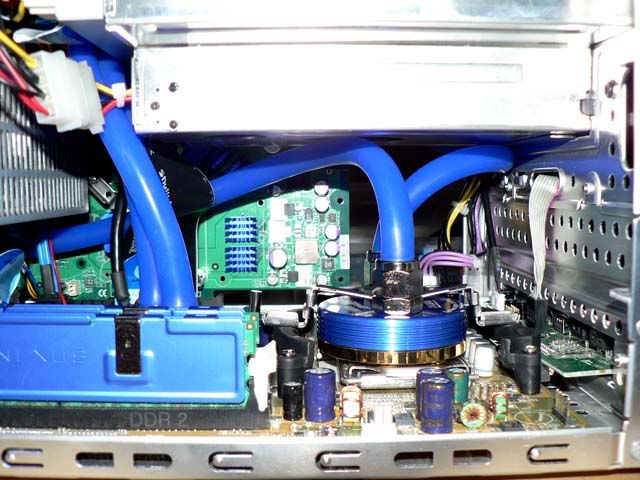
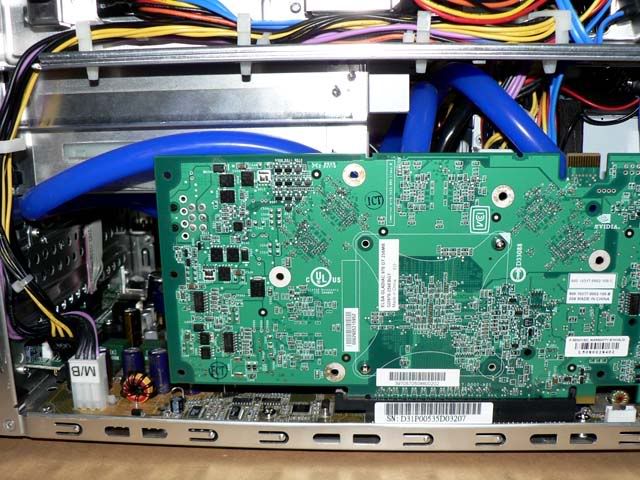
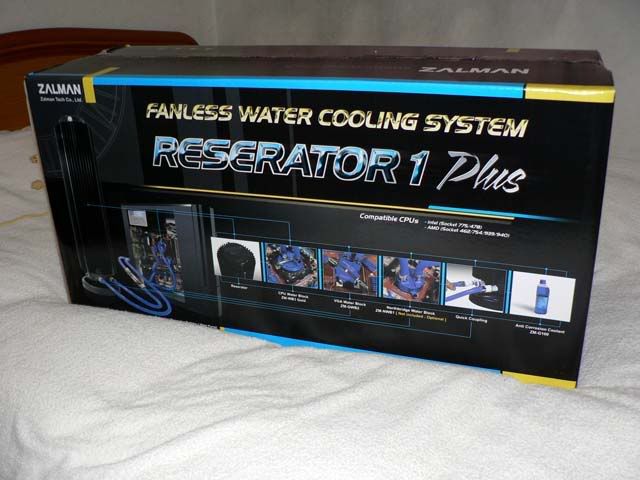
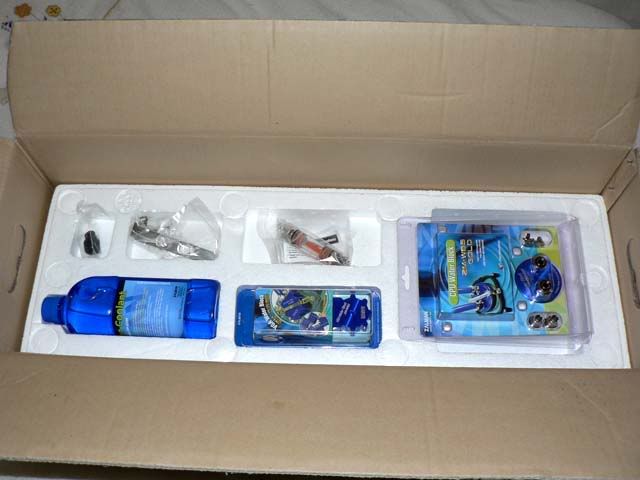
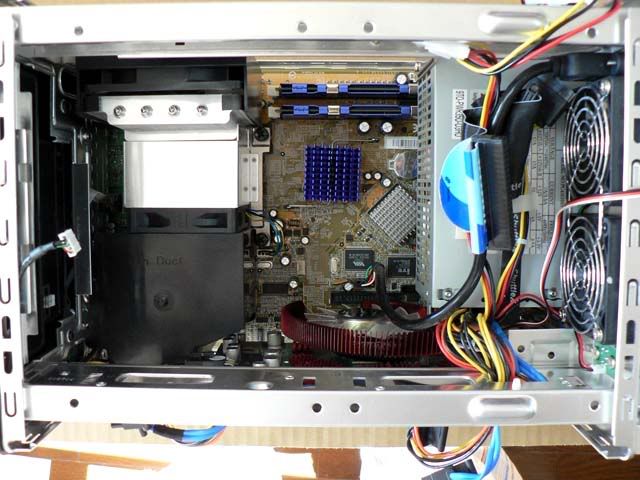
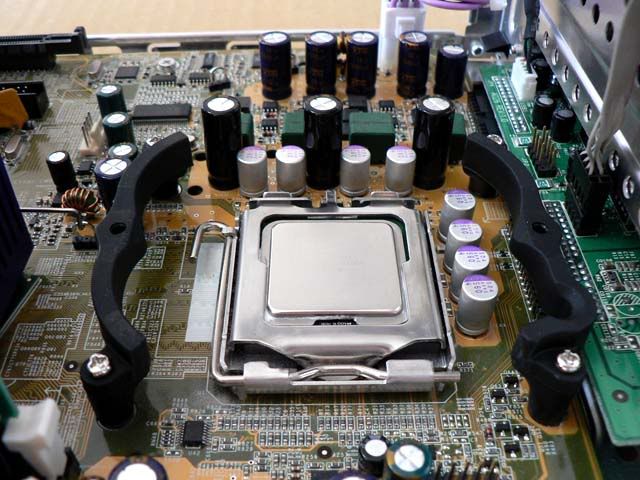
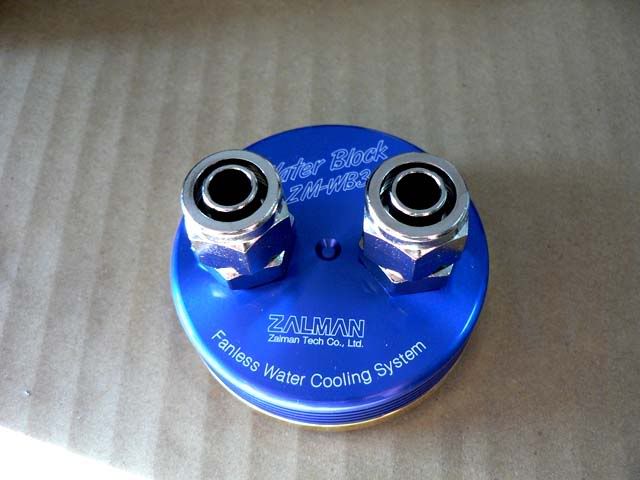
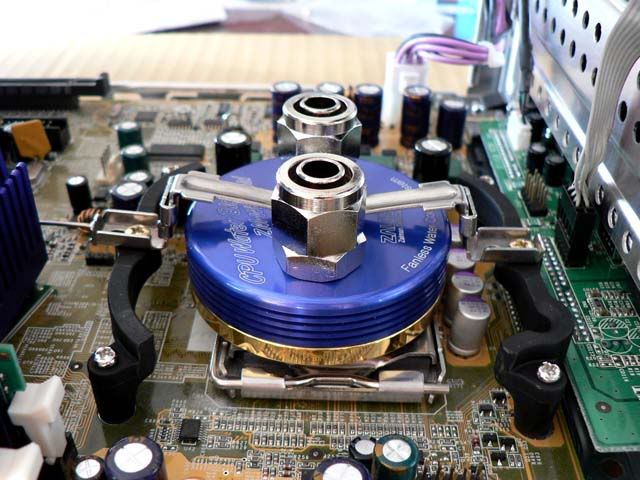
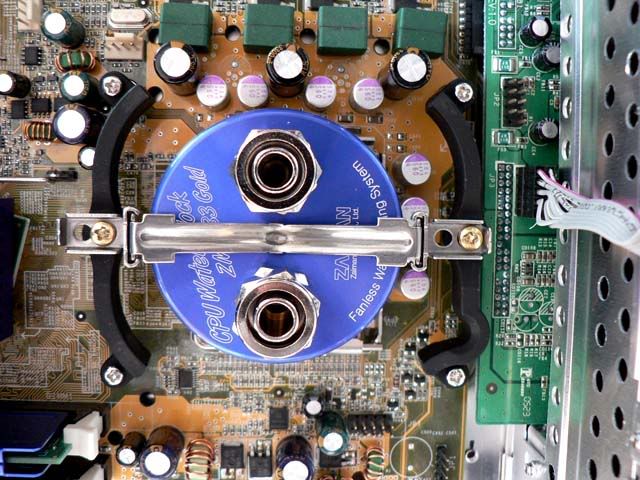
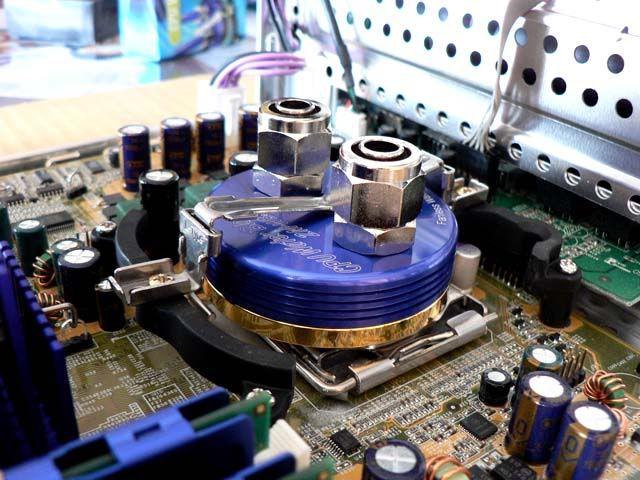
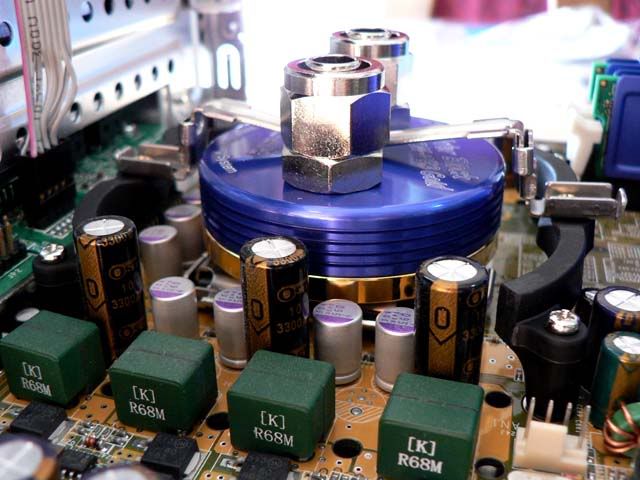
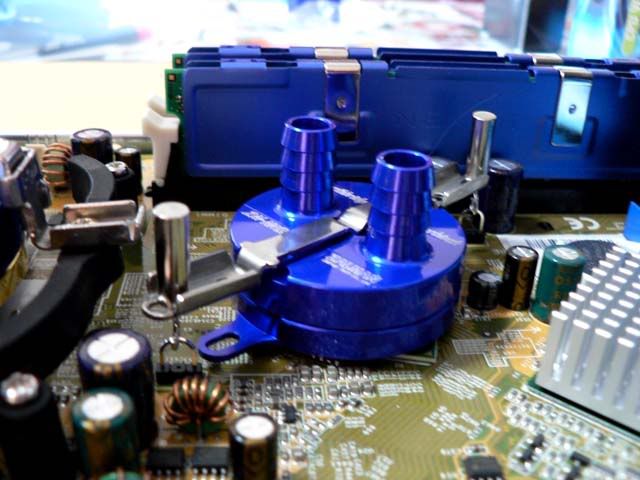
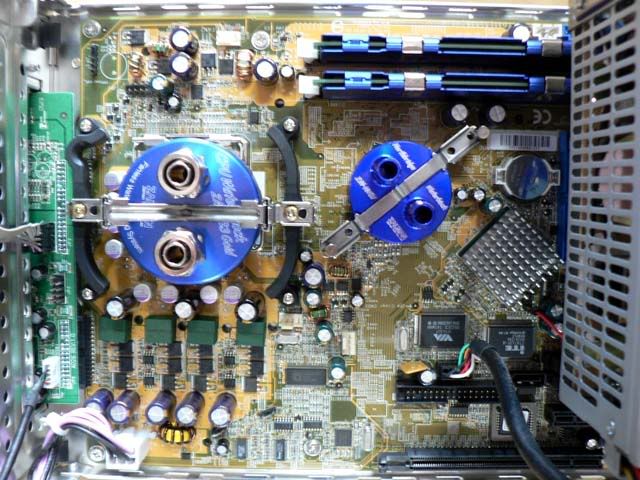
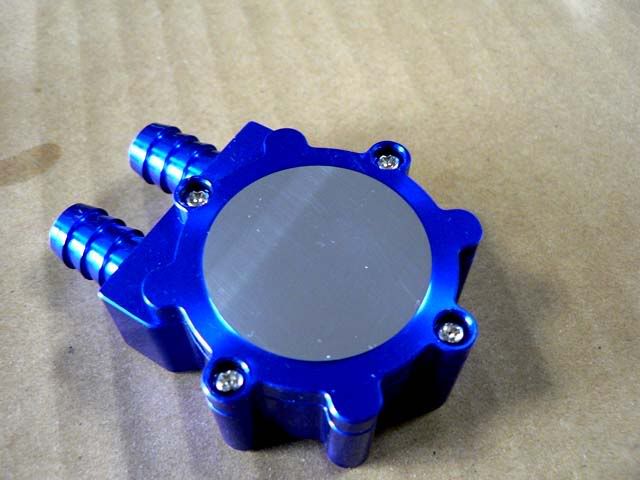
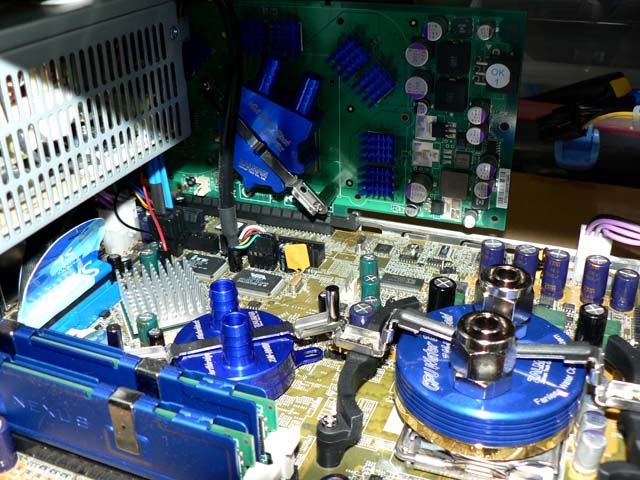
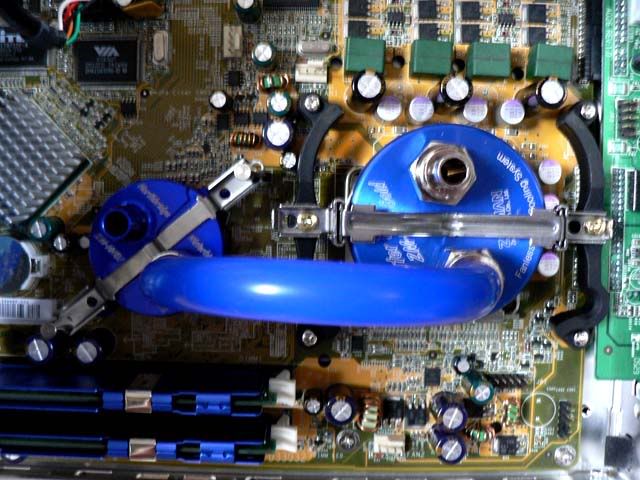
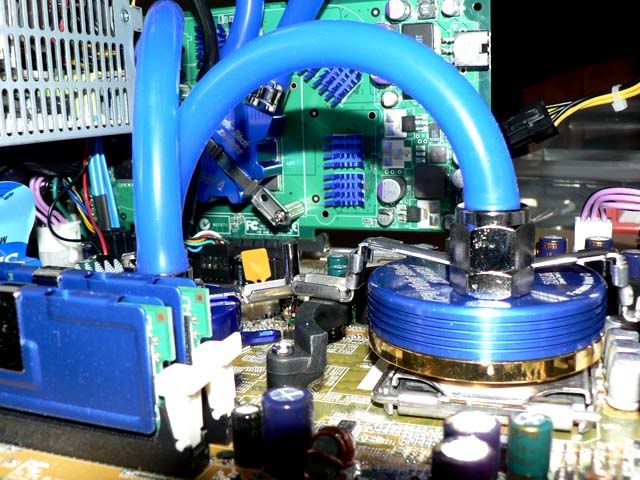
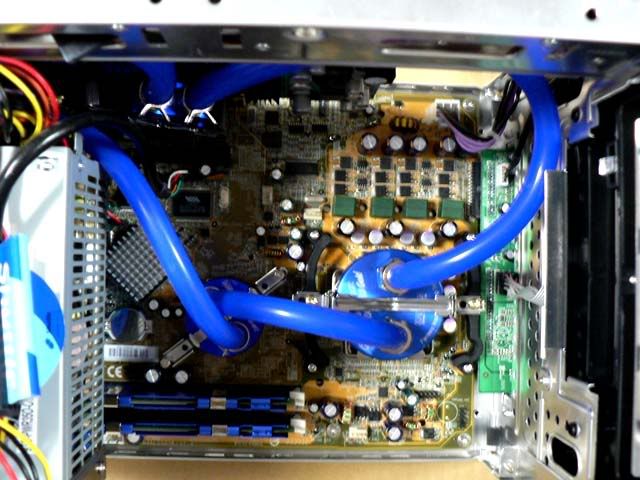
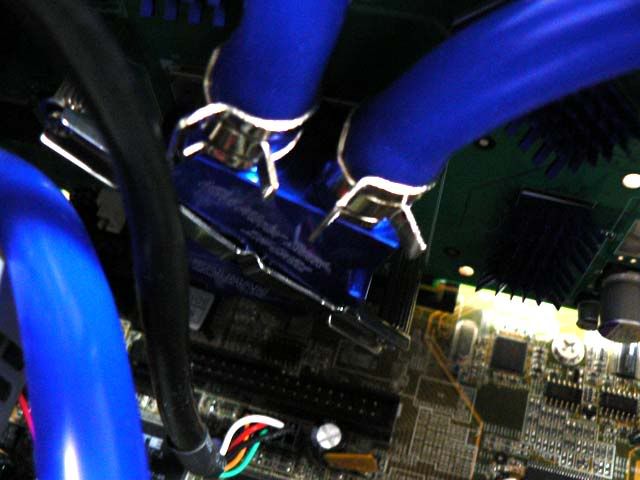
I got my Zalman reserator 1 plus yesterday and after worrying a little about the installation of the CPU block (the mobo of Shuttle xPC are no really standard) I was pretty happy to see that indeed I could install the block without the need of extra plate or bracket etc...

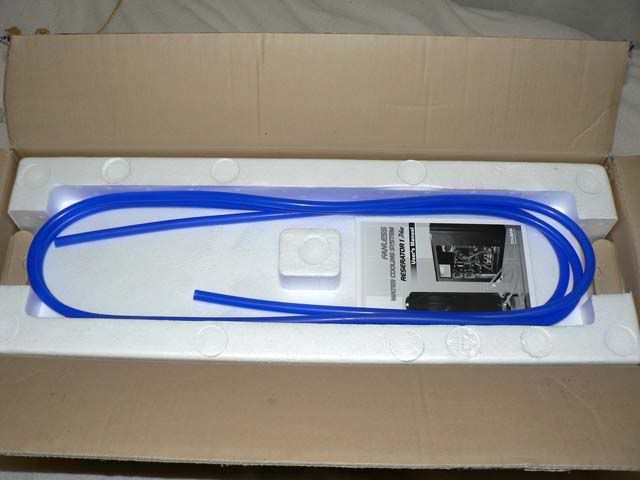
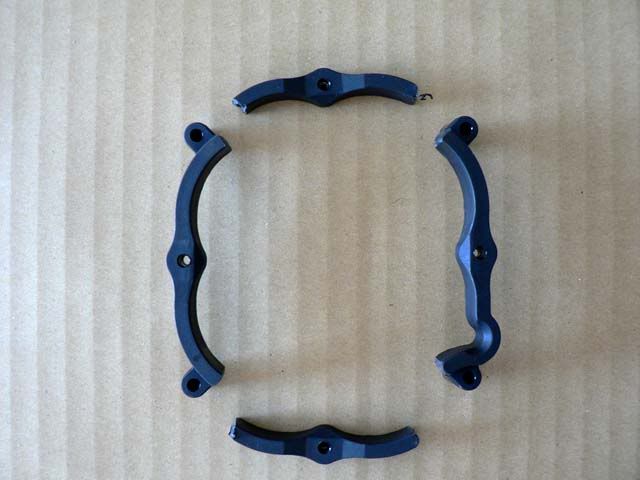
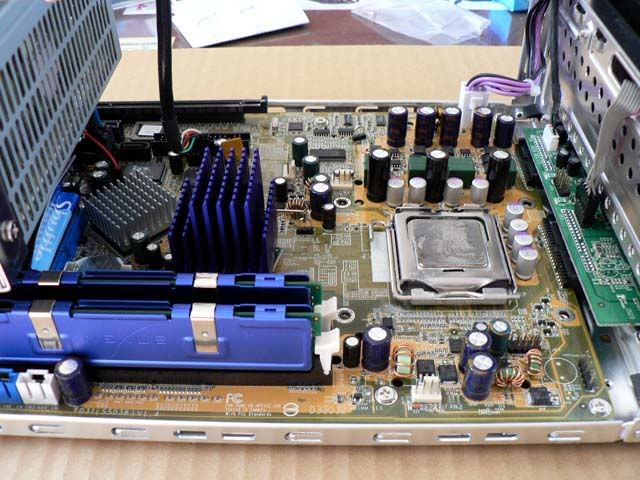
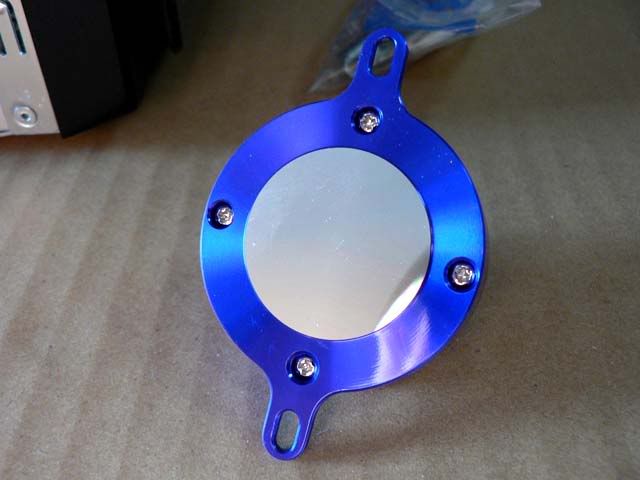
Everything you need is included in the package and you only need to have a cutter to cut the 775 bracket in 2 pieces to fit on the mobo!

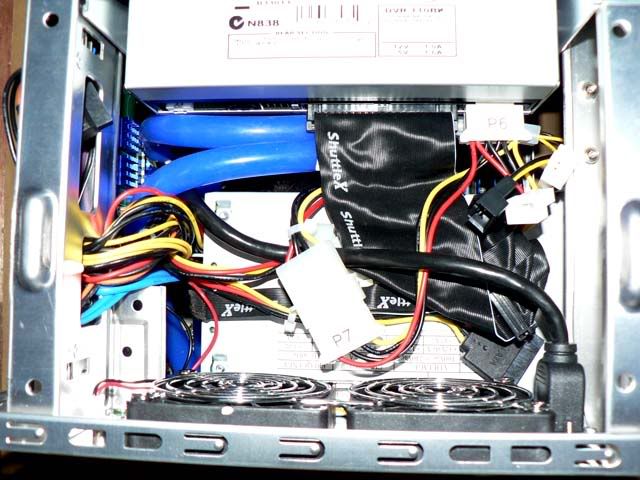
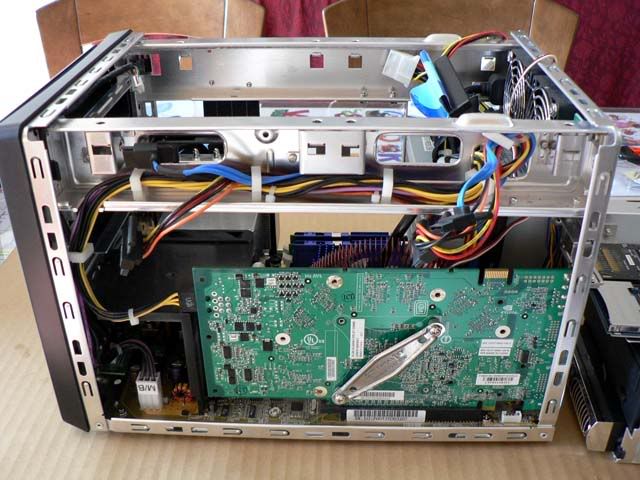
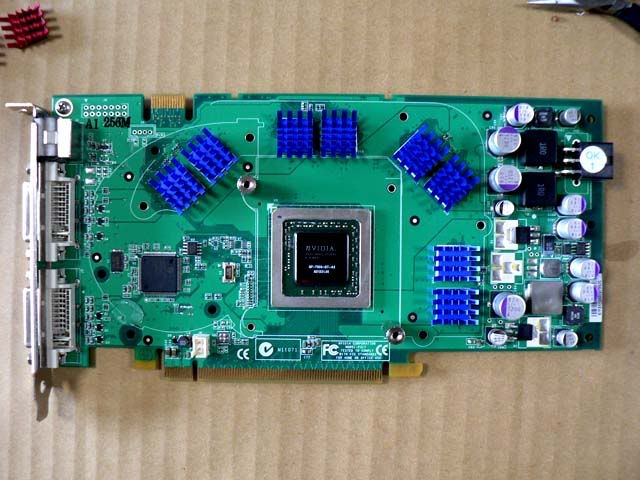
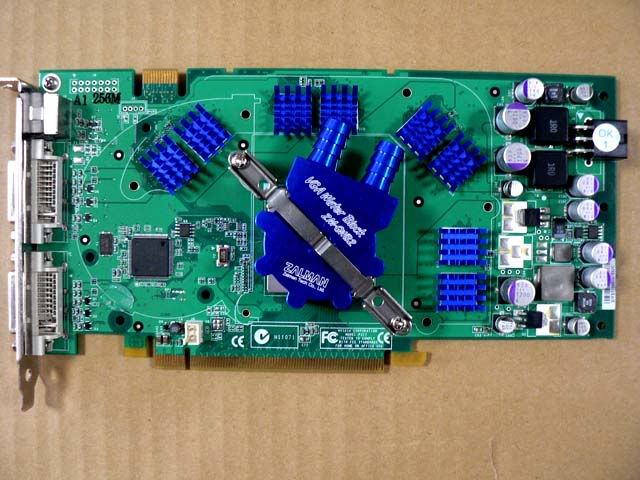
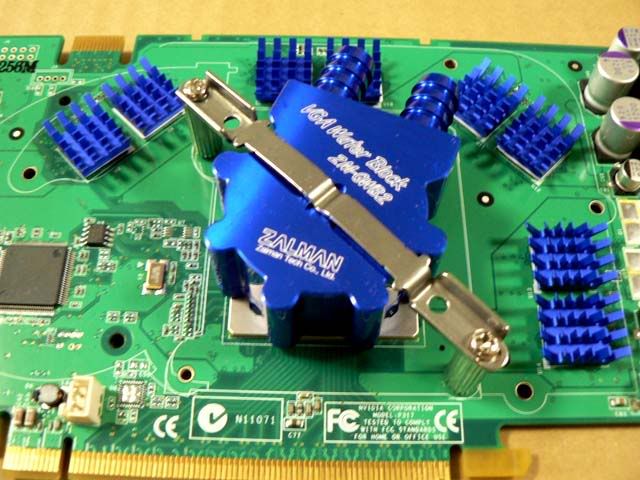
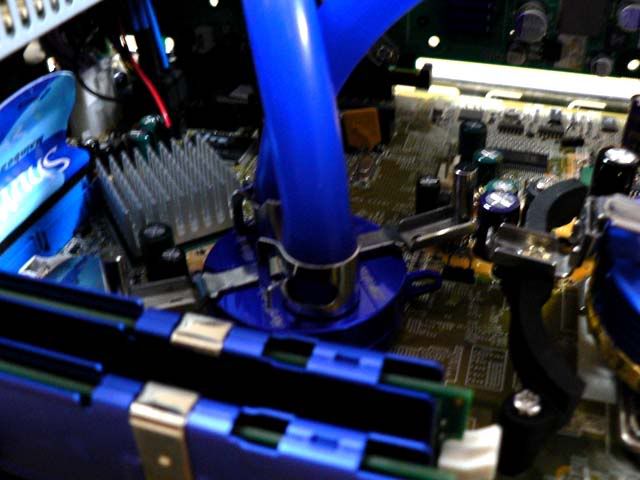
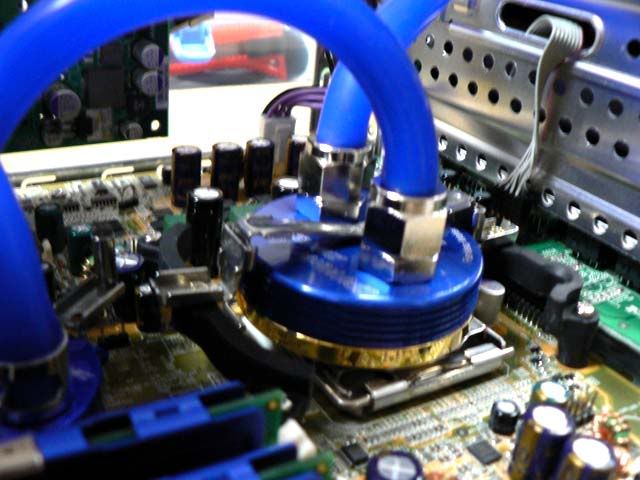
So herre we go with the installation process that took me a couple of hours...
 
The Reserator 1 Plus arrived home:

wl01.jpg


wl02.jpg


wl03.jpg


wl04.jpg


Big box and well packaged, got everything you need to watercool your CPU and GPU. So I also bought separatly the Northbridge waterblock.
 
Due to the non standard mobo in the SD31P I had to cut the 775 socket that comes with the CPU block in order to fit it in on the mobo.

All you need is a cutter and a pair of pliers, the plastic can be cut and broke easily:

wl05.jpg


wl06.jpg


wl07.jpg
 
And here is the rig:

wl08.jpg


wl09.jpg


wl10.jpg


After removing the ICE system:

wl11.jpg


And mounting the 2 parts of the bracket on the mobo:

wl12.jpg


wl13.jpg


It fits pretty well, without touching anything...
 
Mounting the CPU block: ZM-WB3 Gold

As you can see the bottom of the block is absolutly perfect... a real mirror!!!

wl14.jpg


wl15.jpg


Placing and fixing the block on the CPU, no problem using the mounting set:

wl16.jpg


wl17.jpg


wl18.jpg


wl19.jpg


wl20.jpg
 
Next mounting the Northbridge waterblock:

wl21.jpg


Although not gold the surface of the of waterblock is still very well polish:

wl22.jpg


wl23.jpg


wl24.jpg


wl25.jpg
 
Next step the GPU waterblock.

First I had to strip down the Zalman Fatal1ty FS-V7 that I installed not so long ago!

wl26.jpg


wl27.jpg


The GPU block is pretty small and does not cover the memories so you have to put the little hitsink on the chips.

wl28.jpg


wl29.jpg


wl30.jpg


wl31.jpg


wl32.jpg
 
Tubing...

wl35.jpg


wl36.jpg


wl37.jpg


wl38.jpg


wl39.jpg


Some closeups:

wl40.jpg


wl41.jpg


wl42.jpg


Final loop and adding th drive cage on top...

wl43.jpg


wl44.jpg


Everything was really smooth to install and although it was the first time for me to deal with watercooling, the installation is flawless!

Well that's all for today, tomorrow I will setup the external reserator and make another leaking test with everything mounted!

More to come...
 
Thanks for the pictures and a little review , i ll just wait till you finish everything and then comment :)

Edit : Very nicely done. I believe your cycles are GFX > C.P.U > Chipset > Reservoir. Waiting for the results :D
 
well I could try to write a more detailed review if interested. I will bring on some temperature comparison with my previous setup... I hope to get at least similar or even lower temp by few degrees... But hopefully it will be silent so I could ear a fly buzzing around ;)
 
Dav0s said:
i think you should be more concerned over the word "cutted" :D

and it's passively

hehehe I was just editing after spell checking in word... damn Frenchie trying to speak Angliche ;)

PS: I edited the title of my topic, but apparently it does not show up correctly, can a mod please check it... TIA
 
youpla said:
hehehe I was just editing after spell checking in word... damn Frenchie trying to speak Angliche ;)

PS: I edited the title of my topic, but apparently it does not show up correctly, can a mod please check it... TIA
lol youpla its alrighte ;)

looks fabulous! nice job man!
 
Tec said:
Thanks for the pictures and a little review , i ll just wait till you finish everything and then comment :)

Edit : Very nicely done. I believe your cycles are GFX > C.P.U > Chipset > Reservoir. Waiting for the results :D

Hi Tec,

Does it matters a lot? Indeed the initial setting recommand CPU>GPU>NB, but I didn't feel it was convenient for the tubing to go this way so I went for NB>CPU>GPU? I believe it would be the best to have the CPU first though. Anyway I can easily switch to GPU>CPU>NB cycle if better... just inverting the in and out on the reservoir?

added: ok I changed my tubing to have the cycle CPU>GPU>NB, it is not as clean and it is a bit more tight with the drive cage as before... but it may be better for the heat dissipation. Now testing for possible leak... will post more later if everything goes well
 
Okay so here is the end of the installation...

The tubes enter and exit from a PCI slote at the back of the PC, very clean:

wl46.jpg


Mounting the 2 extremities at the end of the tubes that will plug into the reservoir:

wl47.jpg


And inserting the visual flow indicator on the outgoing tube:

wl48.jpg


The in and out antileak plugs on the reservoir. Those plugs will prevent leaking unplugging the tubes:

wl49.jpg


The reservoir:

wl50.jpg


An inside view of the reservoir with the pump at the bottom:

wl51.jpg
 
As I said previsouly I finally changed my tubing to have a CPU>GPU>NB cycle and it became a bit more messy:

wl52.jpg


wl54.jpg


wl56.jpg


wl59.jpg


wl60.jpg


wl61.jpg


It was pretty tight to fit all the tubes behind the drive cage, but nothing that can't be done with a minimum of care:

wl62.jpg


it looks cleaner when viewed from the other side:

wl63.jpg


And finally after turning the Reserator ON... the flow goes on... left it runs for 2 hours without any leak! Everything alright, the PC is closed and ready for temperature benchmark.

wl64.jpg


I will leave it on overnight and see how the temps goes. After switching it on the temps were lower than the temp I got before I watercooled. The most striking difference is on the GPU though (45C before, 39C now), the CPU is apparently in the same range as before (42C before, 43C now), the NB chipset is a bit cooler (38C before, 36 now)... Pretty satisfied of the temps so far and wow it is freaking silent, you really don't ear the pump and if there was not the visual flow indicator you will probably not know if the pump is working or not!!! Amazing :eek:
 
And here is a final view of my system:

wl65.jpg


The reserator is little bit lower than the PC, which is not really recommanded but it is just temporary...
 
Back
Top