Pjalchemist
Banned
Outline :- Small case thats just fits an ATX mobo to have water cooling fitted with alot of mods on everything from case to whats fitted within with an uber powerfull system inside!
Case :- Lian Li A05B
Mods to case :-
Window cut
Top rad cut
Bottom rad cut
PSU vent cut
Relocation of PSU input plug on rear of case possibly
Removale of HD rack
Fitting of vandel switches
Powerdercoating custom paint
CNC built feet fitted
Cable cut outs on mobo for hidden cable look
Real carbonfiber parts
Water cooling parts:-
HW Lab Blackice GT Stealth Rad's, 120, 240, 360
Laing DDC's 10W modded to 18W
Tygon 3/8''
Danger Den Fatboy Barbs 1/2''
Danger Den fill ports
Ek GPU block and mosfet
D-tek CPU block
Custom Yate Loons
PC specs :-
Unkown due to what ever Pete feels like using off the shelf i have here! More than like one my i7 rigs
PC case hardwear :-
MNCPC cnc feet
Vandel resitant switches
Ac Ryan mesh
Let get on then :-
Everyones seen a A05B so i wont need to show the case off.
Rads arrived (ignor the tank of R404a in the back ground, was delivered this morning)!


Danger Den Fat Boy 1/2'' barbs fitted for show and what not! The RADS have been to a mate for some pimping! I'll get photo of them ASAP.
I've also started with using some old carbonfiber i had about, i covered the top of the front facea and the PCI blanking plates with it, left to curue @ 350c under -30hg vacume.


As you can see i've also started too strip the case out for the next steps.
Rad arrived. Custom Powerdercoated by Marcus @ WCUK


Most comen mod i found for these cases and a part i do not need, HD cage. Out she come. Though it might show it's face again with some modding and carbonfiber love!


Samllest rad placement time, rad is the 120. Need too make a small mod to the 3.5'' bay for her to fit but i doubt i'll be using that bay anyway!


Next the 240, i found 5 reasons too why it couldt go this and that way then found how it can and will go LOL. Photos show a few reason if you can work them out!


Next the daddy being the 360, only one place. Up top he goes!!

In doing so i lose the front IO which is no scracth off my nose but i do like to use my front USB for the camera and USB stick. I got thinking which is a bad idea!! I also too some measurements!

I will be relocating the PSU plug from the bottom back to the top which sloves loads of my problems!!!


Next i need to dig out a dead ATX mobo, fit it and work out cuts for ATX 24 power, 8 pin CPU, PCI, MOBO headers
I'll also check on a few things and mark them up.
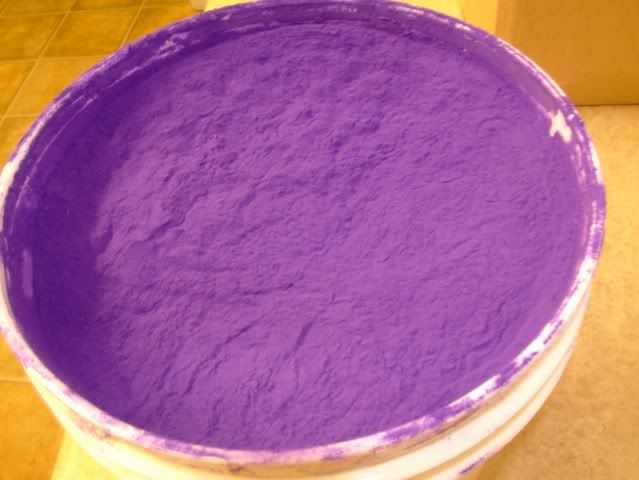
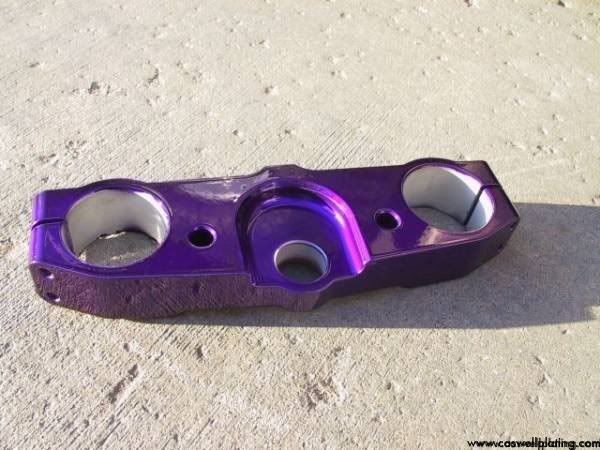
Also need to order some bits for it and just been told the custom paint is in the UK now at the coaters. Whooop
Case :- Lian Li A05B
Mods to case :-
Window cut
Top rad cut
Bottom rad cut
PSU vent cut
Relocation of PSU input plug on rear of case possibly
Removale of HD rack
Fitting of vandel switches
Powerdercoating custom paint
CNC built feet fitted
Cable cut outs on mobo for hidden cable look
Real carbonfiber parts
Water cooling parts:-
HW Lab Blackice GT Stealth Rad's, 120, 240, 360
Laing DDC's 10W modded to 18W
Tygon 3/8''
Danger Den Fatboy Barbs 1/2''
Danger Den fill ports
Ek GPU block and mosfet
D-tek CPU block
Custom Yate Loons
PC specs :-
Unkown due to what ever Pete feels like using off the shelf i have here! More than like one my i7 rigs
PC case hardwear :-
MNCPC cnc feet
Vandel resitant switches
Ac Ryan mesh
Let get on then :-
Everyones seen a A05B so i wont need to show the case off.
Rads arrived (ignor the tank of R404a in the back ground, was delivered this morning)!


Danger Den Fat Boy 1/2'' barbs fitted for show and what not! The RADS have been to a mate for some pimping! I'll get photo of them ASAP.
I've also started with using some old carbonfiber i had about, i covered the top of the front facea and the PCI blanking plates with it, left to curue @ 350c under -30hg vacume.


As you can see i've also started too strip the case out for the next steps.
Rad arrived. Custom Powerdercoated by Marcus @ WCUK


Most comen mod i found for these cases and a part i do not need, HD cage. Out she come. Though it might show it's face again with some modding and carbonfiber love!


Samllest rad placement time, rad is the 120. Need too make a small mod to the 3.5'' bay for her to fit but i doubt i'll be using that bay anyway!


Next the 240, i found 5 reasons too why it couldt go this and that way then found how it can and will go LOL. Photos show a few reason if you can work them out!


Next the daddy being the 360, only one place. Up top he goes!!

In doing so i lose the front IO which is no scracth off my nose but i do like to use my front USB for the camera and USB stick. I got thinking which is a bad idea!! I also too some measurements!

I will be relocating the PSU plug from the bottom back to the top which sloves loads of my problems!!!


Next i need to dig out a dead ATX mobo, fit it and work out cuts for ATX 24 power, 8 pin CPU, PCI, MOBO headers
I'll also check on a few things and mark them up.
Also need to order some bits for it and just been told the custom paint is in the UK now at the coaters. Whooop


