alienware
Banned
WARNING
The following production show features stunts performed by a highly trained professional.
Accordingly, AlienALX and OC3D must insist that no one attempt to recreate or re-enact any
stunt or activity performed in this show.
Accordingly, AlienALX and OC3D must insist that no one attempt to recreate or re-enact any
stunt or activity performed in this show.
Today we are going to have a tutorial on building a dedicated slave PSU specifically for running a graphics card. I originally did this because I thought that my PSU was not enough. However it ended up not being that but I wanted to finish it any way as I do have a use for it (I'll explain that later).
This guide/tutorial could come in useful to any one who wants to add a second GPU but does not have enough power on tap to run the second one (or only has a single PCIE rail) and has a PSU lying around. However, please take care to read the requirements before doing anything.
Basic requirements are as follows -
A spare power supply - Obviously this part is essential. However, this needs to conform to what you are attempting to do. Make sure you provide more than enough wattage for the card you are trying to run, as otherwise things will go bang in the night. In this case I am using a 350w PSU for a card that at max load will draw 240w. Yes, the 3870x2 is a greedy pig of a card.
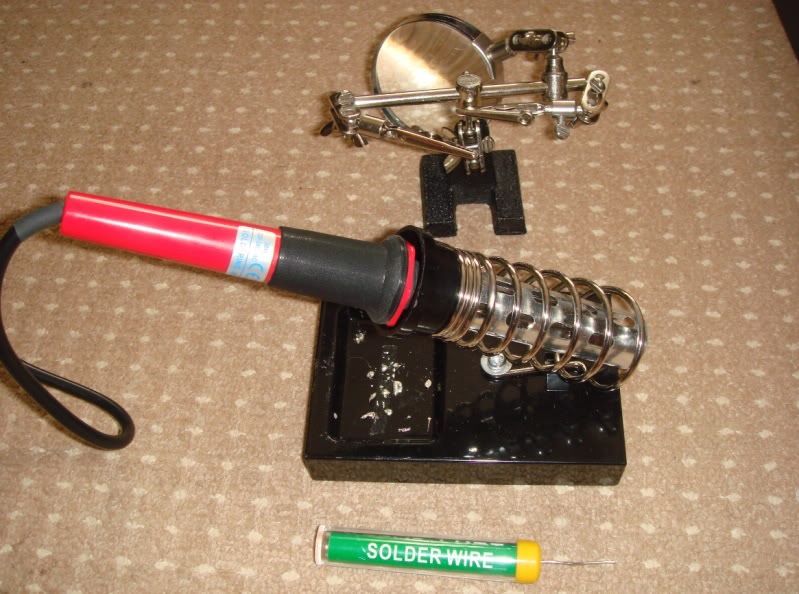
A solder iron
This is my solder iron. There are many others like it, but this one is mine. My solder iron is my best friend. It is my life. I must master it as I must master my life. Without me, my solder is useless. Without my solder iron, I am useless. I must hold my solder iron true. I must solder better than my enemy, who is trying to beat me. I must solder him before he solder me. I will. Before God I swear this creed: my solder iron and myself are defenders of my country, we are the masters of our enemy, we are the saviors of my life. So be it, until there is no enemy, but peace. Amen.
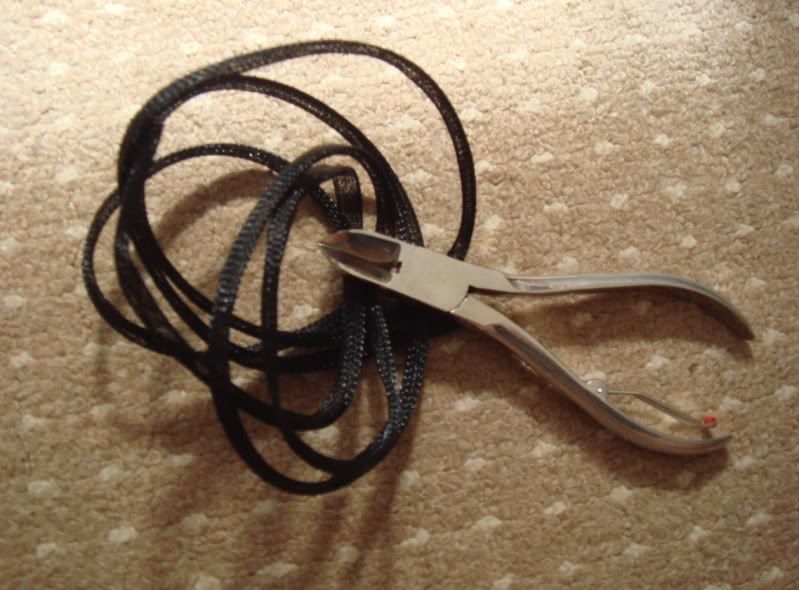
Some braid
Some heat shrink (not pictured)
A sharp knife / Wire strippers (see braid pic)
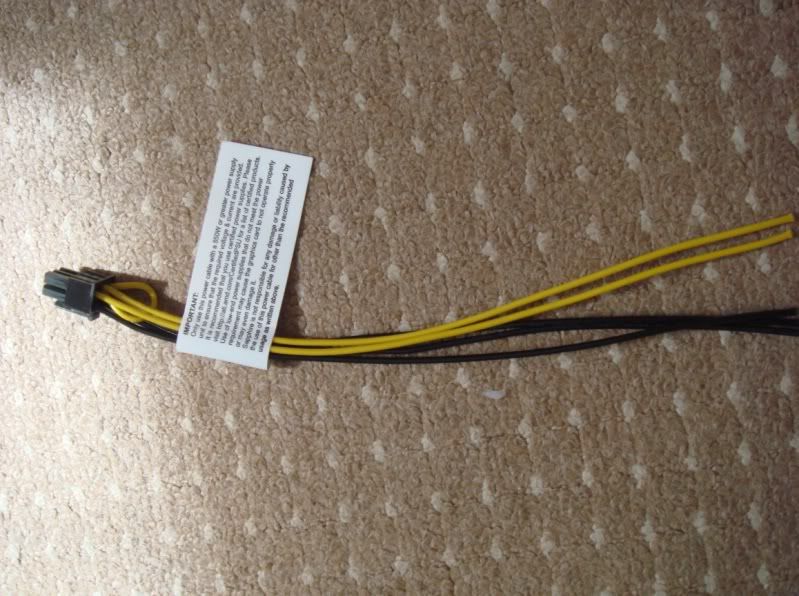
A pair of 6 pin PCIE from Molex cables
Electrical tape
A DIGITAL CAMERA (will explain later).
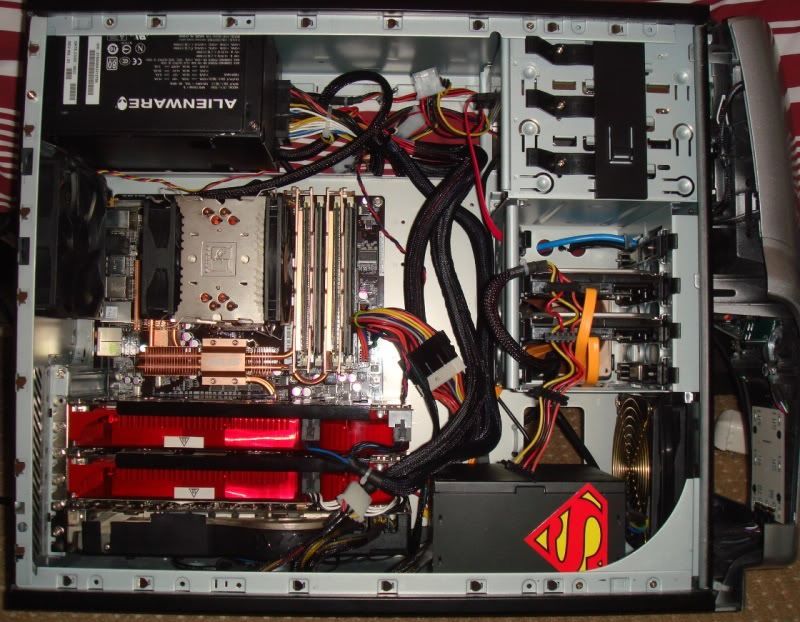
Step one, taking the power supply apart
As the warning depicts, if you have no idea what you are doing don't even get out your screwdriver. Just go and buy a huge whacking fat power supply and have done with it. Personally I had all of the parts needed to do this lying under my bed, hence, it would have been utterly daft to fork out £130 just to find out if it was my PSU not providing enough juice. Remove the lid from the power supply and remove the internal circuit board. If there are any parts in the way obstructing you from doing this move them. What you should have is something like this.
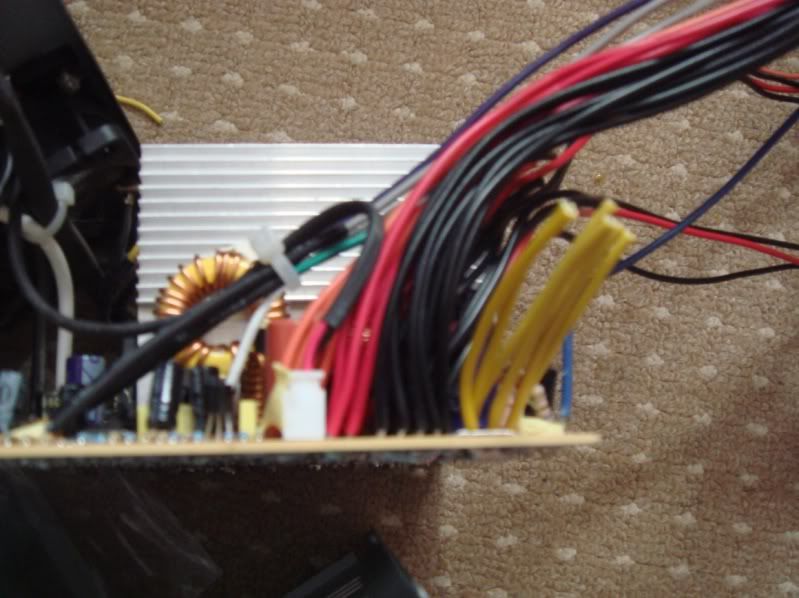
The problem is a power supply has loads of wires coming from it. So let's move onto step 2 to sort that out, shall we?
Step 2
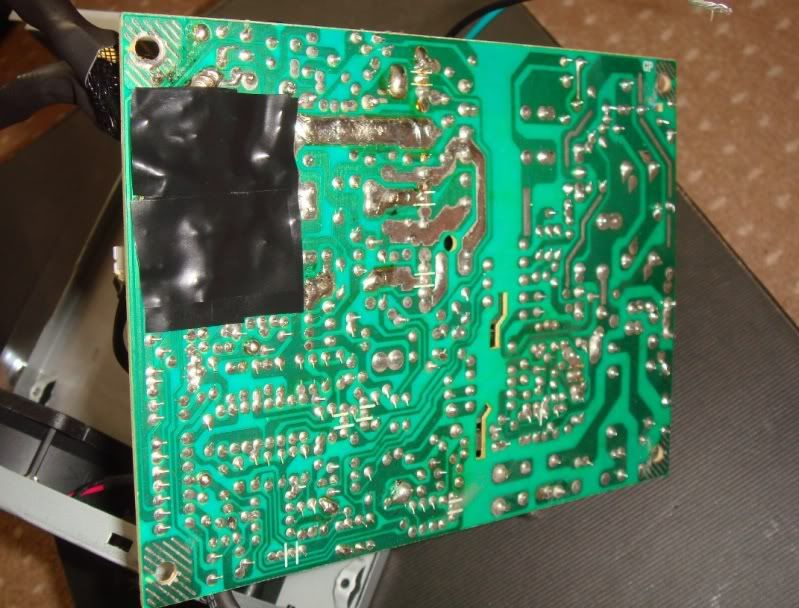
Now obviously this particular PSU being only 350w did not originally come with any PCIE power wires. This isn't a problem as I had two in a box. So we need to work out just what wires we need for this job and then remove all the ones we don't. Believe me, you'll want to do this. It's hard enough finding space in your case for an extra PSU without a plethora load of extra cables and looms to contend with. I won't explain the next part too well as by this stage you really ought to know what you are doing. But, count the wires you want from the rail that provides the power to the molex (LEAVE the ATX one for now) and then flip the circuit over. Now add some solder to your hot solder iron and work it into the clump. Without fresh solder it will not melt. Once it gets hot gently and carefully pull on the wires you do not want, pulling them out.
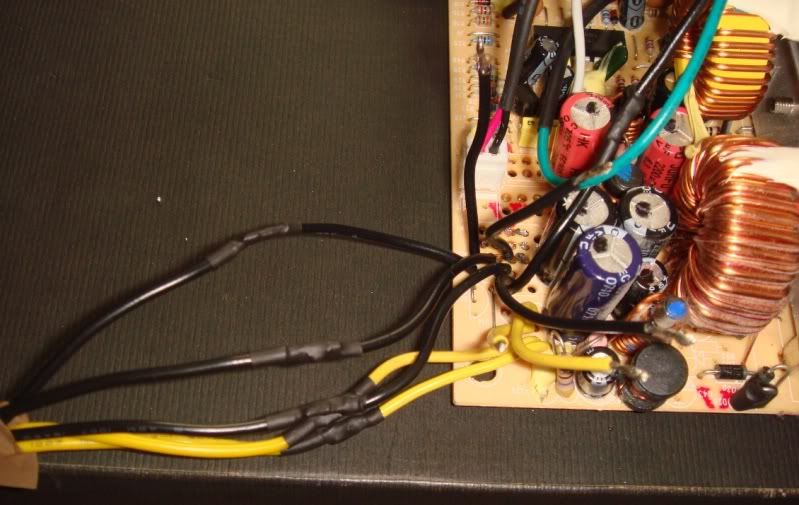
Onto the ATX. There are two wires you absolutely MUST keep now. ATX psus can not be switched on via a switch, they rely on a pulse wire that triggers them into life. This is taken care of normally by your motherboard and power switch. However, even though that will come into this later right now you need to find them and make sure you don't accidentally pull them using the method above. For this we will need an ATX schematic, telling us what wires are what. Pic.
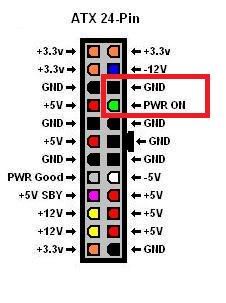
Note the green wire and the black one next to it? OK, the green wire is your pulse/sense wire and the black one directly next to it is your ground. When these two are connected together your power supply will switch on. This is of course taken care of internally by your motherboard and the switch on the front of your case. So, KEEP THESE as well as any 12v (yellow) and common ground (black) wires you will need to use. Please note, if your PSU is dual rail MAKE SURE you take the 12v and ground wires FROM THE SAME RAIL. Crossing the rails is bad, Ray.
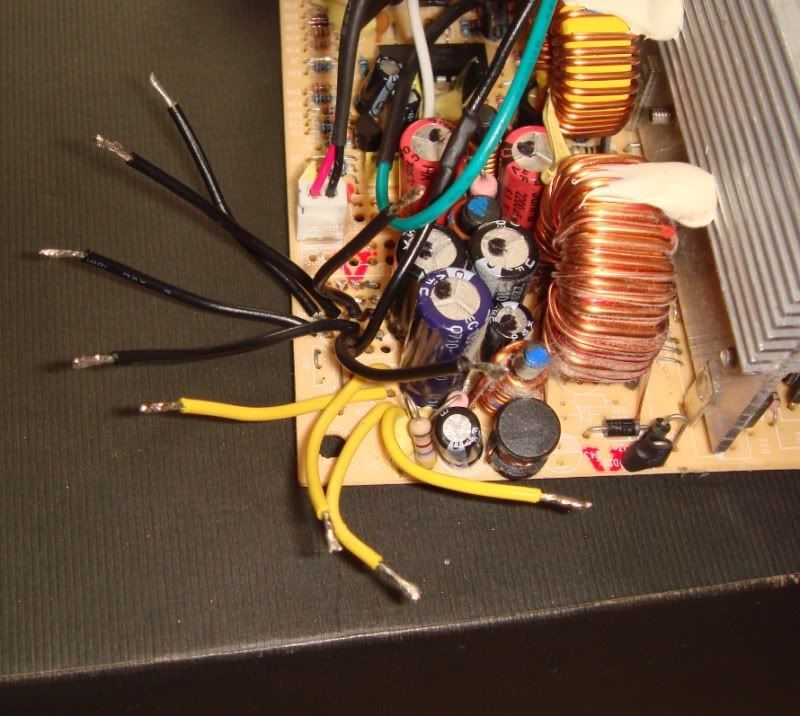
Once you are done removing any wires you do not need snip off the ones you do need, but not too short, like this.
Then strip them and tin them with solder. Like this.
And now it's time to prepare the cables.
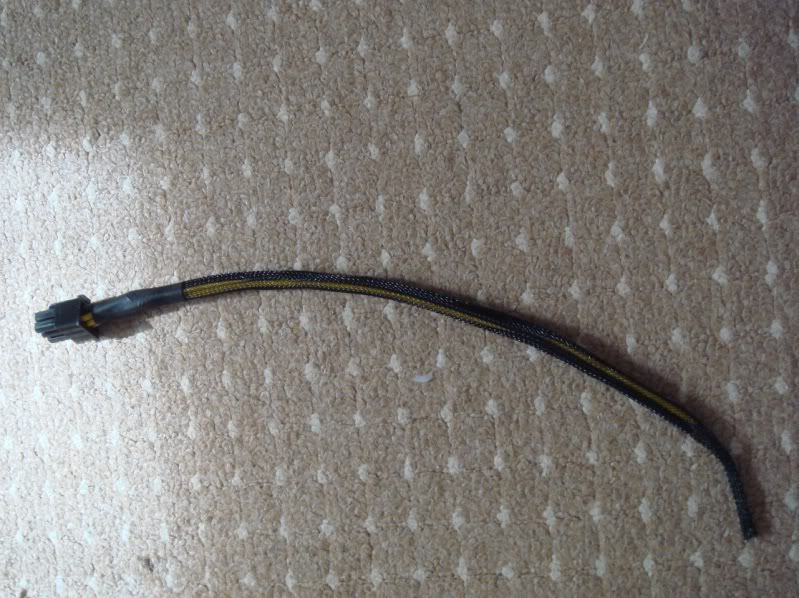
Taking one of your PCIE power cables (pic)
Braid and shrink it, like this
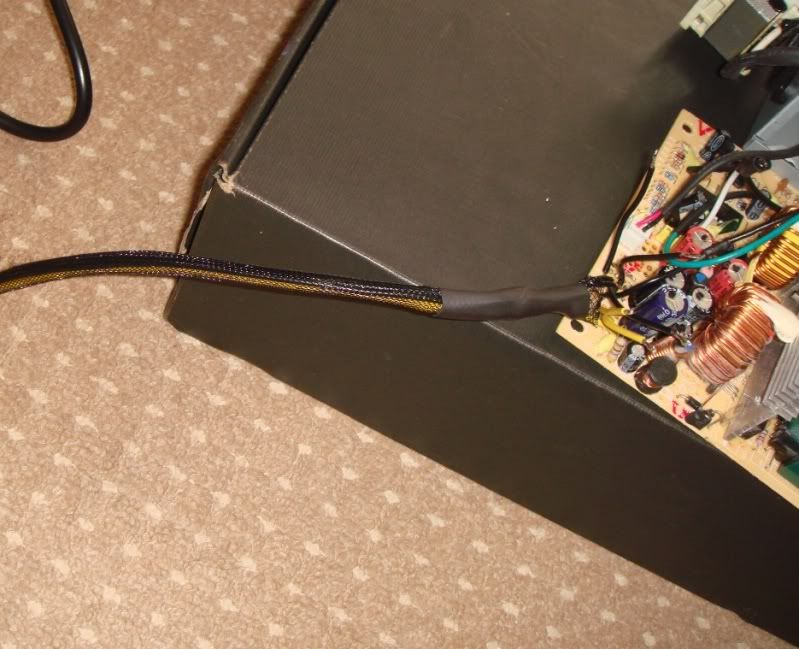
Then slide the braid up the cable and secure it in place with some tape, like this.

Then strip and tin the ends making sure the stripped parts are the same size as the ones you now have on the PSU end. Now, remembering to slip the shrink over the wires before you solder them, connect them all up. As you do each bunch shrink them down.
One you are done doing that (remember I said to add the shrinks before you started connecting?) bring down the big shrink and heat it, sealing up and covering all of your connections.
And then simply repeat the above steps.
Now, you are about ready to reassemble the PSU. However, on the bottom (where you heated up the solder so that you could remove all of the spare wires) you may have created a bump or have some extra solder. So, to be safe, create a patch using electrical tape. It's better to be safe that sorry !
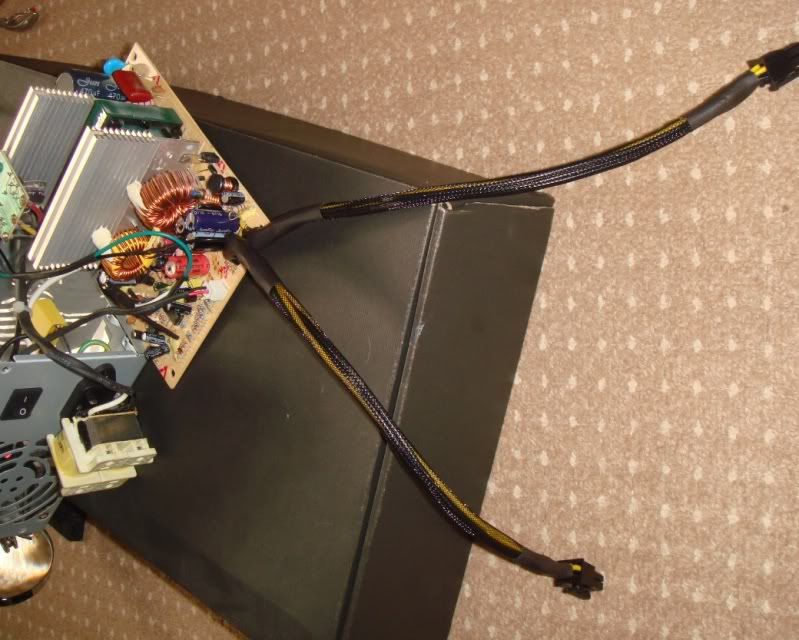
Now reassemble the power supply following the steps you took to take it apart, only in reverse. You should now have something that looks like this.
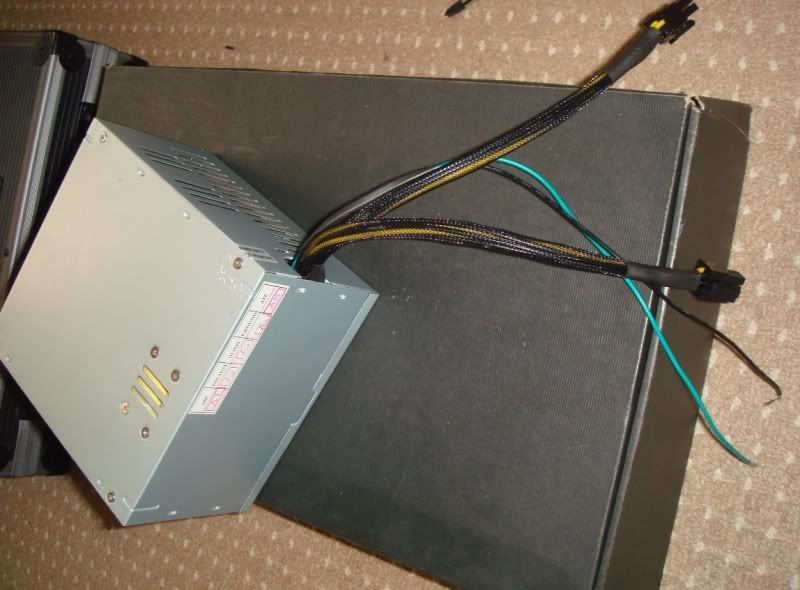
Now you can leave it like that if you want to, but the guide will cover painting and finishing later.
Make sure your plugs connect.
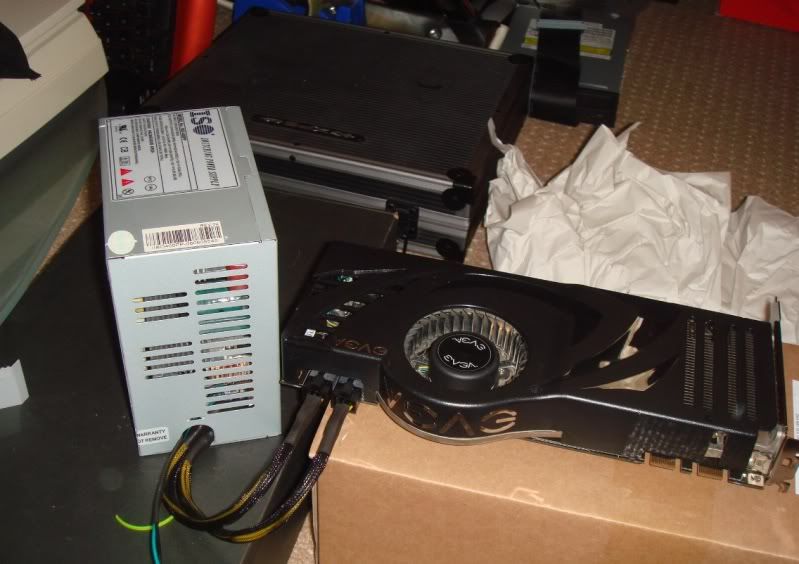
And then remove the power connectors from the card. Now it's time to test it. Firstly connect the power into it and then VERY QUICKLY connect the green pulse wire to the ground. See if your fan comes to life, then TURN IT OFF by disconnecting the two cables. DO NOT leave it running as it will likely blow up as ATX power supplies need a load on them. This is why they don't have a simple switch to turn them on like AT power supplies had.
And you are now ready to test. MAKE SURE YOU USE AN OLD EXPENDABLE VIDEO CARD !
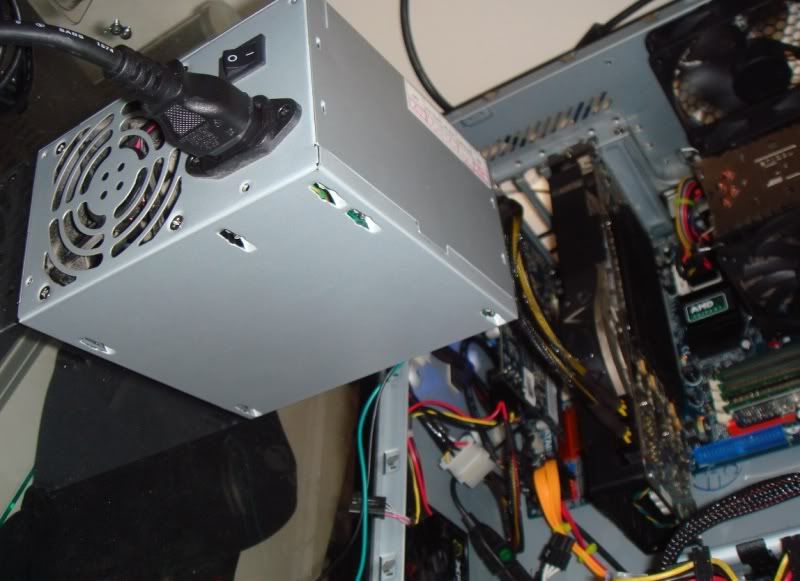
Put the card into your machine and turn on the AUX power supply FIRST. Then as soon as you hear the fan come on switch on your PC.
When you see a display on your monitor like this you can pat yourself on the back, it works !
(NB. Please disconnect all of your hard drives from the motherboard to reduce the risk of a boot/driver replacement/ data loss. Thanks !)
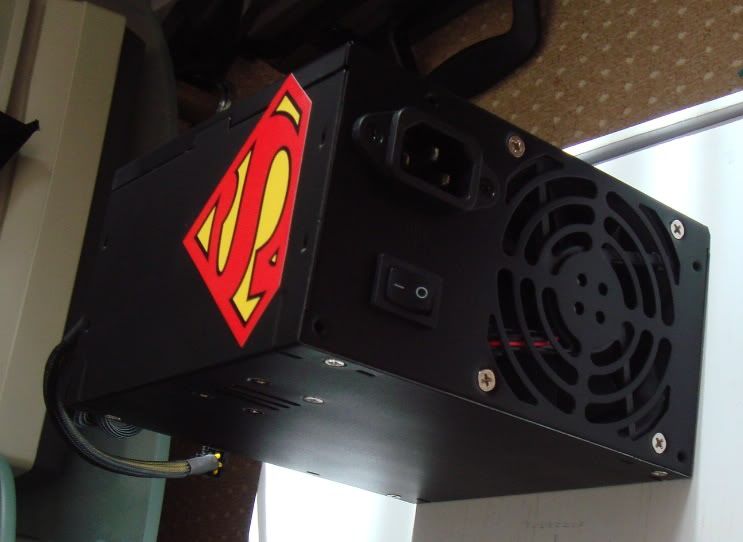
Now if you feel inclined you can decorate the PSU. Here's one I made earlier.
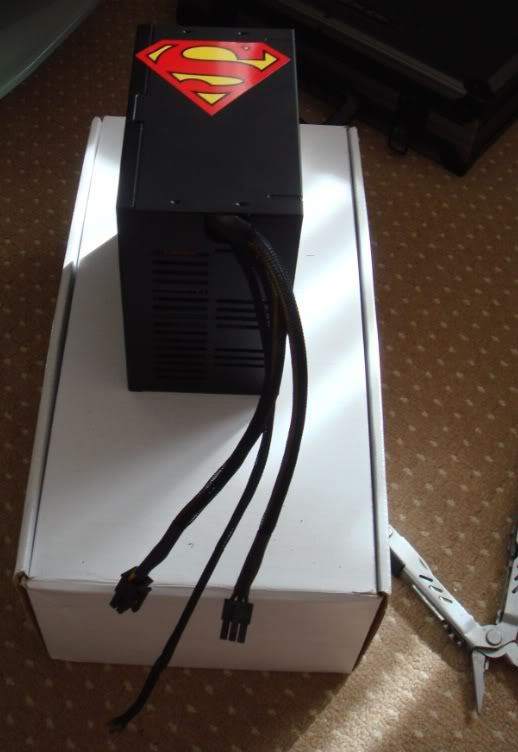
Give us a twirl my lovely !
Now when it comes to fitting you need to connect the green and black wires to the corresponding ones on your existing power supply. They will both recieve a pulse and power up and down together

Alien's quick guide to painting
Sorry, but I did not take photos of this. It's messy and I did not want to risk mucking up my camera. However, the steps are as follows.
Take the PSU apart. Remove what you can that isn't soldered, and then if there is anything that needs to be desoldered for it to come apart TAKE LOTS OF PHOTOS so that you know how to solder it back later. If not? well you're likely to forget during the painting process and will likely do it wrong and blow it (and probably yourself) up.
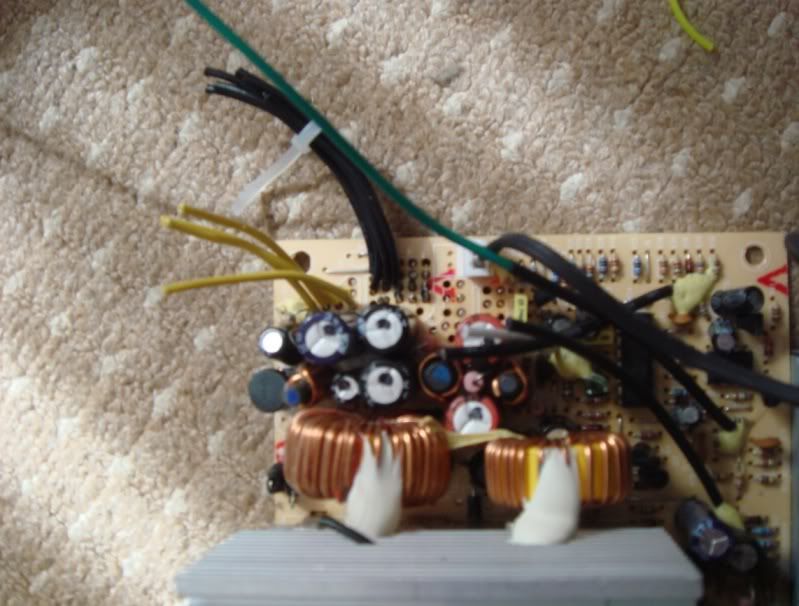
Here is the pic I took

Which covers where all the wires went. Now desolder, remove everything and take the shell to the nearest sink.
Fill the sink with hot soapy water (this serves more than one purpose). Boil a kettle full of water.
Place each section into the water one at a time. Pour boiling water over any stickers or labels. This softens the adhesive and makes them real easy to peel off. Repeat for any parts you need to (void stickers ETC) and then get some white spirit or petrol. Fold up a couple of sheets of kitchen paper towels into a tight bunch and soak the end in white spirit or petrol. Rub over any sticky residue and it will come off. Put parts back into soapy water and give thema good cleaning, using a brillo pad on any remnants.
Take a piece of 800 grit wet and dry and sand the entire surface of the parts. Why am I sanding on metal? simple. If you don't provide a 'key' or 'scuff coat' your paint will simply slide off. What this achieves are loads of pits and swirls in the metal that the paint will run into and lock onto the surface of the metal. Yes it sounds dumb, but we're doing this properly.
When done clean parts thoroughly and then rinse with cold water, then DRY THEM PROPERLY. Make sure there is NO WATER left in any pits or dips and when hit with spray it will run out and bugger up your paint job. Once dry shake up a can of primer, hang the part from a piece of string so that it is accessible from all sides and prime. Spraying from about 8-10 inches away in side sweeping motions works best. DO NOT applt too much. Repeat for any parts.
Remove from string, sand with 800 wet and dry (wet, trust me) and then wash with water, dry, put back on string, coat again.
Repeat wet sanding/washing process.
Shake up your top coat or mid coat if you are going to laquer and use the steps above. Then repeat if you are using laquer.
Job done. As I said before there are two types of painting. The first is being a complete pilchard and just spraying it on, the second is doing it properly. Now we should be using pre paint here, which is a chemical cleaner to prevent fisheyes and bubbles, but this PSU was not of high enough importance