Euro_Bucks
New member

Introduction
BitFenix Prodigy has been a huge success since it was released in 2012. It has become a popular case for builders, modders, gamers, HTPC users and for those who just wanted to buy anything newly released. With its unique design and reasonable price tag, it is sold like a pancake. For an M-ITX chassis, the BitFenix Prodigy is quite huge and some modders thought of redesigning it so they could fit a micro ATX board in it. BitFenix’s Facebook fanpage has been a busy page that time when fans, including myself, are asking for a spacey Prodigy where we could install a micro-ATX motherboard. For me, as a micro-ATX board user, I couldn’t just switch to an M-ITX board with less features just to have a Prodigy. Additionally, those cute motherboards are quite expensive.
That said, BitFenix was kind enough and responsive to their fans posting a picture of their product team holding a note that if ever, the picture reached at least 2,000 likes, they will think about the requests. Yeah, marketing strategy, and they are quite successful, hence, the birth of BitFenix Prodigy M.
Specification
Materials Steel, Plastic
Colors (Int/Ext) Black/Black, White/White
Dimensions (WxHxD) 250 x 404 x 359mm
Motherboard Sizes Micro ATX, Mini-ITX
5.25” Drive Bays x 1 (removable)
3.5” Drive Bays x 4 (2 + 2)
2.5” Drive Bays x 5 (3 + 2)
Cooling Top 120mm x 2 (optional)
Cooling Bottom 120mm x 2 (1 included) or 200mm x 1(optional) or 230mm x 1 (optional)
Cooling Rear 120mm x 1 (included) or 140mm x 1 (optional)
PCI Slots x 5
I/O USB 3.0 x 2, HD Audio
Power Supply PS2 ATX (bottom, multi direction)
Extras FyberFlex™ Composite handles, SofTouch™ surface treatment, heat shield
Unboxing
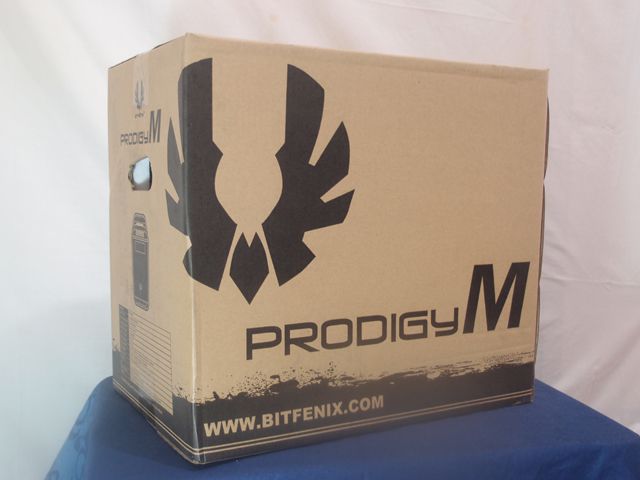
The box is of the Prodigy M is pretty standard with a large logo at the front, product name on both sides and some of its features at the back.
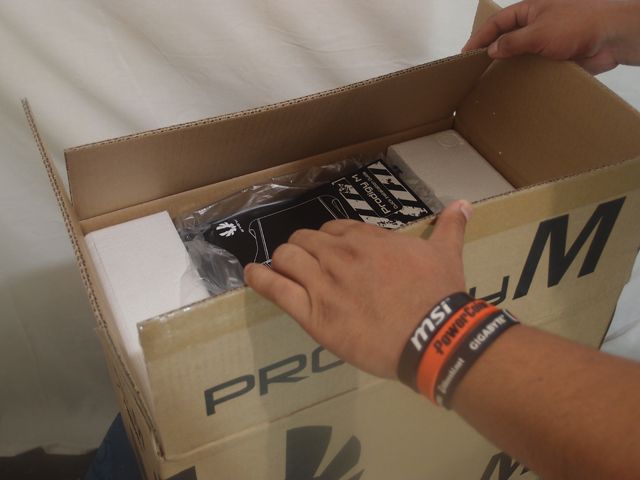
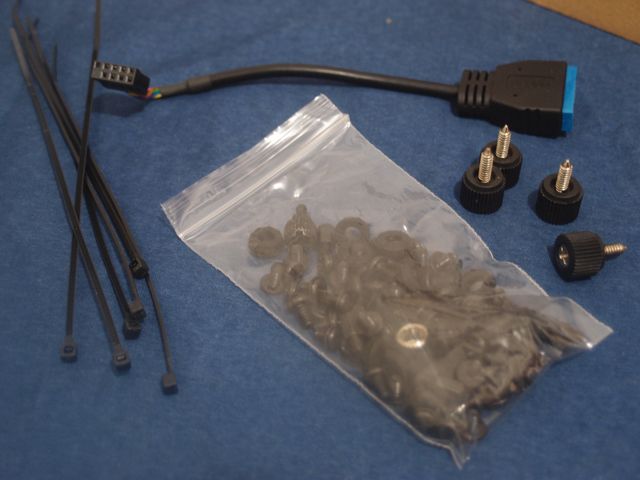
Inside the box you’ll find a simple, easy to read installation manual, a box containing cable ties, bunch of black screws and washers and a USB 3.0 to 2.0 converter which is very useful for those who doesn’t have a USB 3.0 capable motherboard. You will not have a dead front USB port with this.
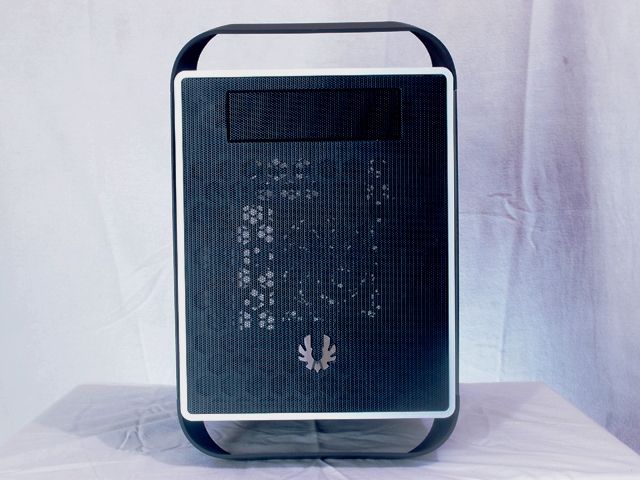
Front
The BitFenix Prodigy M is very identical to its M-ITX brother, the Prodigy. It sports an unfiltered mesh panel on the front with a shiny BitFenix logo at the bottom and a blank 5.25 bay at the top where you could install an ODD or a fan controller.

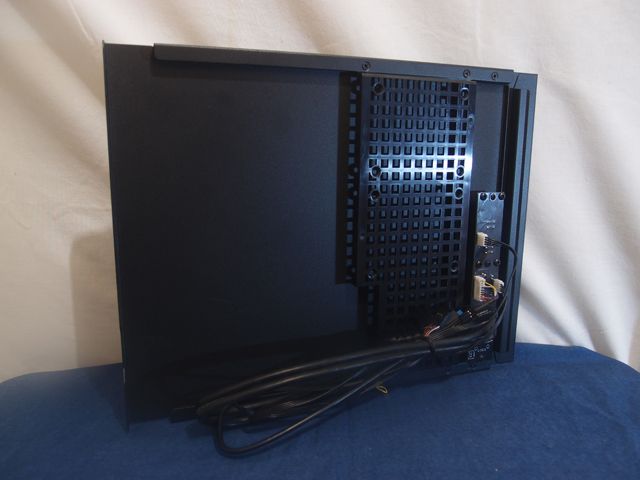
Rear
From this angle you will see that your motherboard will be installed in an inverse mounted position. The five mesh-covered PCI slots features a tool-less mechanism so you could install you video card, sound card etc. without screws. There’s a 120mm/140mm fan mount with a pre-installed 120mm fan I must add, and since the PSU is front mounted, the power socket is located at the bottom of the I/O panel.

Here you can see the Fiberflex handle/feet extensions that you might think weak because it is made of plastic. It actually can carry the weight of your PC with all parts installed.

The side panels are pretty much identical thus making it interchangeable. You can swap the one with the front I/O panel on the other side. Fiberflex handle/feet are coated in the SofTouch surface treatment, while the other surfaces are painted in high-standard coating.

Top
The top portion features the Fiberflex handle coated in SofTouch finish, very useful when carrying your PC to a LAN party or somewhere else.

Removing the unfiltered mesh cover will show you 2 X 120mm mounts for auxiliary fans or a 240mm radiator.
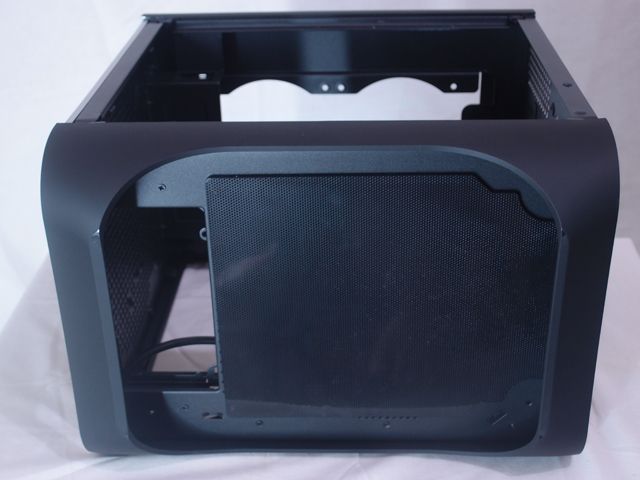
Bottom
On the underside you’ll see the PSU exhaust. The right part is a heat shield that you can easily remove since it’s just held in place by magnets.
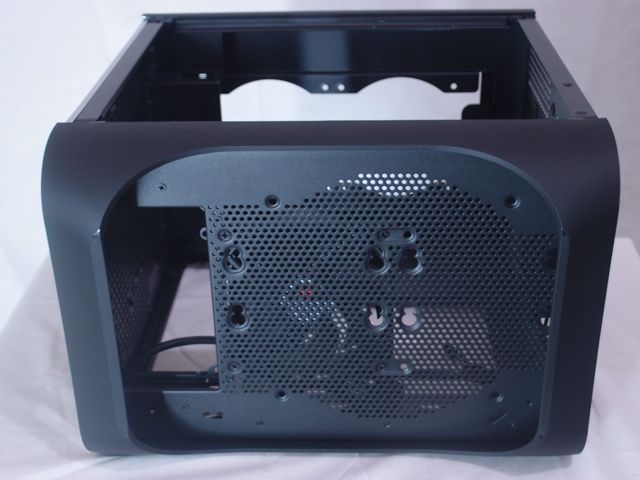
Removing that heat shield you’ll find two hard drive mounts, two 120mm fan mounts and a huge 230mm fan mount.
The side panel is the location of the front I/O panel. It’s on the side so I guess it should be called the side I/O. Included with it is the the wiring for power, reset, activity LEDs, the audio jack ports and 2x USB 3.0 ports. There is also a plastic bracket where you could mount two 2.5” hard drives.

INTERIOR
Removing the side panel will reveal another mount for hard drives. You might not need this if you don’t have that much hard disks or SSD’s as it only blocks the view of your build.

Here you can see a huge CPU cut out for easy cooler installation. Four black motherboard stand-offs are pre-installed for mITX installation.

The front of the case is where you will install your PSU. You can find fan mount holes but unfortunately you can’t install anything on it since it will be entirely covered by your PSU. It has an unfiltered mesh where the PSU get fresh air and exhaust it at the bottom.

Above the PSU area is a cute 5.25” bay for your ODD or a fan controller. If you find it useless or if it poses a conflict with your graphics card, you could just remove it to have additional space.
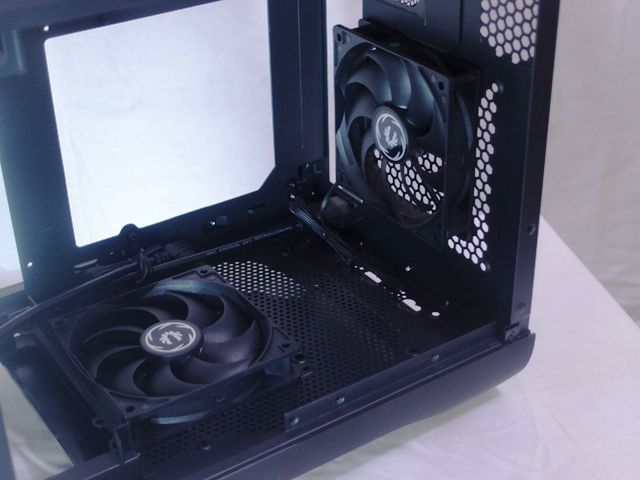
BitFenix is so generous they’ve included two 120mm fans pre-installed at the bottom and the rear part of the case. The base has two 120mm fan mounts, a 230mm fan mount and two 3.25” HDD mount.
BUILD GUIDE
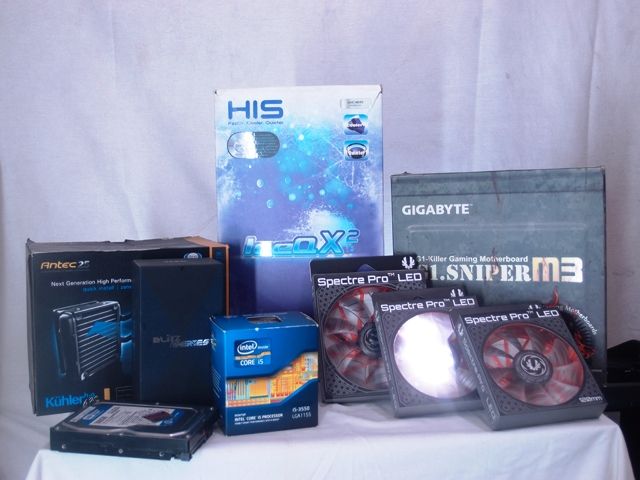
The Parts
CPU: Intel Core i5 3550
Motherboard: Gigabyte G1.Sniper M3
Video Card: HIS HD 7950 IceQ X2 Boost Clock
RAM: Avexir Blitz 1.1 16GB 1600Mhz (L337Edition)
HDD: 500GB WDC Blue SATA III
Cooler: Antec Kuhler H2O 620
Fan: 2 X 120mm and 1 X 140mm Bitfenix Spectre Pro LED
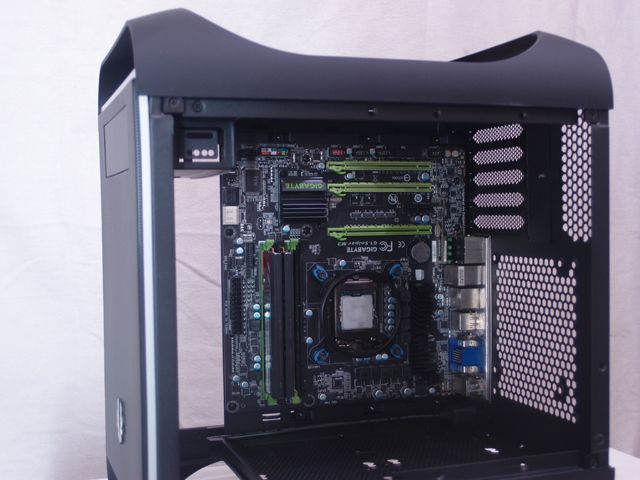
I usually install the CPU, RAM and the cooler bracket to the motherboard before installing it to the case. It is easier for me to install everything with the board outside of its chassis.

Ample amount of thermal paste is enough for your CPU. Adding more might cause you problems with heat dissipation and leaving your CPU socket messy.
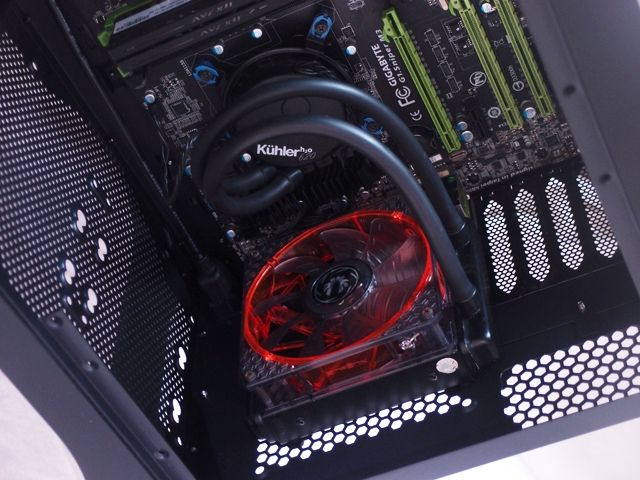
Now, install the rest of your cooler. You can install it on the top or bottom part of your Prodigy M but the most convenient place I see is at the rear since it is the one nearest to the CPU and for the tube not to mess with other parts. Install the radiator fan aiming towards the radiator to push heat outside of the PC.
The BitFenix Prodigy comes with a removable PSU bracket for easier PSU installation.

The Problem
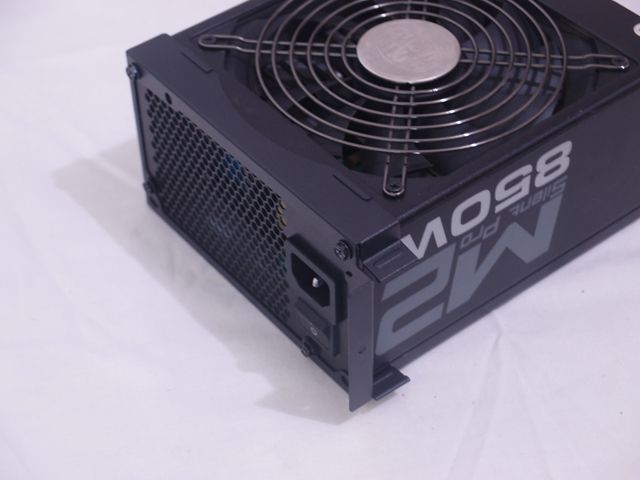
Having a long PSU and a long video card at the same time is a big no for this case. Notice that the video card’s PCB is almost touching the surface of the PSU.

It also blocks the sockets of the PSU so it is impossible for me to install the video card this way.
If you’re going to buy this case, make sure you have a standard-sized PSU or else you’ll going have a limited option for the size of your GPU.

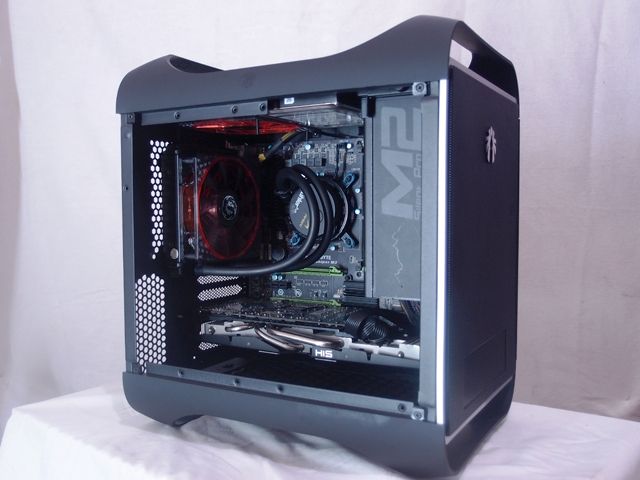
Since I don’t have an extra standard-sized PSU around, I just resorted to installing the video card on the second PCI-E slot of the motherboard which is not recommended since you will be running your video at a slower PCI-Ex8 lane.

I always thought that the more the case is compact, the more you’ll get headache managing its cables. Surprisingly, cable management is easy to do with the Prodigy M. With the PSU mounted in this manner, the 24-pin socket of the board and sockets for the video card are just centimeters away.
Despite the lack of space and cable tie points at the back part of the chassis, there is enough room beside the PSU where you could stuff all those snakes.
Conclusion
Just like its little brother Prodigy, it is a good looking case. It is an exact replica looking at its exterior but inside, it is totally different. Why BitFenix didn’t just make a bigger Prodigy with a bigger motherboard tray but keeping the same orientation? The PSU is mounted in front, kinda awkward since it is blocking a huge portion of the case which is supposedly the best part where the PC could get enough ventilation. I’ve had problems installing my HD 7950 since I am using a 180mm CM Silent Pro M2 but having a standard 150mm PSU will free you from those interferences. Using tower coolers wouldn’t be a problem with this case. You can install those mammoth tower coolers like the Noctua NH-D14, CM V8-GTS and even the Phanteks PH-TC14PE. Just like a full-sized PC case, you can install a 240mm radiator on the top, 120mm or even a 140mm radiator on the rear.
Despite of its small issues regarding airflow and clearance between GPU and PSU, the Bitfenix Prodigy M is still a great case. Price wise, at around $90, you can have a case which is designed for perfection. Modern yet elegant styling, putting one of these in your living room will be an eye-catcher to your visitors.
Pros
Looks very appealing
SLI/Crossfire support
Solid build quality
Price
Highly expandable
ConsSLI/Crossfire support
Solid build quality
Price
Highly expandable
Requires careful selection of component to be installed
Airflow not ideal
Thanks for reading Airflow not ideal

Last edited: