SEBAR
New member
Hello guys and gals. I have been researching water cooling for some time now. I have asked some questions on what the best components are among other things. I have been piecing together some components and finally have everything I need to get started. Here is my list of components.
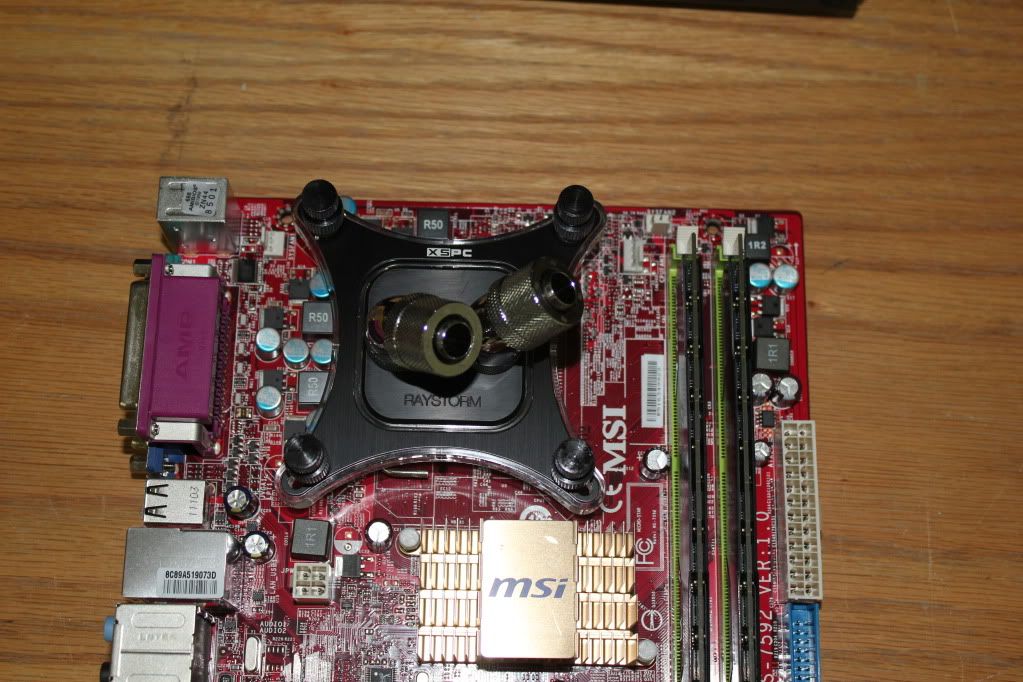
-XSPX Raystorm CPU water block
-XSPC EX240 radiator
-2 Corsair SP120 fans
-Bitspower Multi Res 150
-Swiftech MCP35B Pump
-Bitspower 3/8 ID 1/2 OD Shiny Silver compression fittings
-Bitspower 45 and 90 degree rotary fittings, extensions and other miscellaneous fittings.
-Black 3/8 ID 12 OD tubing
-Silver Kill Coil
-Distilled Water
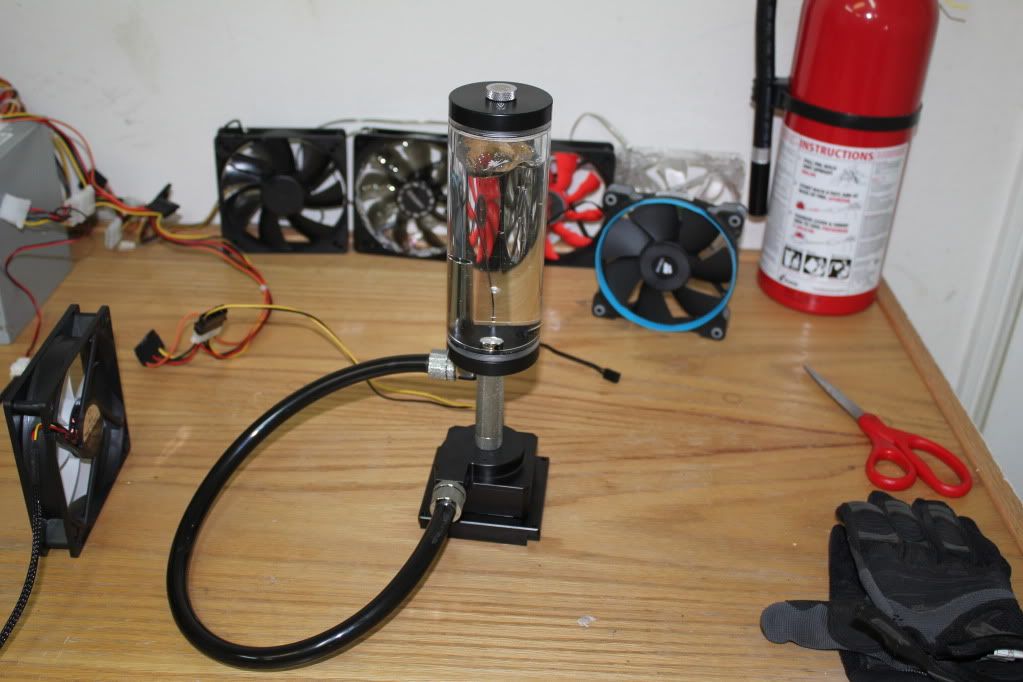
I started off by running a test on pump because I bought this used so I wanted to be sure that the pump actually worked. I assembled a simple test loop with the res and pump. During the pump test I discovered a leak on hte cap of the res. I posted another thread about my leaking Bitspower Cap here:http://forum.overclock3d.net/showthread.php?t=45387
I made a short video of the leak test here: http://www.youtube.com/user/PirateMods?feature=mhee
I have not decided on the case I want to use for this build and have narrowed my choice to either an NZXT Phantom 410 or a CM Storm Trooper.
I have not purchased the case yet but that does not mean I cannot do a little experimenting.
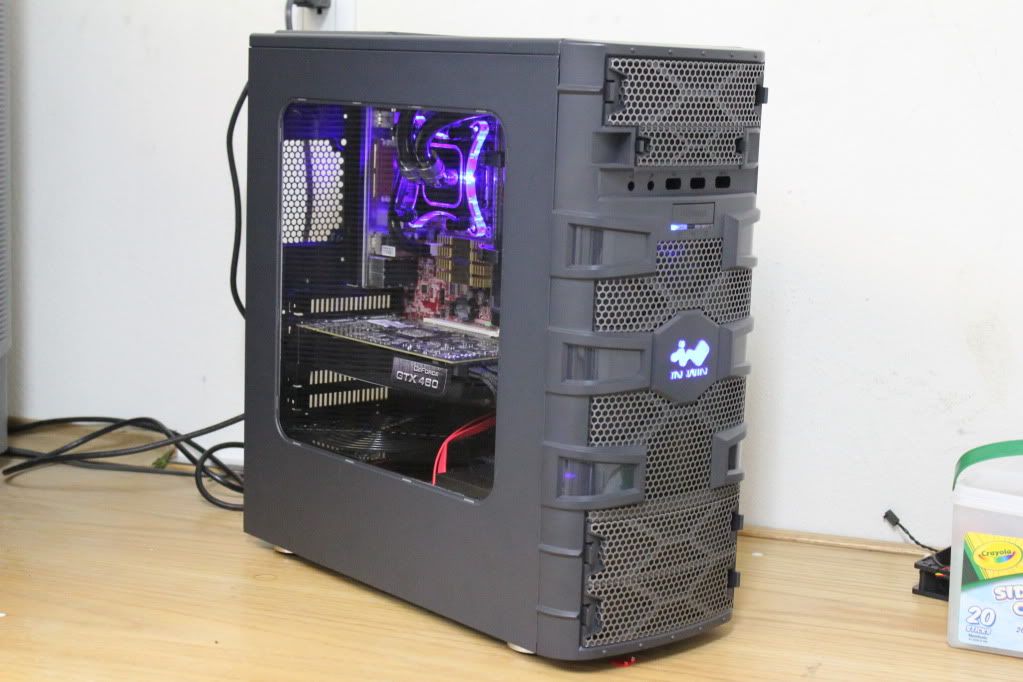
I have an Inwin Dragon Slayer case I have considered trying to mod it to accept some water cooling components.
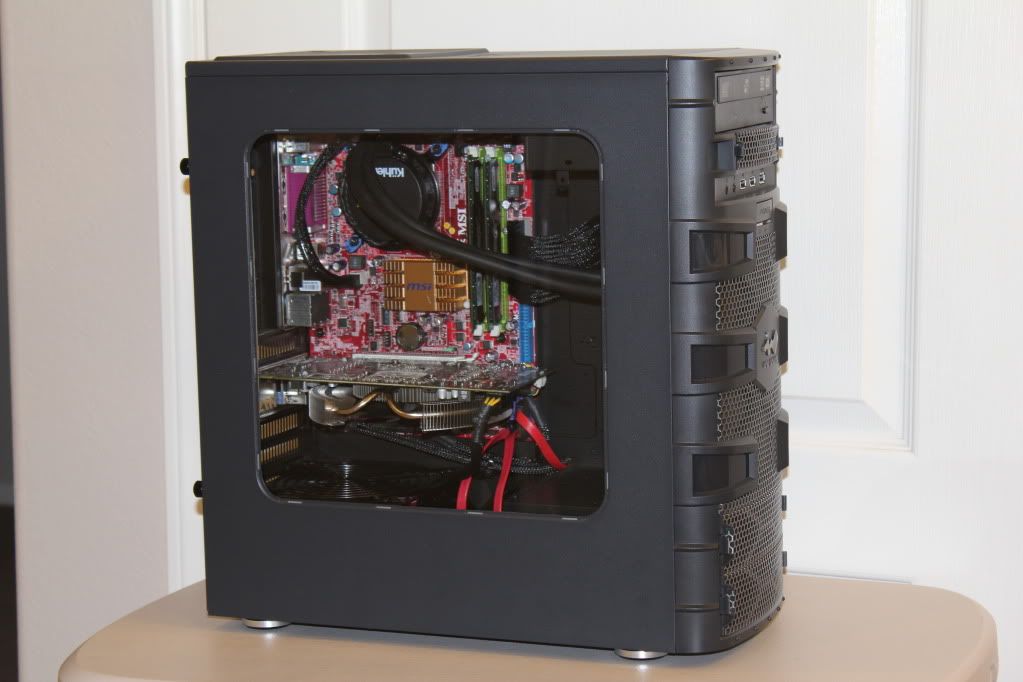
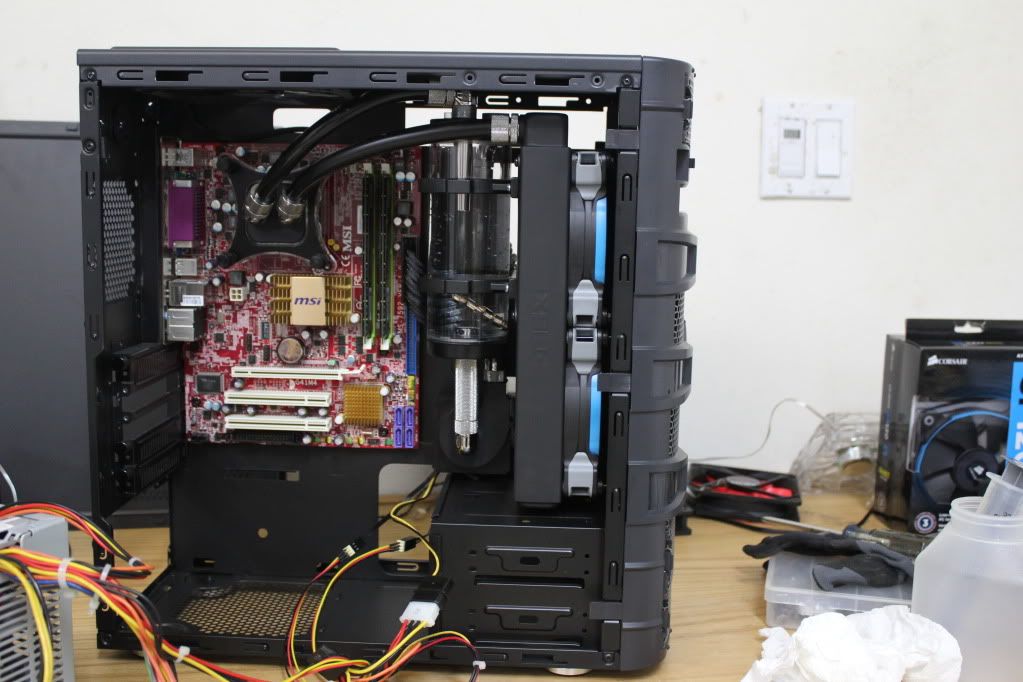
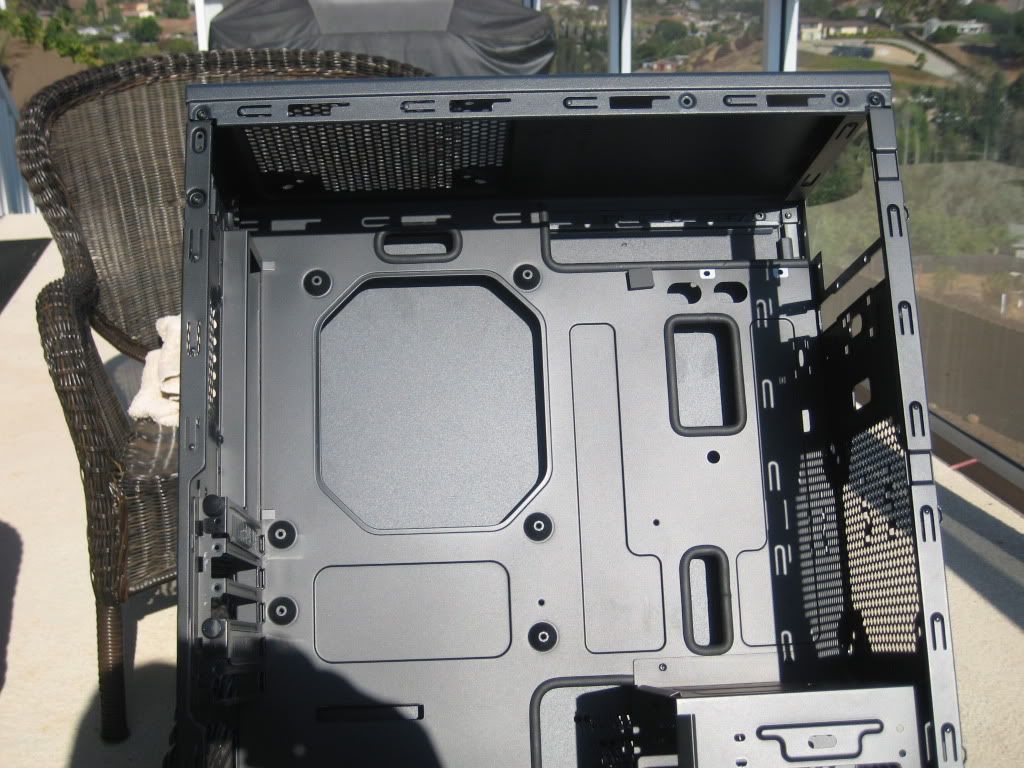
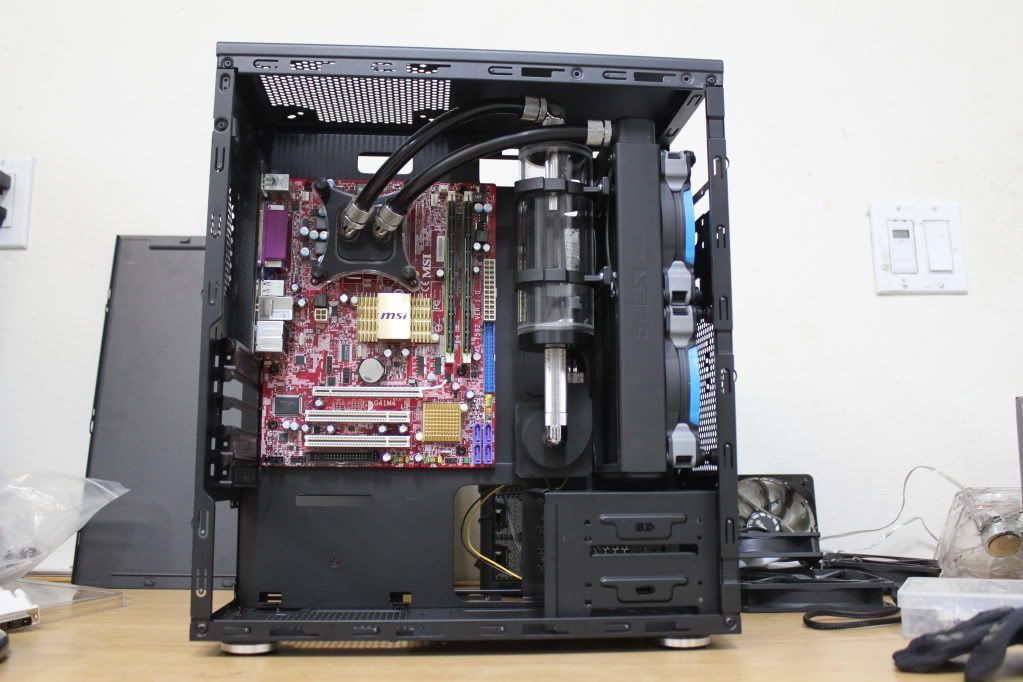
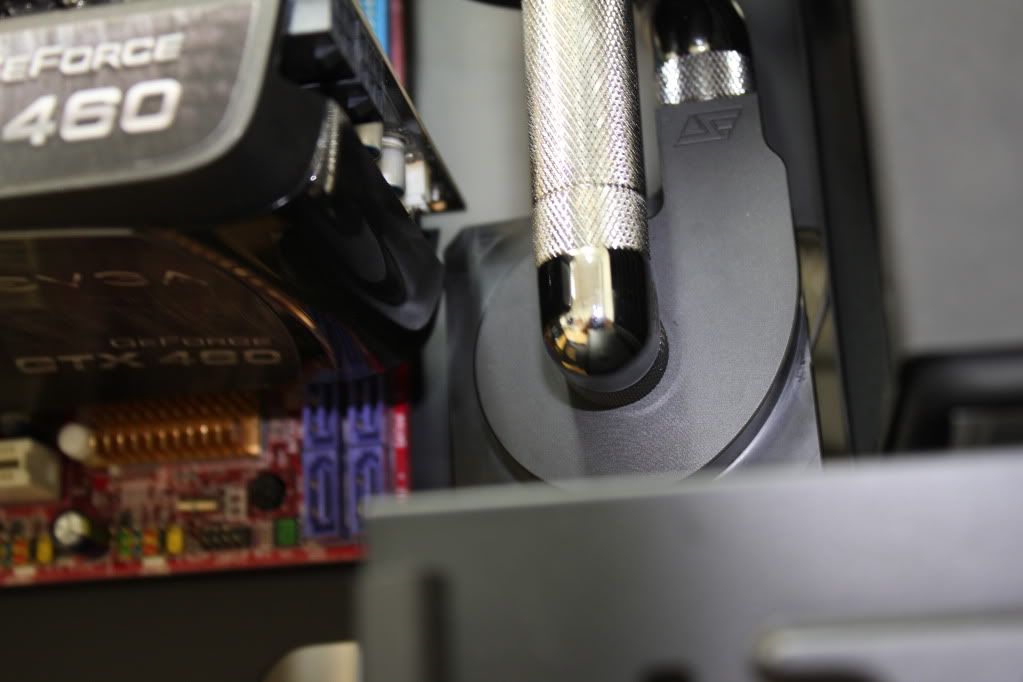
First thing I needed to do was make some room inside the case so I could fit the EX240. I drilled out the upper 5.25/3.5 drive cage.
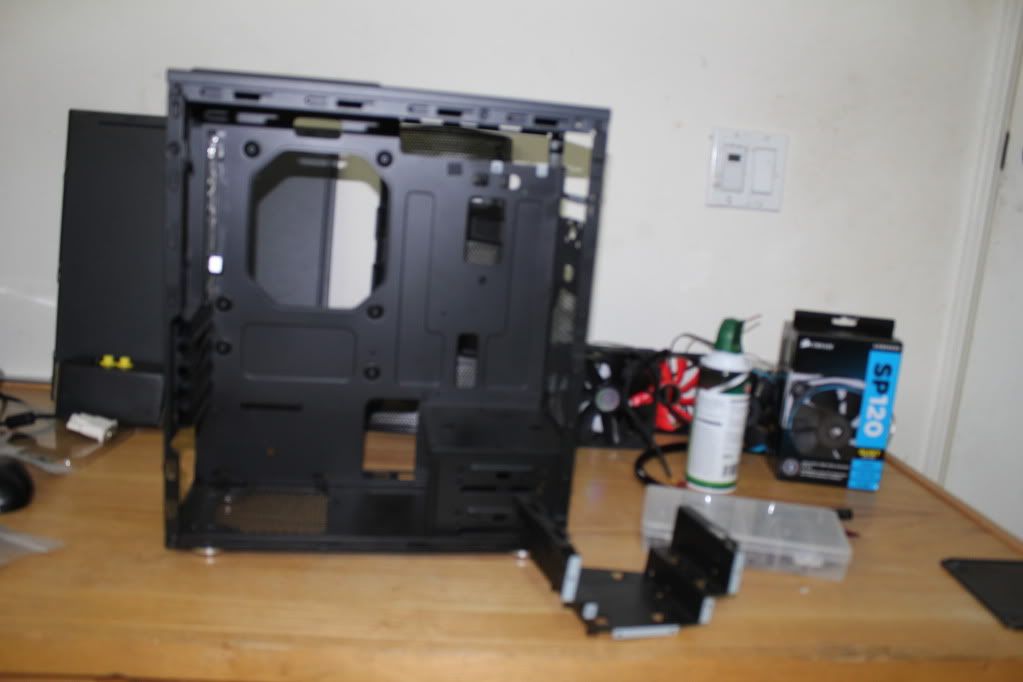

Time for a test fit.
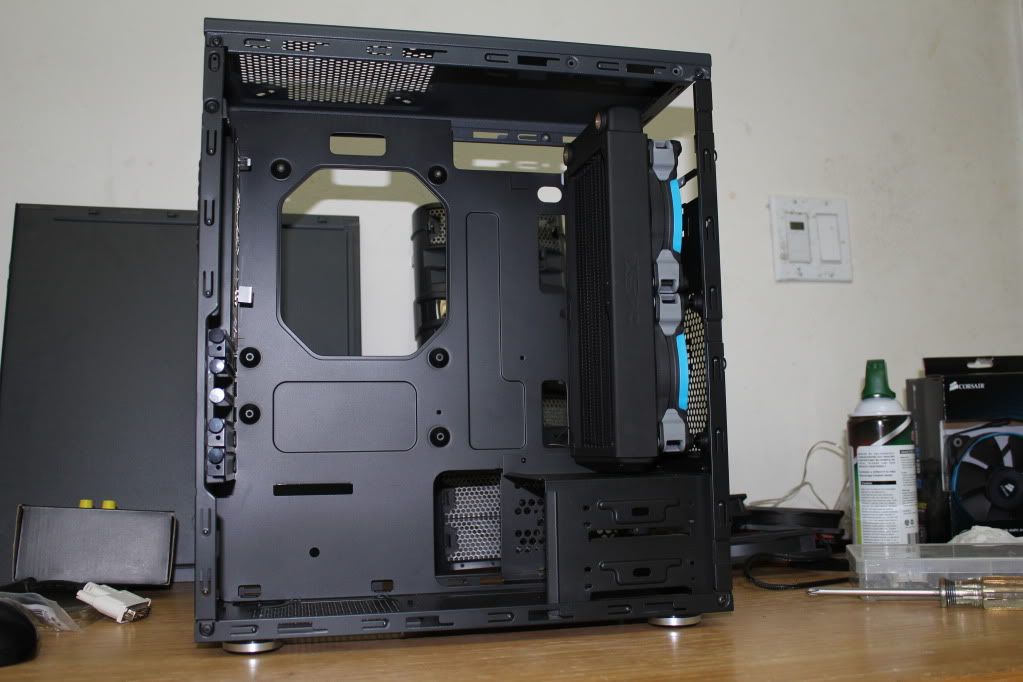
I used some standoffs to push the Rad away from the front panel to allow more air to the fans.

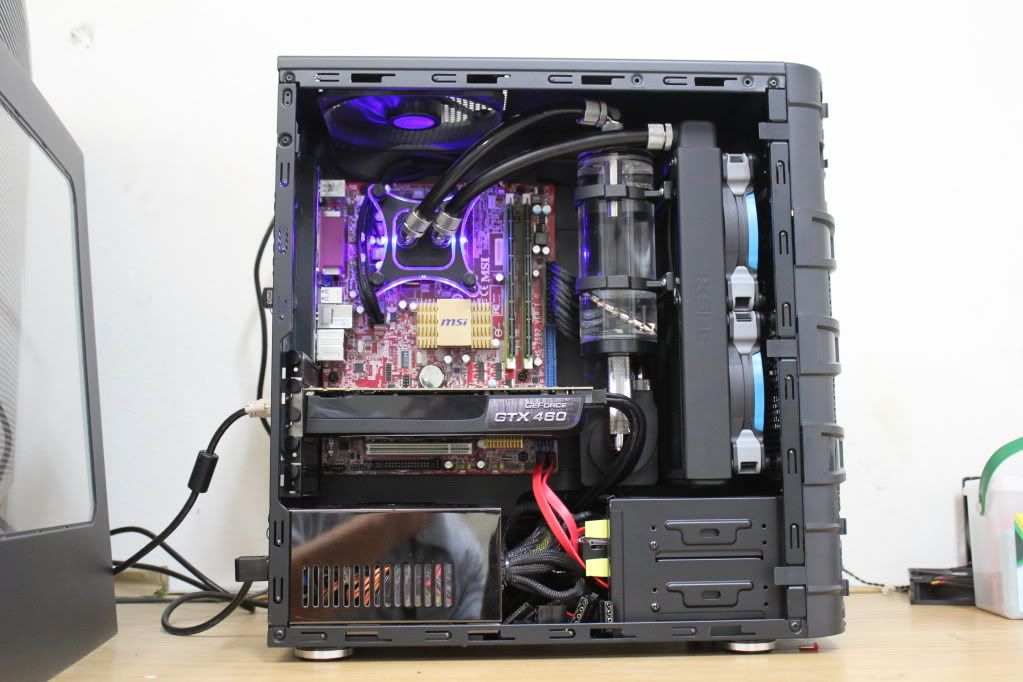
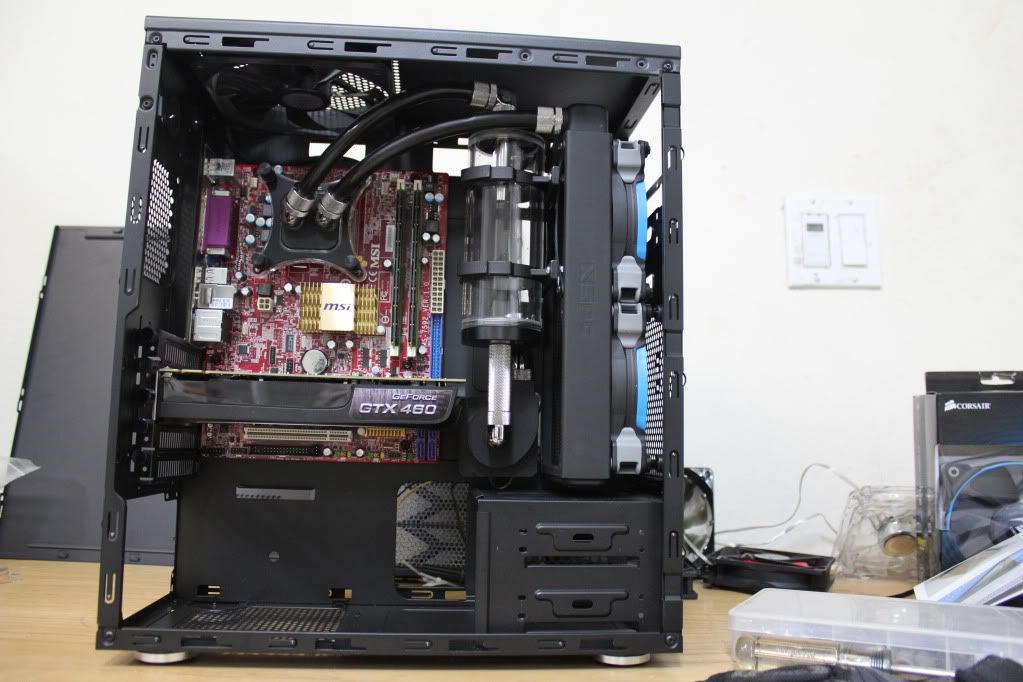
The difficult part is figuring out how I will get everything else in such a tight space. I devised a nice little all in one type unit that can easily be removed as an entire assembly. The res is mounted to the rad via a bitspower mounting bracket. the pump is connected to the res using a 50mm extension, a Bitspower Dual G1/4" High Flow Fitting - Male to Male Thread, and a Bitspower G 1/4" Silver Shiny Rotary 90 Degree IG 1/4" Adapter. Coming out of the pump I have a triple rotary 90 Degree which goes straight up the back side of the res and into the rad.
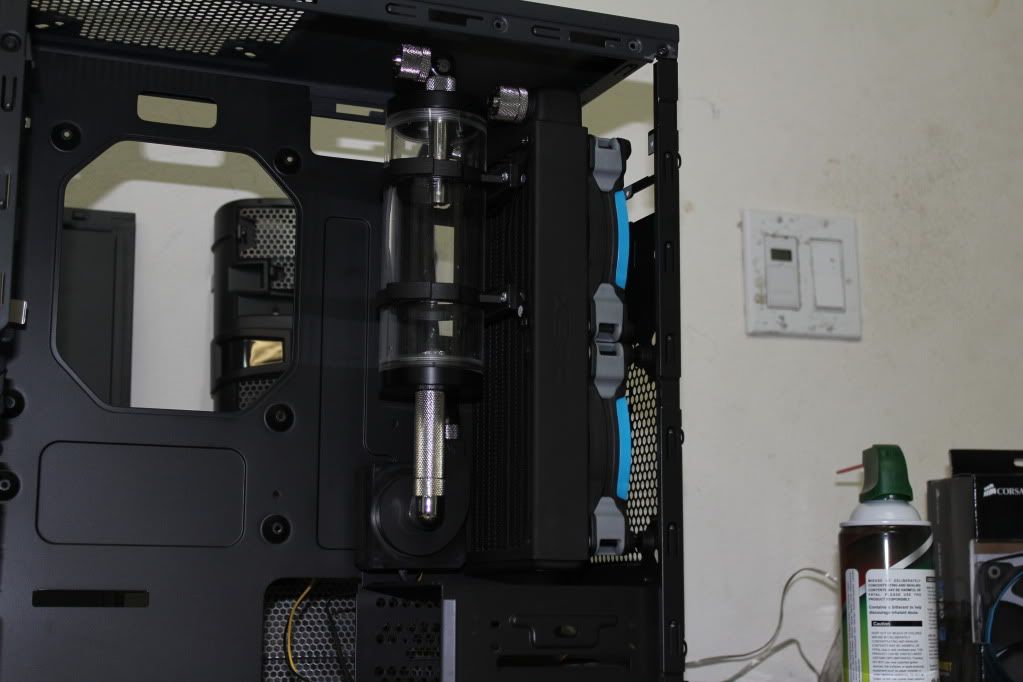
More to come.
-XSPX Raystorm CPU water block
-XSPC EX240 radiator
-2 Corsair SP120 fans
-Bitspower Multi Res 150
-Swiftech MCP35B Pump
-Bitspower 3/8 ID 1/2 OD Shiny Silver compression fittings
-Bitspower 45 and 90 degree rotary fittings, extensions and other miscellaneous fittings.
-Black 3/8 ID 12 OD tubing
-Silver Kill Coil
-Distilled Water
I started off by running a test on pump because I bought this used so I wanted to be sure that the pump actually worked. I assembled a simple test loop with the res and pump. During the pump test I discovered a leak on hte cap of the res. I posted another thread about my leaking Bitspower Cap here:http://forum.overclock3d.net/showthread.php?t=45387
I made a short video of the leak test here: http://www.youtube.com/user/PirateMods?feature=mhee
I have not decided on the case I want to use for this build and have narrowed my choice to either an NZXT Phantom 410 or a CM Storm Trooper.
I have not purchased the case yet but that does not mean I cannot do a little experimenting.
I have an Inwin Dragon Slayer case I have considered trying to mod it to accept some water cooling components.
First thing I needed to do was make some room inside the case so I could fit the EX240. I drilled out the upper 5.25/3.5 drive cage.
Time for a test fit.
I used some standoffs to push the Rad away from the front panel to allow more air to the fans.
The difficult part is figuring out how I will get everything else in such a tight space. I devised a nice little all in one type unit that can easily be removed as an entire assembly. The res is mounted to the rad via a bitspower mounting bracket. the pump is connected to the res using a 50mm extension, a Bitspower Dual G1/4" High Flow Fitting - Male to Male Thread, and a Bitspower G 1/4" Silver Shiny Rotary 90 Degree IG 1/4" Adapter. Coming out of the pump I have a triple rotary 90 Degree which goes straight up the back side of the res and into the rad.
More to come.
")