99PenceProductions
New member
Just thought id put this up on the OC3D forum, little bit late, as i have started slightly! Aha.
I had an idea a few months ago to put a PC inside a PlayStation 1 (The original one). i figured that you could do a little bit more than just put some components in it and turn it on.
My ideas are:
-Make the On/Off switch fully functioning
-Make the Reset switch work
-Have a fully working DVD/RW drive where the original CD-R drive was
-Use original game controllers when gaming.
I thought about going down the line of Mini ITX, but i thought the advantages of using it were were not good as using other forms.
So what im going to use is the Motherboard from a ACER Aspire ZG5, it is a 8.9" netbook, having an Atom N270 in it. Admittedly, it inst going to be an SR-2 with capabilities of restarting planets, but it will be sufficient for the HTPC that i plan.
Using the ZG5 Motherboard does have its advantages, for instance, the power supply is external so that saves space, it can be run on its battery which can last up to 9 hours! and the motherboard itself isn't a big unit, so it will happily fit inside this blast from the past.
Anyway, on with the Mod.
I had originally planned for one of my friends to give me his one, but that had 'vanished' into thin air.
So i jumped onto eBay and bought one, and it came this morning!
I jumped into disassembling it, and here is the pictures..
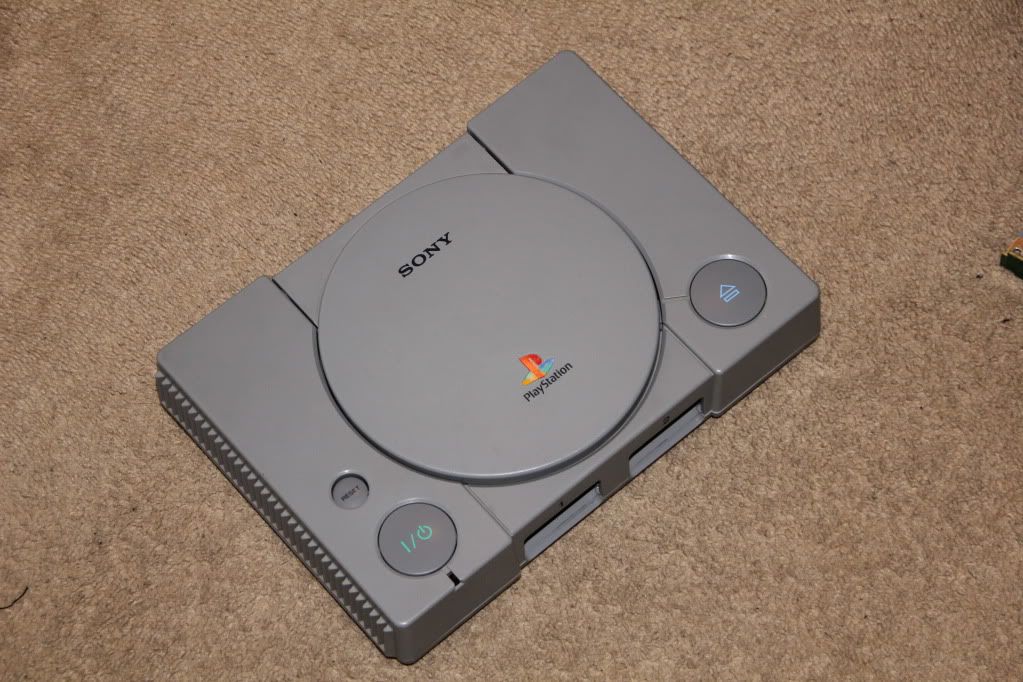
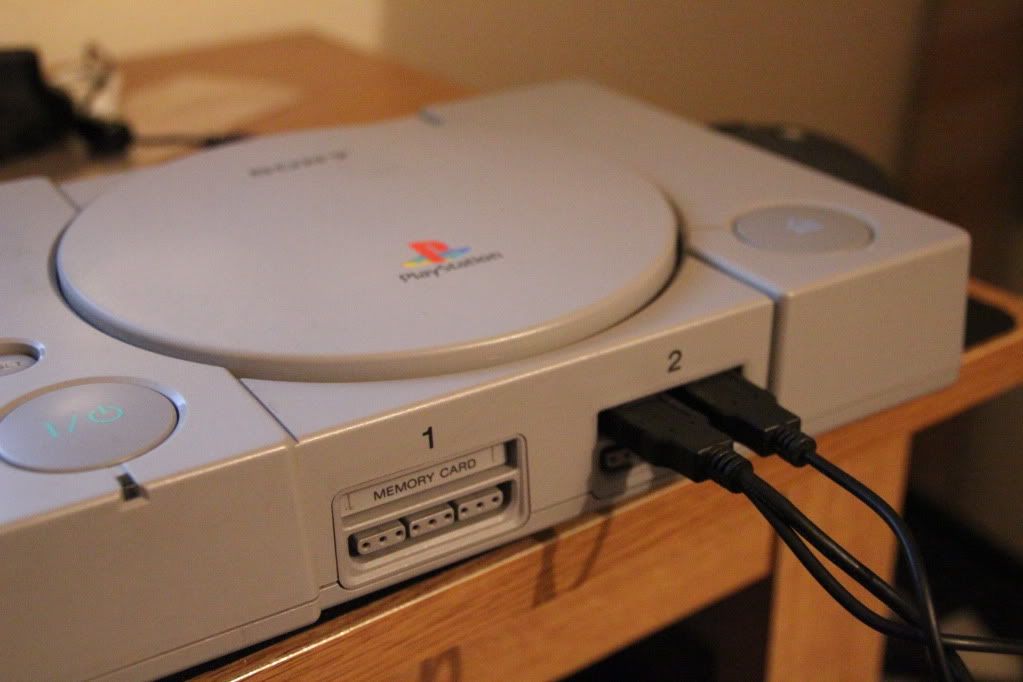
The original PlayStation 1, haven't you all missed it?
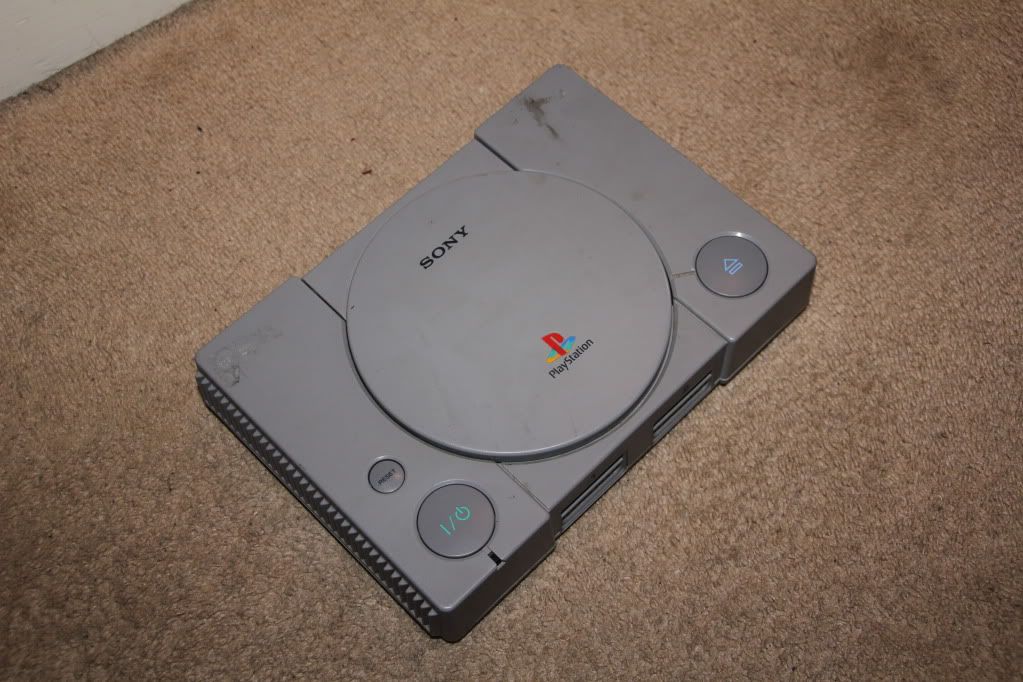
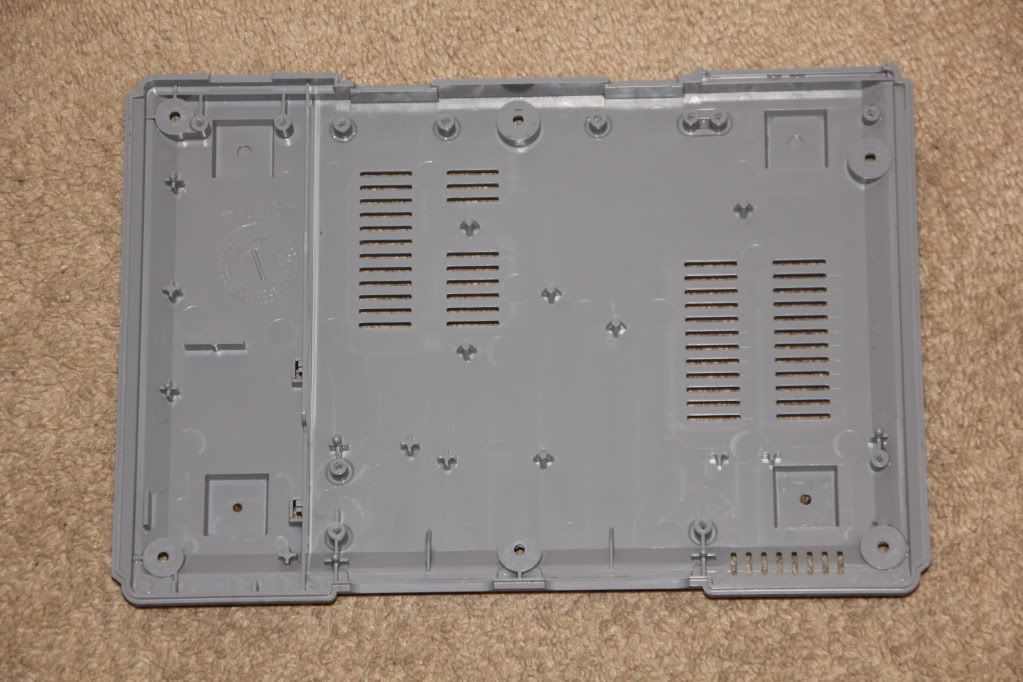
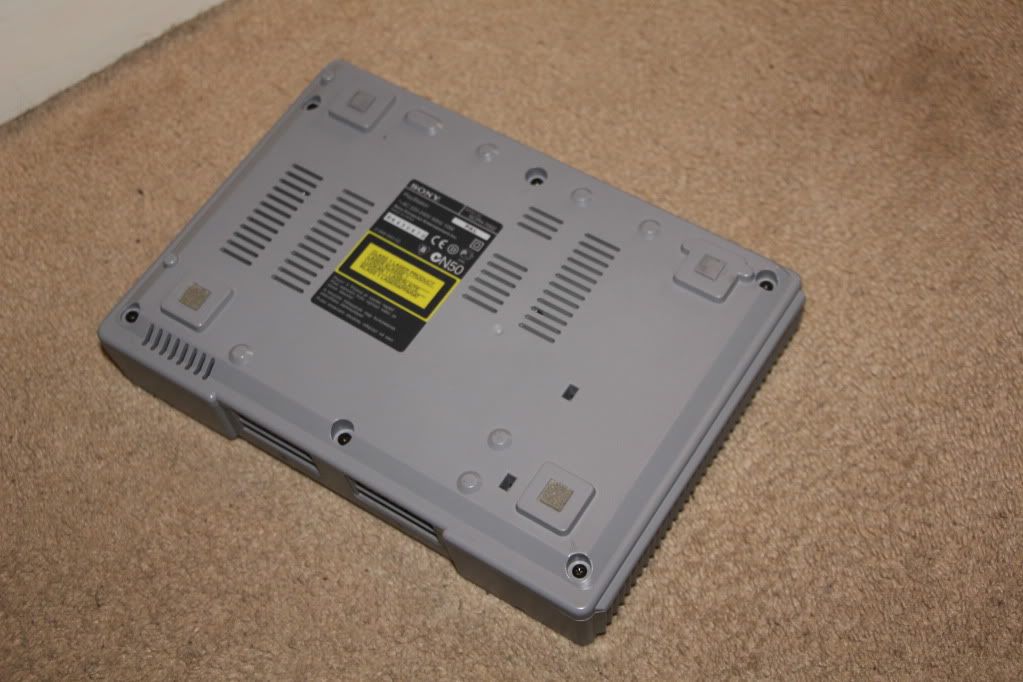
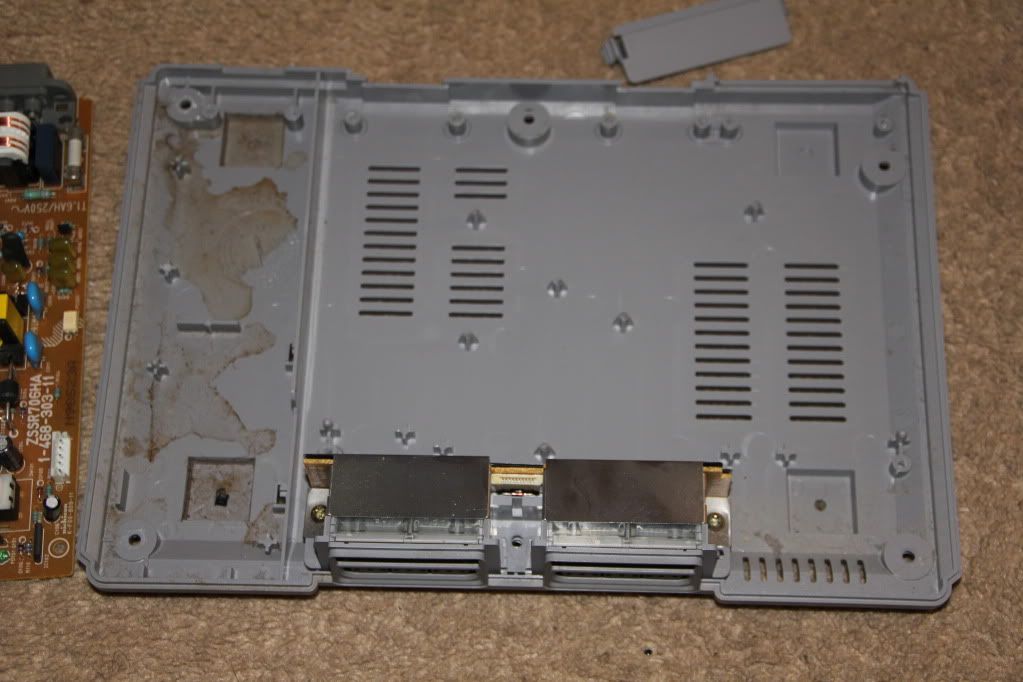
Underneath view:
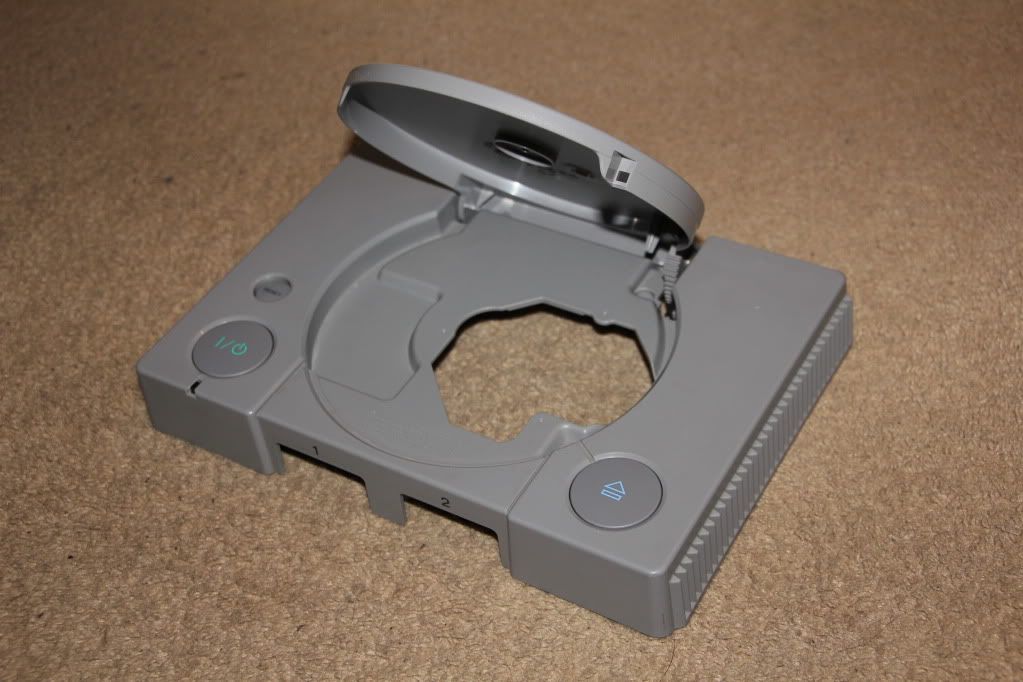
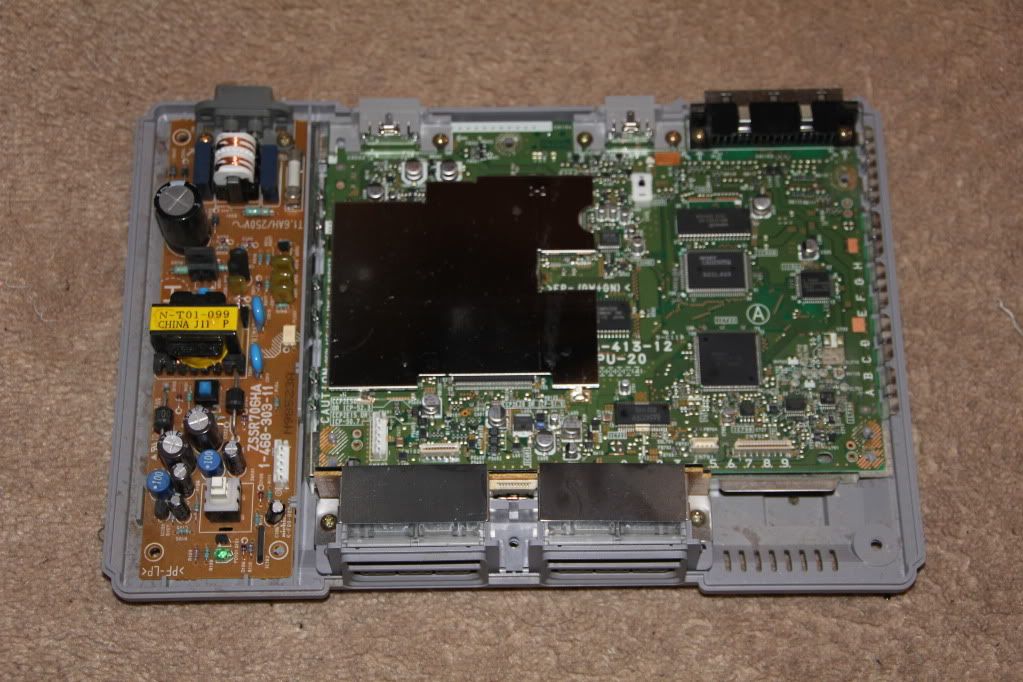
Top case off:
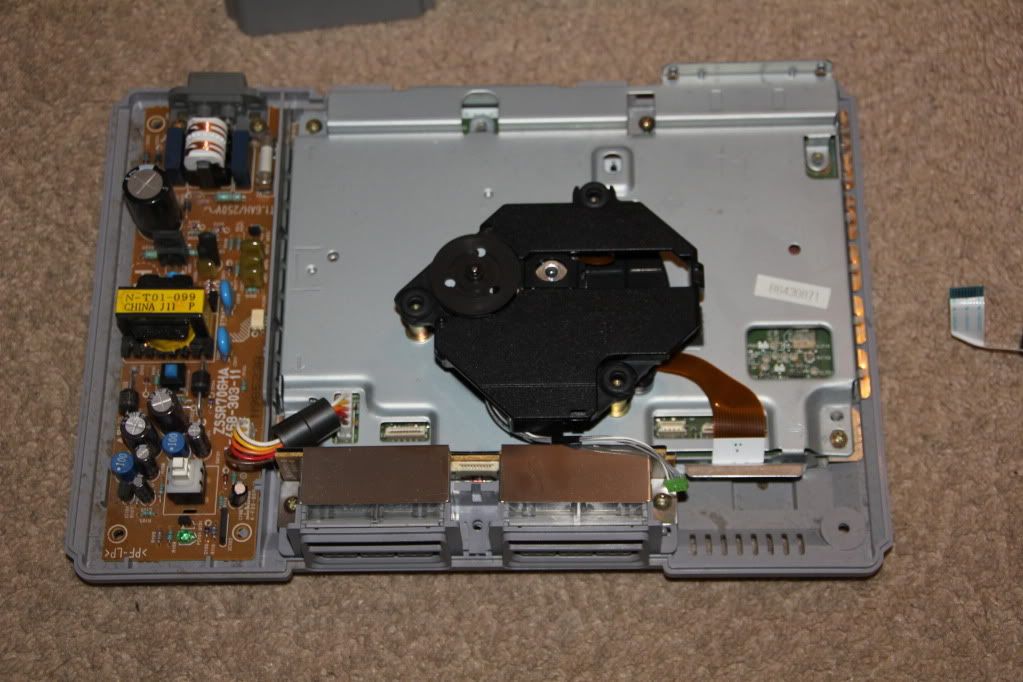
Metal sheet and CD-R drive off:
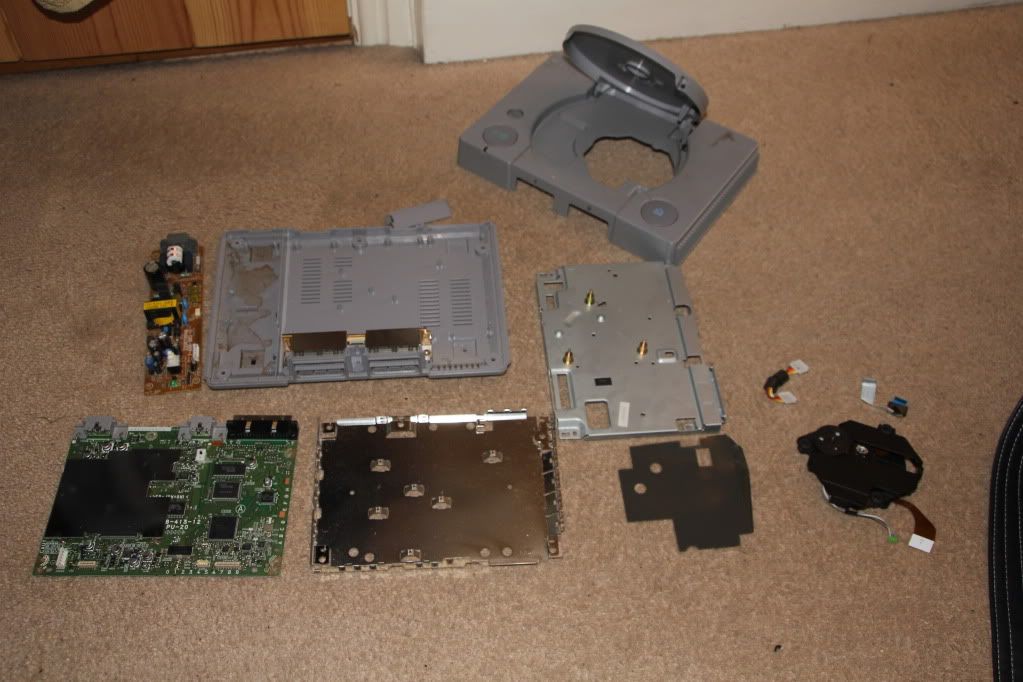
Motherboard out and everything laid out:
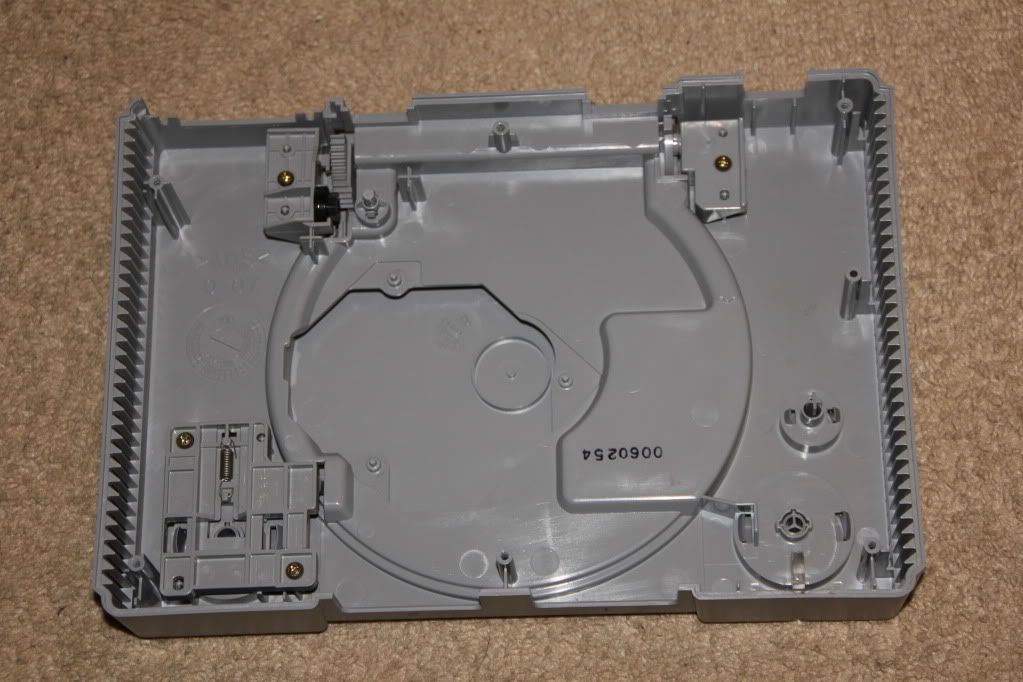
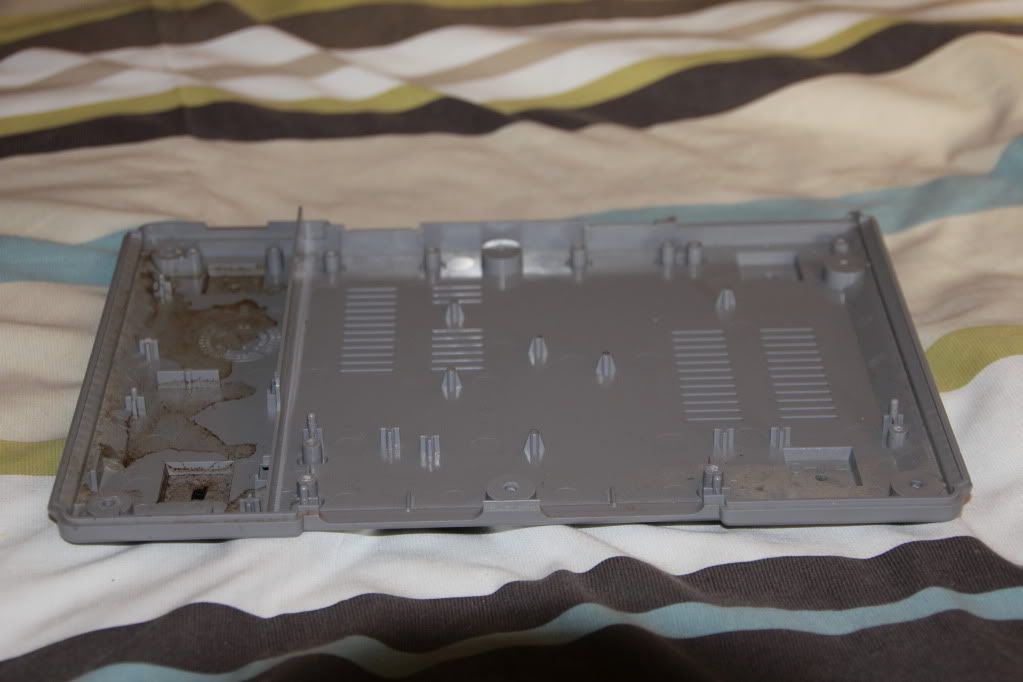
Close up of bottom case:
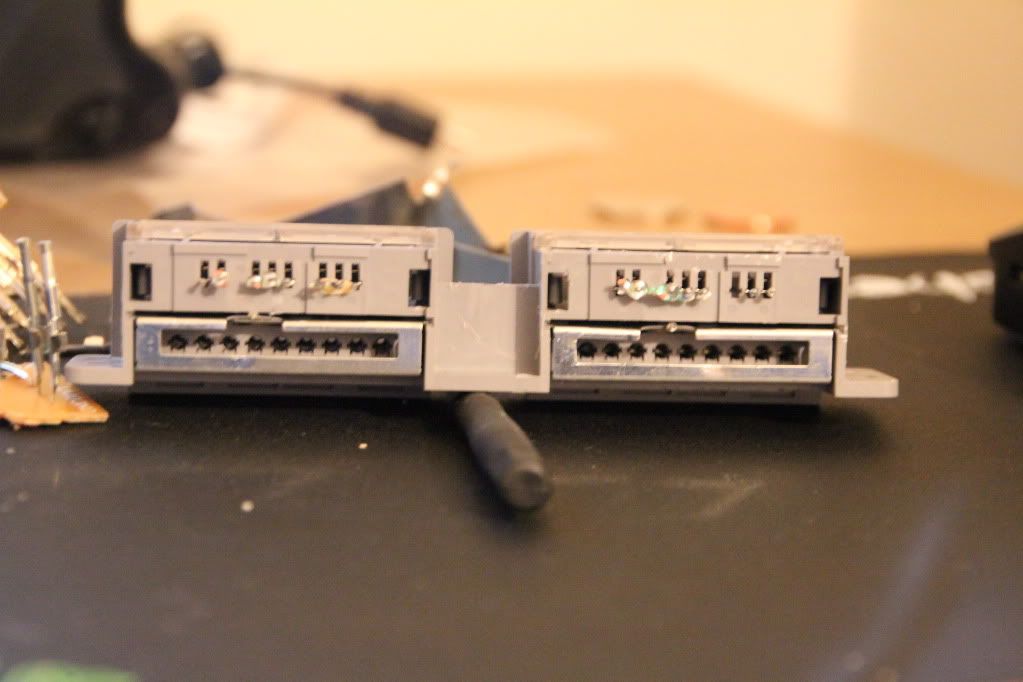
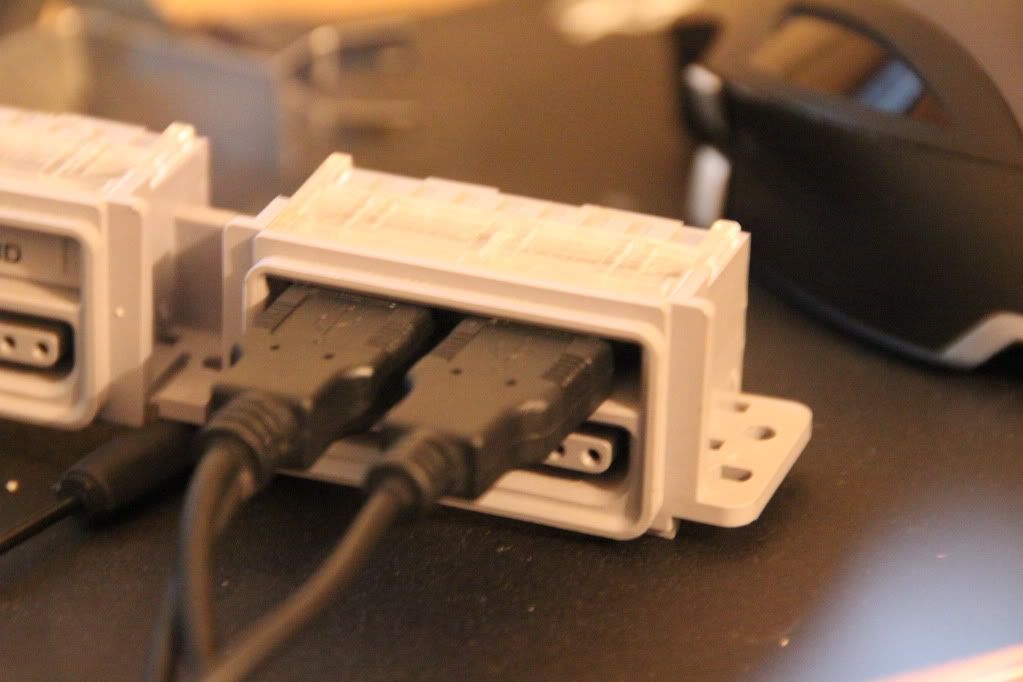
Controller block out:
A lot of pictures, one of the many advantages of loving photography

Ill post back when i recieve something else, but its going well so far.

I had an idea a few months ago to put a PC inside a PlayStation 1 (The original one). i figured that you could do a little bit more than just put some components in it and turn it on.
My ideas are:
-Make the On/Off switch fully functioning
-Make the Reset switch work
-Have a fully working DVD/RW drive where the original CD-R drive was
-Use original game controllers when gaming.
I thought about going down the line of Mini ITX, but i thought the advantages of using it were were not good as using other forms.
So what im going to use is the Motherboard from a ACER Aspire ZG5, it is a 8.9" netbook, having an Atom N270 in it. Admittedly, it inst going to be an SR-2 with capabilities of restarting planets, but it will be sufficient for the HTPC that i plan.
Using the ZG5 Motherboard does have its advantages, for instance, the power supply is external so that saves space, it can be run on its battery which can last up to 9 hours! and the motherboard itself isn't a big unit, so it will happily fit inside this blast from the past.
Anyway, on with the Mod.
I had originally planned for one of my friends to give me his one, but that had 'vanished' into thin air.
So i jumped onto eBay and bought one, and it came this morning!
I jumped into disassembling it, and here is the pictures..
The original PlayStation 1, haven't you all missed it?
Underneath view:
Top case off:
Metal sheet and CD-R drive off:
Motherboard out and everything laid out:
Close up of bottom case:
Controller block out:
A lot of pictures, one of the many advantages of loving photography
Ill post back when i recieve something else, but its going well so far.