You are using an out of date browser. It may not display this or other websites correctly.
You should upgrade or use an alternative browser.
You should upgrade or use an alternative browser.
.:Filtration:. - Finished - New Video
- Thread starter Skorchio
- Start date

Progress Video 1
Progress Video 2
As some of you know I have wanted a TJ07 for some time, I now have one. Most of you didn’t know that I have been planning my TJ07 build for nearly a year and I have many drawings and idea, so here goes...
Some key features:
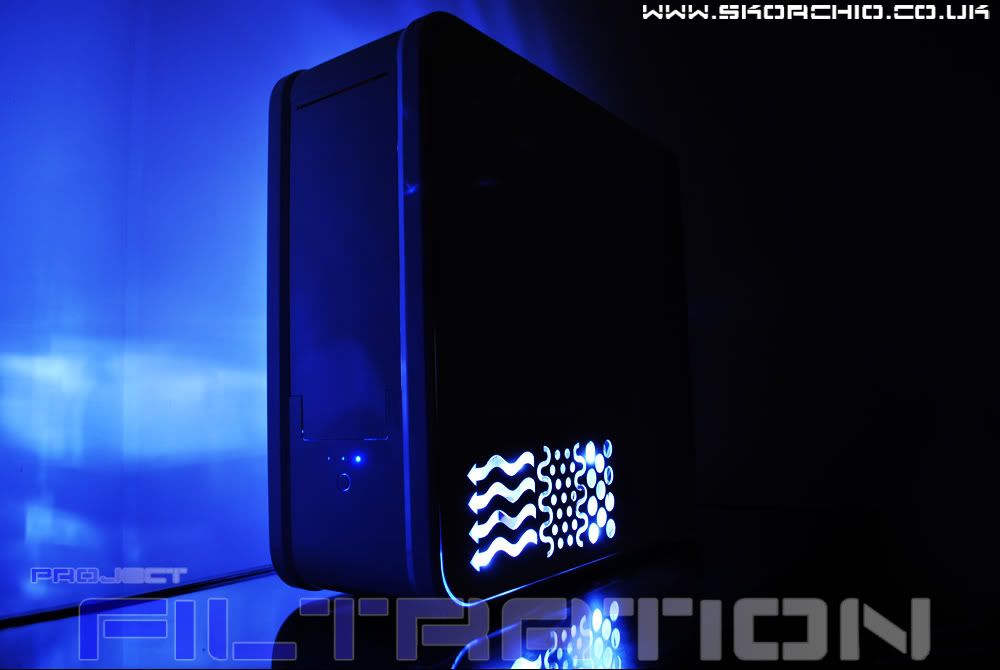
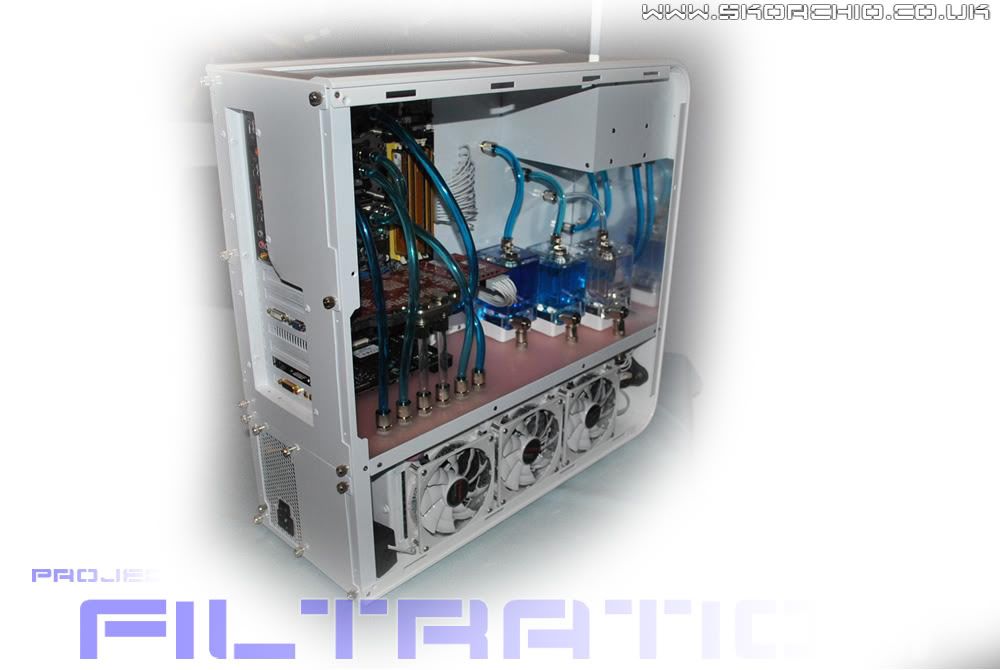
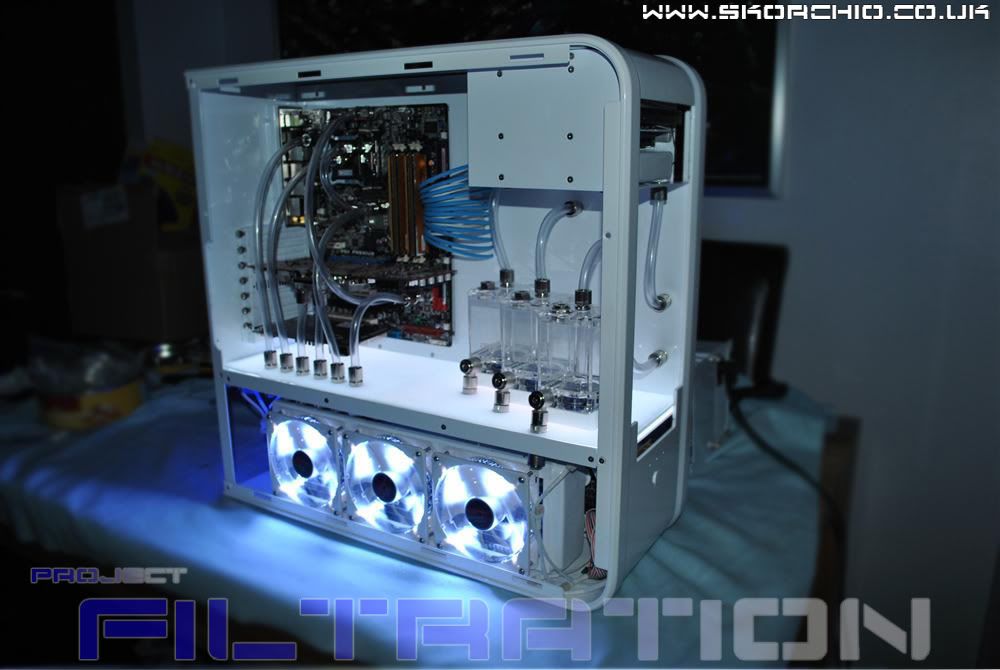
Gloss white case with gloss white internals.
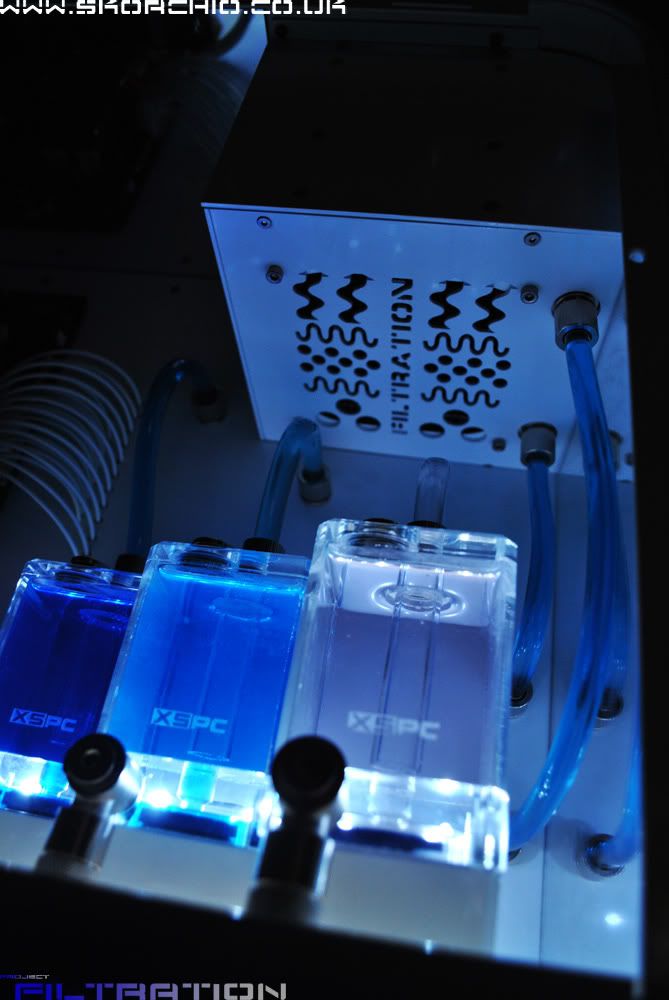
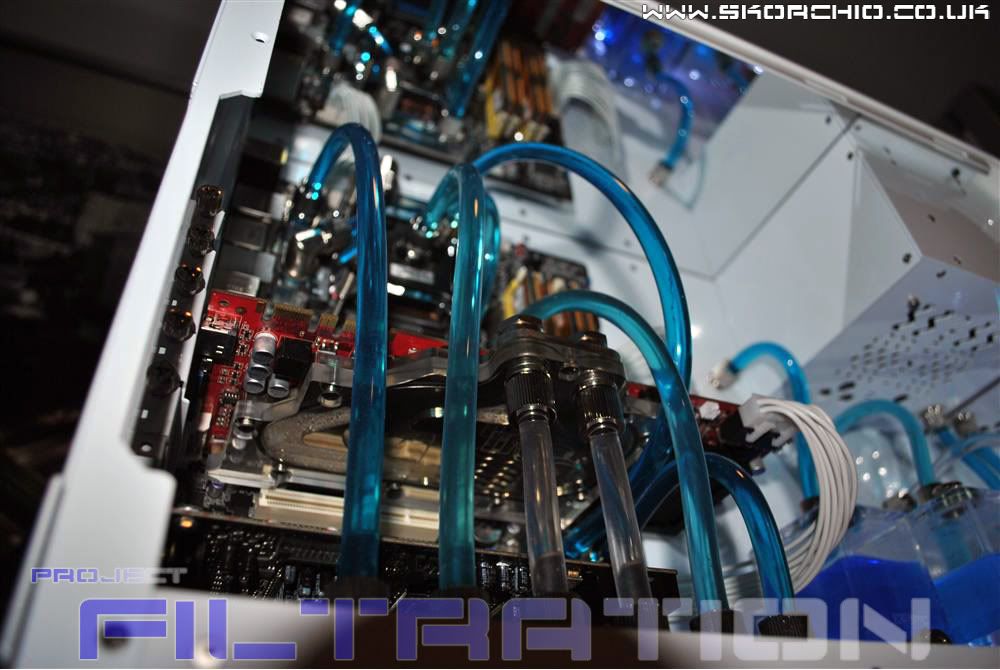
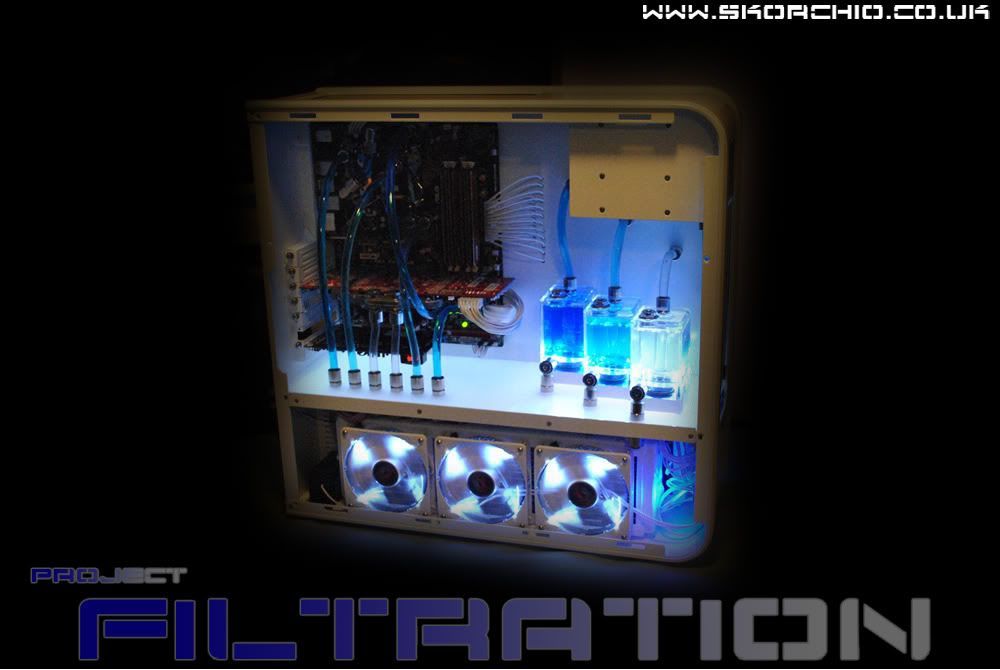
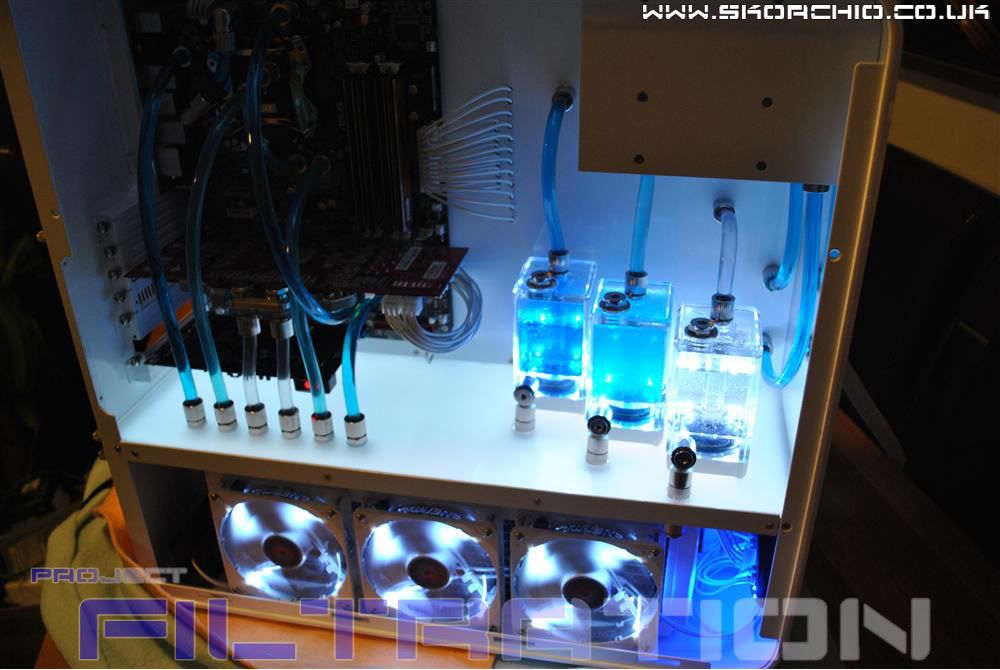
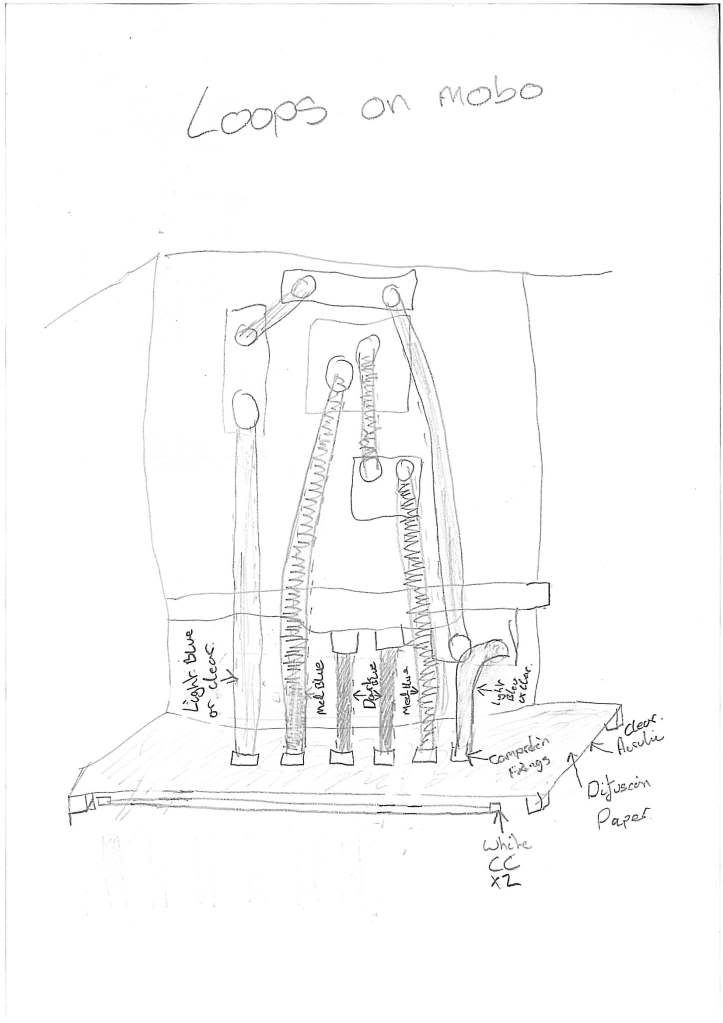
3 loops, 3 shades of blue.
3 DDC pumps with Res Tops.
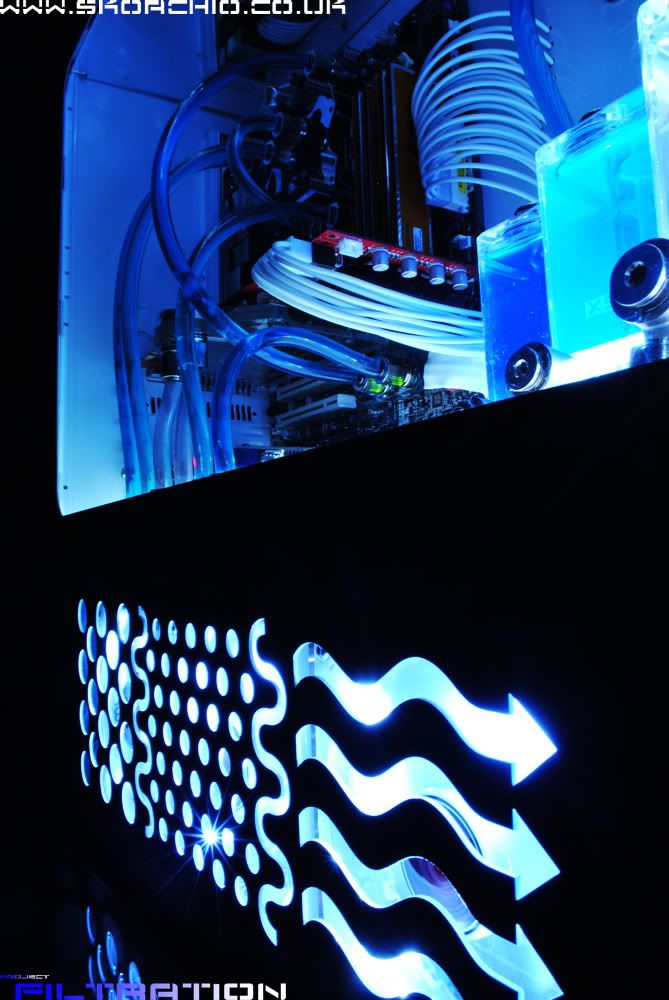
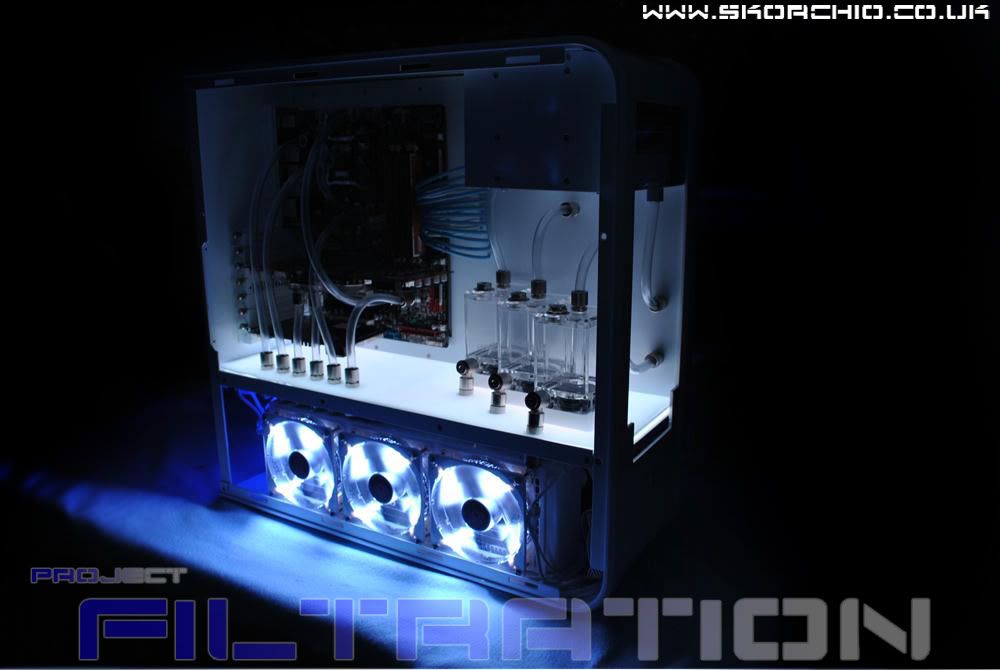
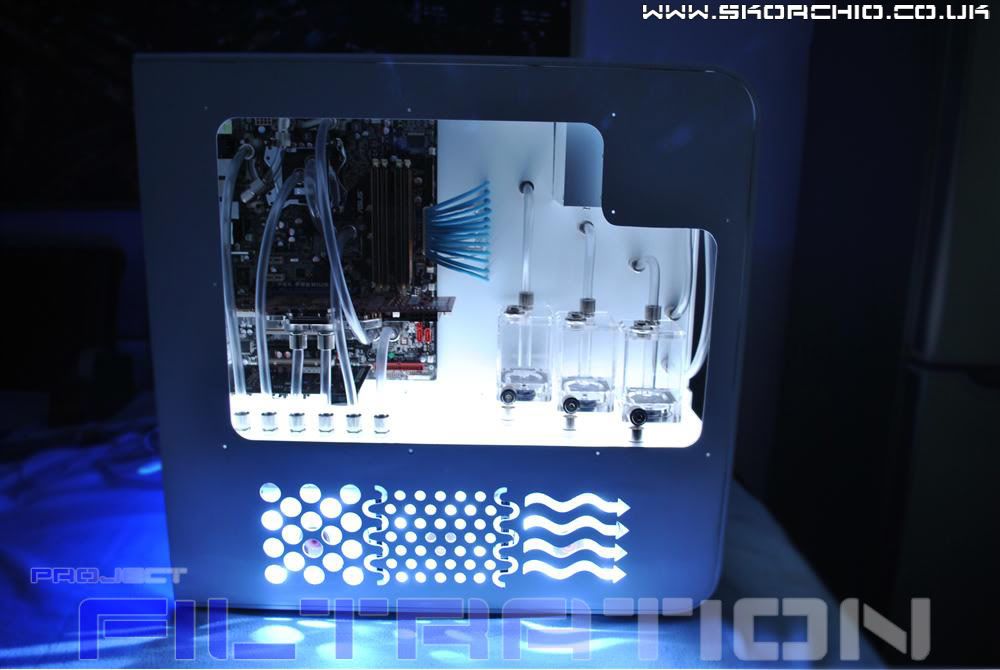
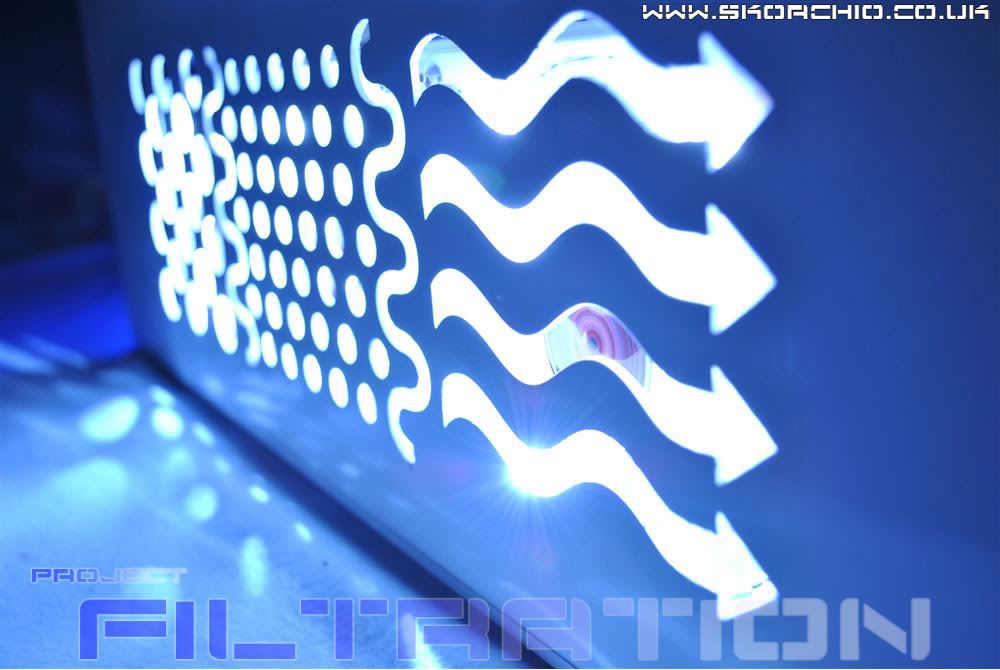
Illuminated floor
White Cable
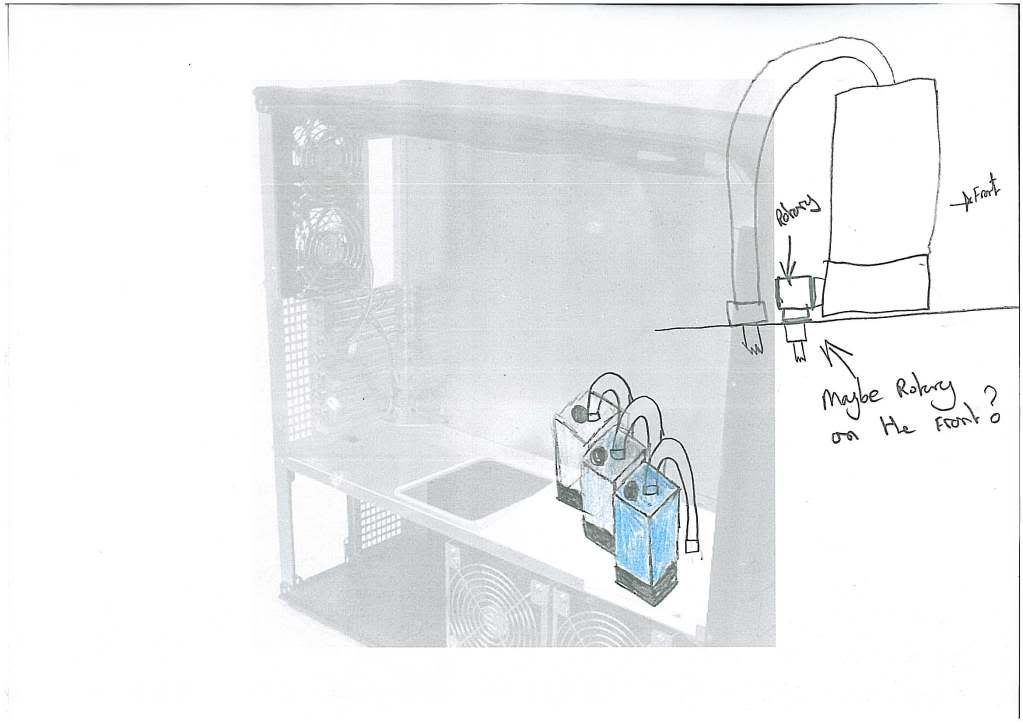
Here are some drawings to give you a slight idea
 although other plans are unsure as i want to keep this open to new ideas.
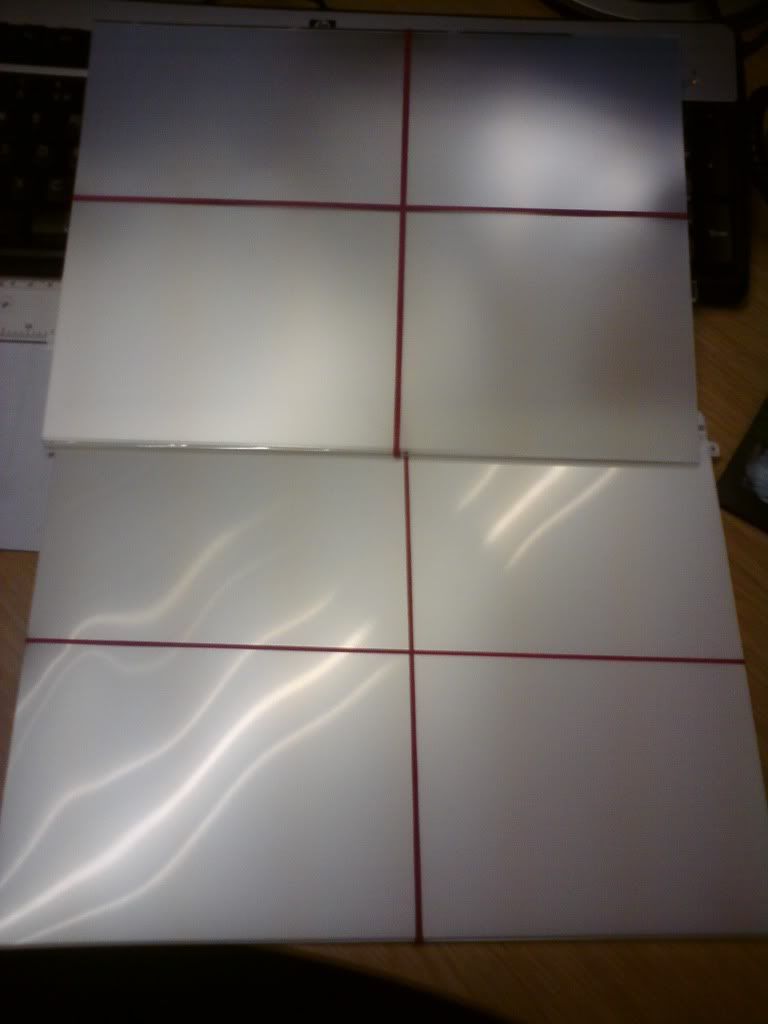
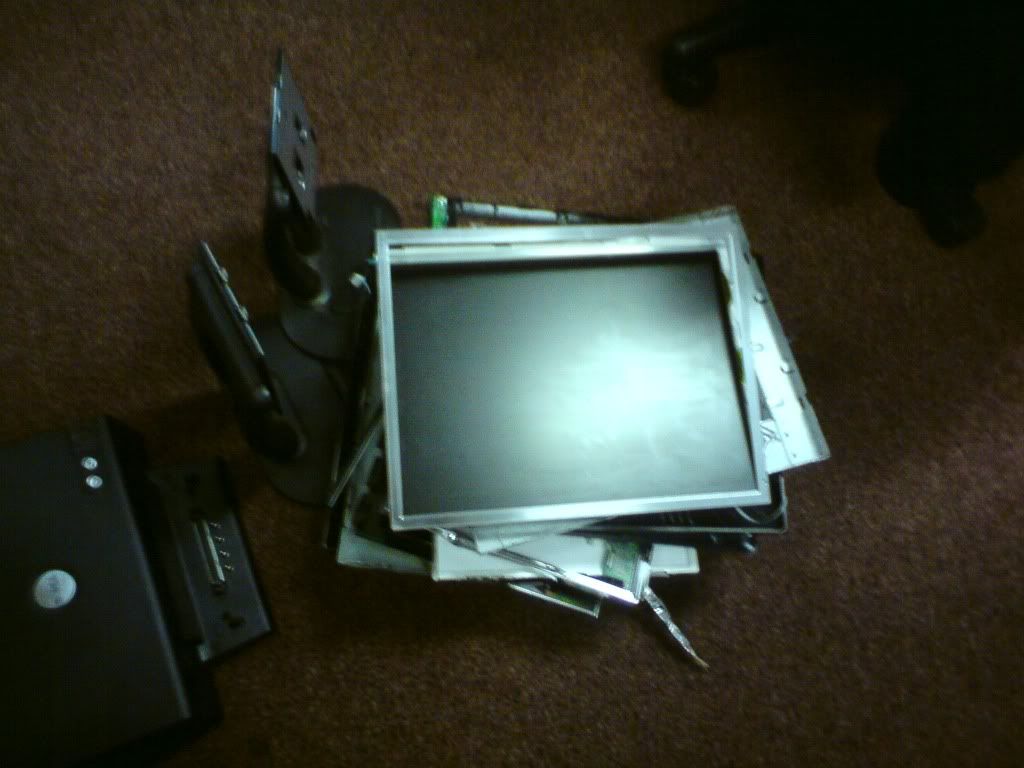
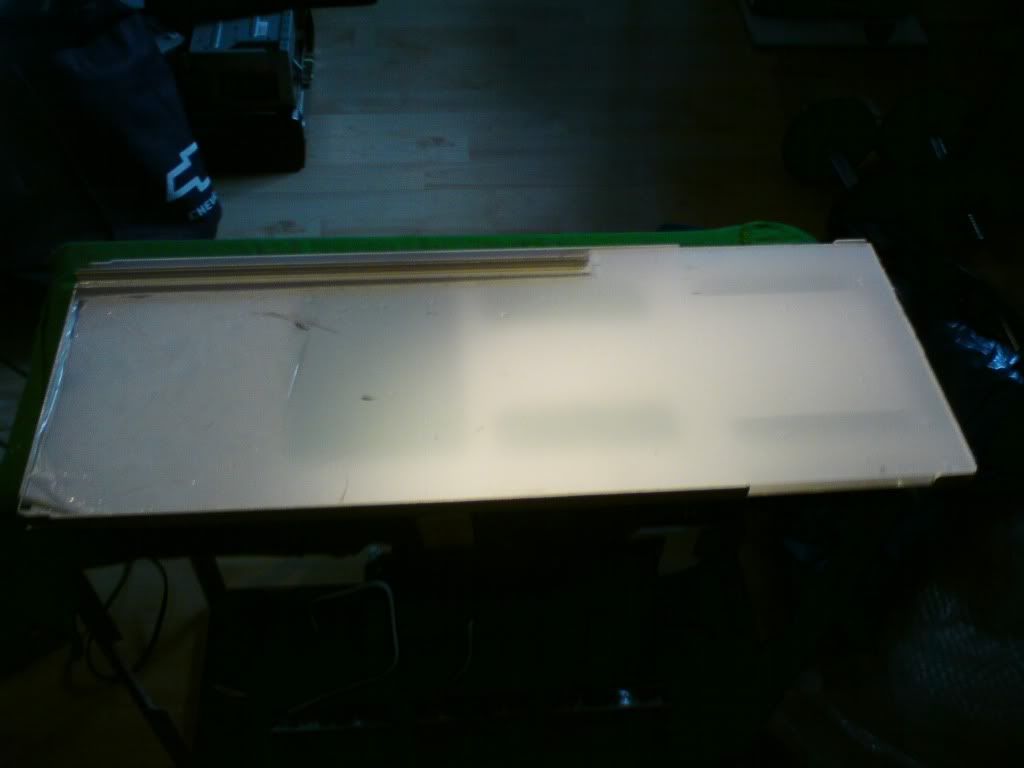
I got board at work so i stripped 2 monitors to get the difussion paper that i need for my illuminated floor
The papeprs
The mess!!!
***
Not really much to update. But:
I have my final rad with me now so I can look in to getting all this put in to the base.
I was thinking about inverting the ATX but decided that will spoil my plan or the 6 tubes rising from the floor.
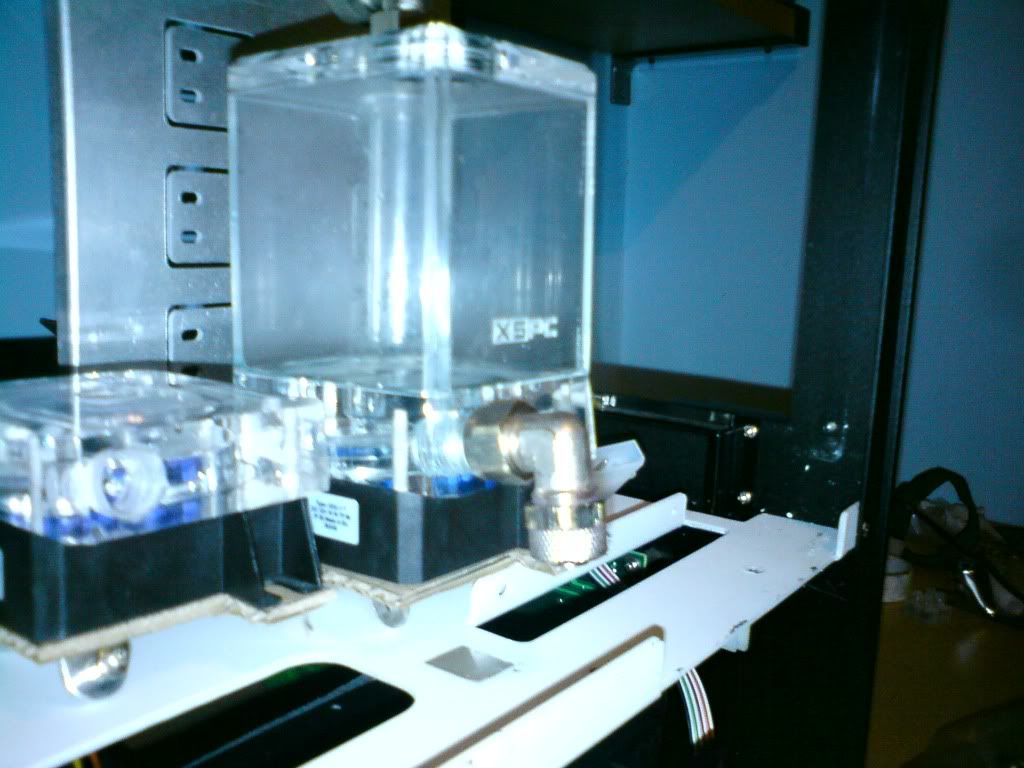
I got my pump and res through so I could do a bit more work on the pump lay out.
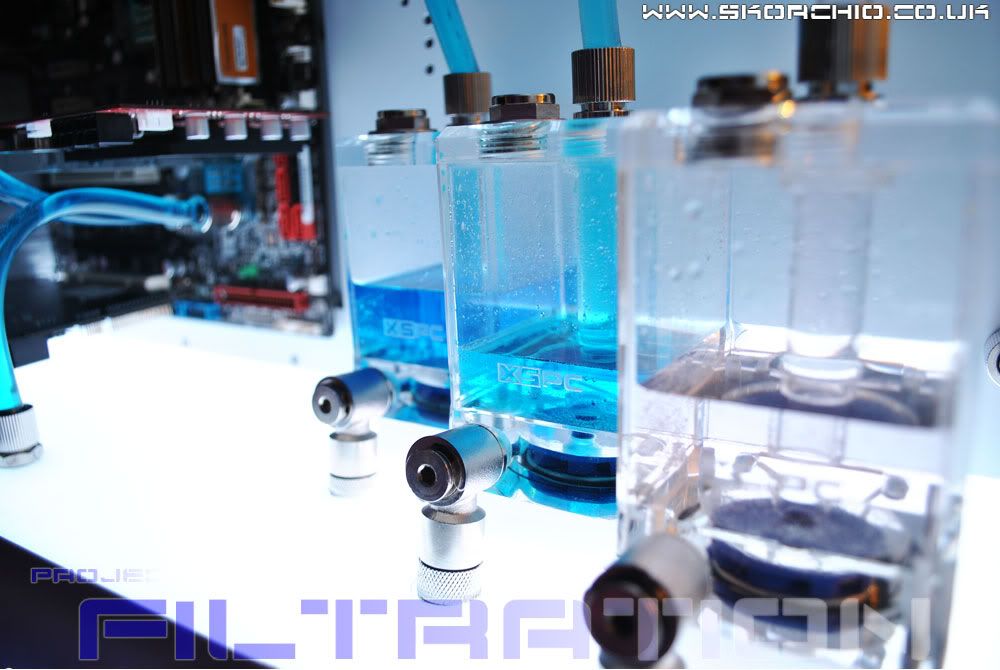
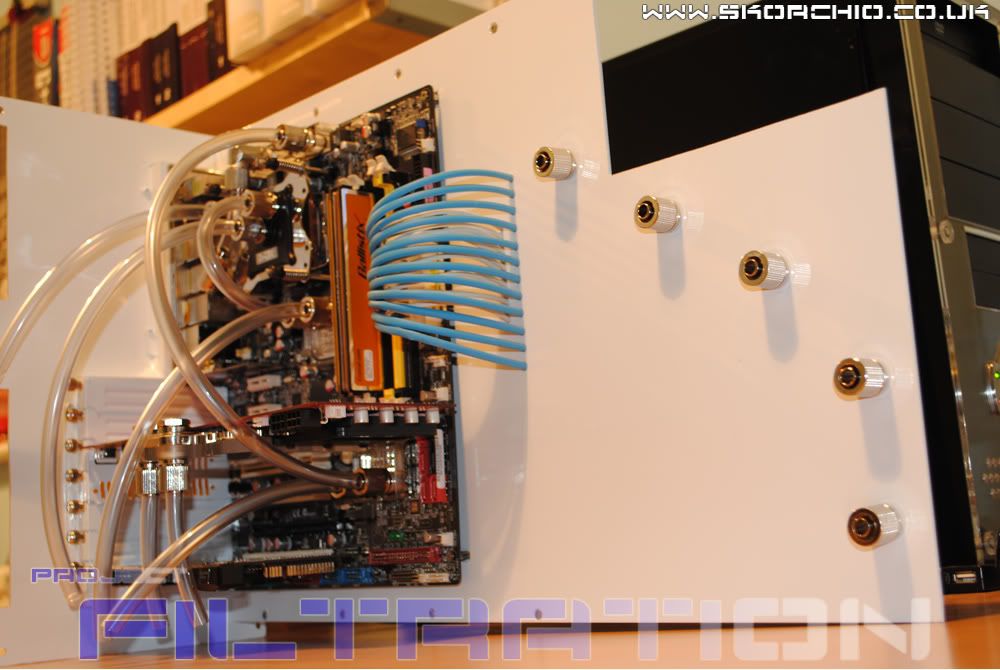
Iv decided to go for a staggered layout like so.

I’m still not sure if I need to extend the window out, as you can see the far right res (kinda). Depends what it looks like when it all fixed in.
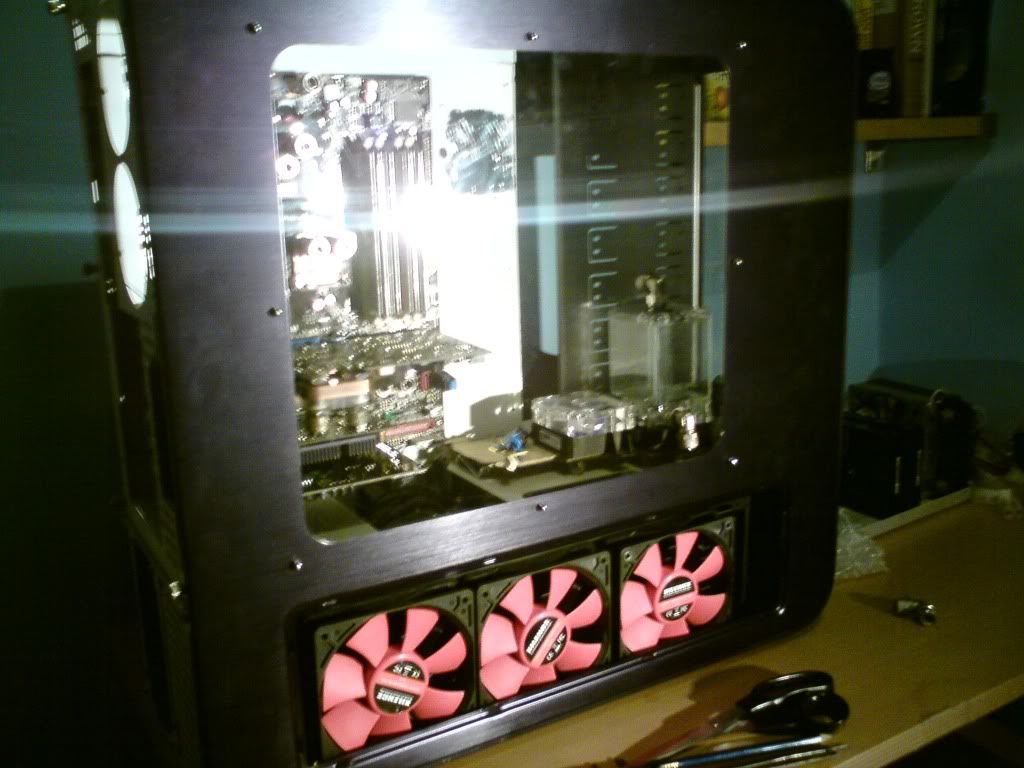
I then had a look at how much room I would have above them when the drive bays are cut.
I could go lower, and as I not sure how I will be fixing the tube to the top of the res (as I don’t have any hose yet) I haven’t decided.

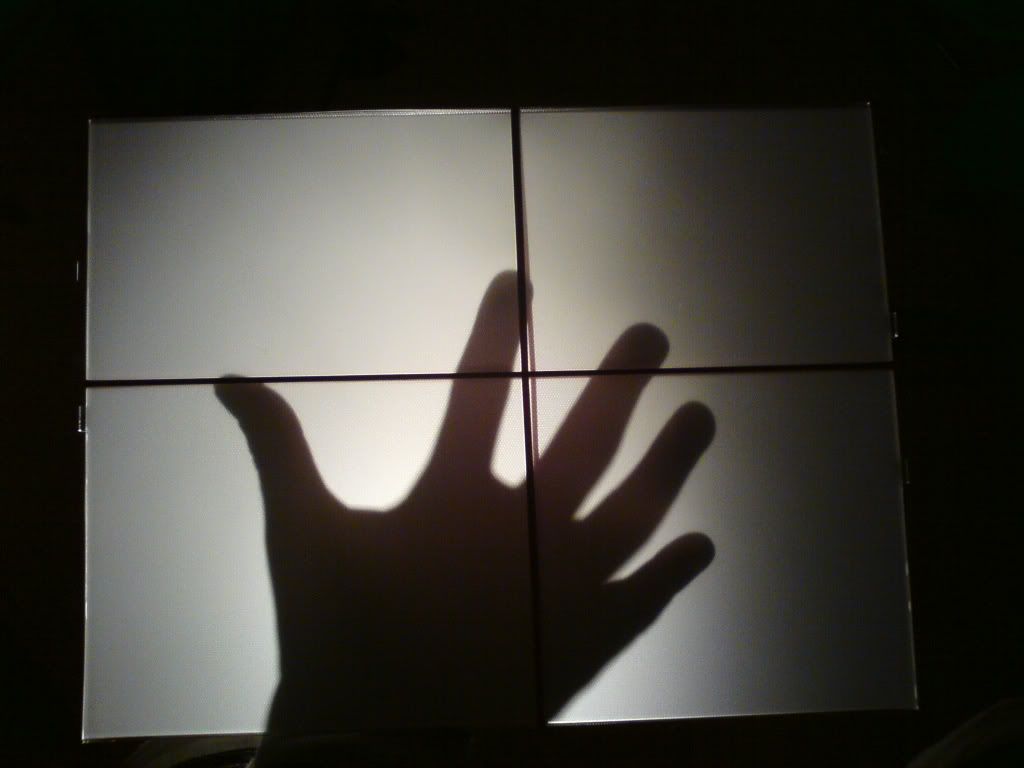
Still just an idea, but I think these are the fixings I’m going to use, straight in to the floor.
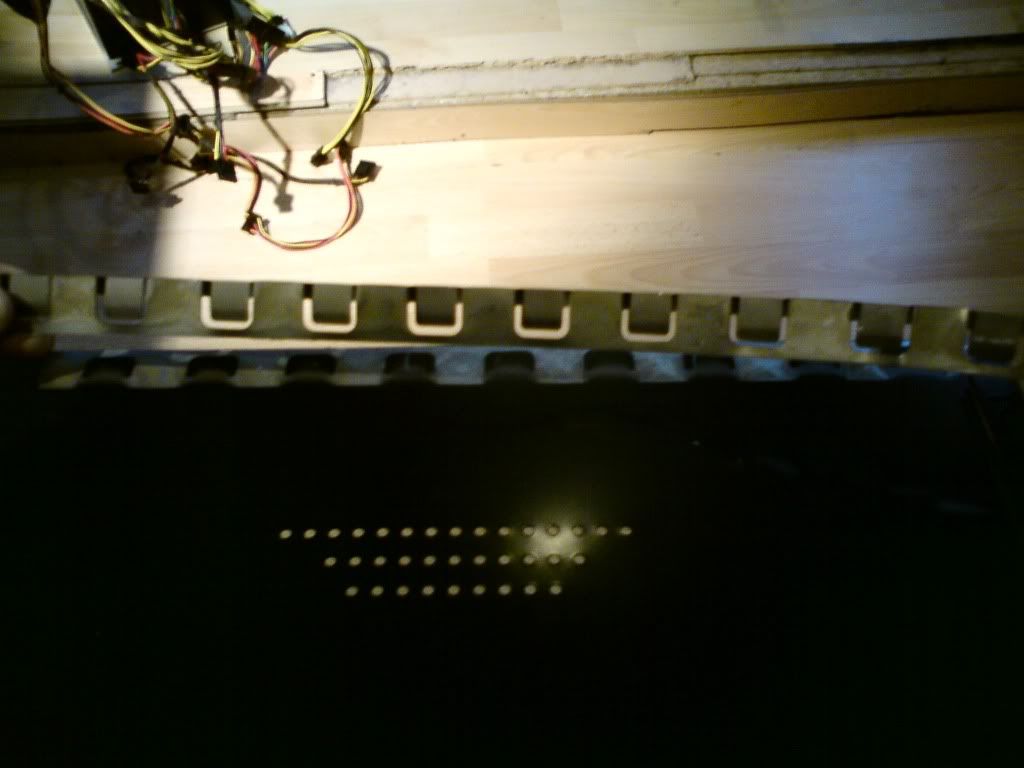
And some light behind the diffusion paper so you can see how it lights up!
***
Tiny update!
I put the second rad in, and worked out some mesurements for my rad holder/bracket that i will be making this weekend!
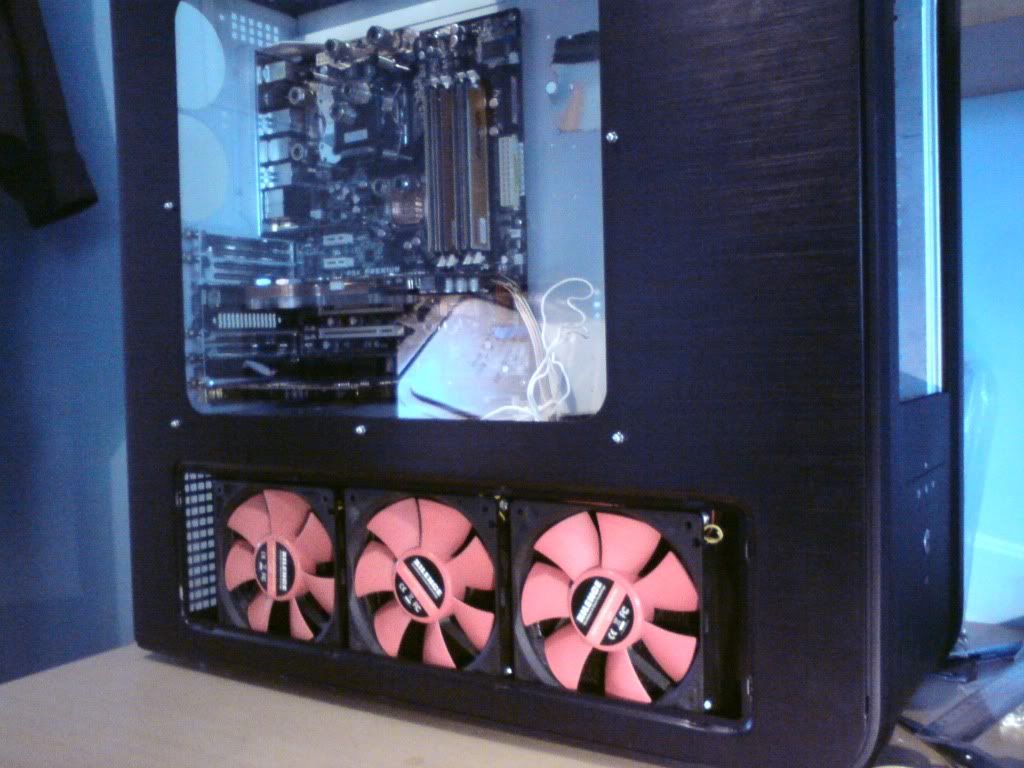
I also purchased my new PSU fan, Scythe Kaze Jyuni 1600RPM. This fan does 88 cfm @ 33 dba which is 7dba quieter than the Yate that's currently in there (same CFM).
I also had another idea for the fans on the PA120.3 that you will see from the side, but ill keep that to myself for now
I have a huge order to place with WCUK, but i wont place it till they get some 8/10mm hose. oTo
***
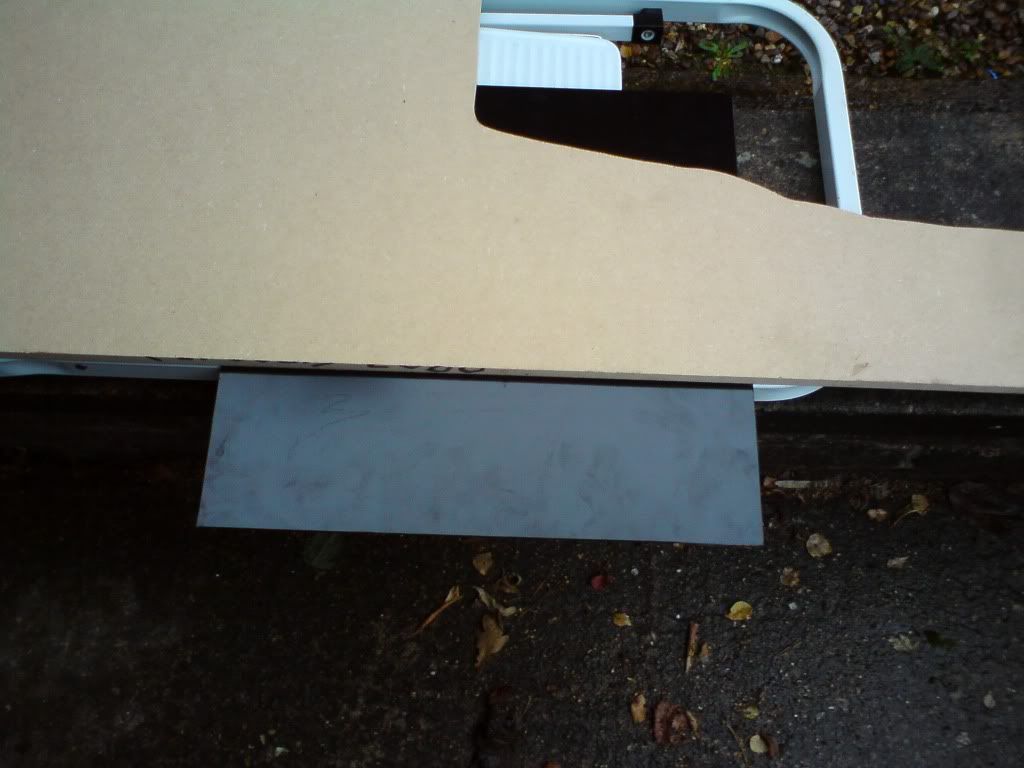
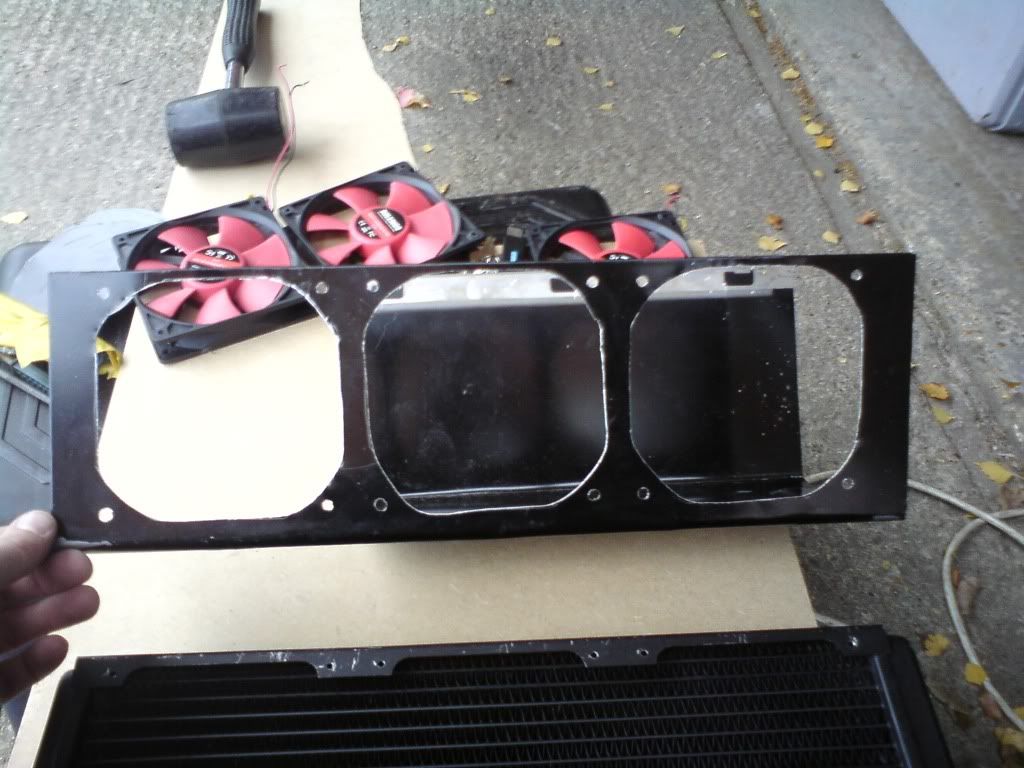
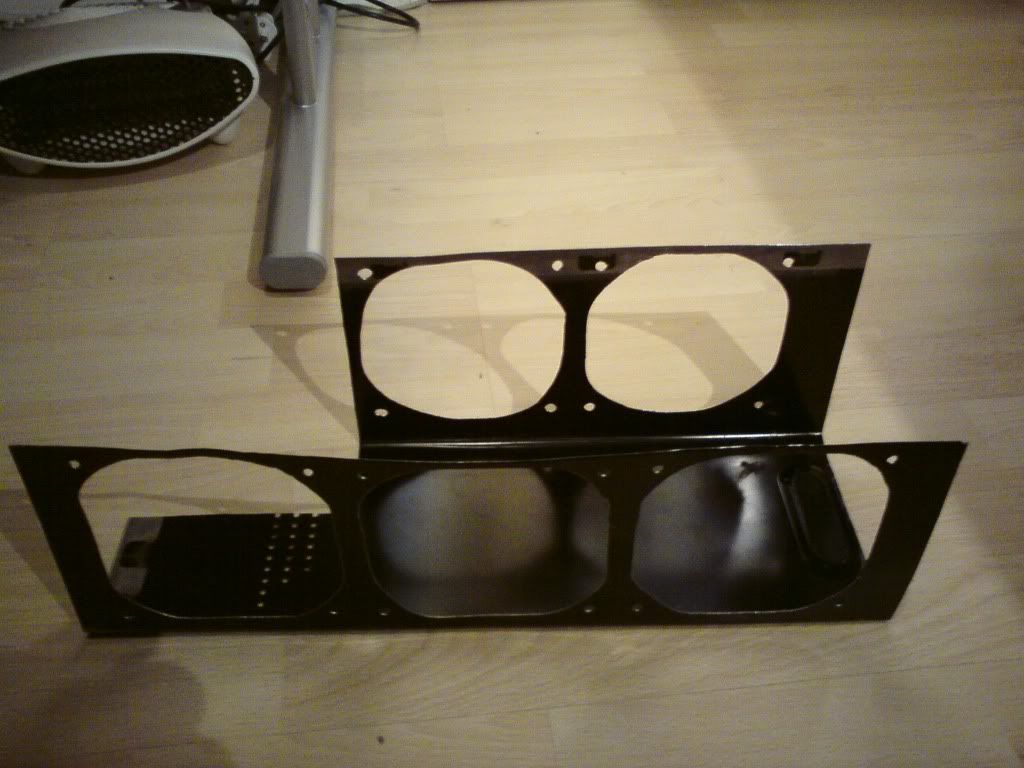
I set about making the rad bracket today and this is how it went
Old PC case side and the "extra" bit just bent off, very good quality case! *giggles*
After the first cut to get the lip off.
Home made bending machine

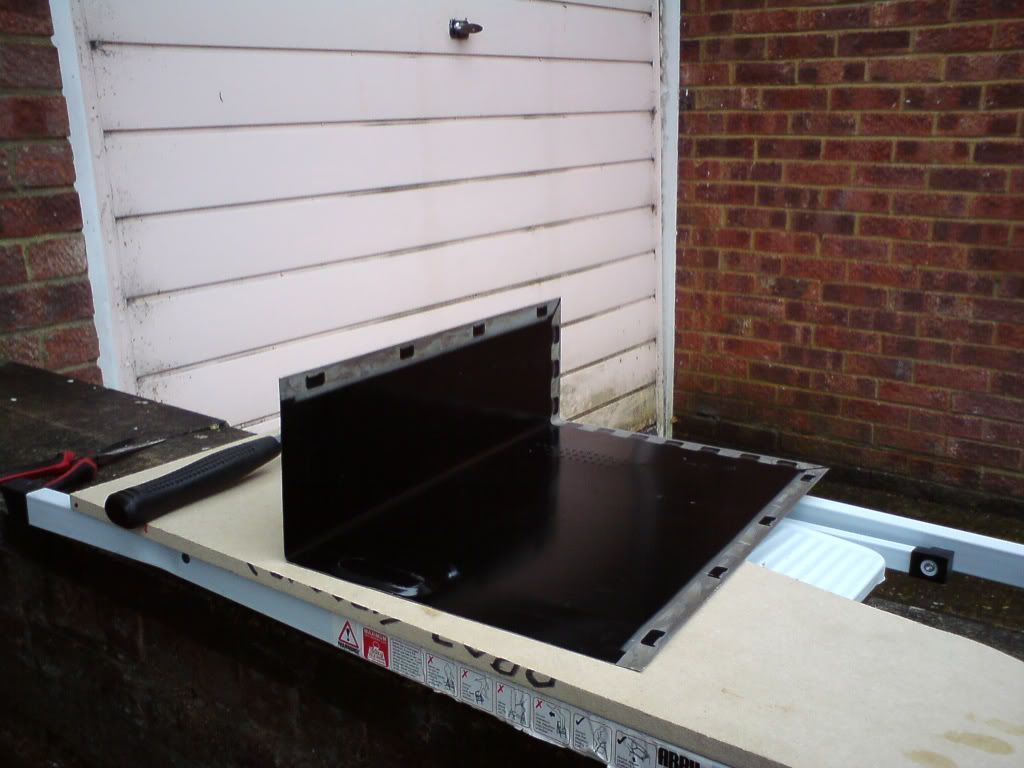
Second cut (PSU space)
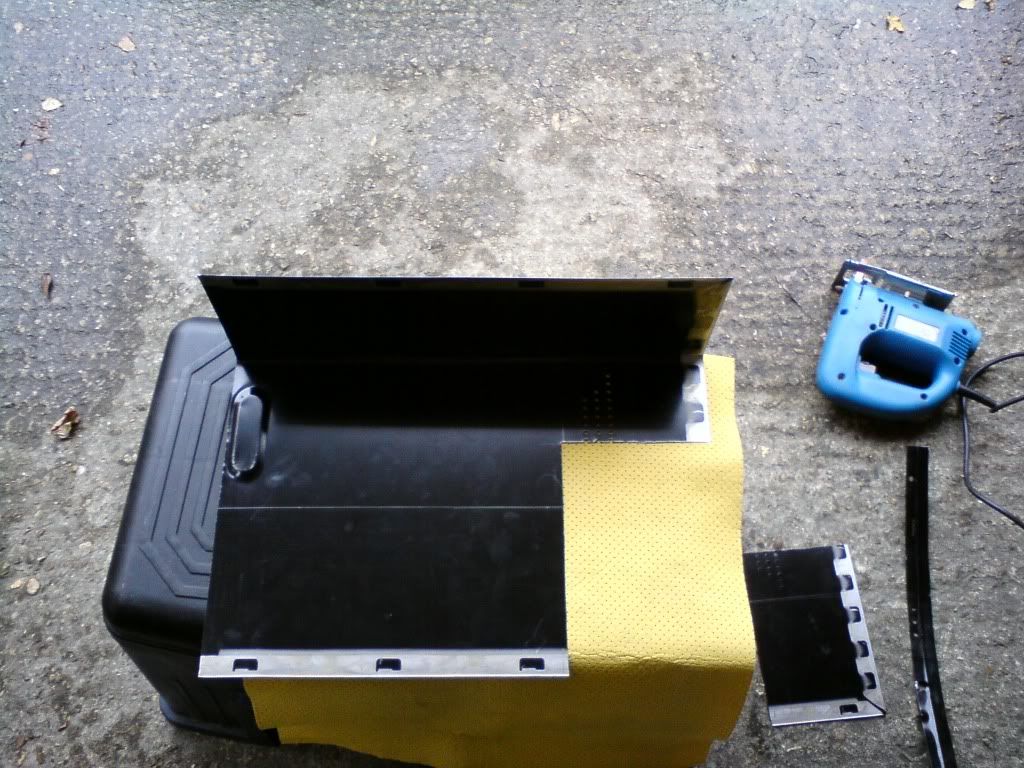
After second bend
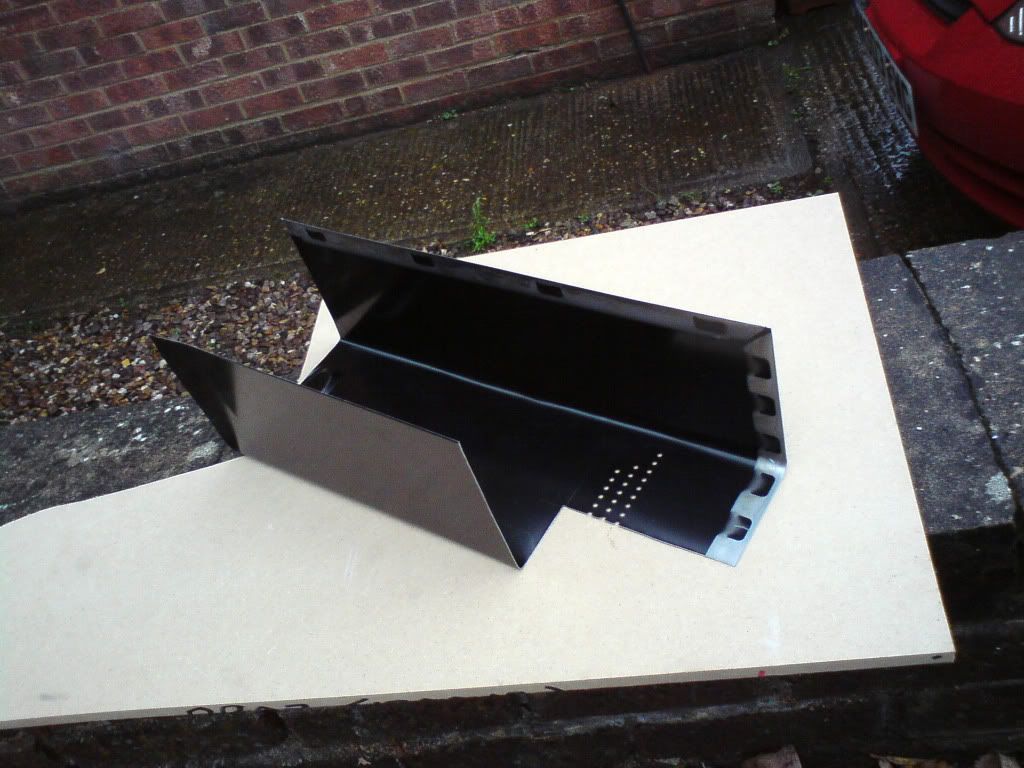
Sitting in the case with the rads.
Now all i have to do it some last final "tweaking" cuts and then drill out the fan holes.
Progress Video 2
As some of you know I have wanted a TJ07 for some time, I now have one. Most of you didn’t know that I have been planning my TJ07 build for nearly a year and I have many drawings and idea, so here goes...
Some key features:
Gloss white case with gloss white internals.
3 loops, 3 shades of blue.
3 DDC pumps with Res Tops.
Illuminated floor
White Cable
Here are some drawings to give you a slight idea
I got board at work so i stripped 2 monitors to get the difussion paper that i need for my illuminated floor
The papeprs
The mess!!!
***
Not really much to update. But:
I have my final rad with me now so I can look in to getting all this put in to the base.
I was thinking about inverting the ATX but decided that will spoil my plan or the 6 tubes rising from the floor.
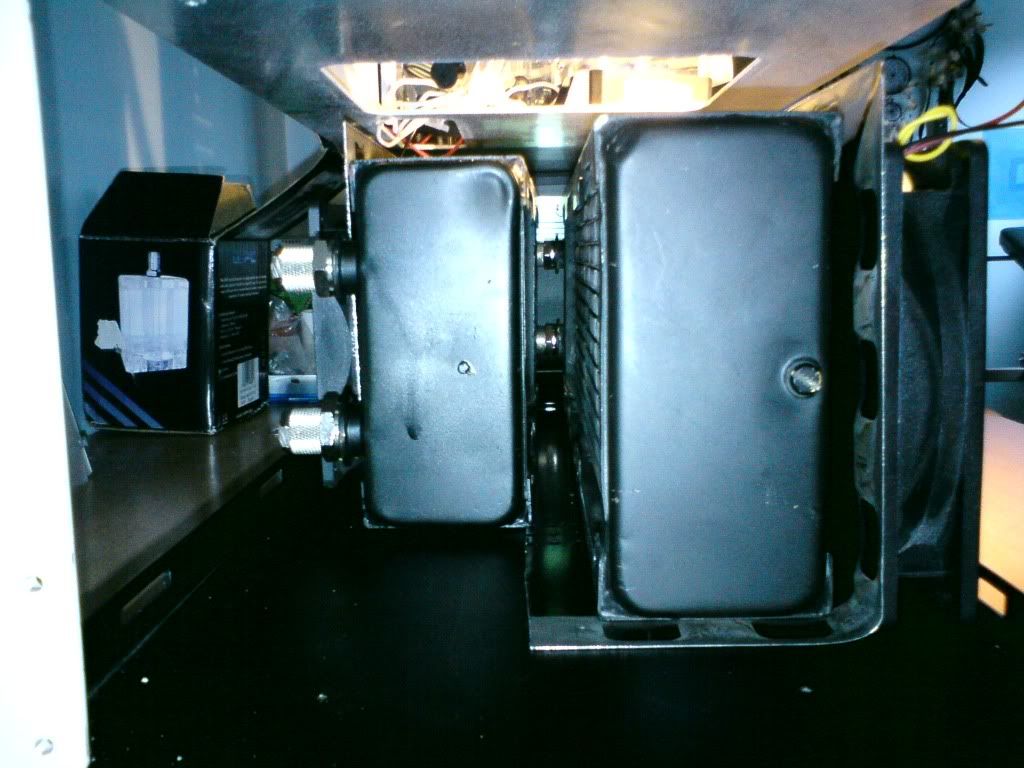
I got my pump and res through so I could do a bit more work on the pump lay out.
Iv decided to go for a staggered layout like so.
I’m still not sure if I need to extend the window out, as you can see the far right res (kinda). Depends what it looks like when it all fixed in.
I then had a look at how much room I would have above them when the drive bays are cut.
I could go lower, and as I not sure how I will be fixing the tube to the top of the res (as I don’t have any hose yet) I haven’t decided.
Still just an idea, but I think these are the fixings I’m going to use, straight in to the floor.
And some light behind the diffusion paper so you can see how it lights up!
***
Tiny update!
I put the second rad in, and worked out some mesurements for my rad holder/bracket that i will be making this weekend!
I also purchased my new PSU fan, Scythe Kaze Jyuni 1600RPM. This fan does 88 cfm @ 33 dba which is 7dba quieter than the Yate that's currently in there (same CFM).
I also had another idea for the fans on the PA120.3 that you will see from the side, but ill keep that to myself for now
I have a huge order to place with WCUK, but i wont place it till they get some 8/10mm hose. oTo
***
I set about making the rad bracket today and this is how it went
Old PC case side and the "extra" bit just bent off, very good quality case! *giggles*
After the first cut to get the lip off.
Home made bending machine
Second cut (PSU space)
After second bend
Sitting in the case with the rads.
Now all i have to do it some last final "tweaking" cuts and then drill out the fan holes.
Today i did some more work on the rad bracket. I just have to do the PA120.2 on the other side. New fans should be here next week.
Here are the pics")

Ill do the other side maybe tomorrow. Its such a pain to cut!!
***
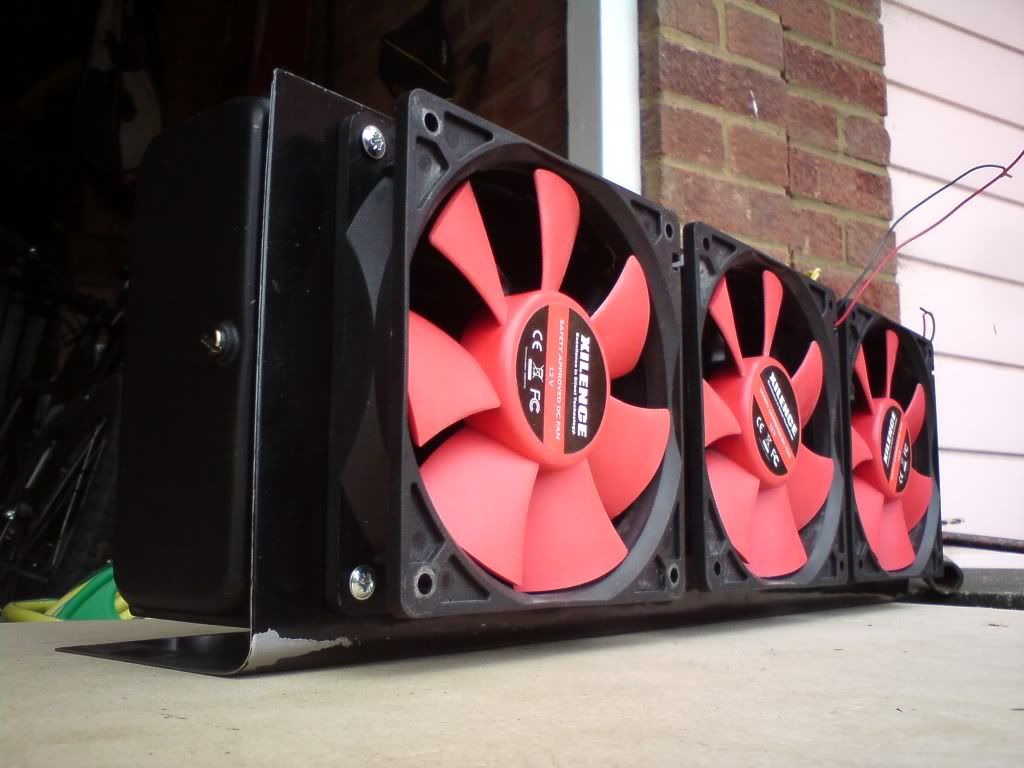
Finished off the rad mount this evening. Should get my new fans in a few days so can get it properly linked up and bolted down.
Pics
I will be putting a brace on the top of the 2 rads to give it more rigidity. It, and the rads will also be sprayed white when the case gets done.
Comments welcome
Nick
***
Yeh it was a pain a$$, its so thin!!
Anyway delivery today
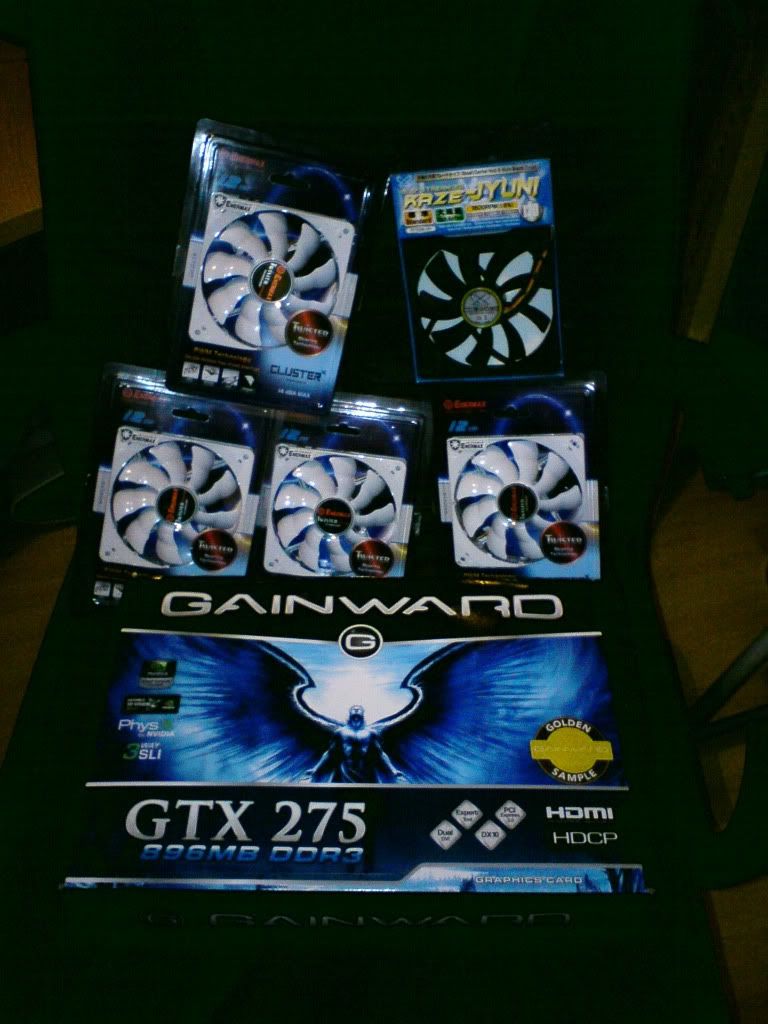

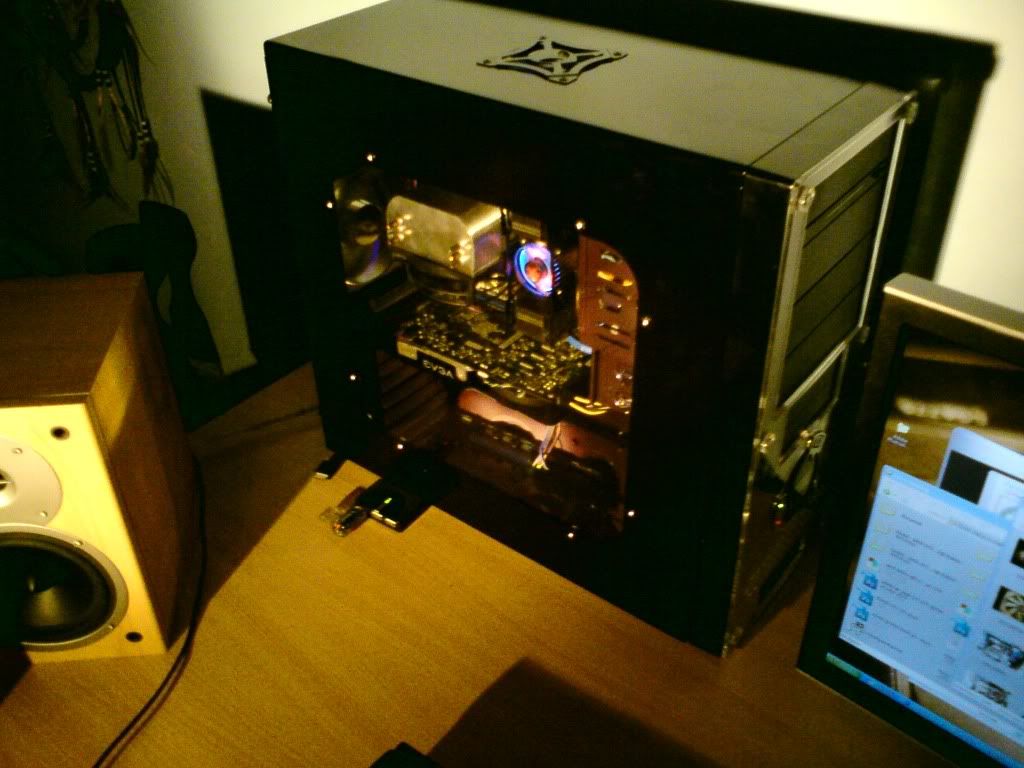
Wanted to test the GFX card was ok so i did a bit of burning! Playing AION with it now, seems fine but im getting some funny problems in windows so im downloading the latest drivers for 7 64 bit, this should solver that! Its let down by everything else in the "Temp" gaming system (Notice i had to bring it my other PSU)
***
I finally have all the bits i need so i can really crack on with out having to stop due to parts.
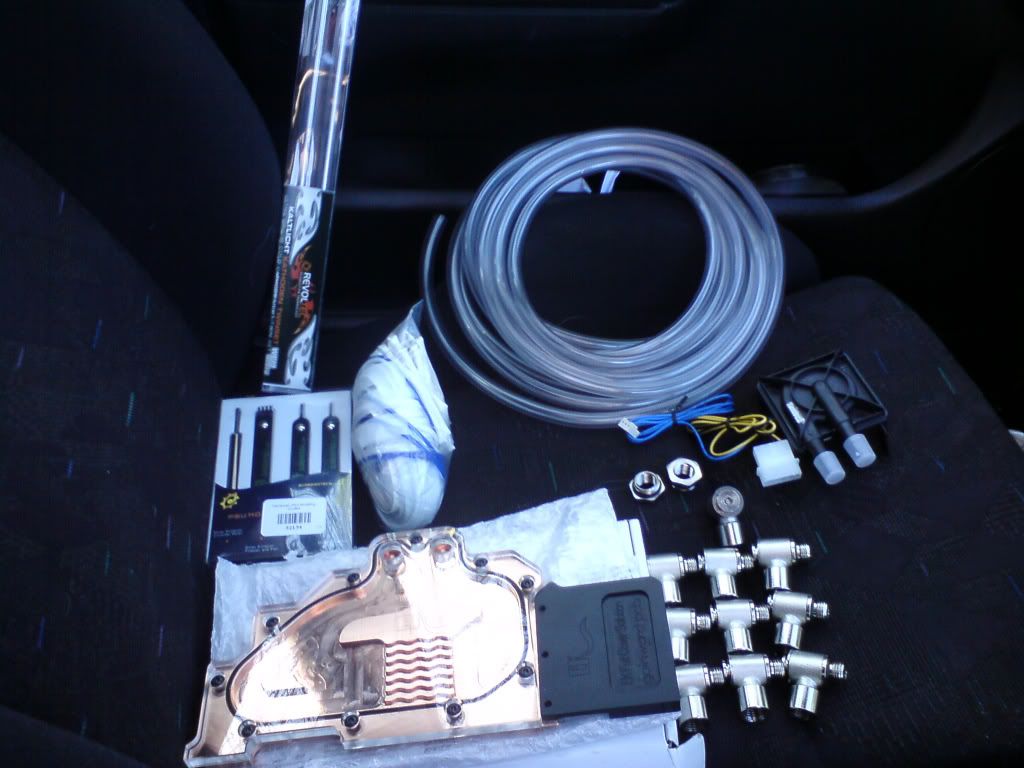
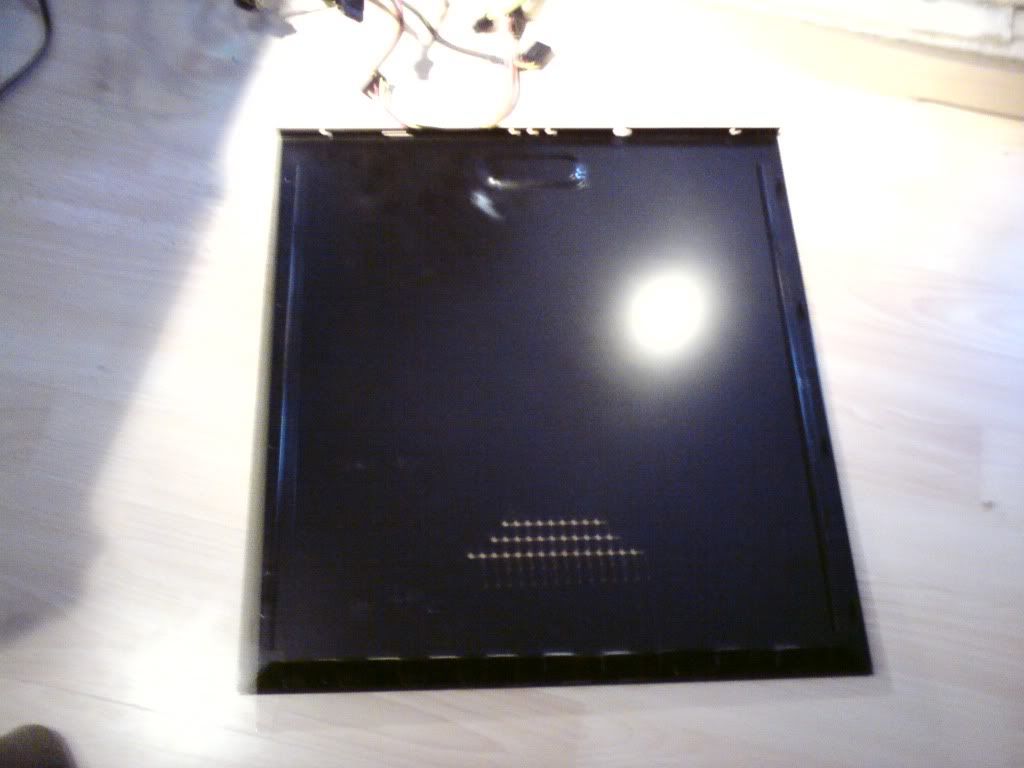
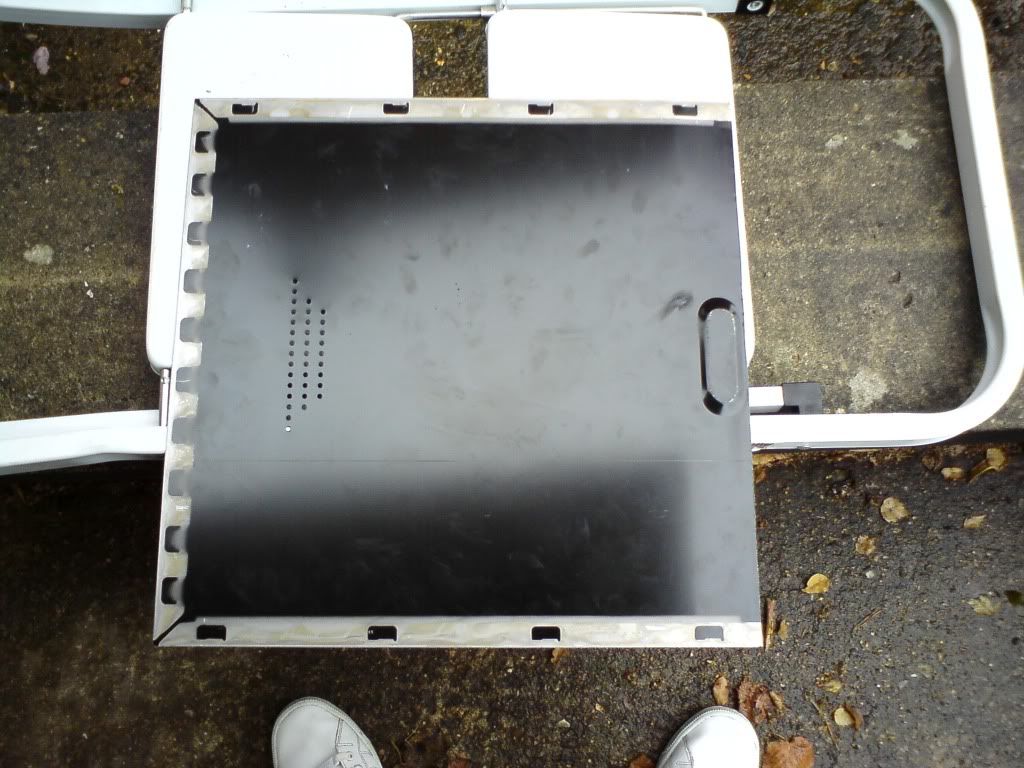
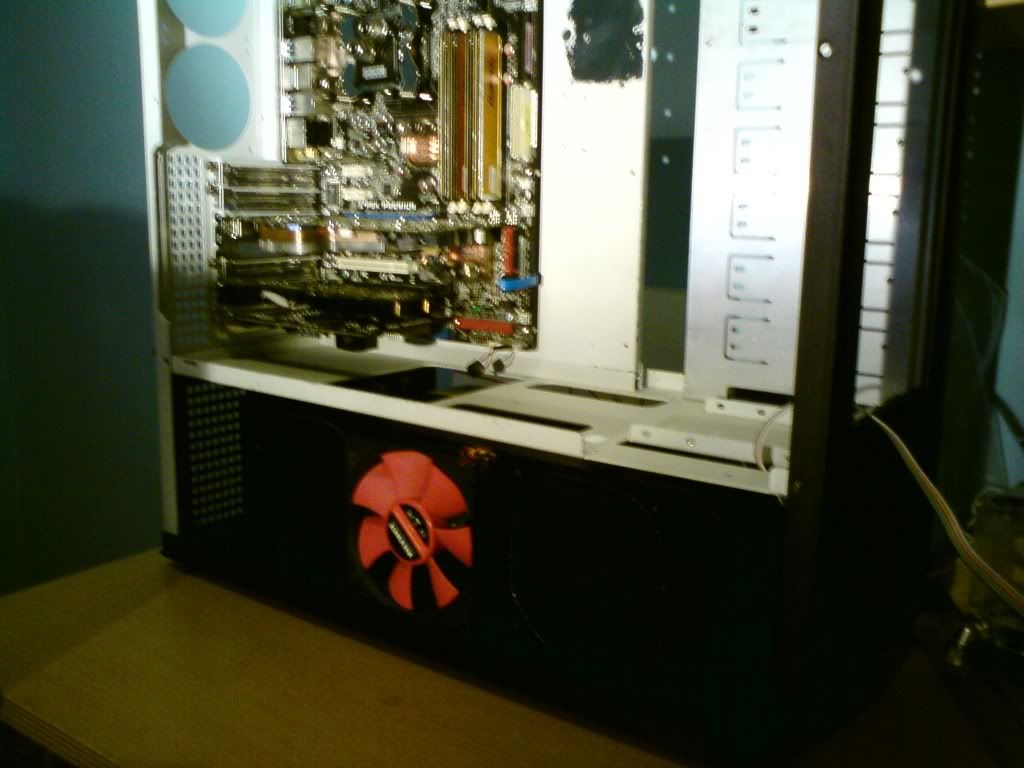
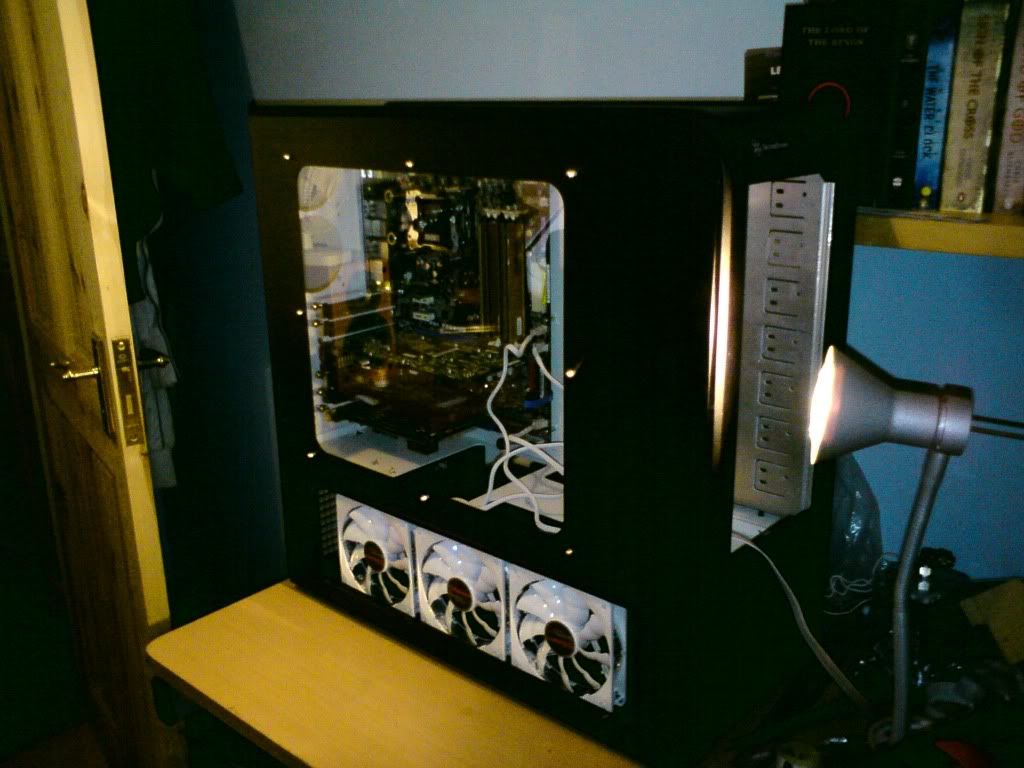
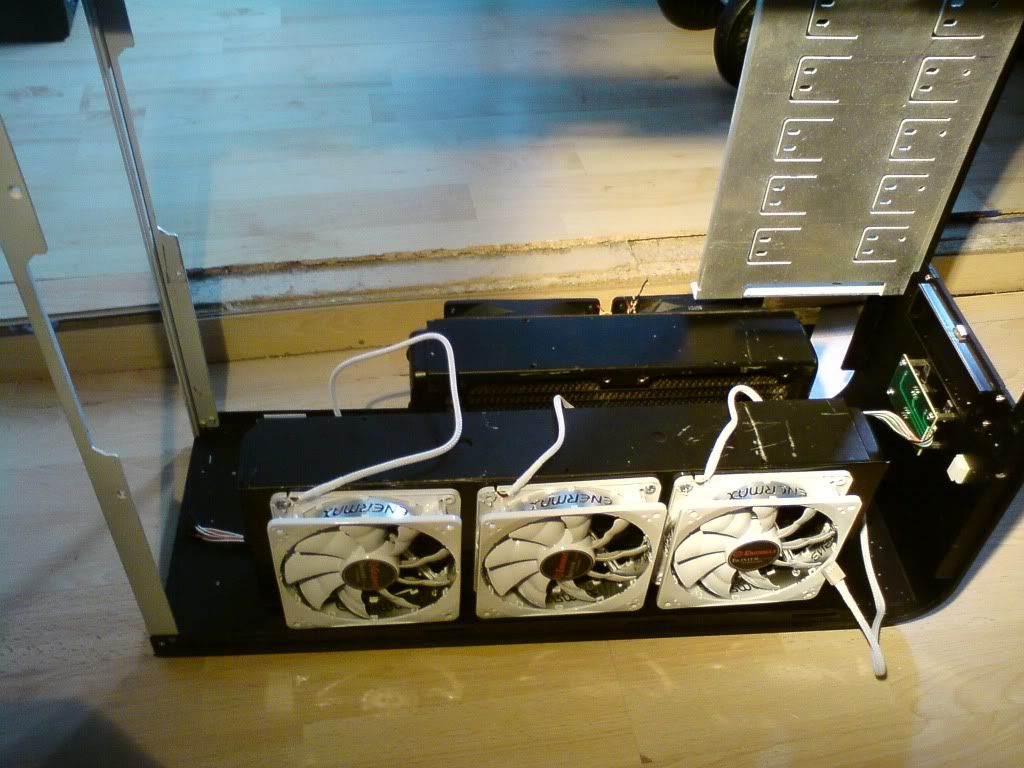
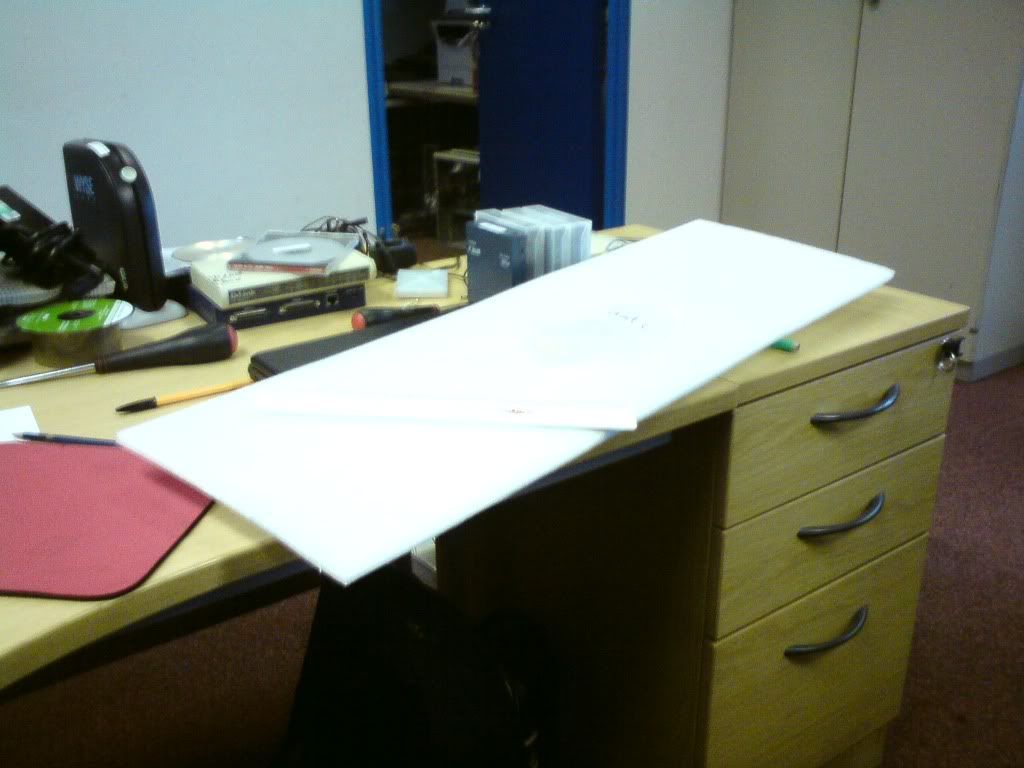
Quick show of the acrylic cut to the shape of the floor. I shall be putting this in with the diffusion paper and CC's over the next couple of days. I can then mount the pumps and drill the holes for the tubing.
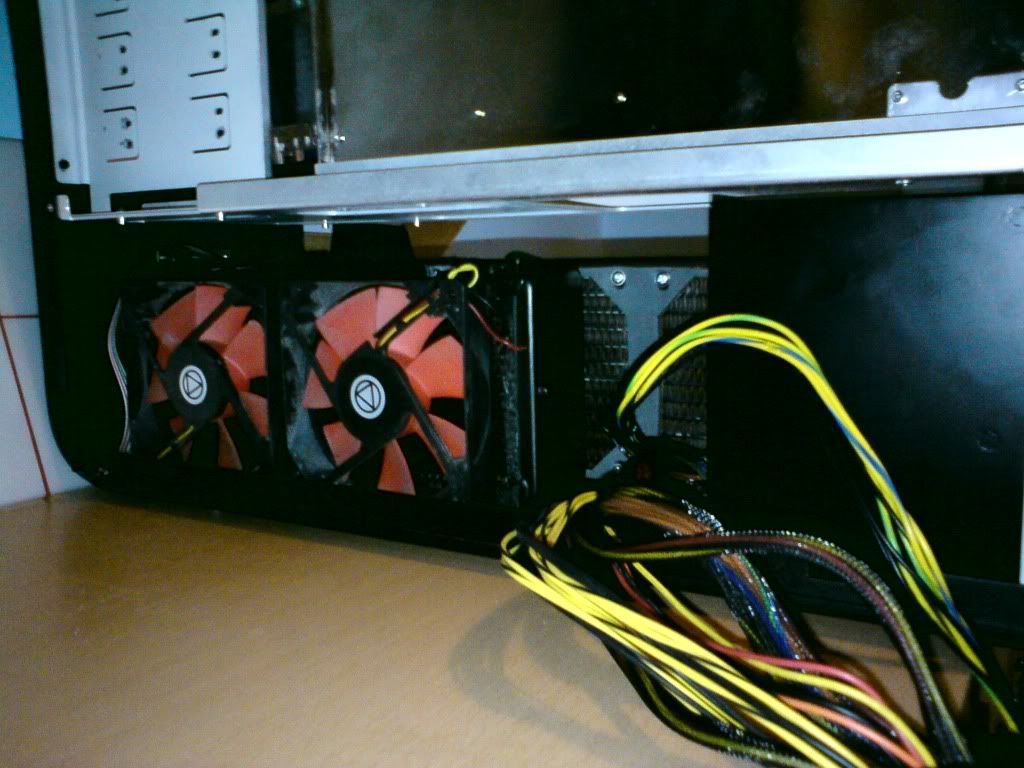
Another show of how the rads look with the floor removed from the TJ07. I’m going to be making a brace to go over the top of the rads, that will also have side that go between them. This will help with rigidity and airflow.
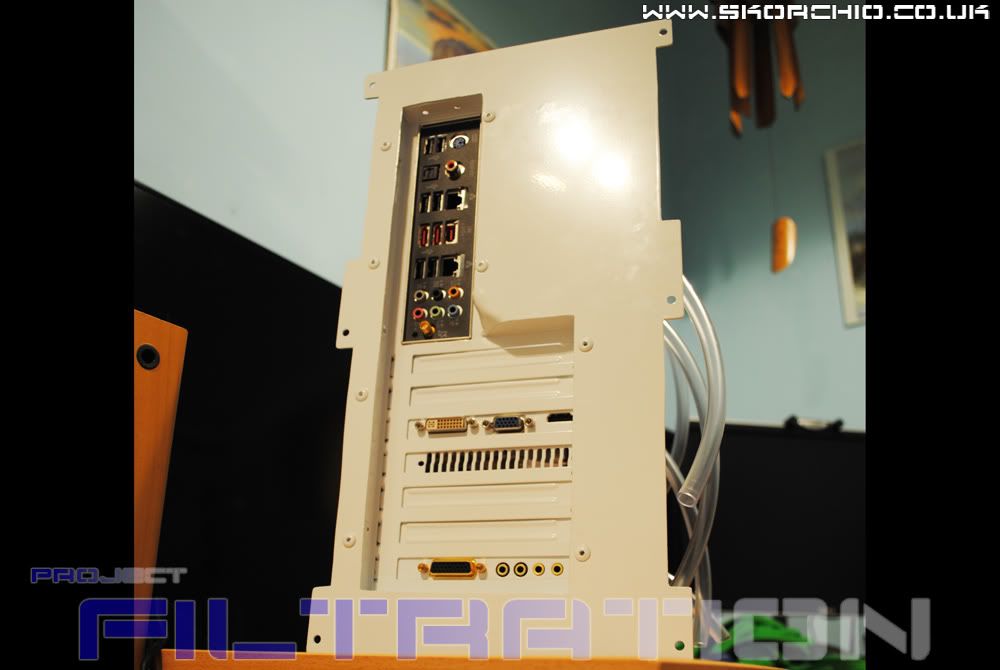
I have also taken out the front usb panel, this will all be covered up with the front facia that will be made.
Here are the pics
Ill do the other side maybe tomorrow. Its such a pain to cut!!
***
Finished off the rad mount this evening. Should get my new fans in a few days so can get it properly linked up and bolted down.
Pics
I will be putting a brace on the top of the 2 rads to give it more rigidity. It, and the rads will also be sprayed white when the case gets done.
Comments welcome
Nick
***
Yeh it was a pain a$$, its so thin!!
Anyway delivery today
Wanted to test the GFX card was ok so i did a bit of burning! Playing AION with it now, seems fine but im getting some funny problems in windows so im downloading the latest drivers for 7 64 bit, this should solver that! Its let down by everything else in the "Temp" gaming system (Notice i had to bring it my other PSU)
***
I finally have all the bits i need so i can really crack on with out having to stop due to parts.
Quick show of the acrylic cut to the shape of the floor. I shall be putting this in with the diffusion paper and CC's over the next couple of days. I can then mount the pumps and drill the holes for the tubing.
Another show of how the rads look with the floor removed from the TJ07. I’m going to be making a brace to go over the top of the rads, that will also have side that go between them. This will help with rigidity and airflow.
I have also taken out the front usb panel, this will all be covered up with the front facia that will be made.
Sorry the shop does not sell the exact ones, speak to Rob, clear UV blue is all your need,.
I had loads planned for today but i got off to a bad start which got me slightly annoyed so i thought best not to do to much as i didnt want to jeperdise the work quality.
All i mananged to get done was a bit of tubeing on the mobo and some white heat shrink on the ATX. I have to say that the Sunbeam ATX took as crap, i ended up using the "6 pin power connecters" one, down each side, twist, bobs your uncle.

O yeh... the reason im shrinking them that much is.. well.. that would be telling, ill be working on this soon, should look MINT!
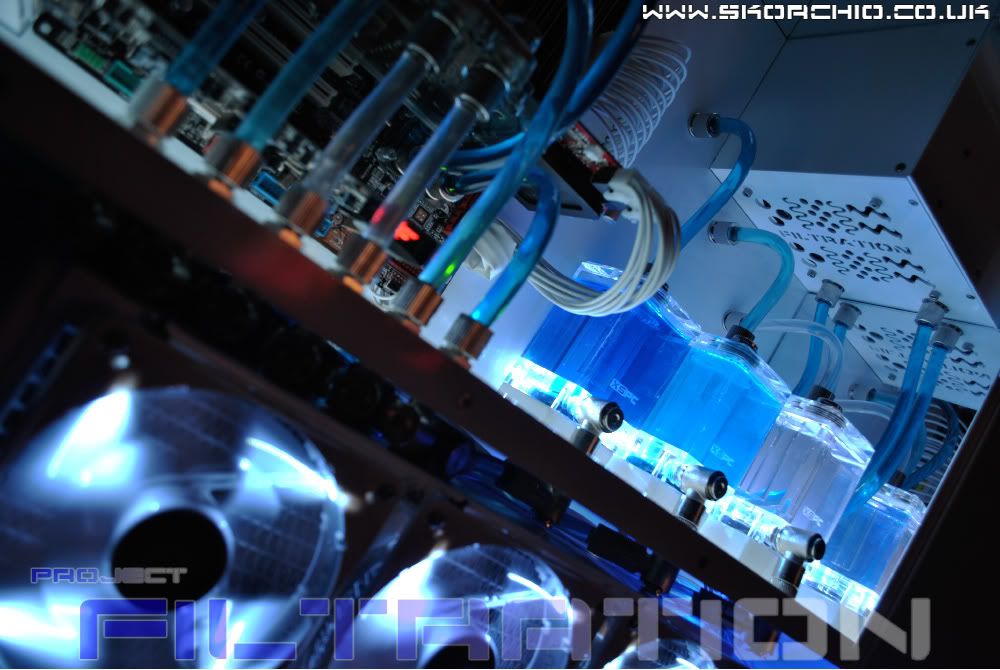
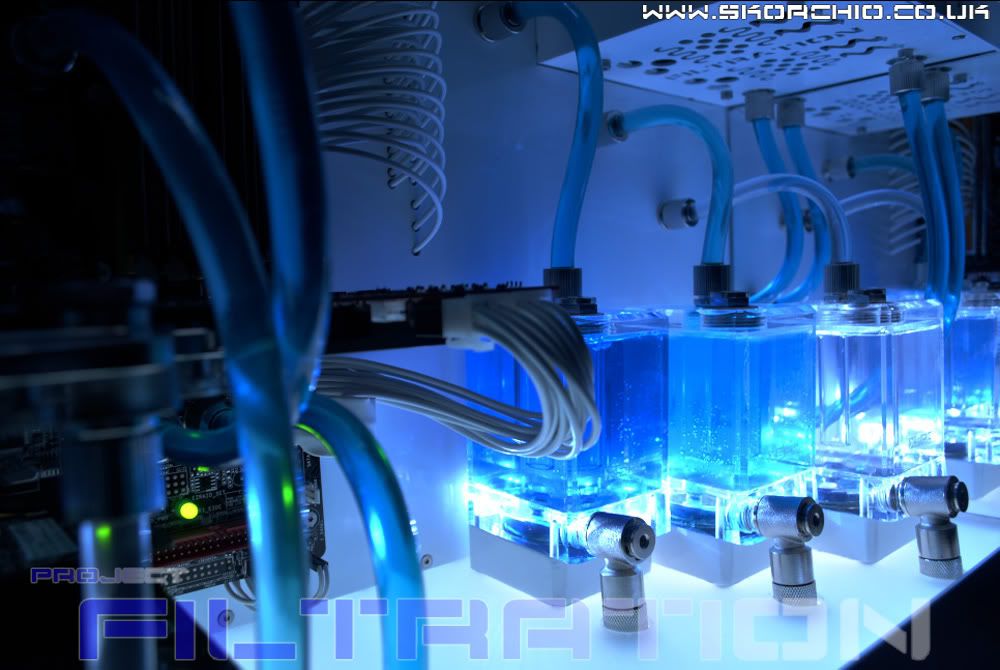
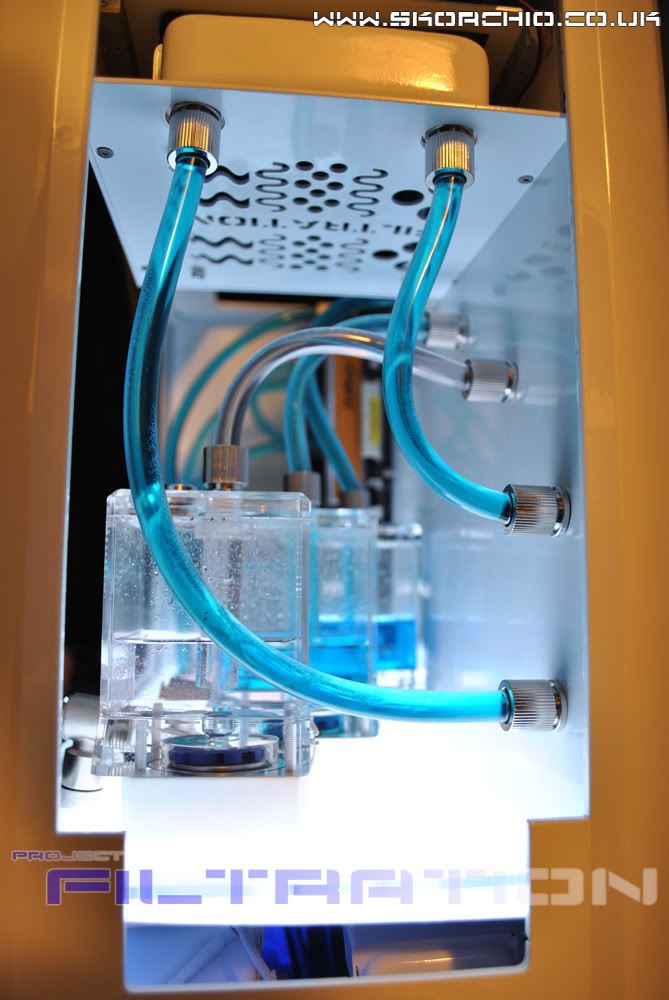
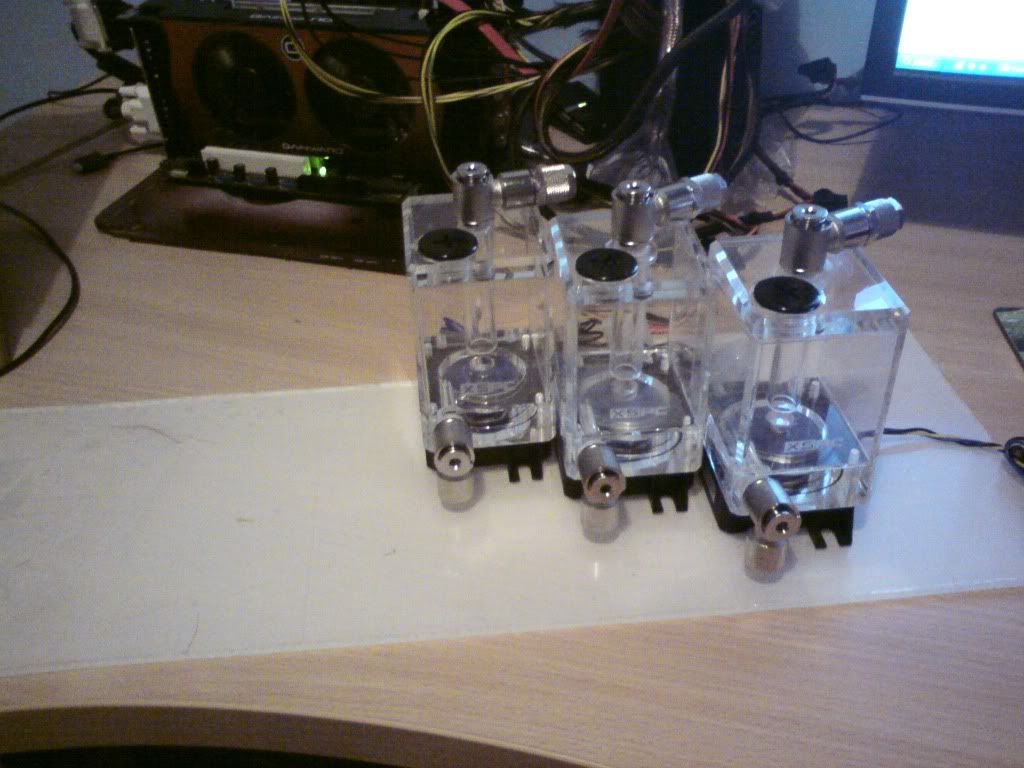
A pic of the 3 pumps finals sitting next to each other. I had another brain wave here as well. Im going to cut off the DDC mouting hole/brackets, paint the whole base white, and mount them to the perspex from underneath so you cant see any bolts etc. Should look ace!!
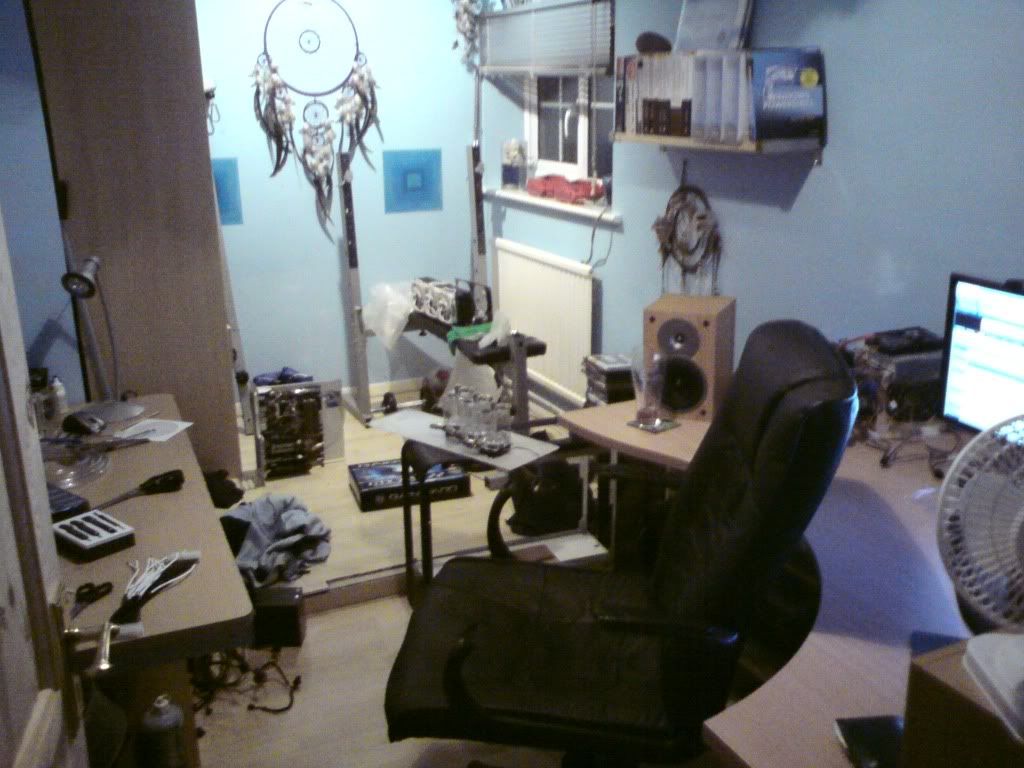
And here is a pick of the bomb site!
Also i have changed my plan slightly for the cd drive, hdds and 3rd rad, im not going to cut up the TJ07 bays (as cutting anything TJ07 is a sin) instead im going to make my own mounting.
It dawned on me today how much work i have ahead of me!
More soon
***
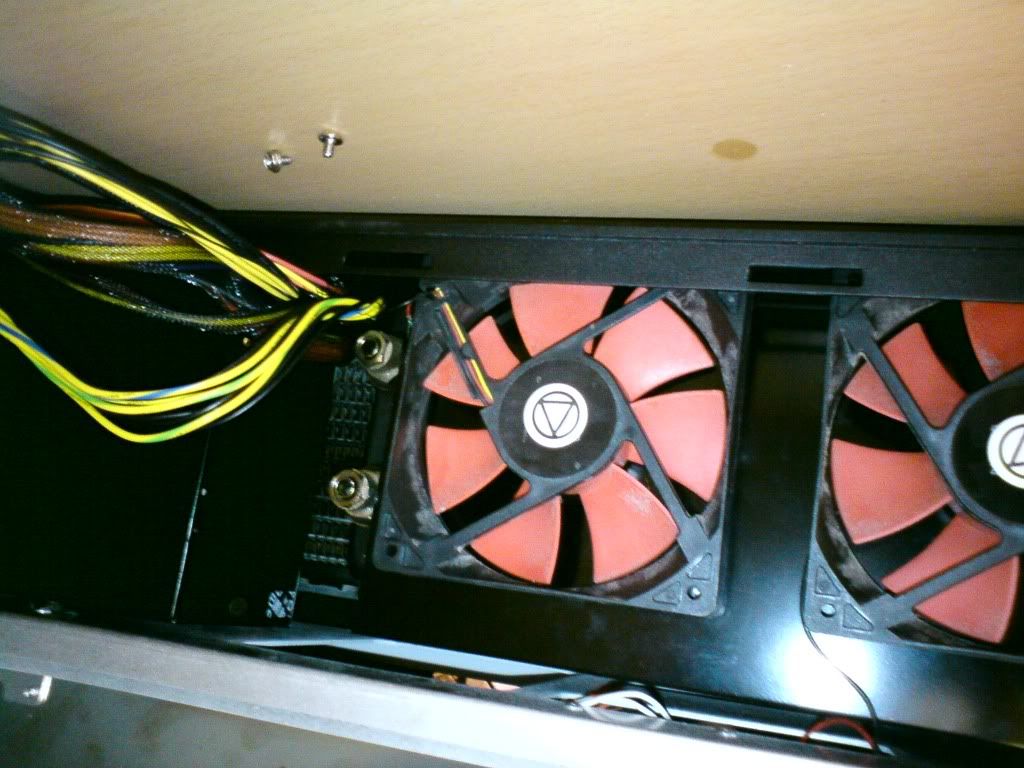
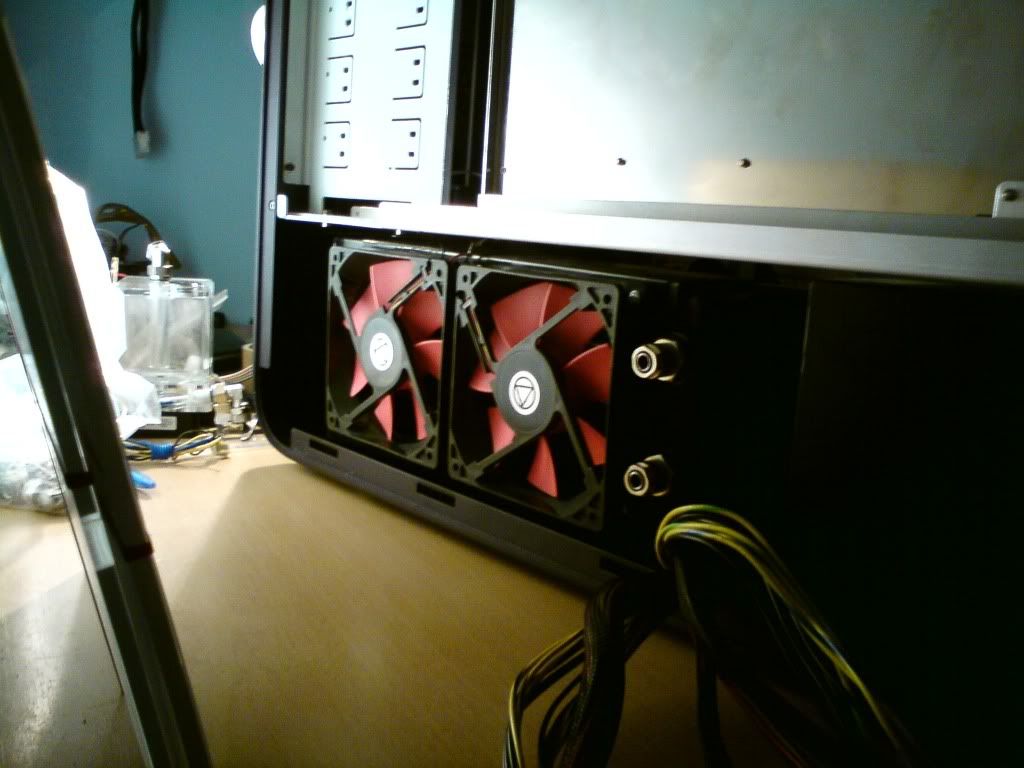
Thanks mate, should look ace them its all in, long way to go yet! I got allot done tonight but most of it was not on the main project. To Filtration I tapped all the rads to M4 and put long bolts through them and the fans.
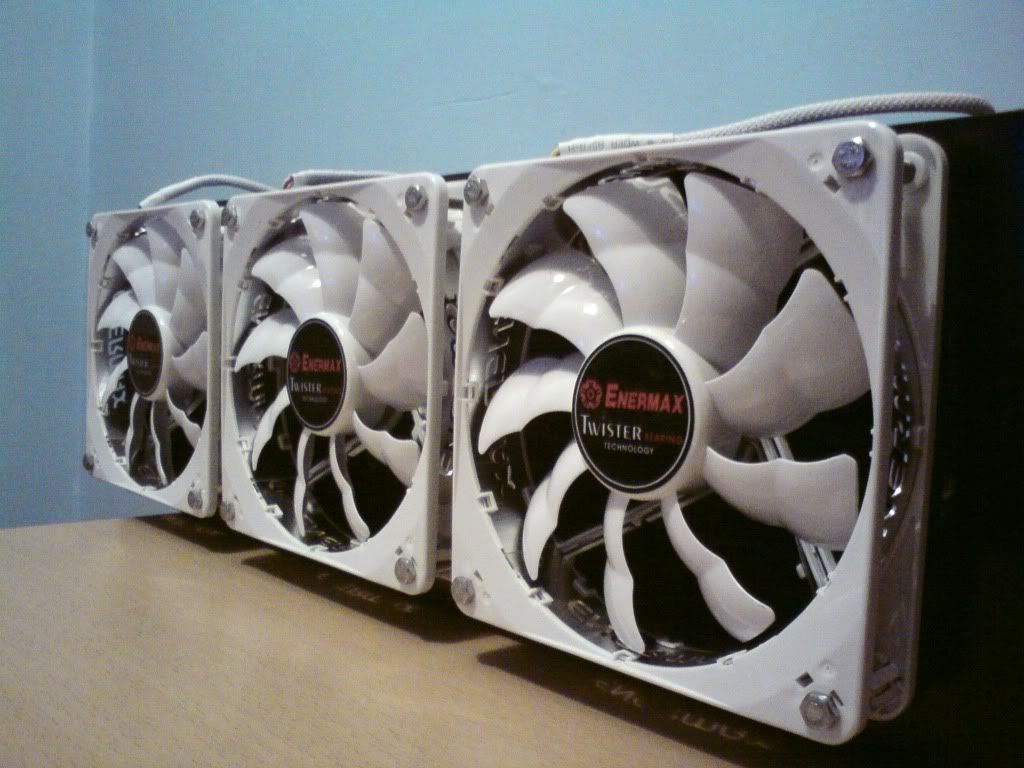
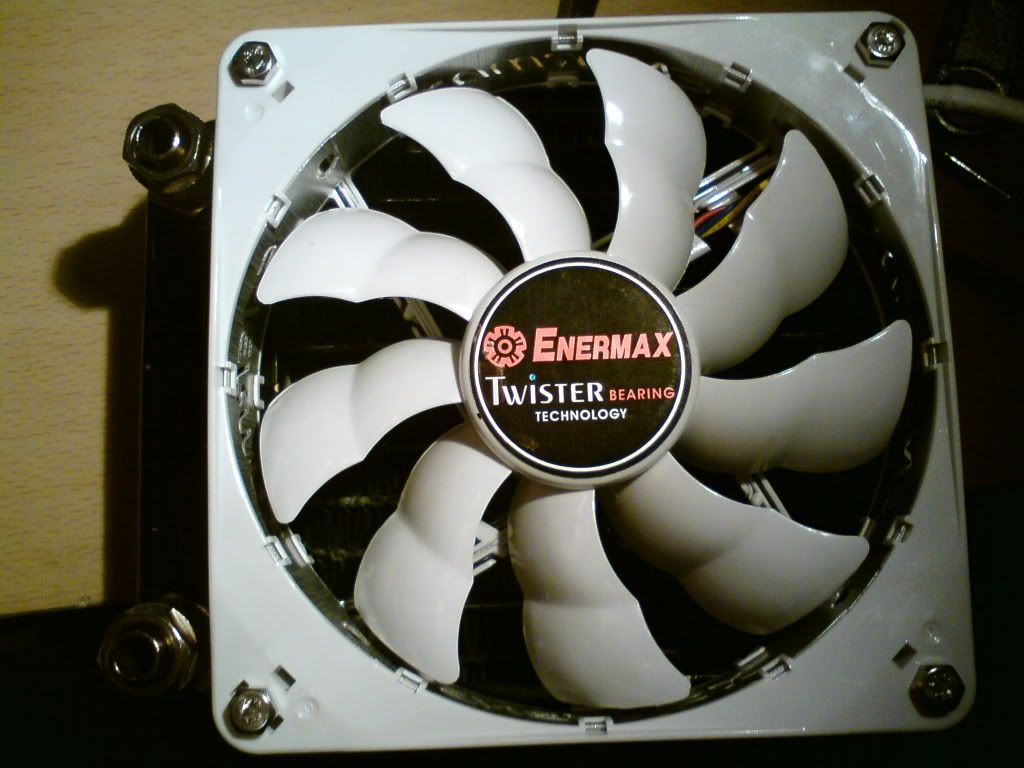
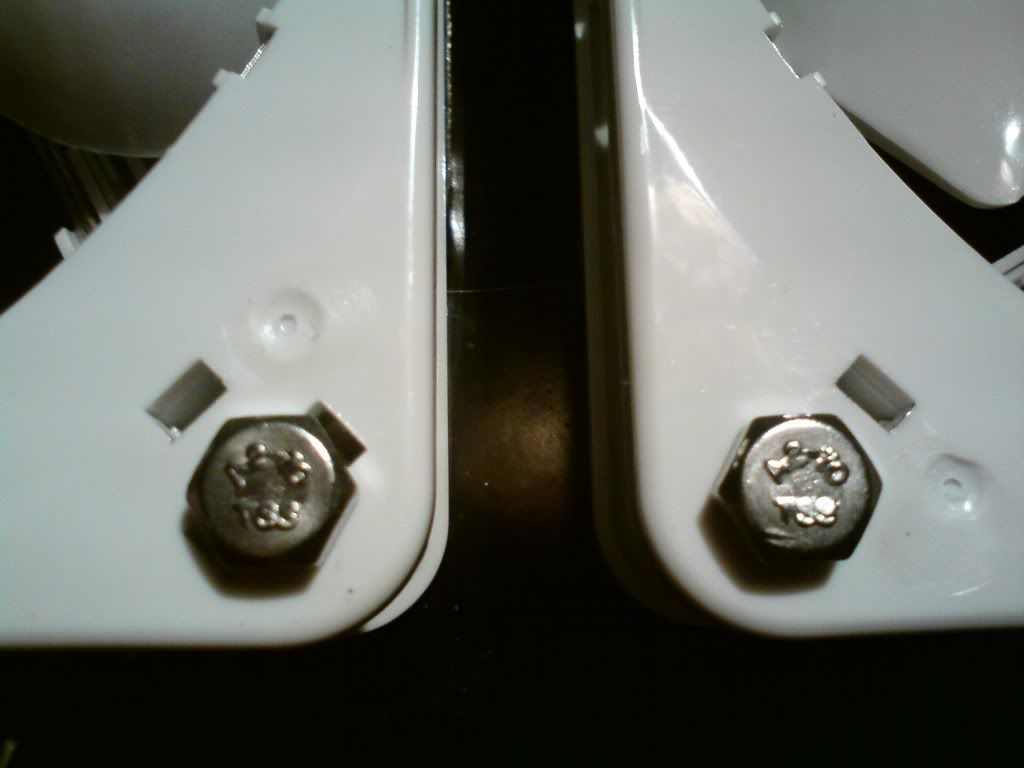
Notice how all the bolts line up (is that called OCD?)
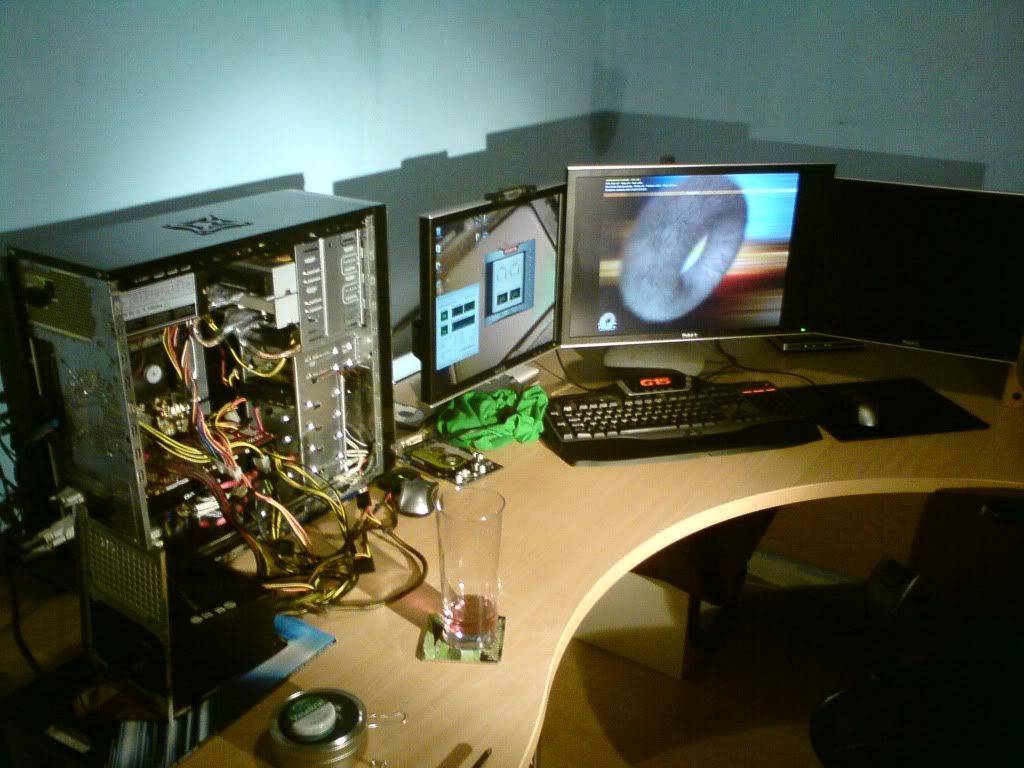
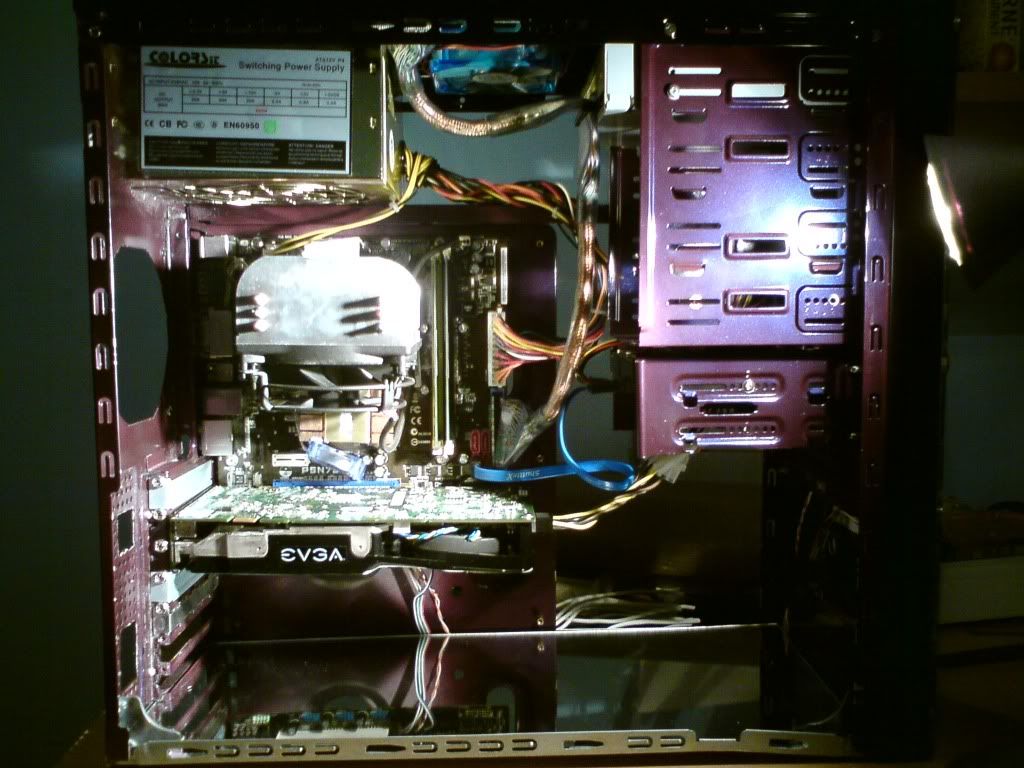
I then set about getting my temp rig finished. This started off as an 4000+ amd with a 7600 GT, but has evolved to a E8400 @ 3.4 (ill get it higher when i have time to get it stable) and an 8800 GTS G92 512mb, does 14,000 in 3Dmark06.
Tonight i got the stock cooler back on the 8800 and put the whole thing in my old case as its been resting on CPC mag for a week or so. I went a bit anal on it tho and got carried away searching for matching backing plates and i did all the screws blue but the GFX onces purple!! I then had to make the PSU cables as tidy as i could. I also had an Evo Cyclone memory cooler lying around so i stuck that on. Anyway, i now have a lovly system to game on whilst freeing up all my good hardware that will be going in to filtration.
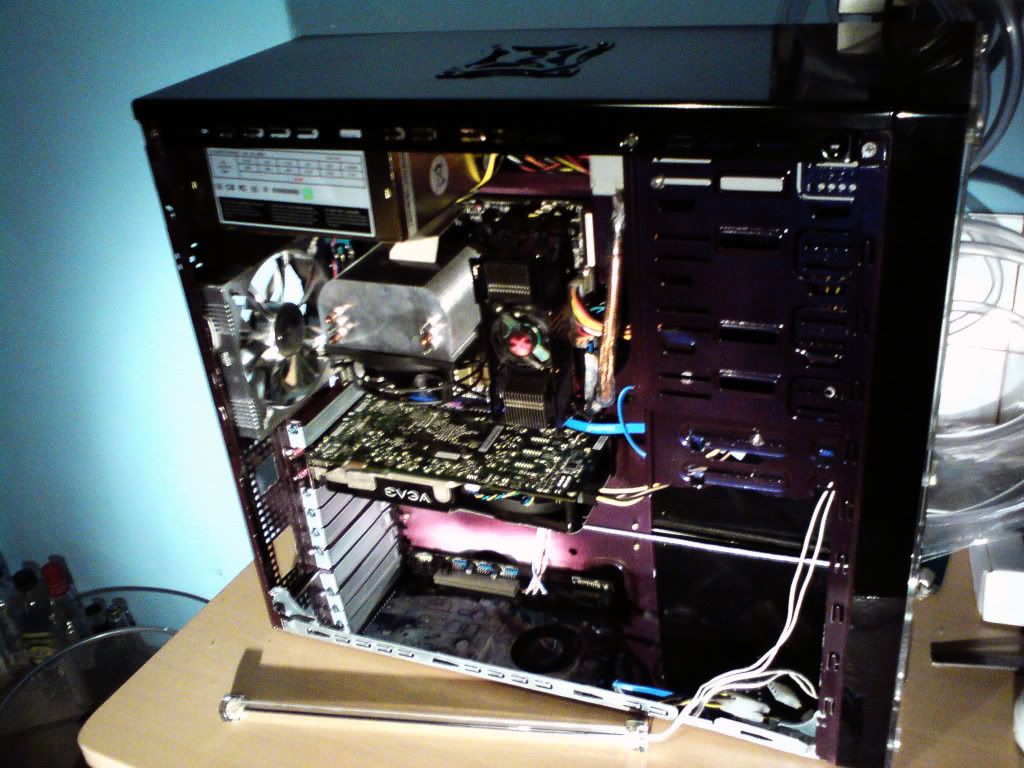
Pic to show PSU cables.
***
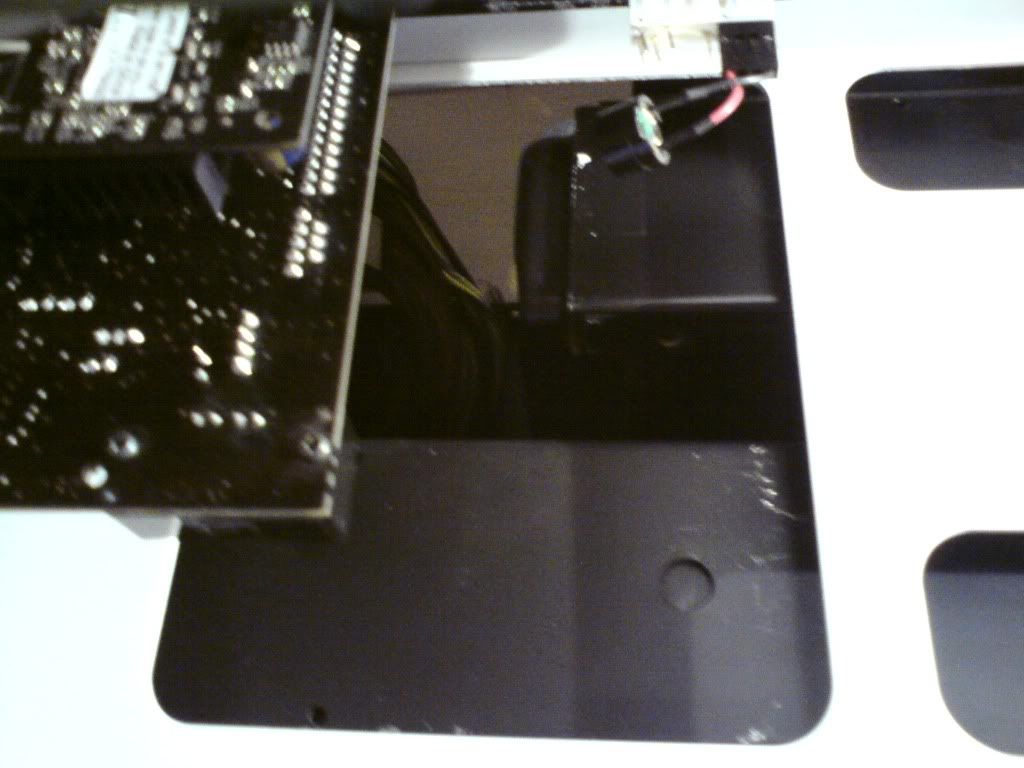
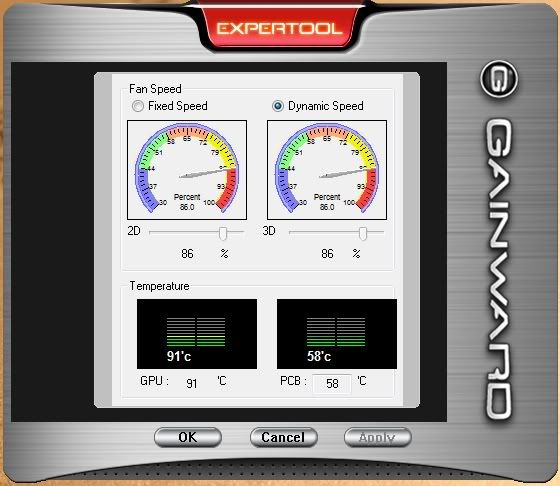
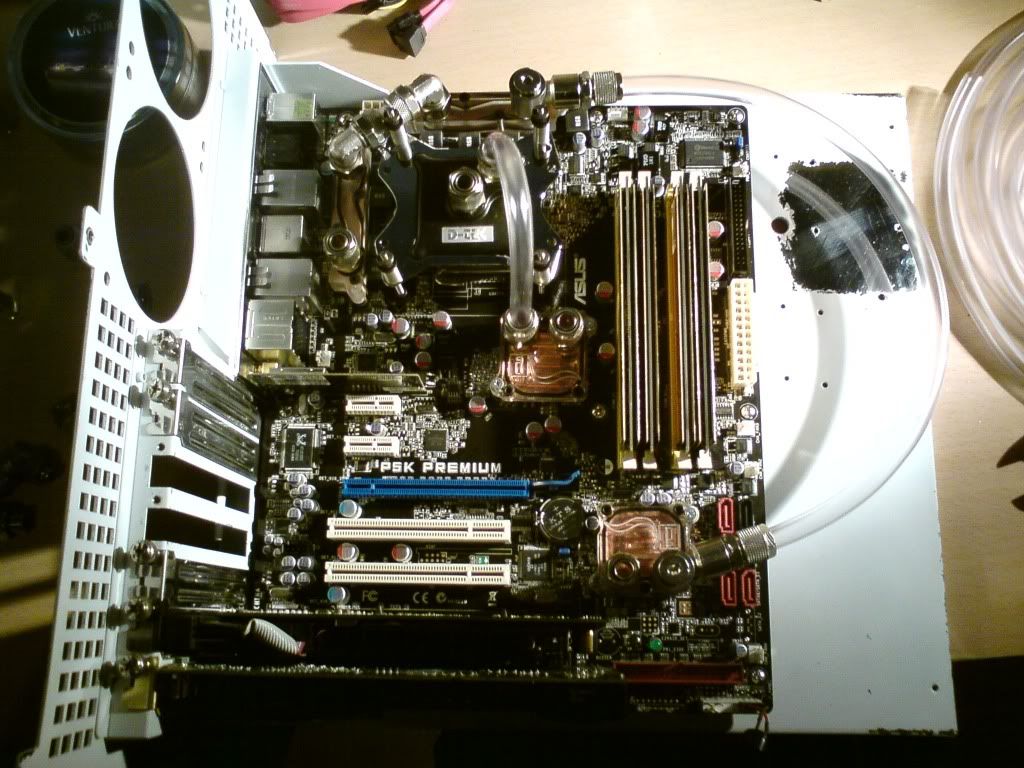
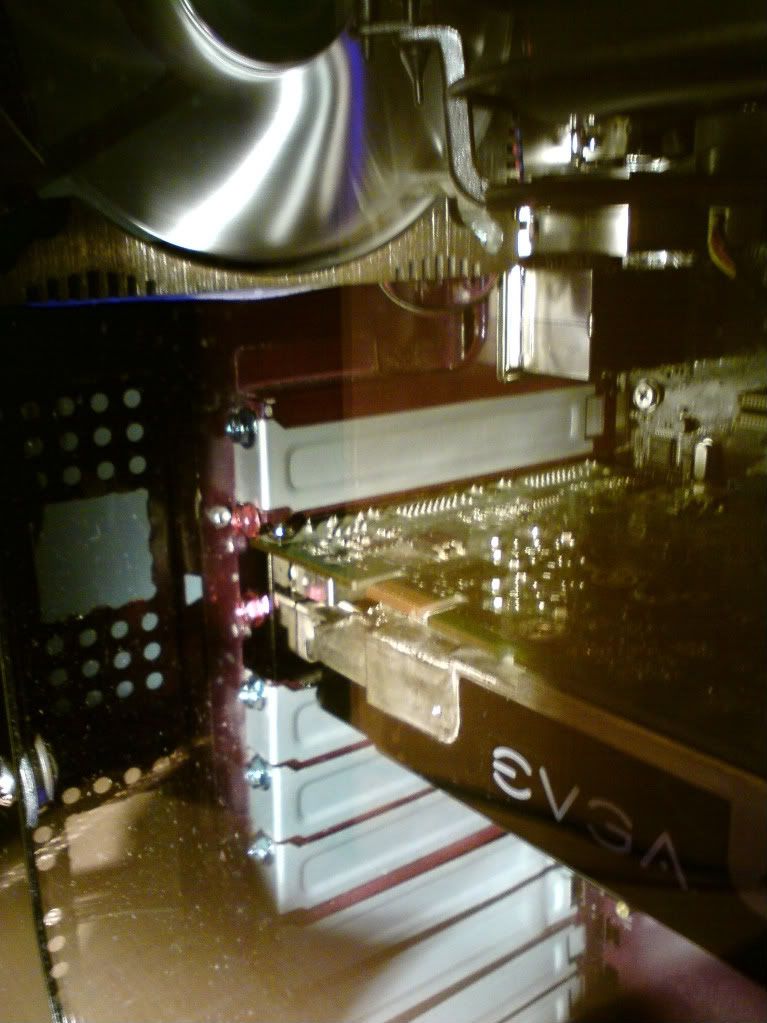
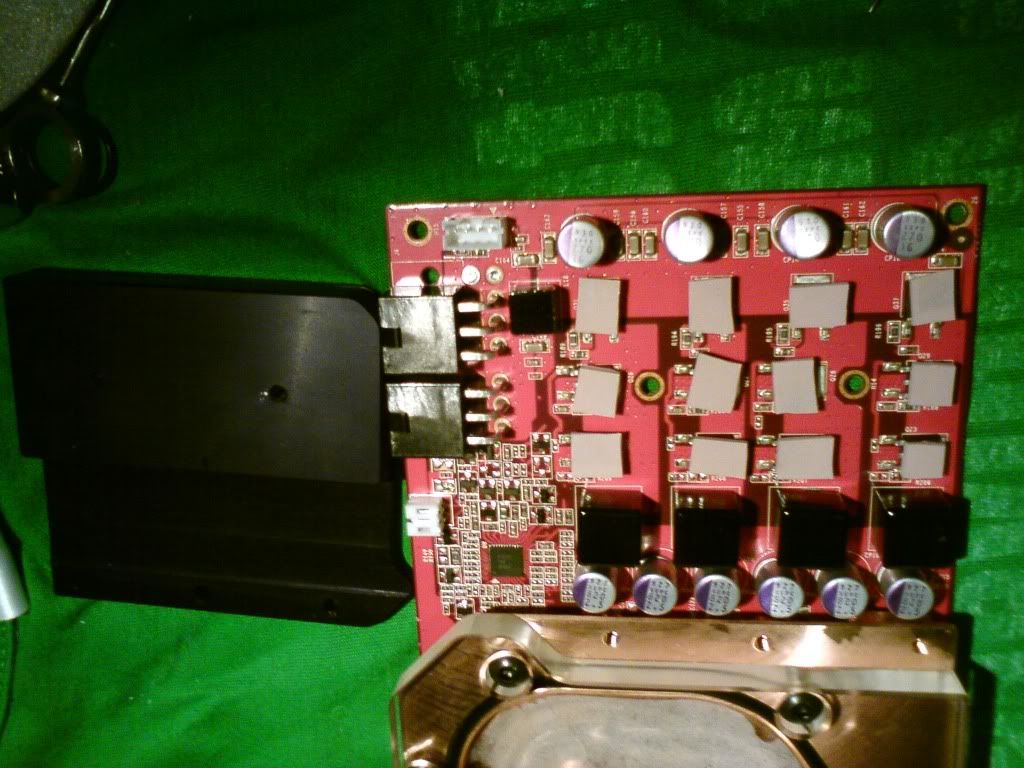
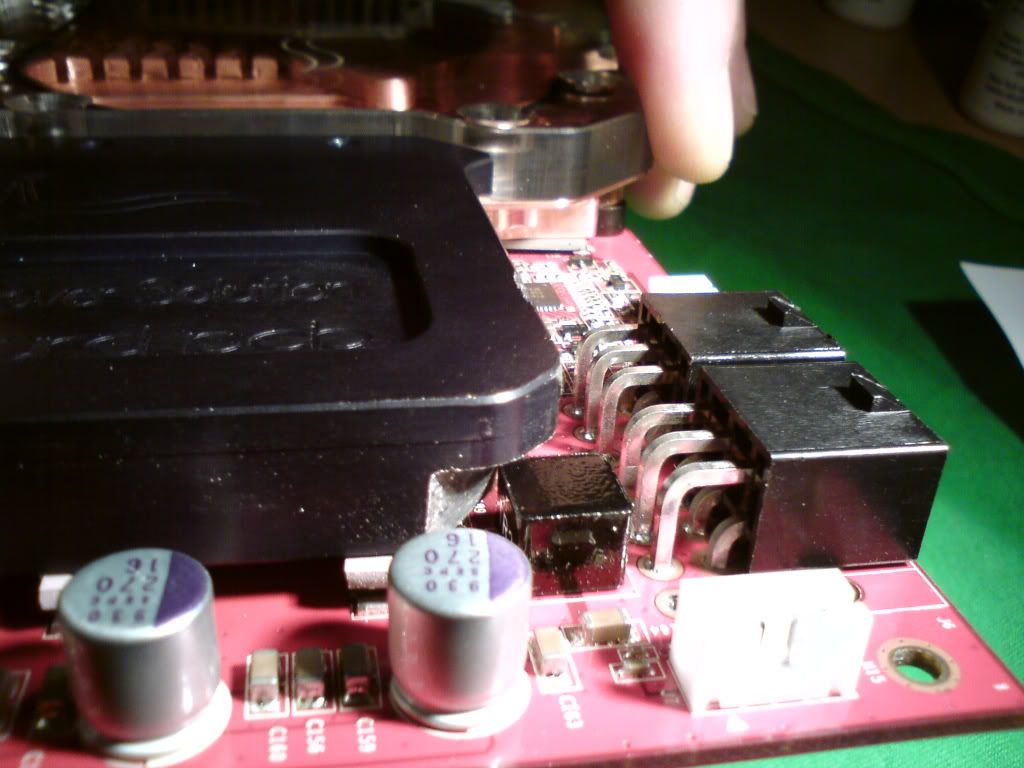
Seems Palit/Gainward have made an addition to the PCB which makes these blocks not fully fit.
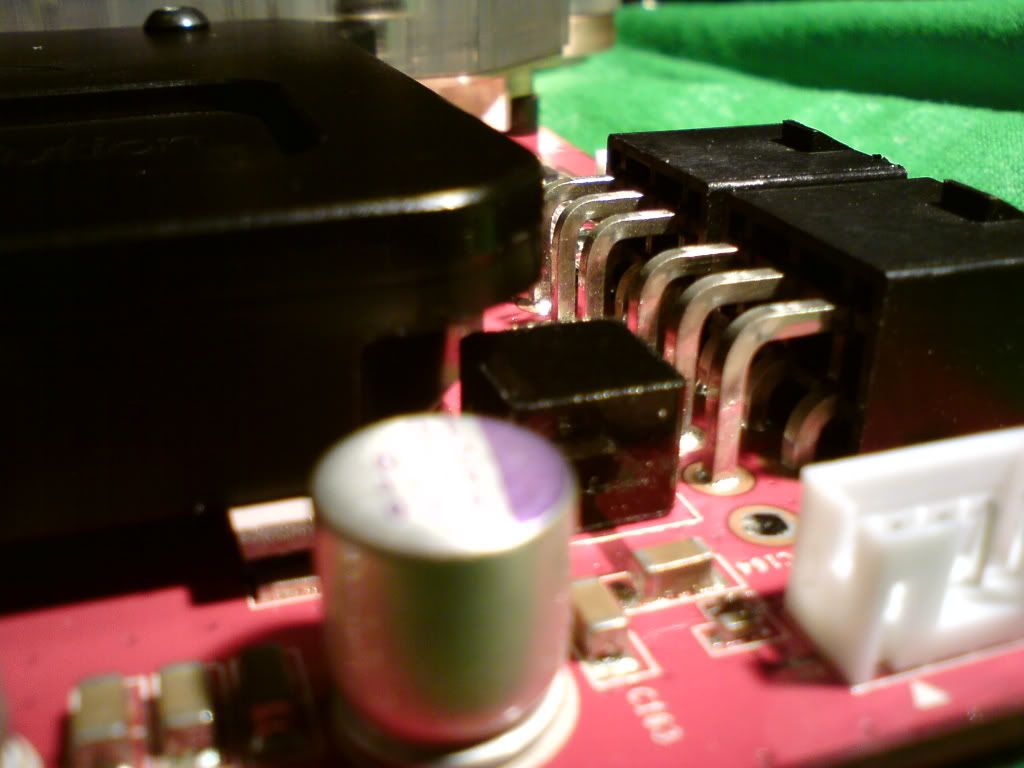
As you can see there is a black square just below the right hand side power connecter, says 1r2 on it, no idea what it is.
Old board,
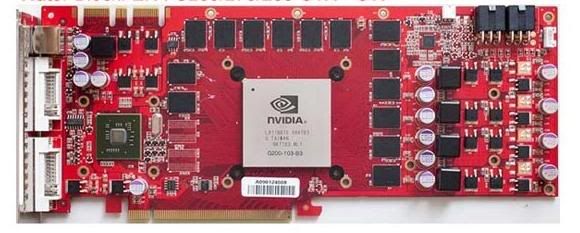
Mine
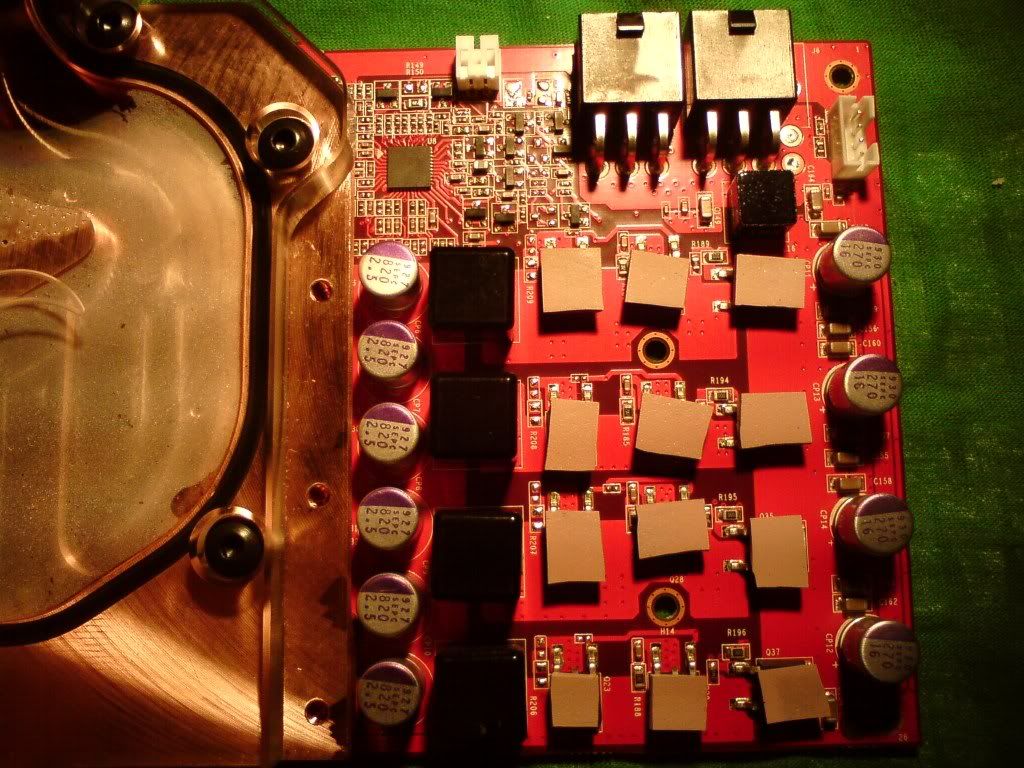
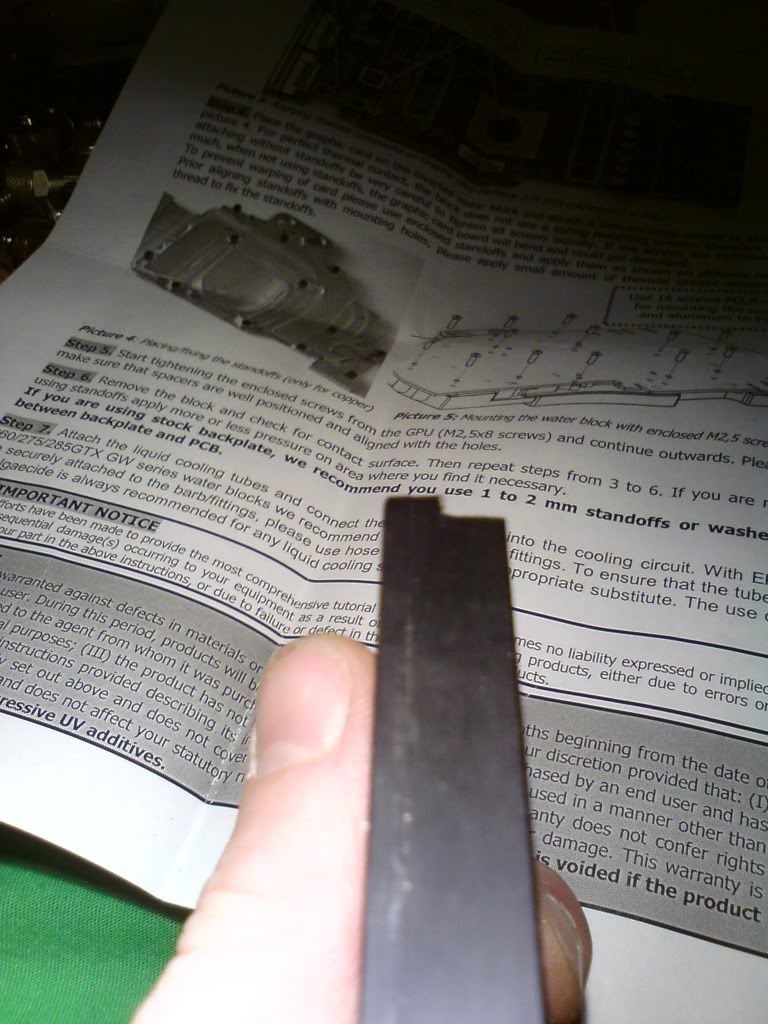
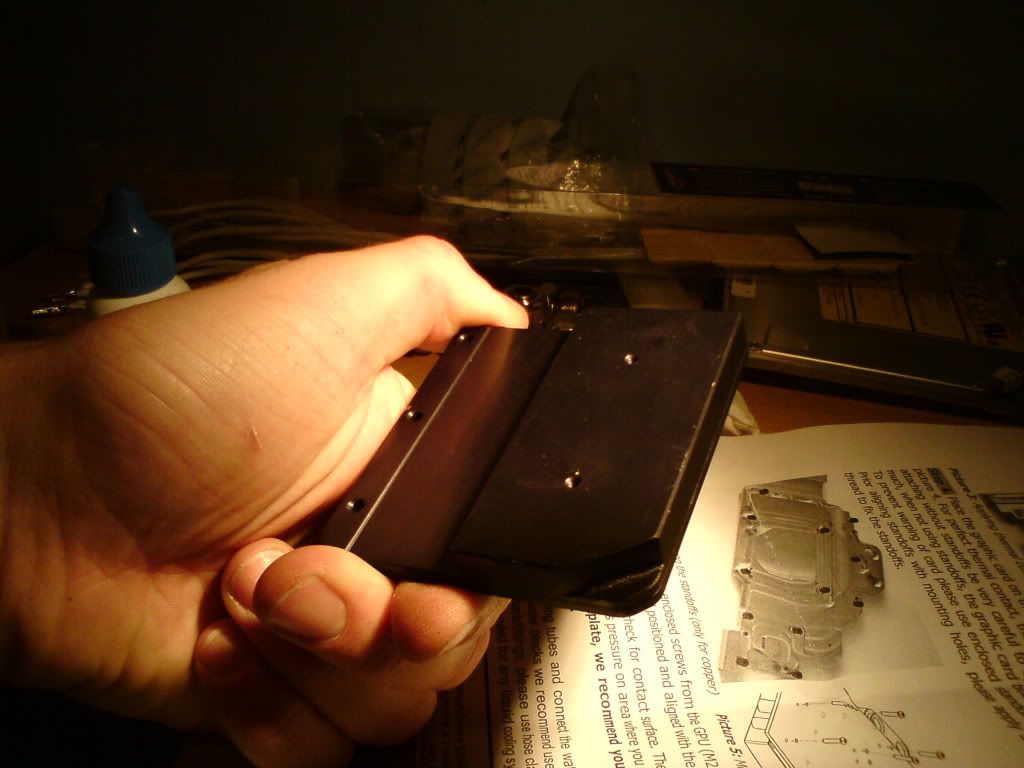
What i did.
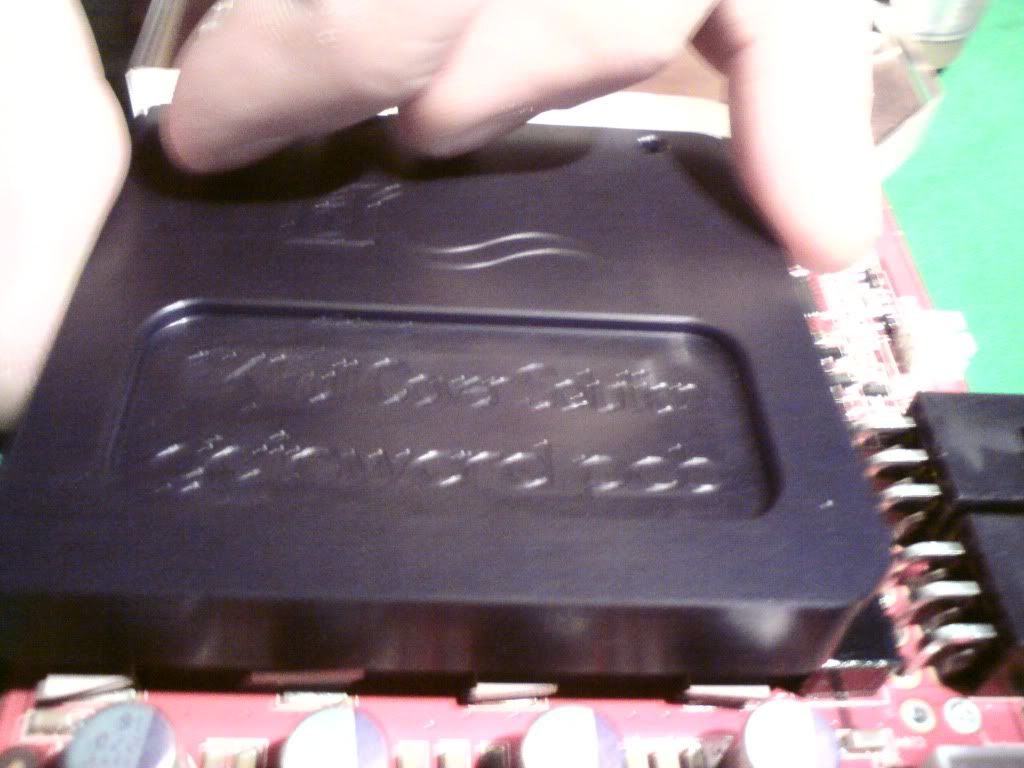
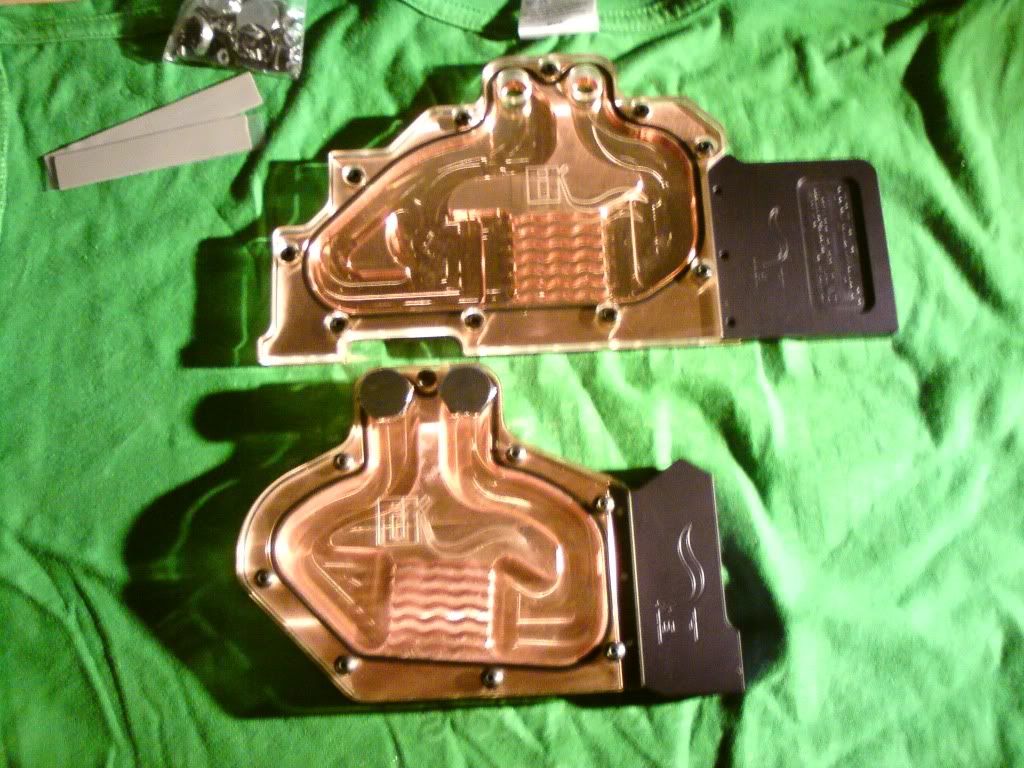
Old 8800 bloch Vs GTX 275.
I also had a play around with the flooring today, give you a climps on what its going to be like I had to move the pumps right and forward as well, the gfx card is just so dam big!
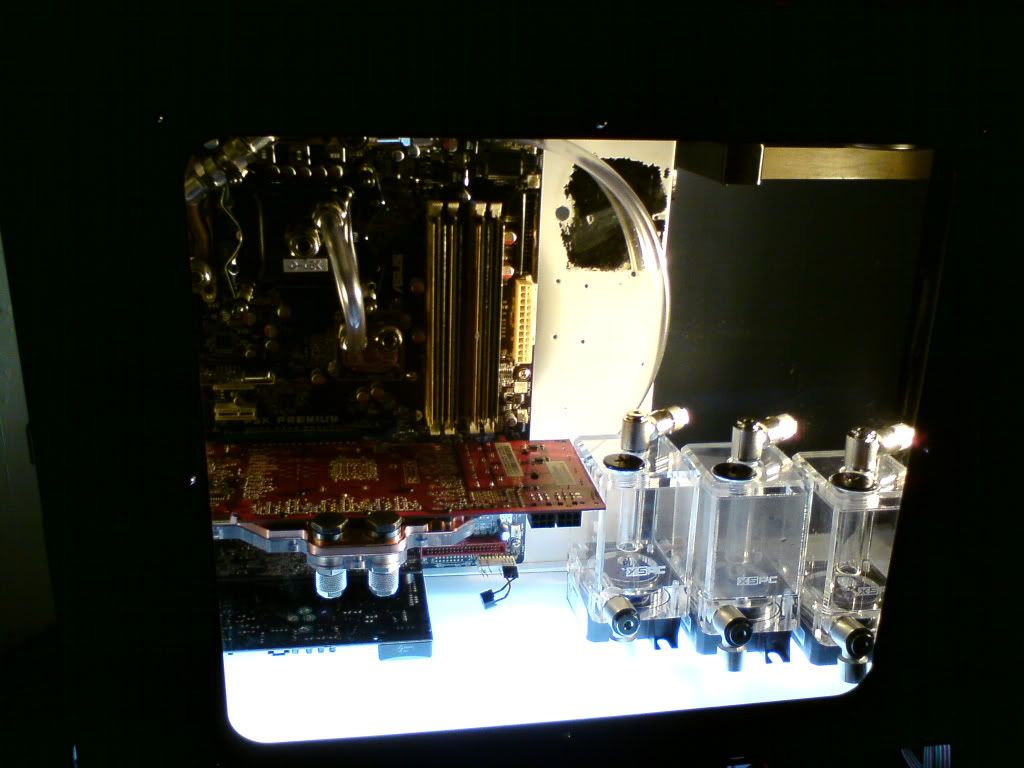
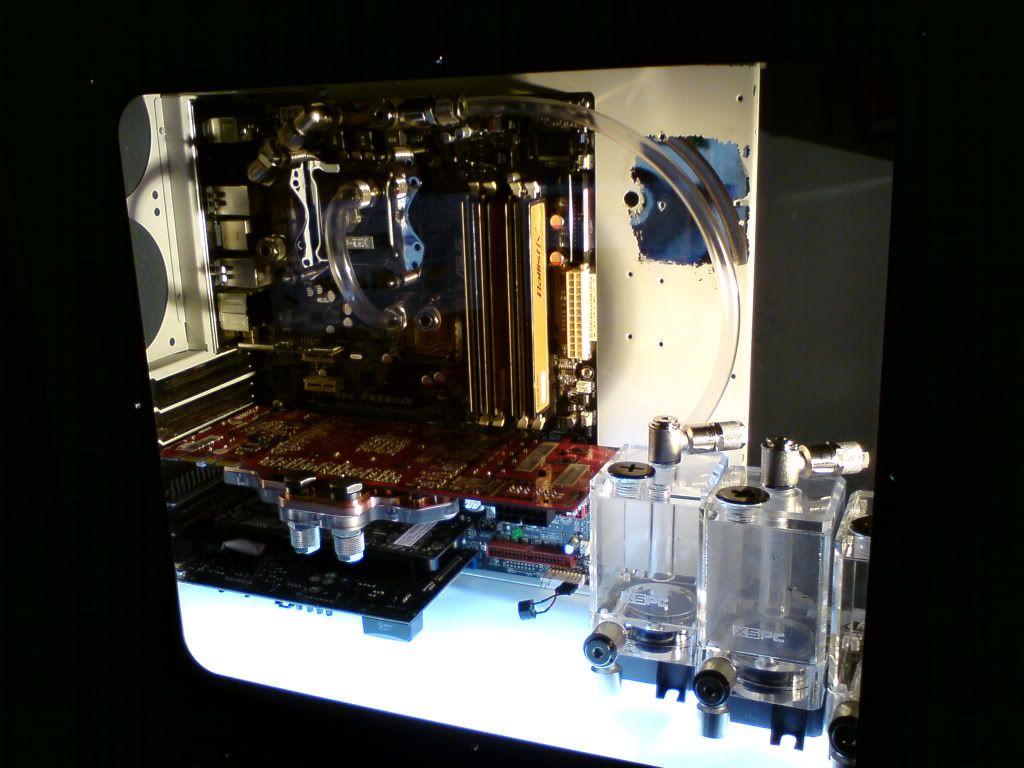
Im going to play with the "boltless" pump mounting tomorrow morning.
***
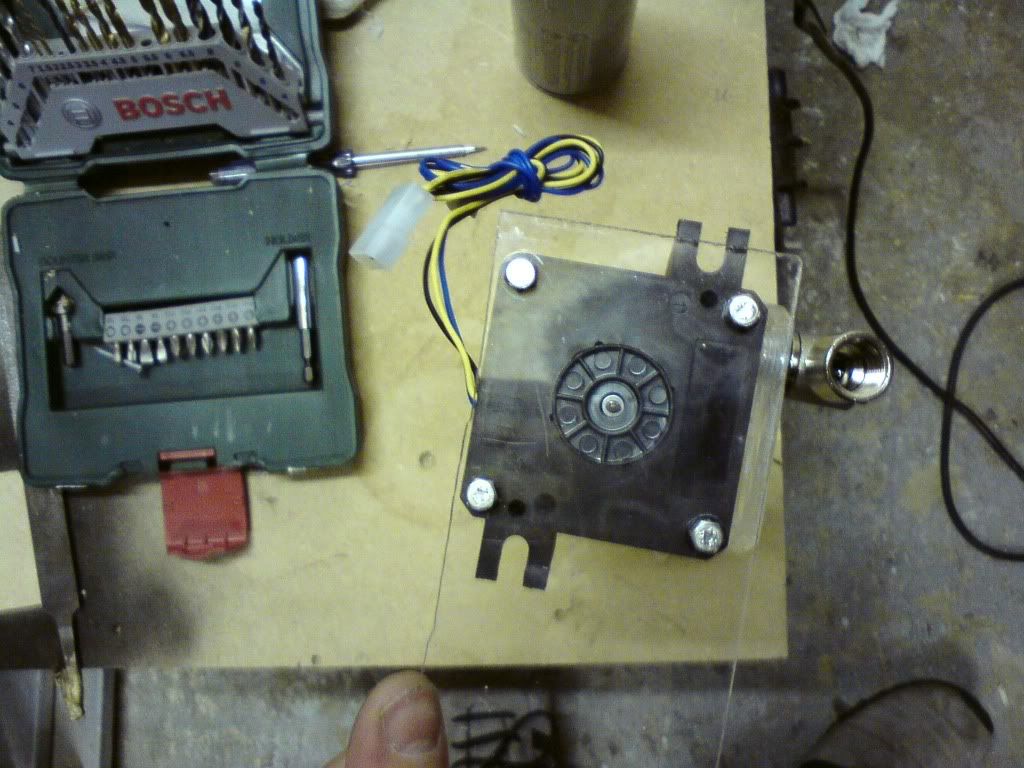
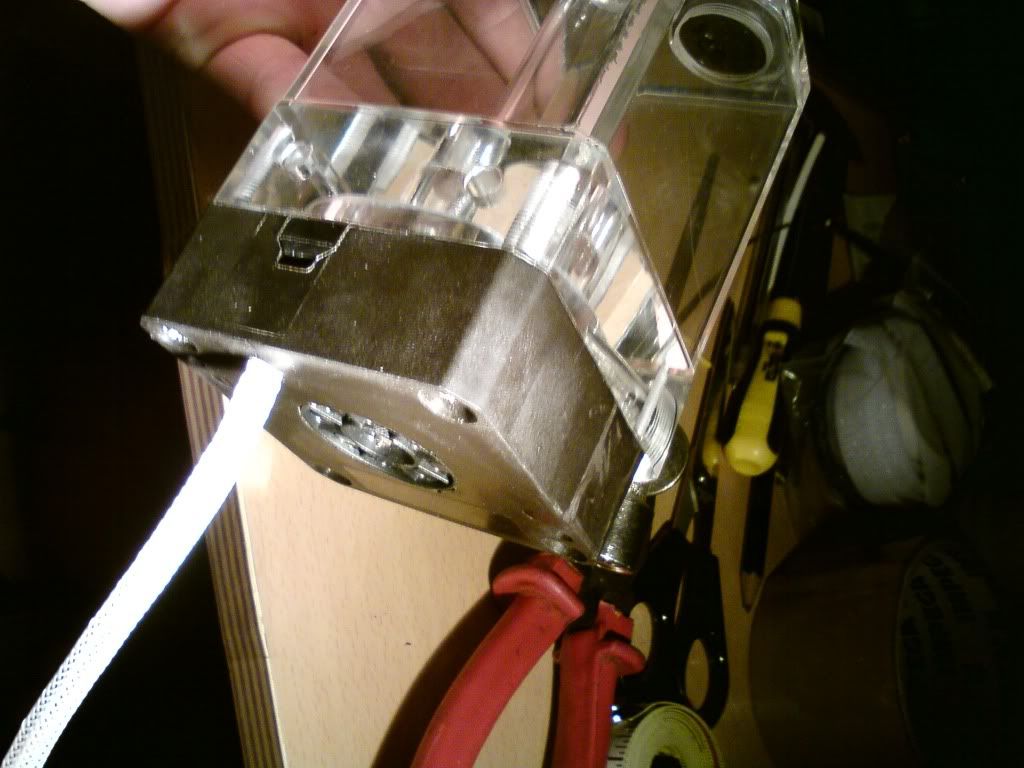
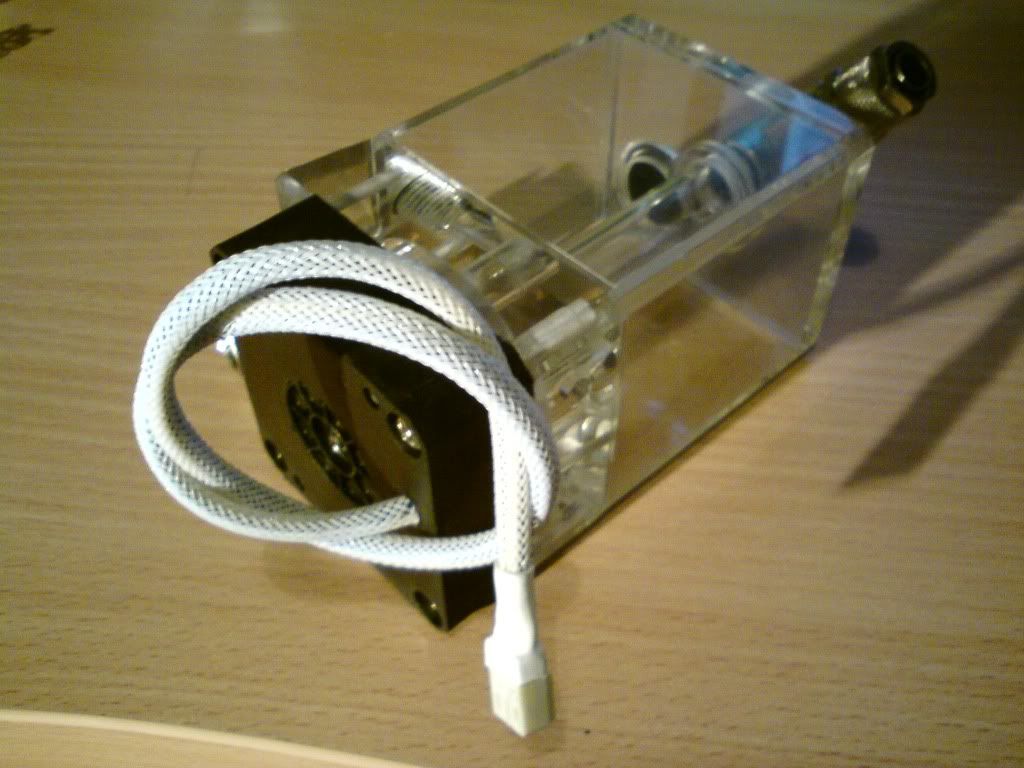
A pic of how the pumps will mount. I can now cut off the mounts and paint the base white. Also means I can have the wire coming out the back so the pumps will but up nicely to each other.
I had loads planned for today but i got off to a bad start which got me slightly annoyed so i thought best not to do to much as i didnt want to jeperdise the work quality.
All i mananged to get done was a bit of tubeing on the mobo and some white heat shrink on the ATX. I have to say that the Sunbeam ATX took as crap, i ended up using the "6 pin power connecters" one, down each side, twist, bobs your uncle.
O yeh... the reason im shrinking them that much is.. well.. that would be telling, ill be working on this soon, should look MINT!
A pic of the 3 pumps finals sitting next to each other. I had another brain wave here as well. Im going to cut off the DDC mouting hole/brackets, paint the whole base white, and mount them to the perspex from underneath so you cant see any bolts etc. Should look ace!!
And here is a pick of the bomb site!
Also i have changed my plan slightly for the cd drive, hdds and 3rd rad, im not going to cut up the TJ07 bays (as cutting anything TJ07 is a sin) instead im going to make my own mounting.
It dawned on me today how much work i have ahead of me!
More soon
***
Thanks mate, should look ace them its all in, long way to go yet! I got allot done tonight but most of it was not on the main project. To Filtration I tapped all the rads to M4 and put long bolts through them and the fans.
Notice how all the bolts line up (is that called OCD?)
I then set about getting my temp rig finished. This started off as an 4000+ amd with a 7600 GT, but has evolved to a E8400 @ 3.4 (ill get it higher when i have time to get it stable) and an 8800 GTS G92 512mb, does 14,000 in 3Dmark06.
Tonight i got the stock cooler back on the 8800 and put the whole thing in my old case as its been resting on CPC mag for a week or so
. I went a bit anal on it tho and got carried away searching for matching backing plates and i did all the screws blue but the GFX onces purple!! I then had to make the PSU cables as tidy as i could. I also had an Evo Cyclone memory cooler lying around so i stuck that on. Anyway, i now have a lovly system to game on whilst freeing up all my good hardware that will be going in to filtration.
Pic to show PSU cables.
***
Seems Palit/Gainward have made an addition to the PCB which makes these blocks not fully fit.
As you can see there is a black square just below the right hand side power connecter, says 1r2 on it, no idea what it is.
Old board,
Mine
What i did.
Old 8800 bloch Vs GTX 275.
I also had a play around with the flooring today, give you a climps on what its going to be like
I had to move the pumps right and forward as well, the gfx card is just so dam big!
Im going to play with the "boltless" pump mounting tomorrow morning.
***
A pic of how the pumps will mount. I can now cut off the mounts and paint the base white. Also means I can have the wire coming out the back so the pumps will but up nicely to each other.
sammytomjohn
New member
nice build coming along here! congrats dude!
")
Nice idea that I like it.
siravarice
New member
This is the sort of thing I want to do, but I just dont have the tools or time to do it in.
siravarice
New member
Yeah, planning a big build for the future with water cooling and what not, so probably in the summer will be when its made
Ducky Spud
New member
Looking great!! Some proper thought gone into all this and looks like its working out really well as a result! Glowing floor looks ace
Right another small update, at this pace this build is going to take a year or so 
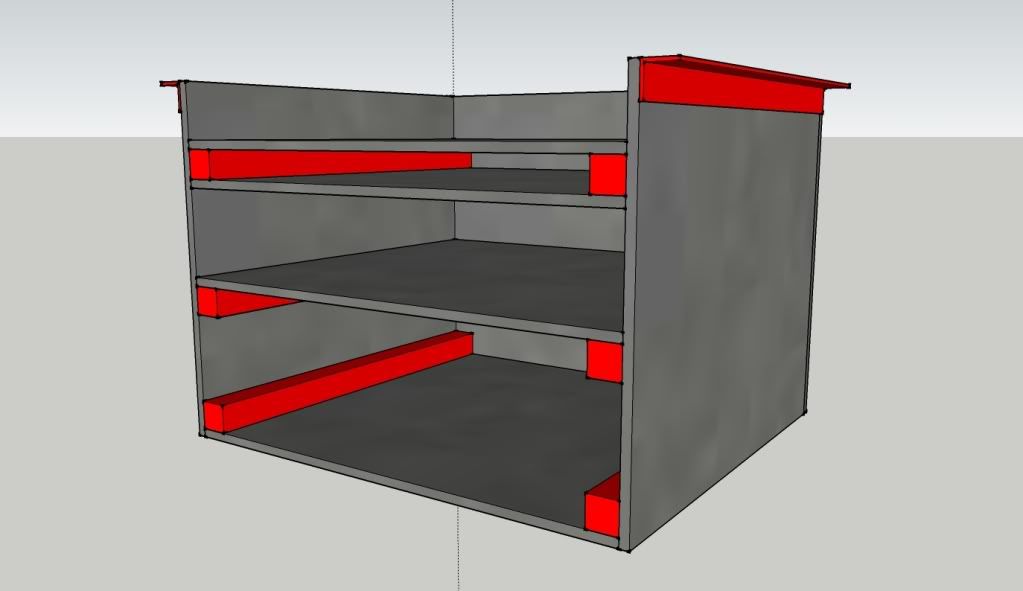
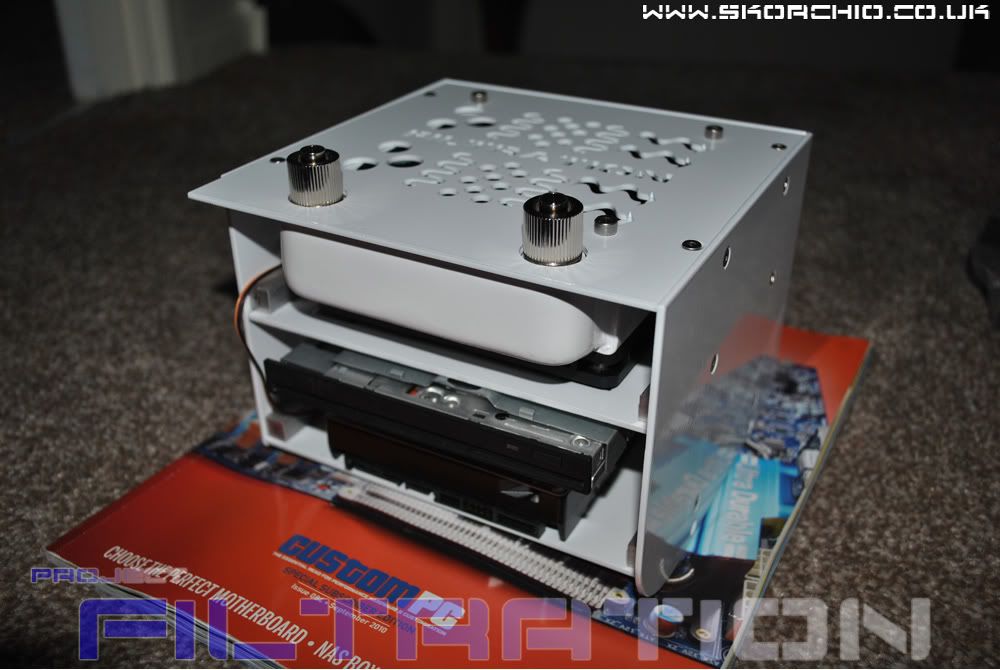
This is the final design for the front bays, 2 removable shelfts where the HDD and laptop slot CD drive will bolt to and a lower compartment for the 3rd rad, the red blocks are how I'm bolting it together, unless Andy has any better ideas?
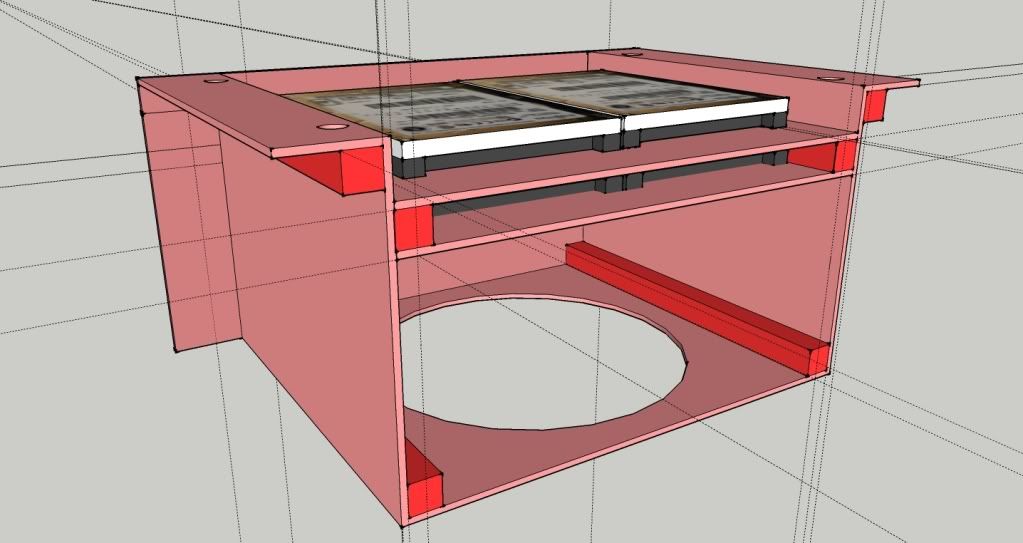
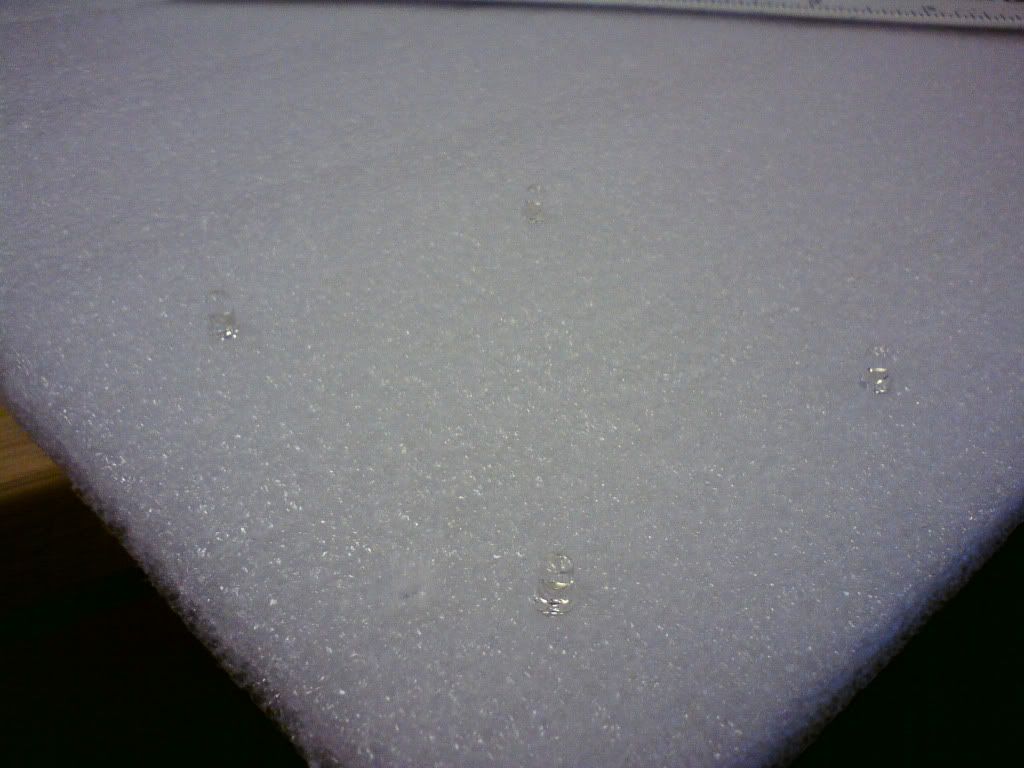
Also i got my LEDS today and whilst in the server room at work i was looking for a big bit of cardboard to act as a base to hold them all together whilst i solder them but i hit the jackpot and found a stiff piece of foam which will form an excellent base for the LEDS.
This is the final design for the front bays, 2 removable shelfts where the HDD and laptop slot CD drive will bolt to and a lower compartment for the 3rd rad, the red blocks are how I'm bolting it together, unless Andy has any better ideas?
Also i got my LEDS today and whilst in the server room at work i was looking for a big bit of cardboard to act as a base to hold them all together whilst i solder them but i hit the jackpot and found a stiff piece of foam which will form an excellent base for the LEDS.
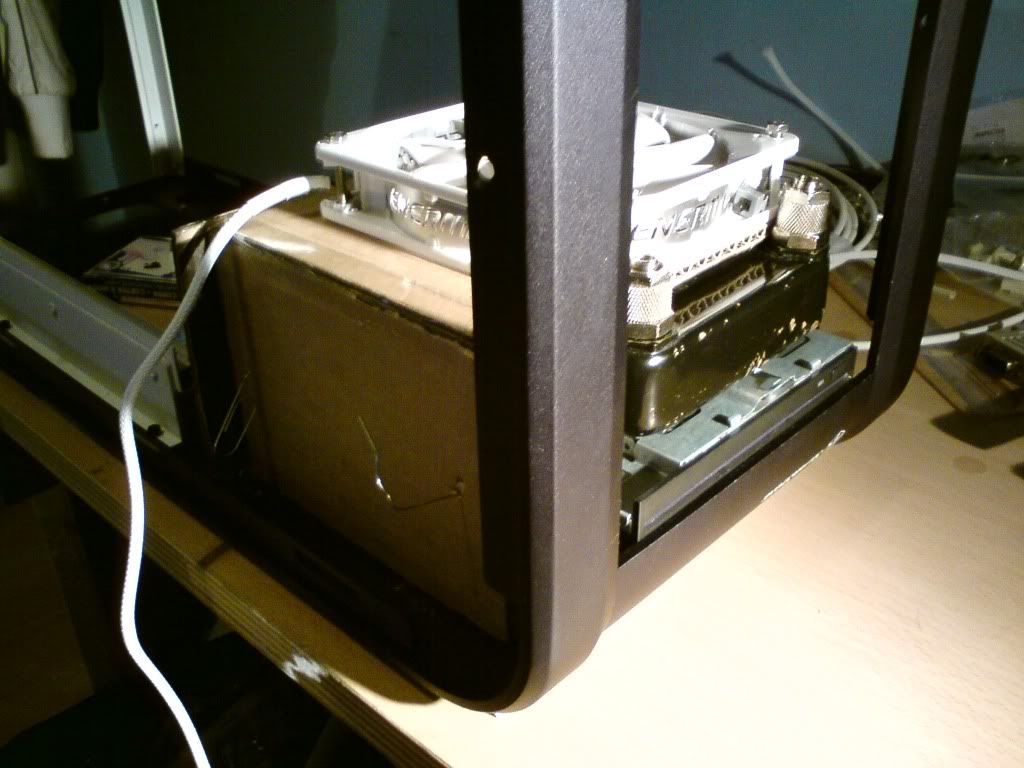
Worked a bit more on the drive bay this evening. I made a cardboard model at work tried it out, and now have a few adjustments to make.
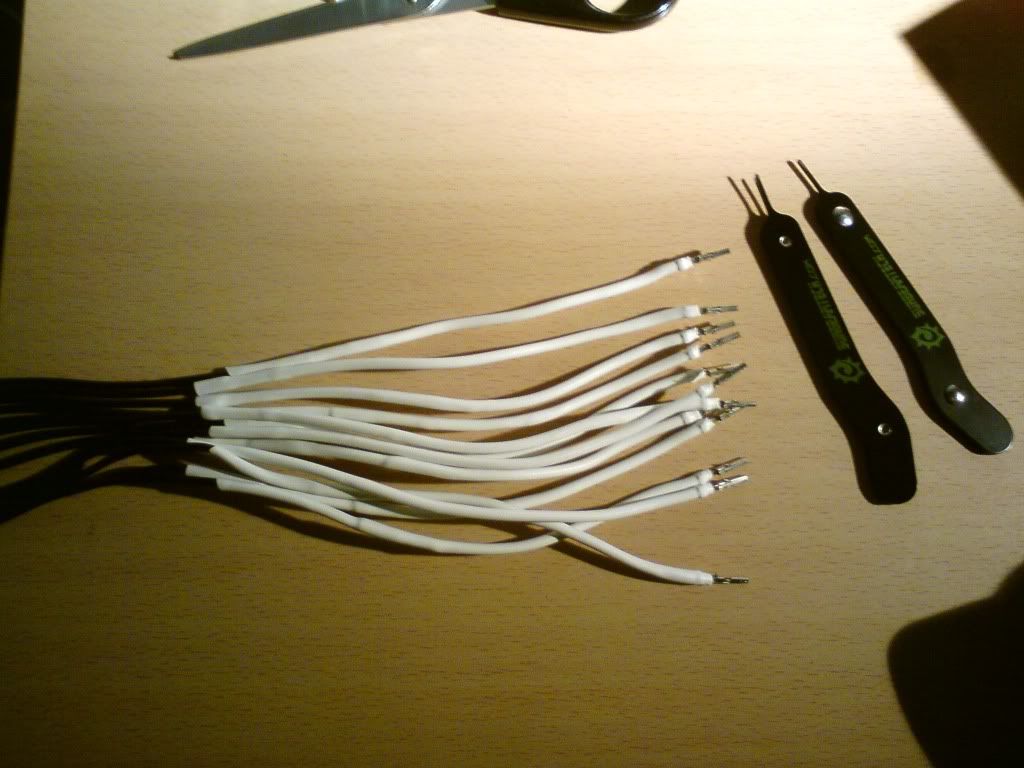
I also finished off the pump wireing. I would add a dab of supper glue to these 3 pins as i found a bit of force pulls them out (maybe just the cheap connecters i purchased). I have 6 more of these to do there not fun!!!
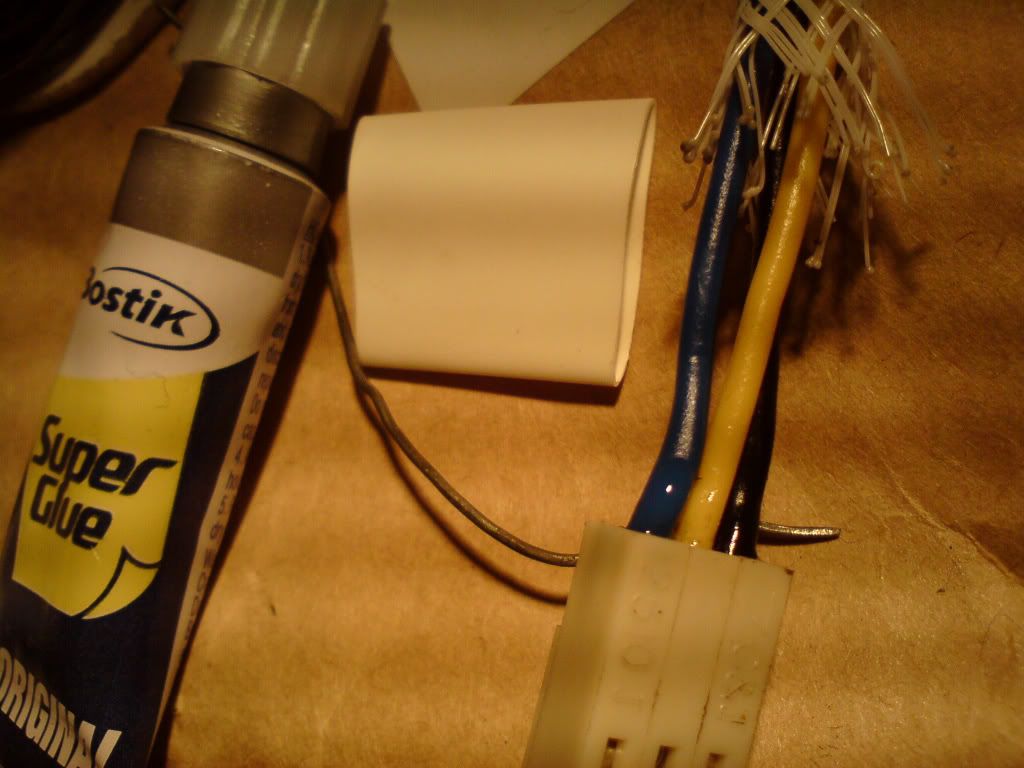
I also finished off the pump wireing. I would add a dab of supper glue to these 3 pins as i found a bit of force pulls them out (maybe just the cheap connecters i purchased). I have 6 more of these to do
there not fun!!!
siravarice
New member
Lookin good!