Mageta Lion
New member
So I'm going to rebuild / upgrade my 2 gaming rigs. For this build I use as cases
2 Parvum systems M1 cases that have been custom made for me. Here are the rest of the specs for each rig :
Destiny :
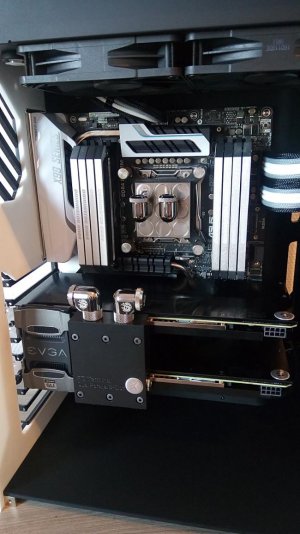
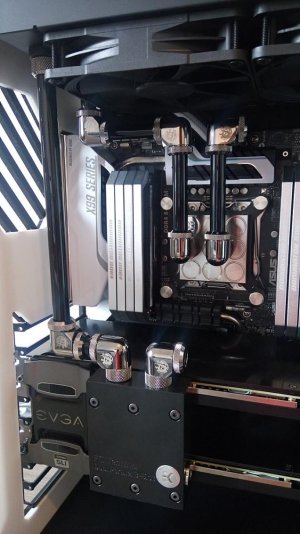
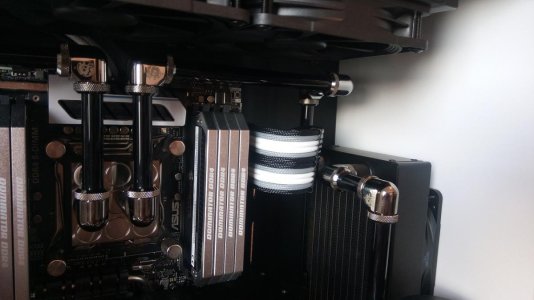
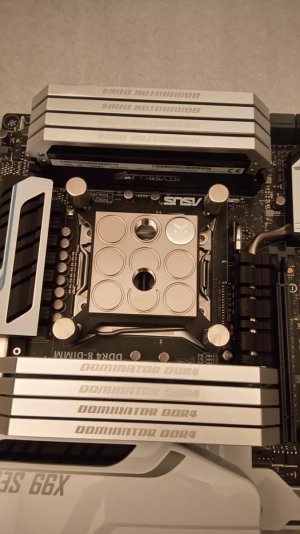
Asus X99 Deluxe
Intel core i7 5930K
32 GB Dominator platinum 2666mhz
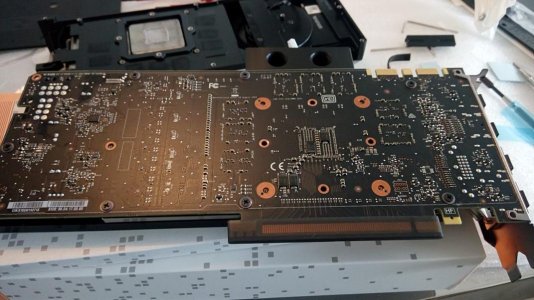
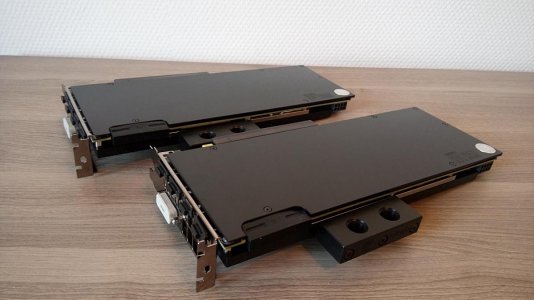
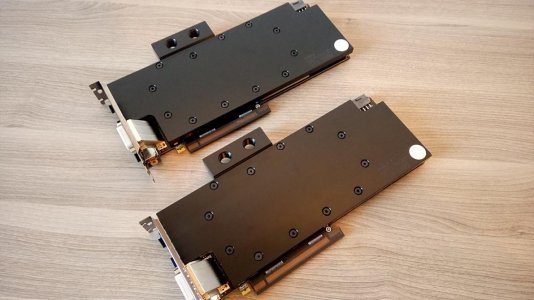
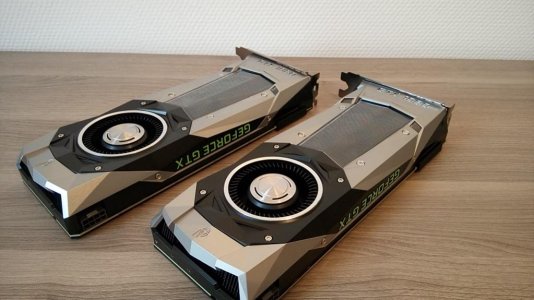
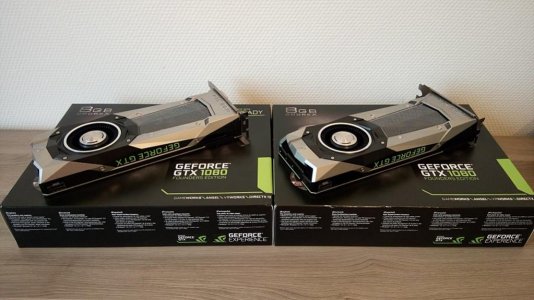
2x EVGA GTX 1080 founders edition SLI
2x Samsung 750 evo 500 GB in raid 0
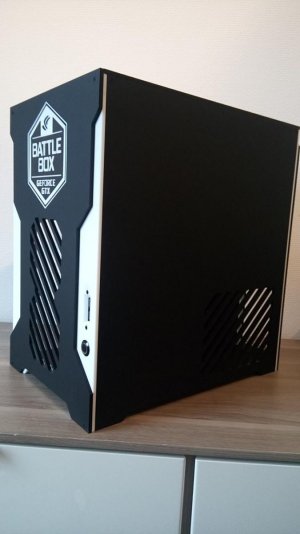
Parvum M1 case
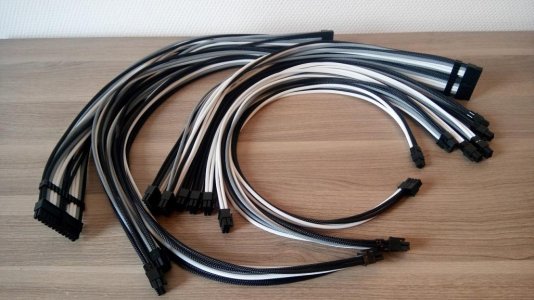
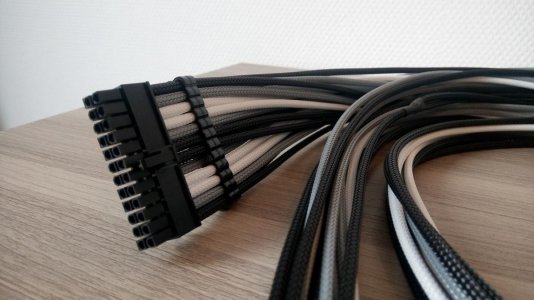
Corsair AX1200 + ICEMODZ cables
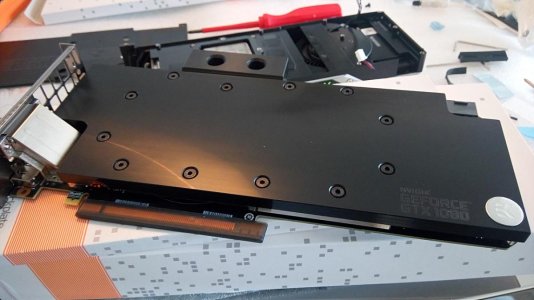
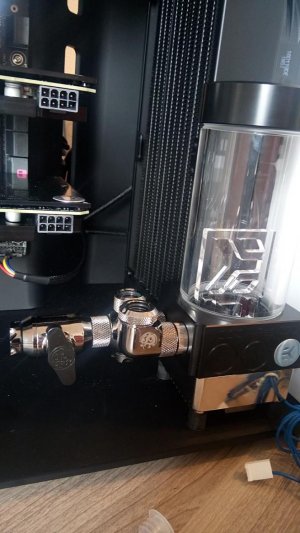
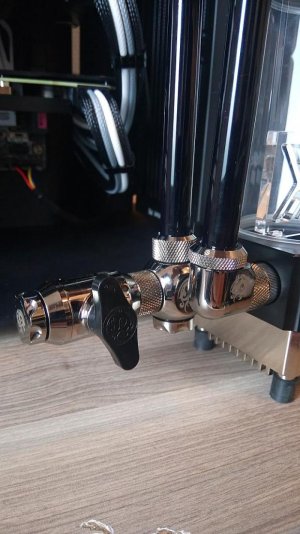
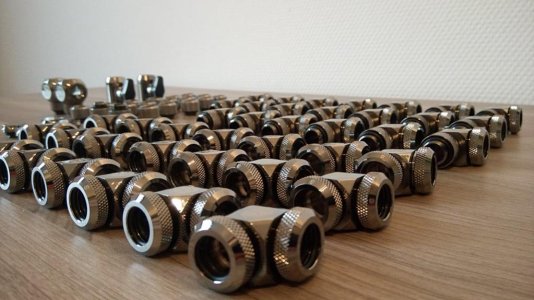
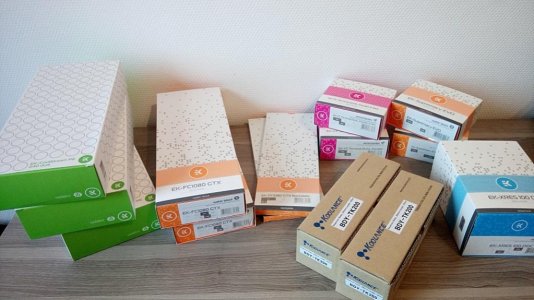
fully watercooled by EKWB , Bitspower
Legacy:
MSI x99A SLI plus
Intel core i7 5820k
32 GB Hyper X fury 2400Mhz
2x EVGA GTX 980 super clocked SLI
2x Samsung 850 pro 256 in raid 0
Parvum m1 case
Corsair AX860 + ICEMODZ cables
fully watercooled by EKWB , bitspower
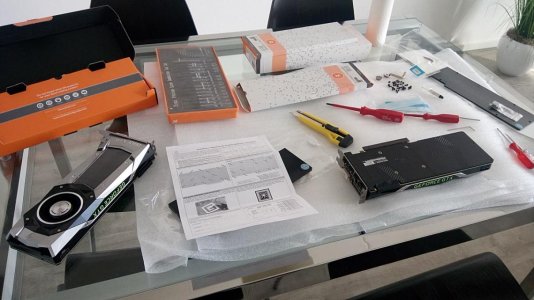
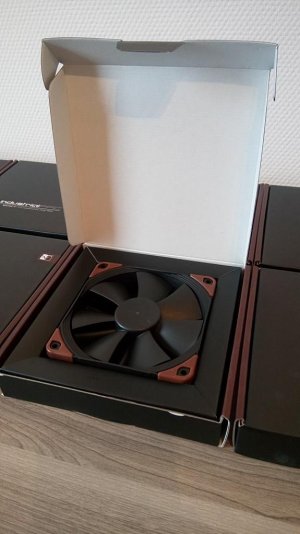
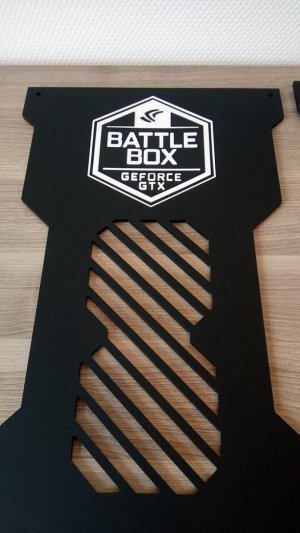
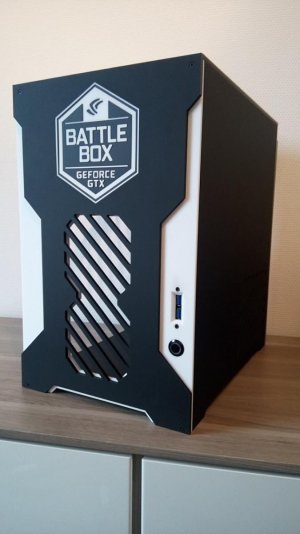
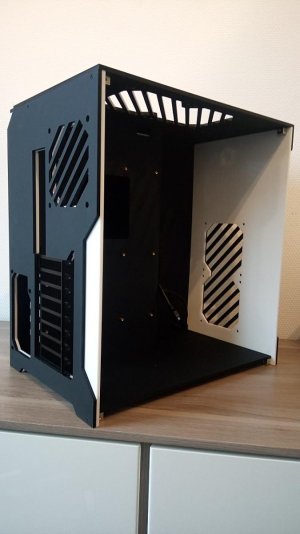
Here are some pictures from the unpacking I have done so far
custom frontpanels for the M1 cases , just love how they came together.
I know its same as Nvidia used for the "battlebox" cases, but I love the
design and I'm huge fan of Nvidia so I went for it
2 Parvum systems M1 cases that have been custom made for me. Here are the rest of the specs for each rig :
Destiny :
Asus X99 Deluxe
Intel core i7 5930K
32 GB Dominator platinum 2666mhz
2x EVGA GTX 1080 founders edition SLI
2x Samsung 750 evo 500 GB in raid 0
Parvum M1 case
Corsair AX1200 + ICEMODZ cables
fully watercooled by EKWB , Bitspower
Legacy:
MSI x99A SLI plus
Intel core i7 5820k
32 GB Hyper X fury 2400Mhz
2x EVGA GTX 980 super clocked SLI
2x Samsung 850 pro 256 in raid 0
Parvum m1 case
Corsair AX860 + ICEMODZ cables
fully watercooled by EKWB , bitspower
Here are some pictures from the unpacking I have done so far
custom frontpanels for the M1 cases , just love how they came together.
I know its same as Nvidia used for the "battlebox" cases, but I love the
design and I'm huge fan of Nvidia so I went for it
Attachments
-
 oc1.jpg80.5 KB · Views: 189
 -
 oc2.jpg86.3 KB · Views: 180
 -
 oc3.jpg86.6 KB · Views: 216
 -
 oc4.jpg83.8 KB · Views: 186
 -
 oc5.jpg79.4 KB · Views: 178
 -
 oc6.jpg91.6 KB · Views: 166
 -
 oc7.jpg60.4 KB · Views: 194
 -
 oc8.jpg60.3 KB · Views: 185
 -
 oc11.jpg98.6 KB · Views: 202
 -
 oc10.jpg97.7 KB · Views: 182
 -
 oc9.jpg89.1 KB · Views: 197
Last edited by a moderator:


")