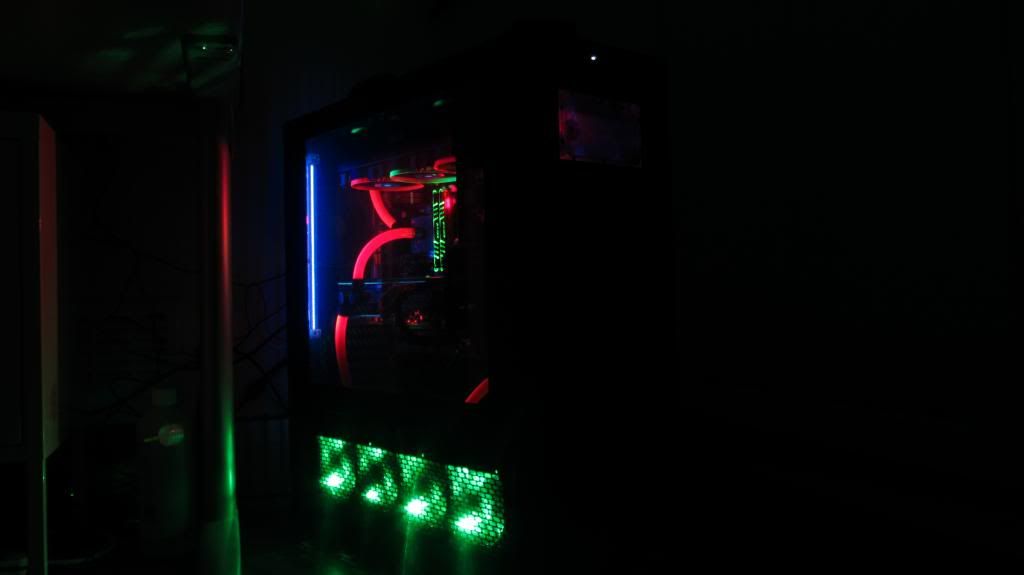
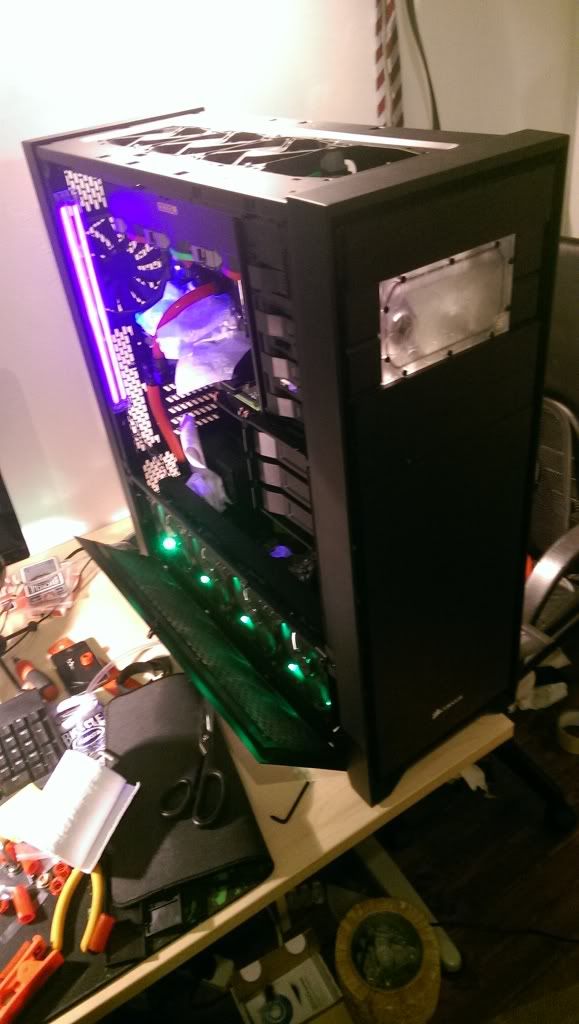
Hey guys, I just redid the water-cooling in my 900D. Removed the previous reservoir, change the tubing, the fittings to a bigger size, cleaned out the green dye from all the rads and water-blocks (which I'll never do again! clean water from now on) Would love for some feedback! And also if anyone knows how to advise me on making a plate that covers over the psu compartment and over the quad rad to hide it all I would very much appreciate it!
Components
CPU : I7 2600K
Mobo : G1 sniper 3 Z77
GPU : GTX 690
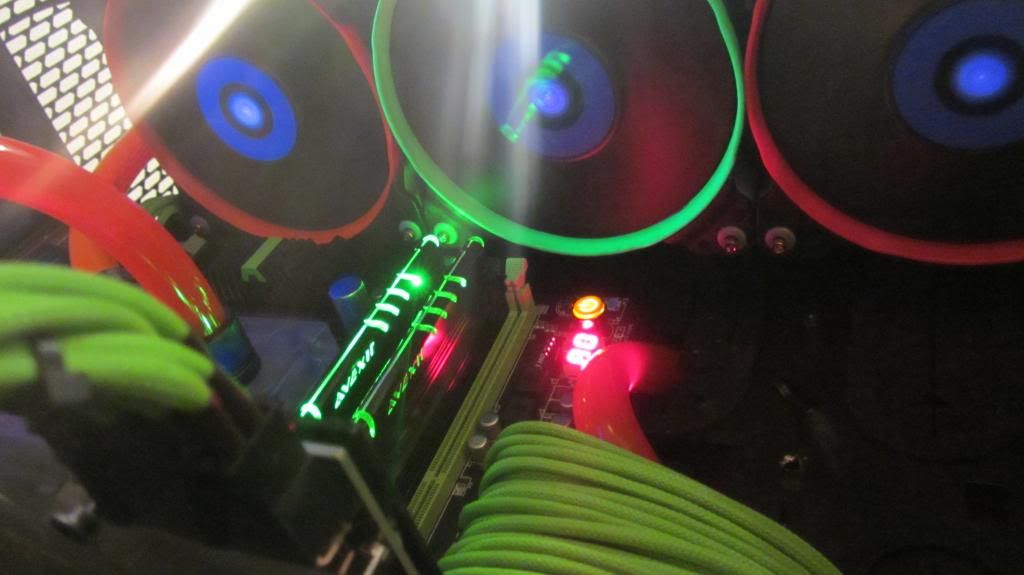
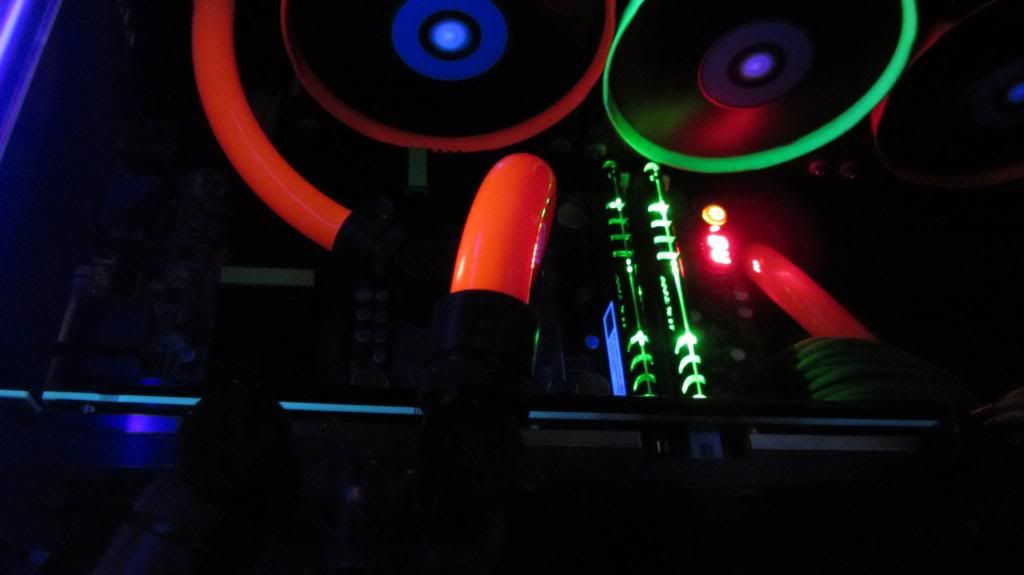
Ram : Avexir 16GB Green (2 X 8G) 2133mhz
SSD : M4 256GB
HDD : Seagate 3TB Barracuda
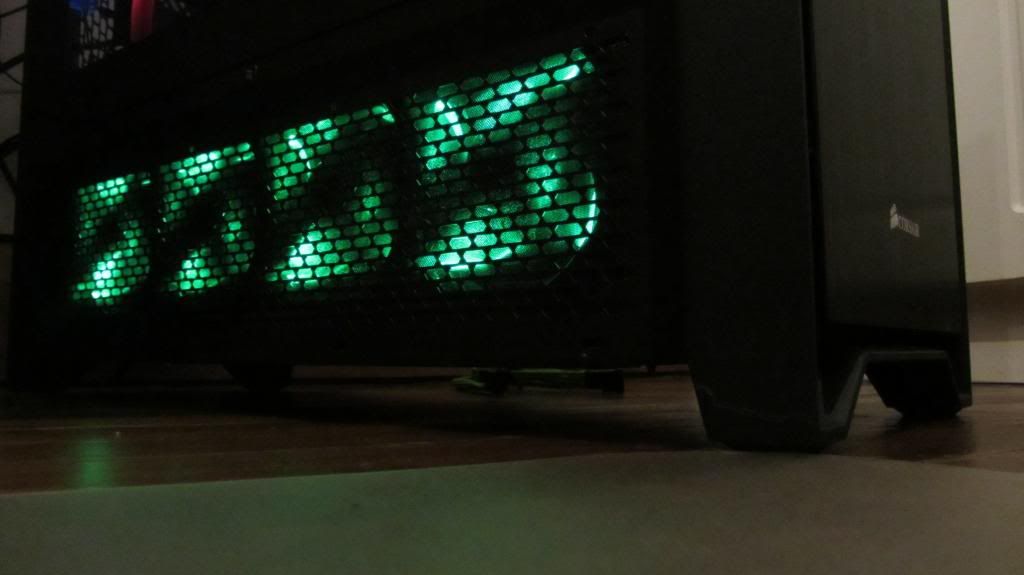
Fans : 6 X Corsair SP120 High Performance / 4 X Coolermaster Sickleflow 120mm (Too noisy get - BitFenix Spectre PRO instead) 1 X 140mm Corsair Back fan from a friends 350D & I rewired the 4 pin molexs to 7v for the fans.
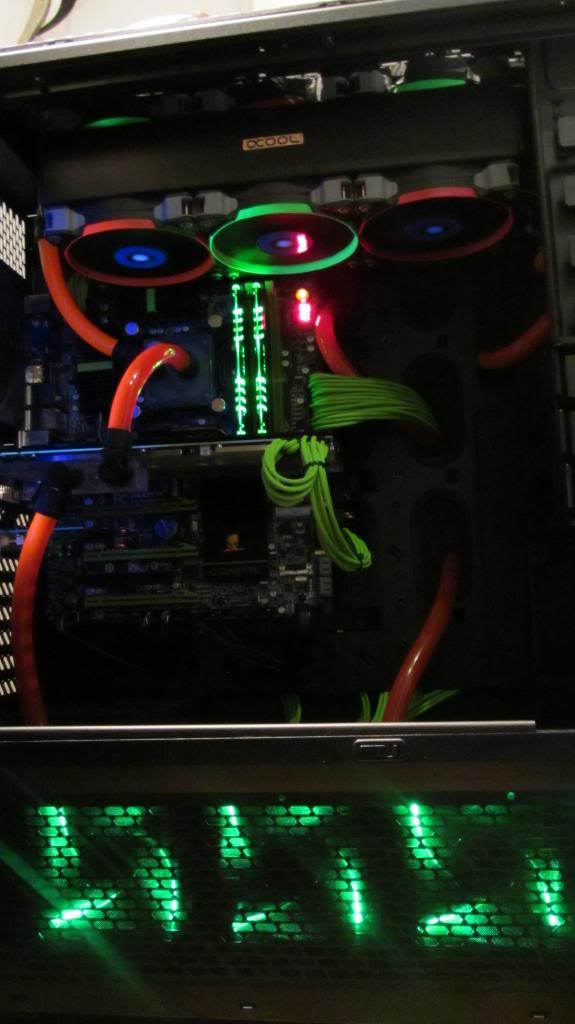
Case : 900D
PSU : Corsair AX860 with Green Individually sleeved Cables
Mouse : Razer Deathadder 2013
Keyboard : RAZER BlackWidow Ultimate 2013
Microphone : Blue Snowball
Speakers : Creative Gigaworks T40
Monitor : Asus VG278H / Two pairs of 3D Glasses.
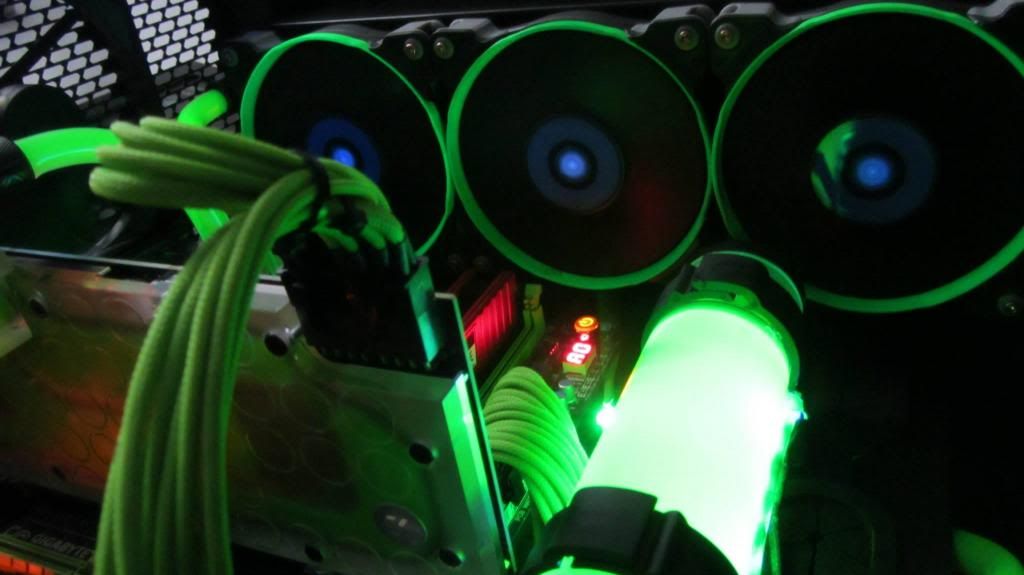
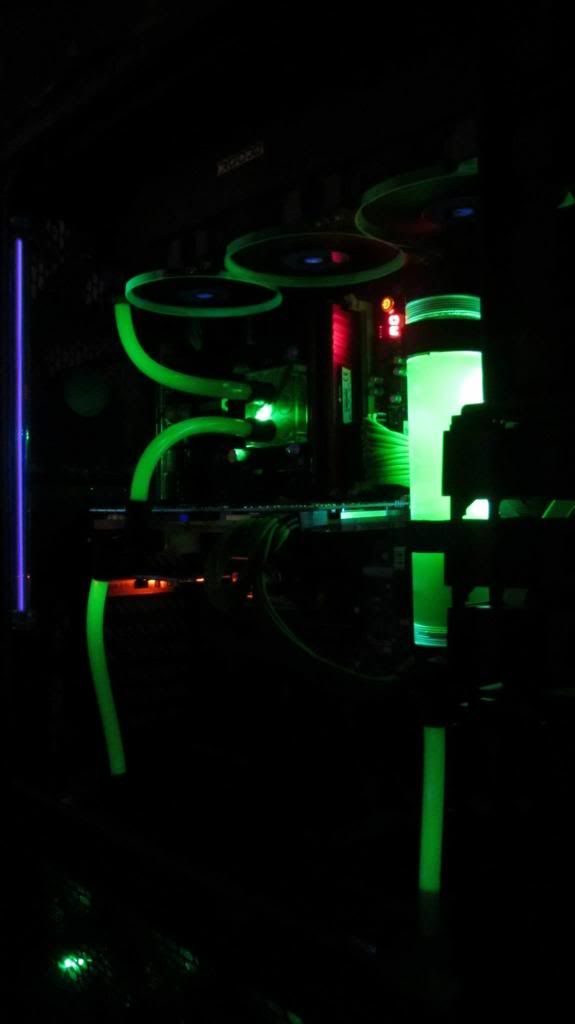
Cooling
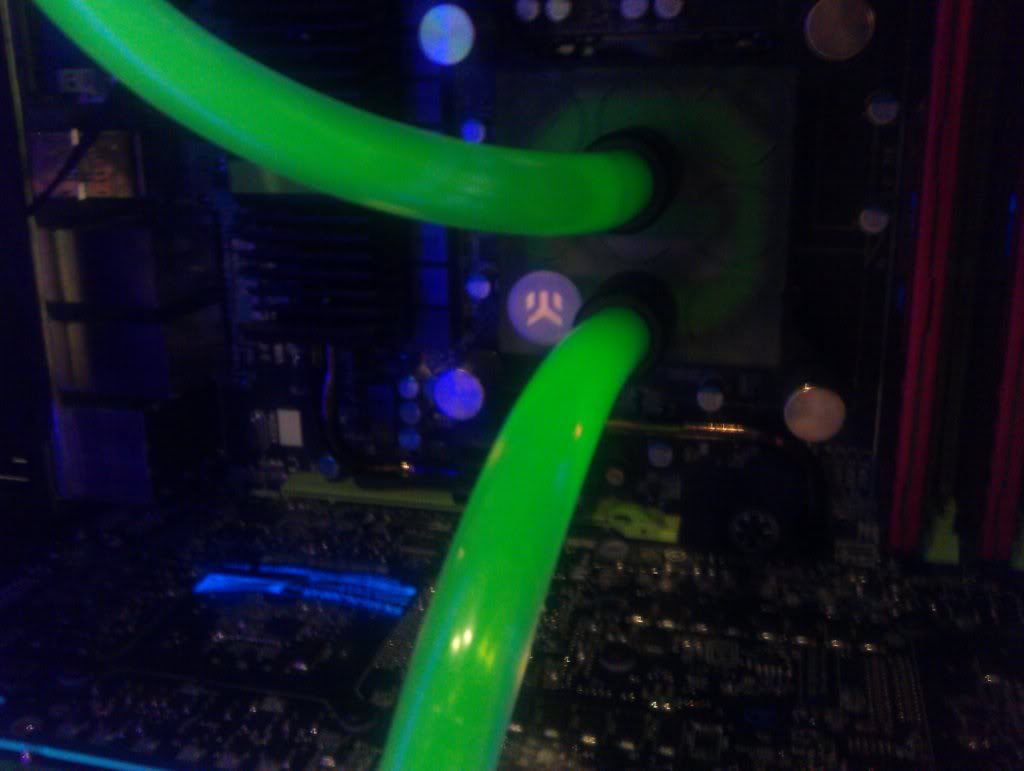
Tubing : Primochill PrimoFlex Advanced LRT 7/16" ID - 5/8" OD (TBC if it rubberizes quickly)
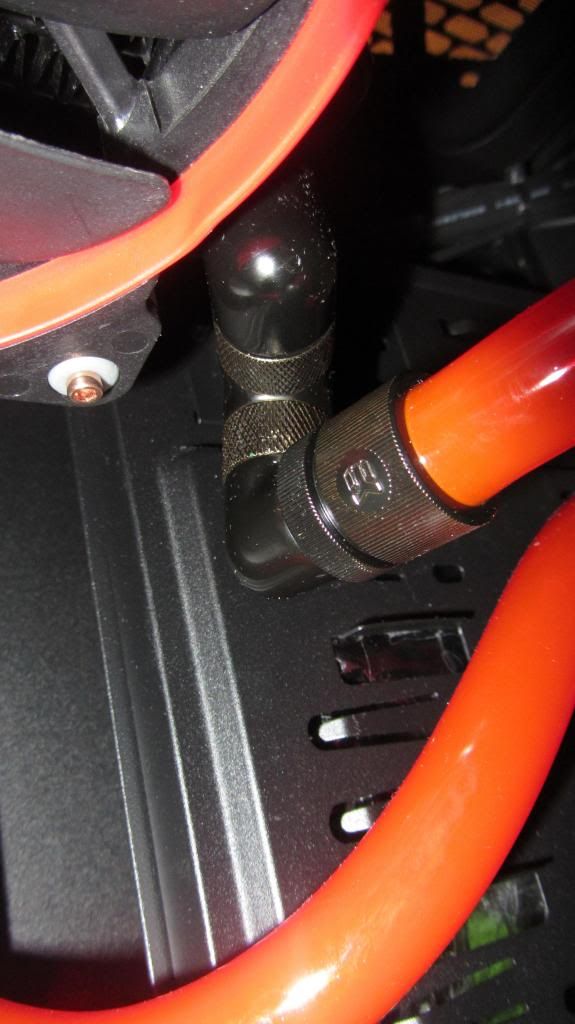
Fittings : EK-CSQ Fitting 12/16mm (7/16"ID - 5/8"OD) G1/4 - Black / EK CSQ 1/4" Thread 90 Degree Rotary Elbow Fitting : Black / EK PSC 1/4" Thread 90 Degree Rotary Fitting : Black / Koolance Ball Valve : VLV-BL1X2 / a T fitting I can't find the name of.
Pump and Pump top : Alphacool VPP655 / Alphacool HF D5 : Plexi
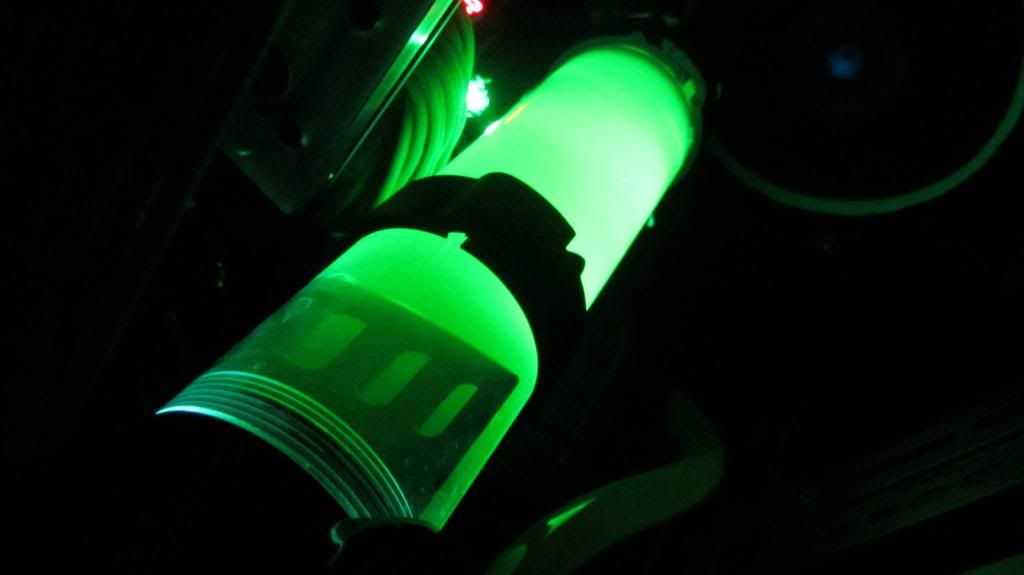
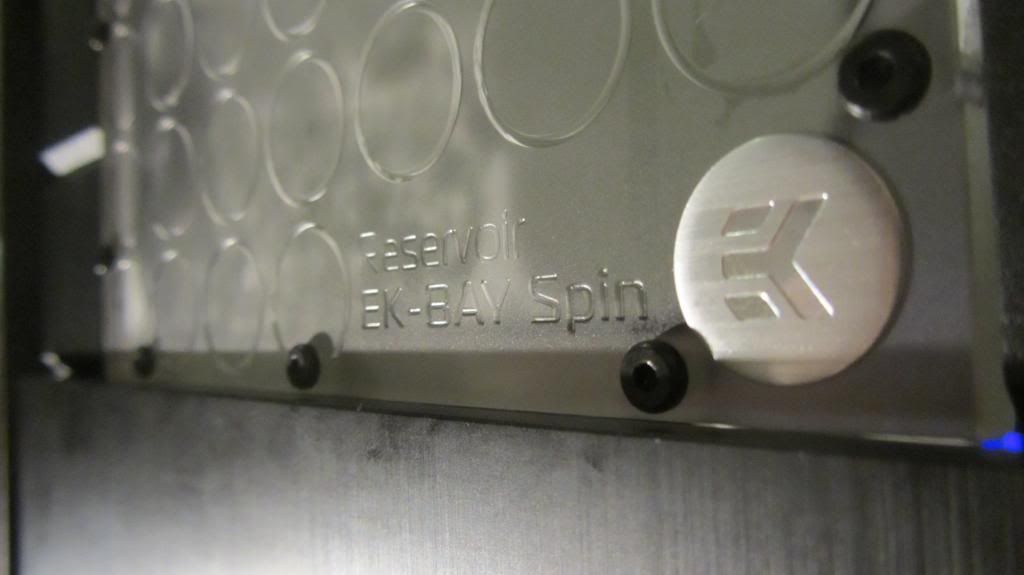
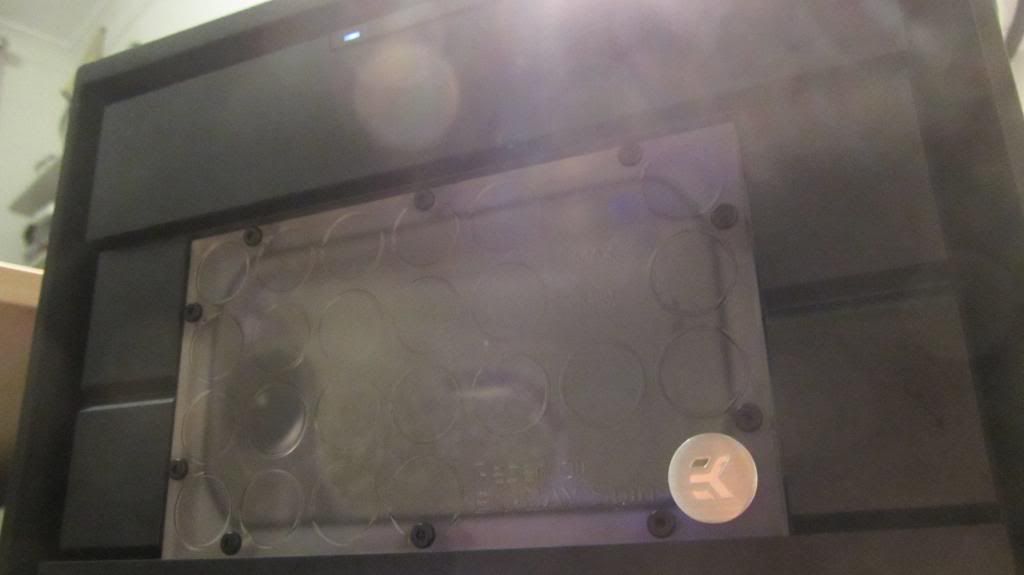
Reservoir : EK Dual 5.25" Drive Bay Spin CSQ Plexi
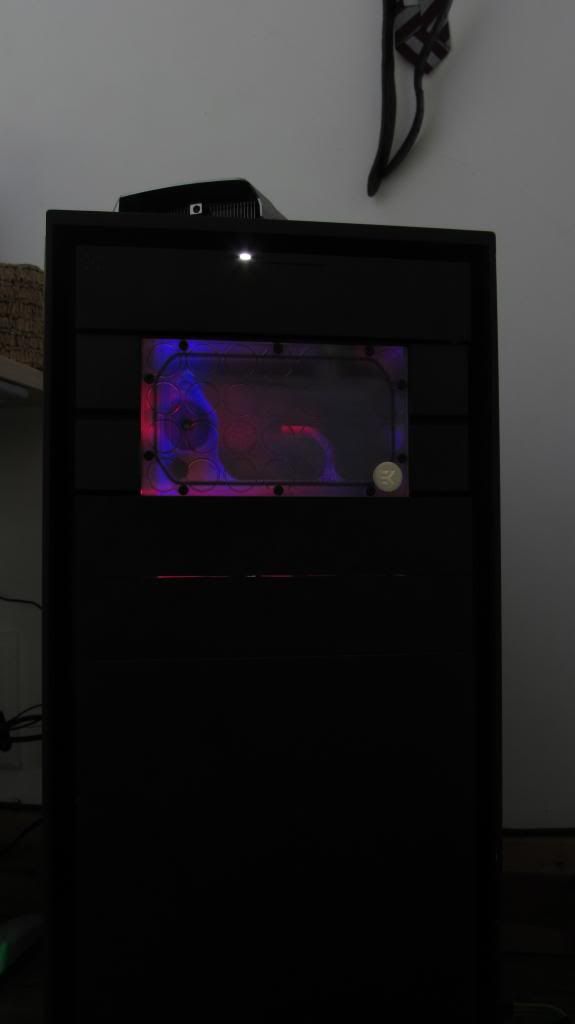
Waterblocks and Backplate : EK-FC690 GTX - Nickel / EK-Supremacy - Nickel / EK-FC690 GTX Backplate - Black
Radiators : Alphacool NexXxoS Monsta 360 Radiator / 480mm EX480 XSPC
Coolant : Mayhems X1
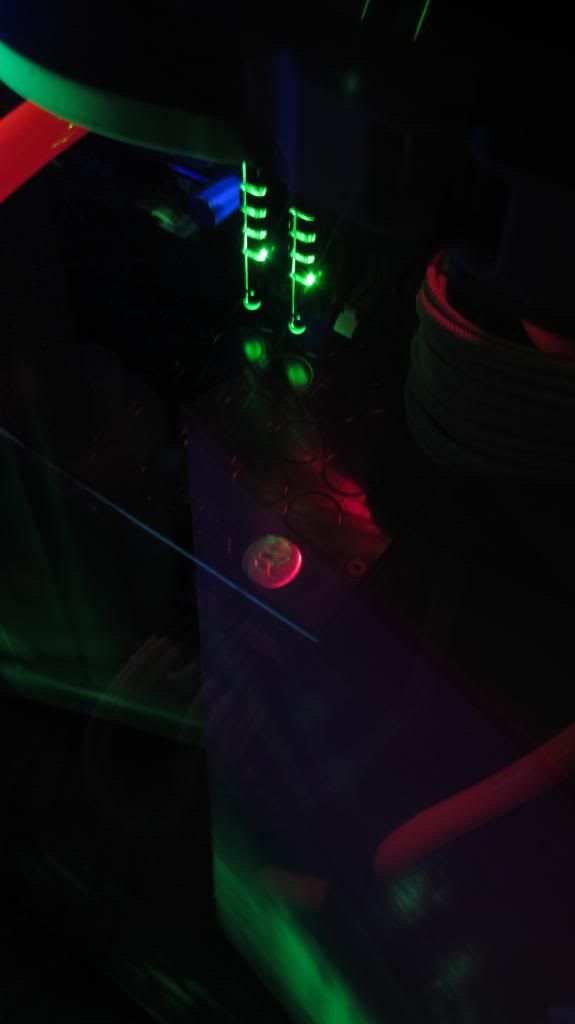
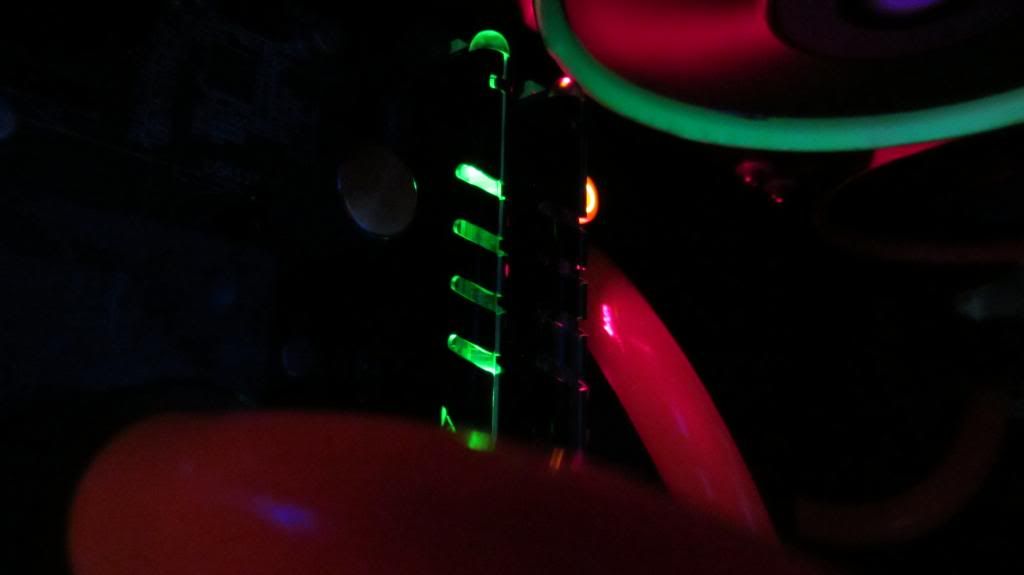
Lighting : Twin Sharkoon UV cathodes 30cm
Overclock : CPU is at 4.6ghz, 23℃ normal, 58℃ full load, my GPU stays at 25℃ normal, 40℃ on full load, overclocked +400mhz memory and +165mhz clock speed on both cores.
Overclocks - http://forum.overclock3d.net/showthread.php?t=58575
Went from this.


To this.

Love this reservoir.
Leak testing for 24 hours.
Triple 90* fitting so that I can just Pull the reservoir out!


Components
CPU : I7 2600K
Mobo : G1 sniper 3 Z77
GPU : GTX 690
Ram : Avexir 16GB Green (2 X 8G) 2133mhz
SSD : M4 256GB
HDD : Seagate 3TB Barracuda
Fans : 6 X Corsair SP120 High Performance / 4 X Coolermaster Sickleflow 120mm (Too noisy get - BitFenix Spectre PRO instead) 1 X 140mm Corsair Back fan from a friends 350D & I rewired the 4 pin molexs to 7v for the fans.
Case : 900D
PSU : Corsair AX860 with Green Individually sleeved Cables
Mouse : Razer Deathadder 2013
Keyboard : RAZER BlackWidow Ultimate 2013
Microphone : Blue Snowball
Speakers : Creative Gigaworks T40
Monitor : Asus VG278H / Two pairs of 3D Glasses.
Cooling
Tubing : Primochill PrimoFlex Advanced LRT 7/16" ID - 5/8" OD (TBC if it rubberizes quickly)
Fittings : EK-CSQ Fitting 12/16mm (7/16"ID - 5/8"OD) G1/4 - Black / EK CSQ 1/4" Thread 90 Degree Rotary Elbow Fitting : Black / EK PSC 1/4" Thread 90 Degree Rotary Fitting : Black / Koolance Ball Valve : VLV-BL1X2 / a T fitting I can't find the name of.
Pump and Pump top : Alphacool VPP655 / Alphacool HF D5 : Plexi
Reservoir : EK Dual 5.25" Drive Bay Spin CSQ Plexi
Waterblocks and Backplate : EK-FC690 GTX - Nickel / EK-Supremacy - Nickel / EK-FC690 GTX Backplate - Black
Radiators : Alphacool NexXxoS Monsta 360 Radiator / 480mm EX480 XSPC
Coolant : Mayhems X1
Lighting : Twin Sharkoon UV cathodes 30cm
Overclock : CPU is at 4.6ghz, 23℃ normal, 58℃ full load, my GPU stays at 25℃ normal, 40℃ on full load, overclocked +400mhz memory and +165mhz clock speed on both cores.
Overclocks - http://forum.overclock3d.net/showthread.php?t=58575
Went from this.
To this.
Love this reservoir.
Leak testing for 24 hours.
Triple 90* fitting so that I can just Pull the reservoir out!
Last edited:
")


 It's not been without it's problems though, and when I have some spare time, I will most likely have to RMA it. It leaked very slowly when I first got it, and some liquid got into the centre cavity with the CCFL which damaged it, and made it really dim in contrast to how bright it is in some of the build log pictures. I tried using plumber's PTFE tape around all threads, and silicone sealant on the end caps, but it didn't stop it, so when I have time to strip it (probably near Christmas) I'll be getting a new one hopefully.
 ") As a (very) rough guideline, on a 2600k something in the region of 1.3-1.4V should be fine, but not much higher at all. Just judge it by your temperatures, every CPU is different. With overclocking it's important to go in smallish steps instead of just whacking the clock and voltage right up. Generally, it's nice to see what the minimum stable voltage is before you start overclocking at all. So at stock clocks, gradually lower the voltage slightly, and stability test it, and repeat this to see what your baseline voltage is. Once you've done this you can increase the clocks, and the voltage accordingly to start off with. You should very easily be able to get 4GHz so start there maybe, and increase the voltage until it is stable. Repeat this in smaller steps, maybe 0.2GHz each time, and then reduce that to about 0.1GHz steps once you're getting around 4.5GHz. Once you think it's at it's limit, and should be stable, give it a nice long stress test for perhaps 12 or 24hours, and monitor the temps at the same time to make sure it's not too hot (you should do this at every stage of course). Technically the CPUs are rated in the high 90°Cs but I'd personally be stopping pushing it once it got much above 80°C.
As a (very) rough guideline, on a 2600k something in the region of 1.3-1.4V should be fine, but not much higher at all. Just judge it by your temperatures, every CPU is different. With overclocking it's important to go in smallish steps instead of just whacking the clock and voltage right up. Generally, it's nice to see what the minimum stable voltage is before you start overclocking at all. So at stock clocks, gradually lower the voltage slightly, and stability test it, and repeat this to see what your baseline voltage is. Once you've done this you can increase the clocks, and the voltage accordingly to start off with. You should very easily be able to get 4GHz so start there maybe, and increase the voltage until it is stable. Repeat this in smaller steps, maybe 0.2GHz each time, and then reduce that to about 0.1GHz steps once you're getting around 4.5GHz. Once you think it's at it's limit, and should be stable, give it a nice long stress test for perhaps 12 or 24hours, and monitor the temps at the same time to make sure it's not too hot (you should do this at every stage of course). Technically the CPUs are rated in the high 90°Cs but I'd personally be stopping pushing it once it got much above 80°C.