[Project Log] Red Black Redemption

maniac

New member
So, as promised to Feronix, here is my current project, hope i'll kill some of your time. I'll try to keep the info as short as possible and upload a ton of pictures, I know you love pictures :)

So this is a mod of an old oem case I had laying around, it was originally beige, then for some odd reason i painted it blue and gold as you'll see after I sand it down, and then was painted black but the paint job was really horrible and it felt like sandpaper, so here I am trying to make it look sexy all over again.

Note: This is just a case mod and no hardware will use it as a habitat :) For now atleast.

Main goals in this mod :

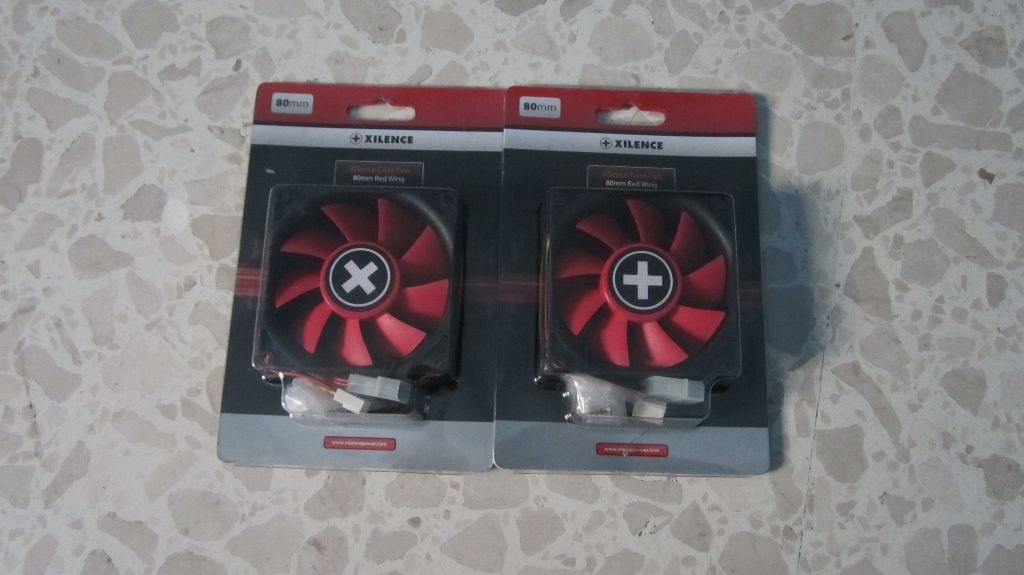
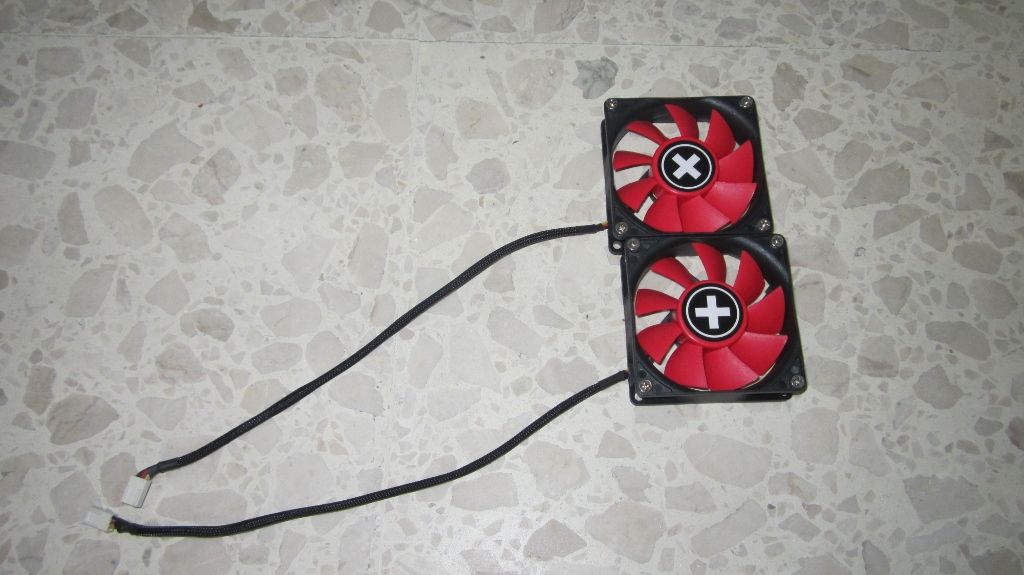
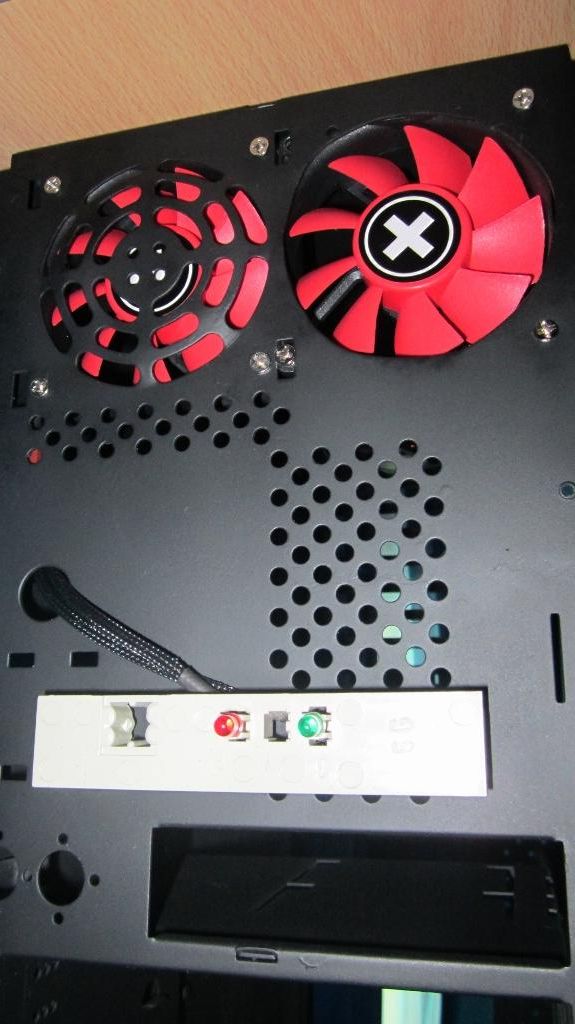
Improve cooling - Done
Sand and paint the Interior - Done (will be matte black)
Cut a side panel window - Done
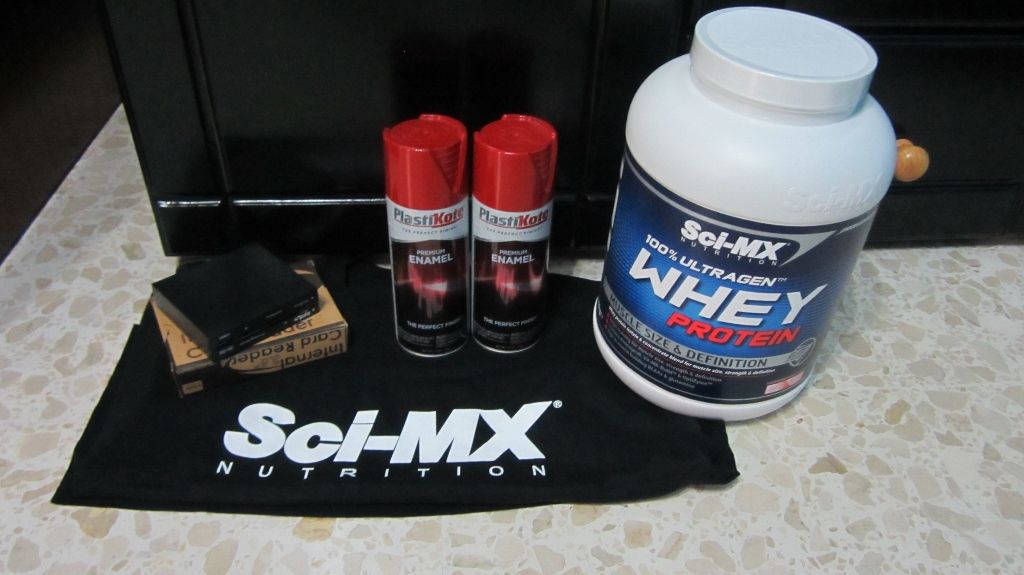
Sand and paint the exterior - Pending (will be enamel red)

I am still waiting for a couple of switches to come from abroad and for someone to sell me an internal usb hub (there is a wanted thread in FS&W) to be able to complete the external paint job as I found that if I paint parts in different conditions (like temperature), the colour may differ so I need to paint them all at once.

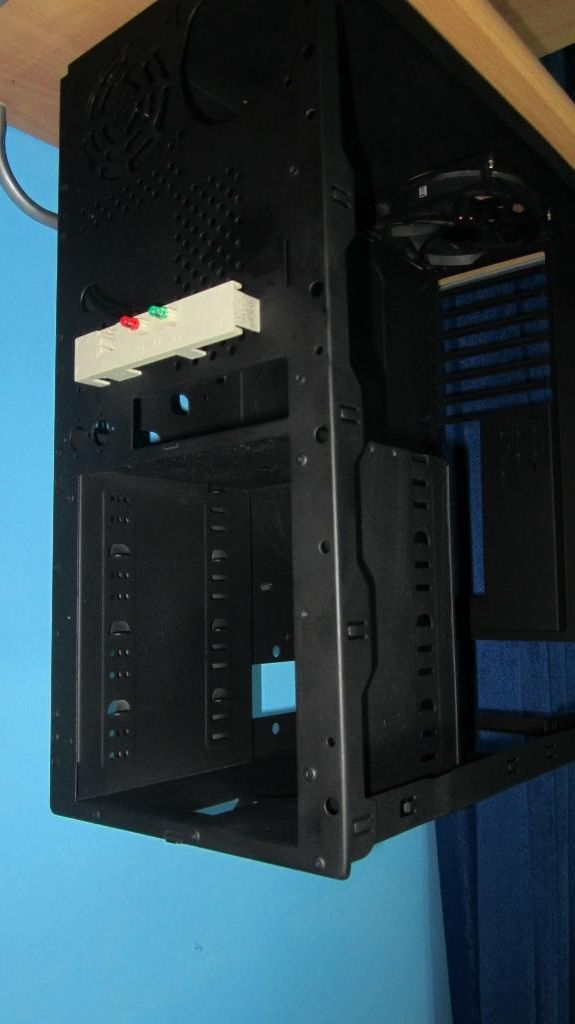
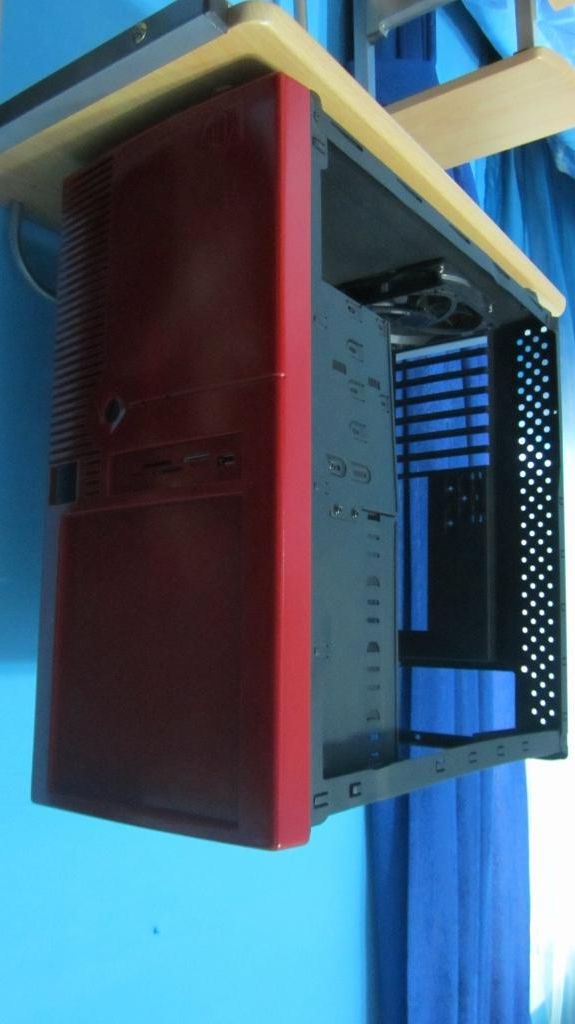
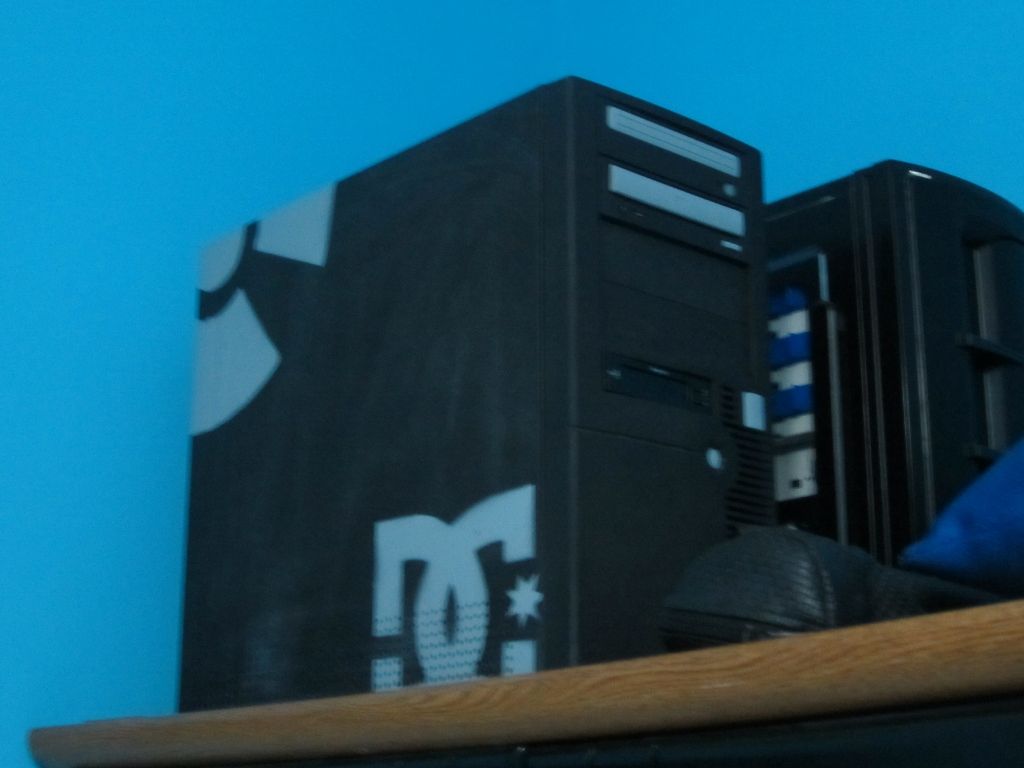
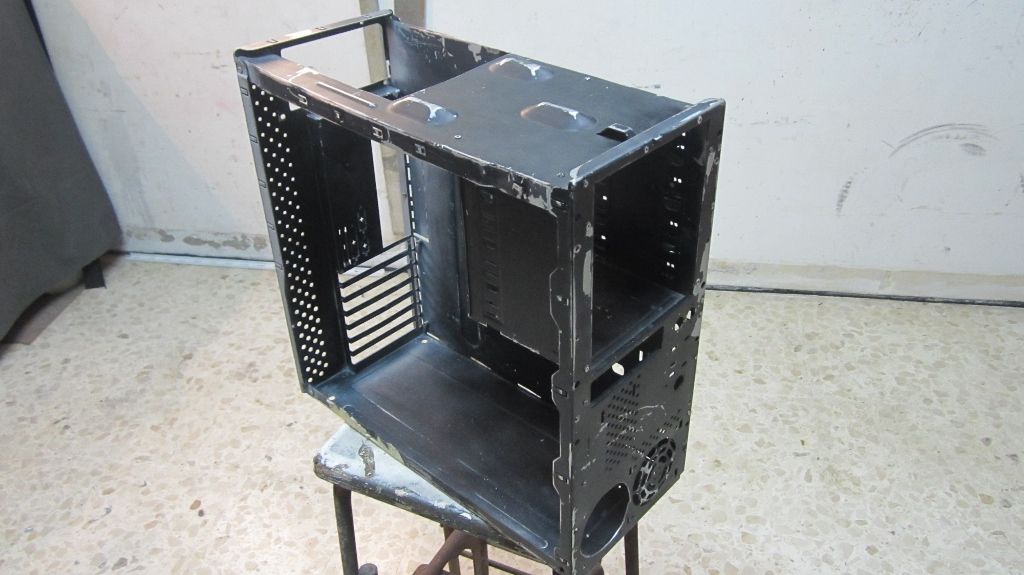
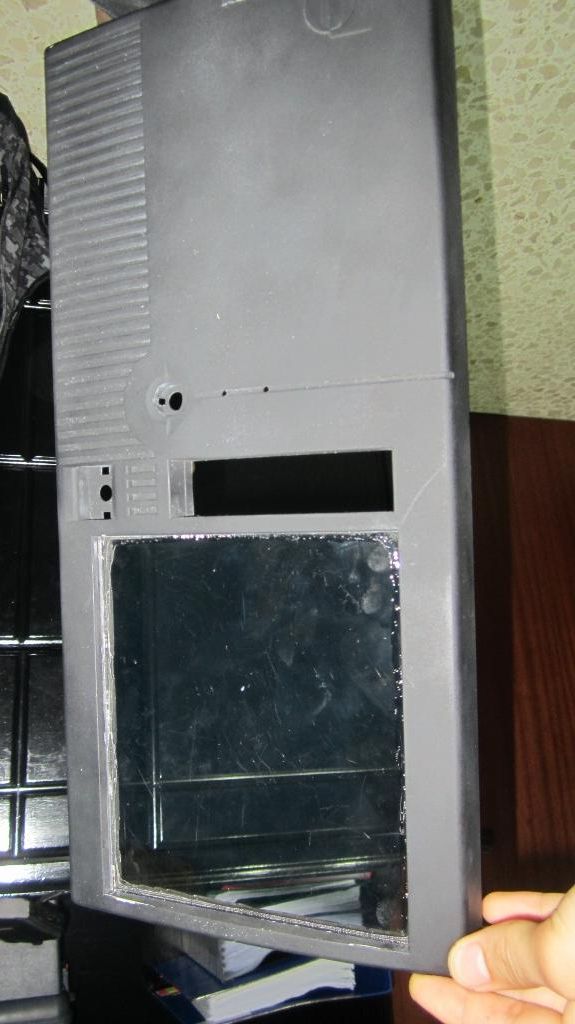
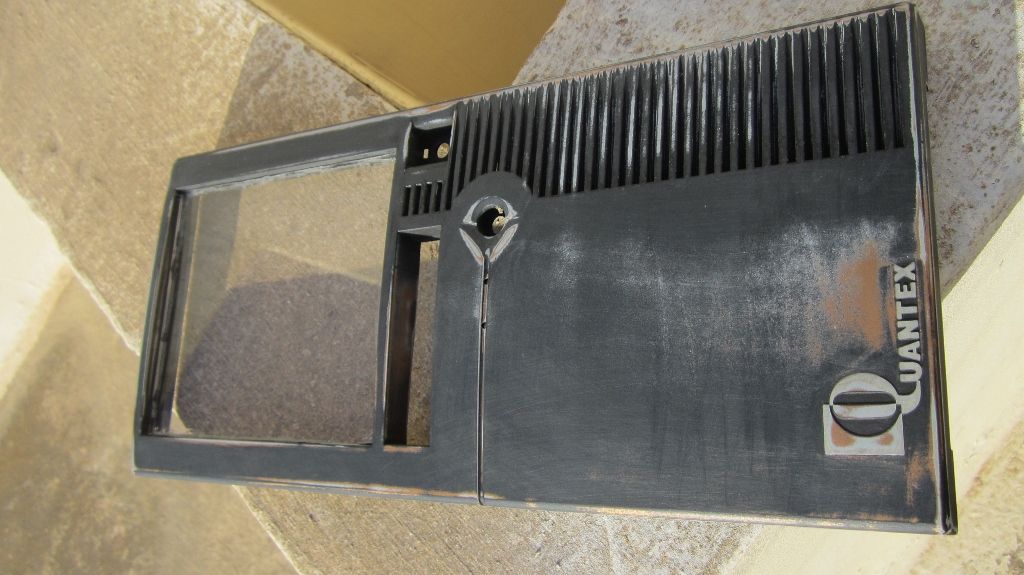
Here is how it looked before I started this mod, I have no pictures of how it was originally or after the first paint job, sorry.

No11024x768_zps944937fd.jpg


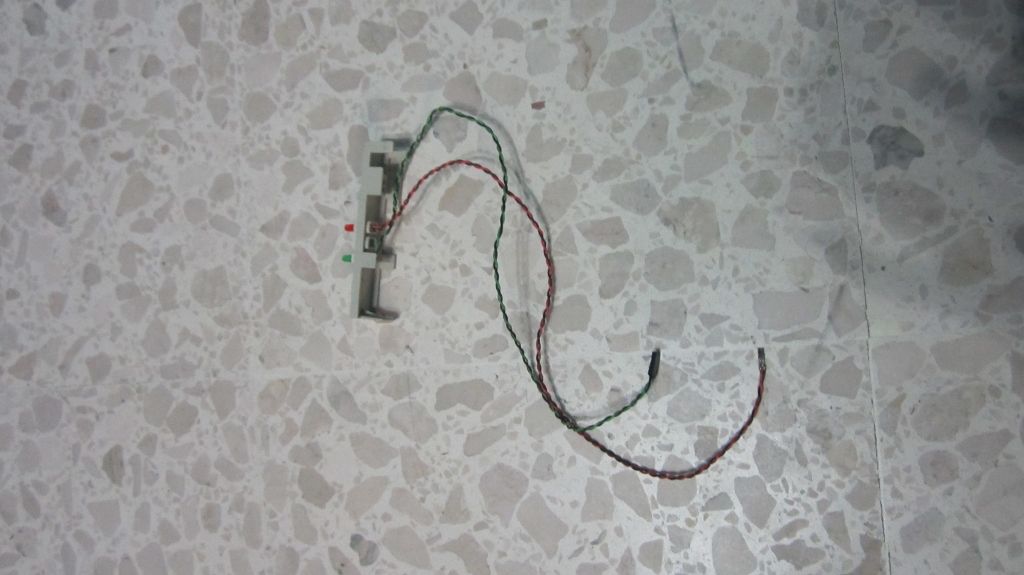
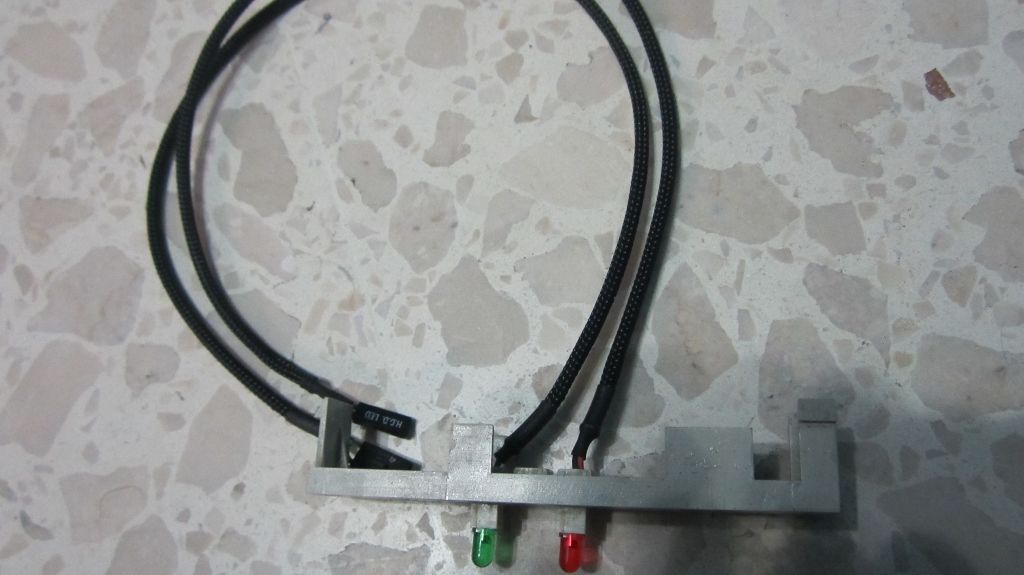
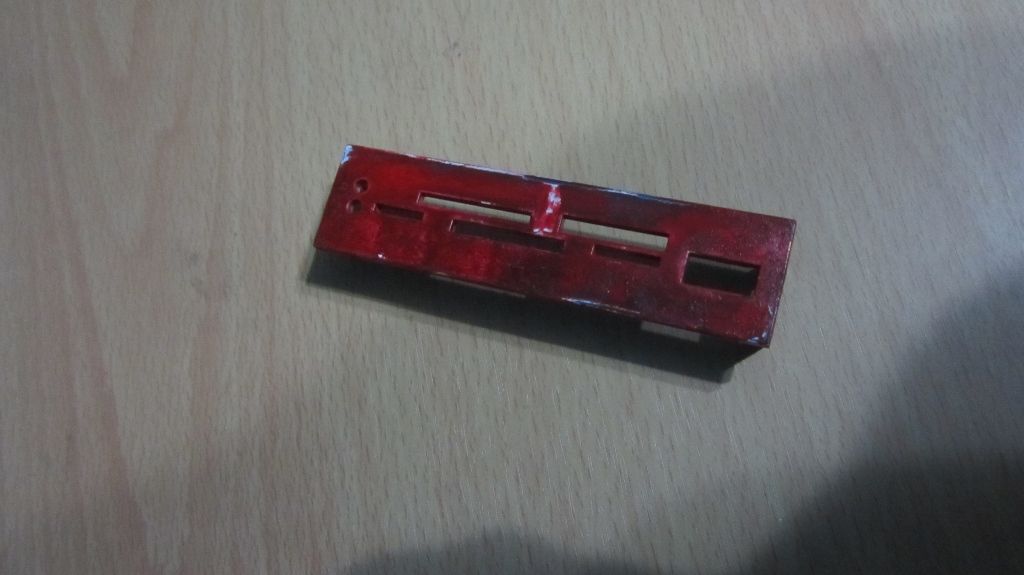
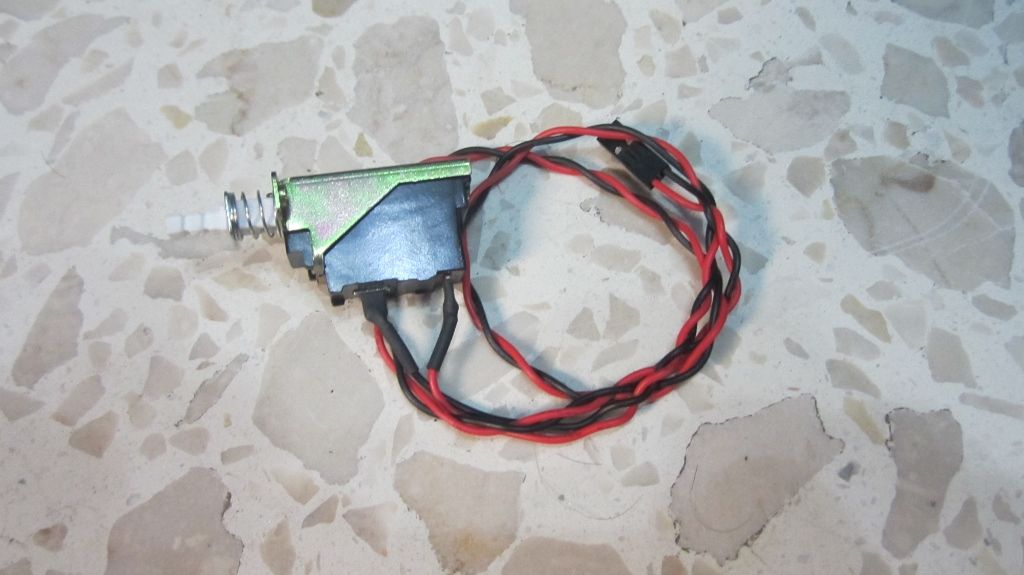
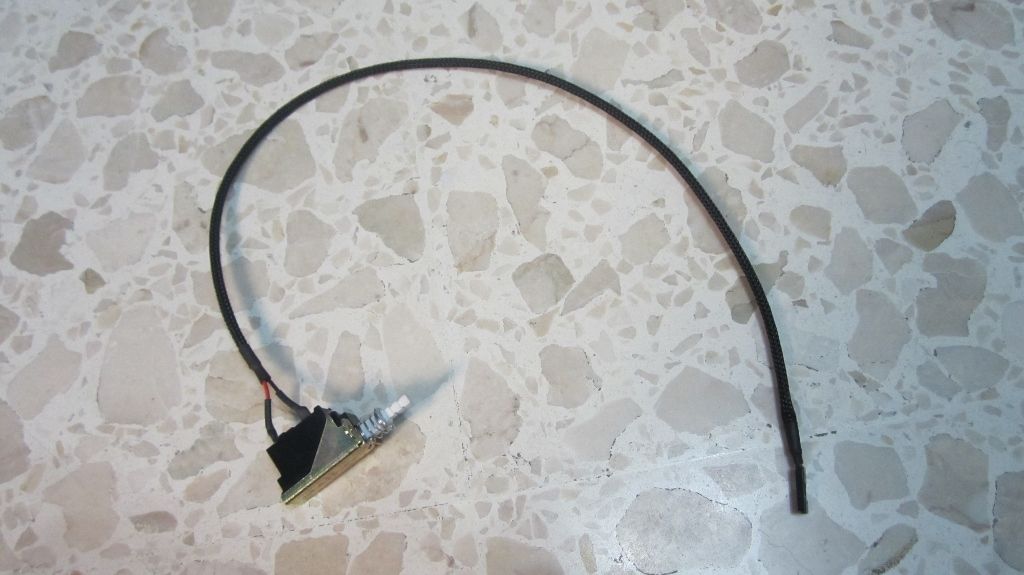
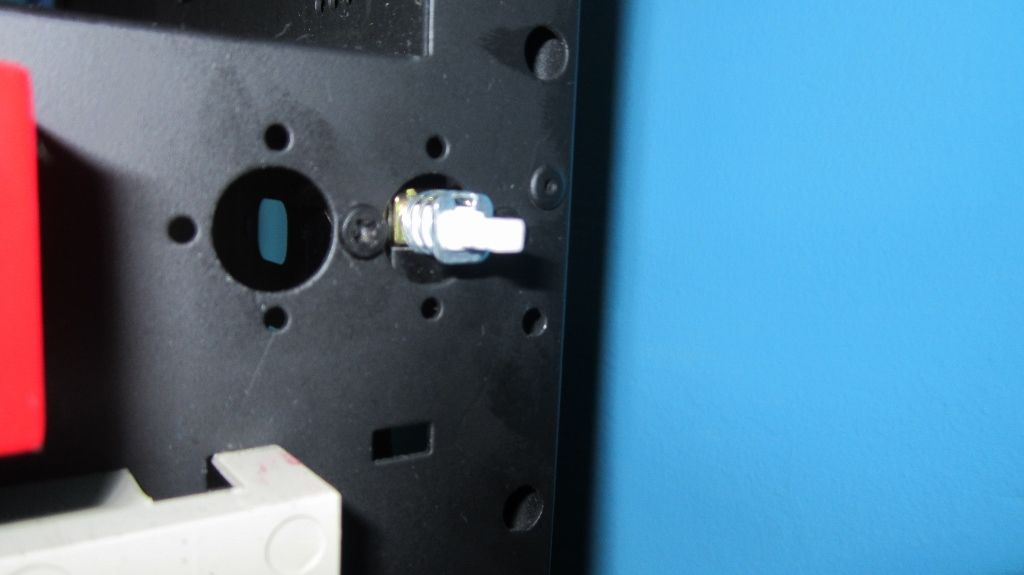
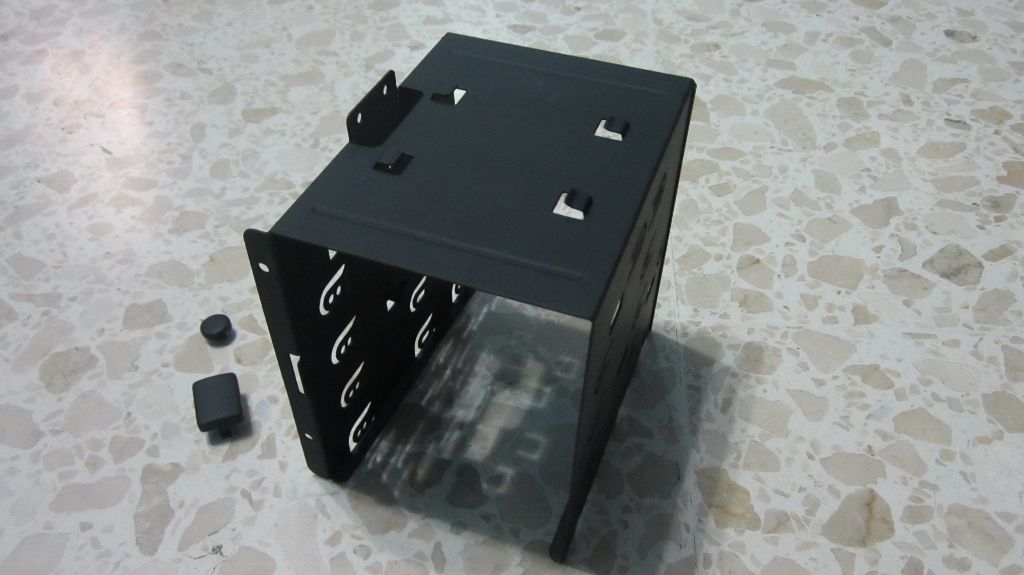
The hard drive cage and the power and reset switches painted.

No51024x575_zps1002192b.jpg


This was the paintjob before I started this mod.

No91024x575_zps0e2cc319.jpg


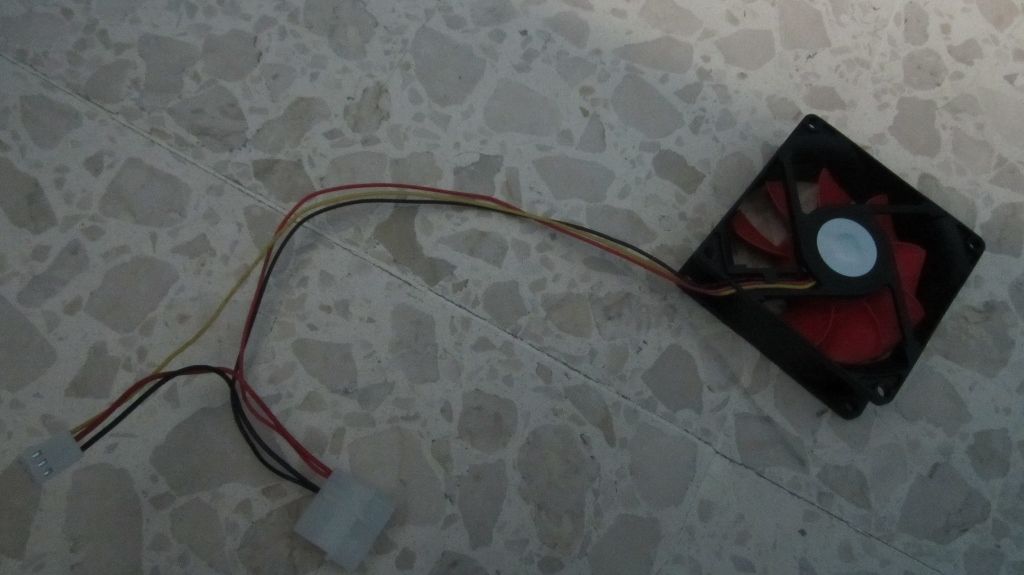
cut the front 80mm fan, not perfect but this was my first try.

No171024x575_zpsa45b5e19.jpg


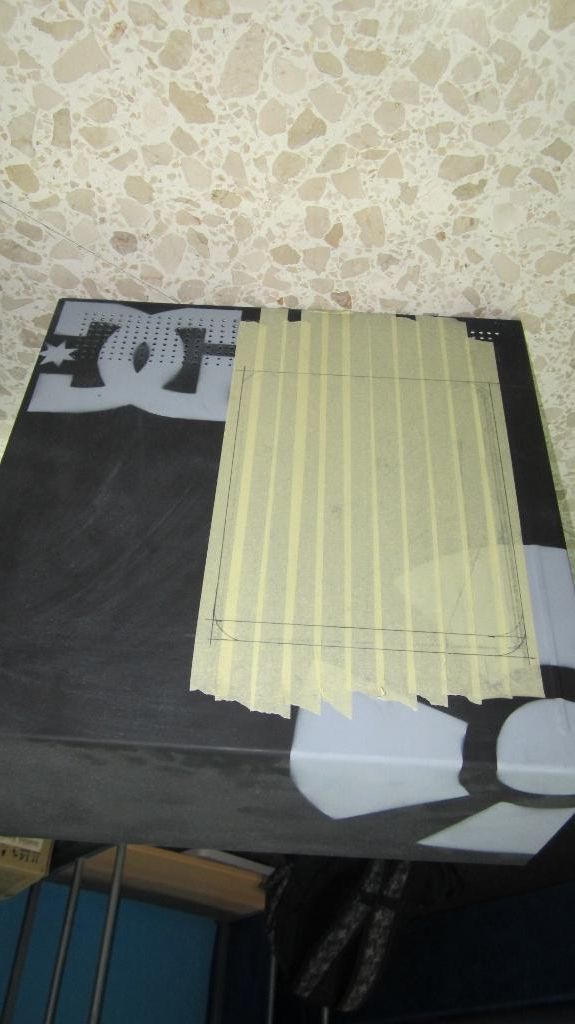
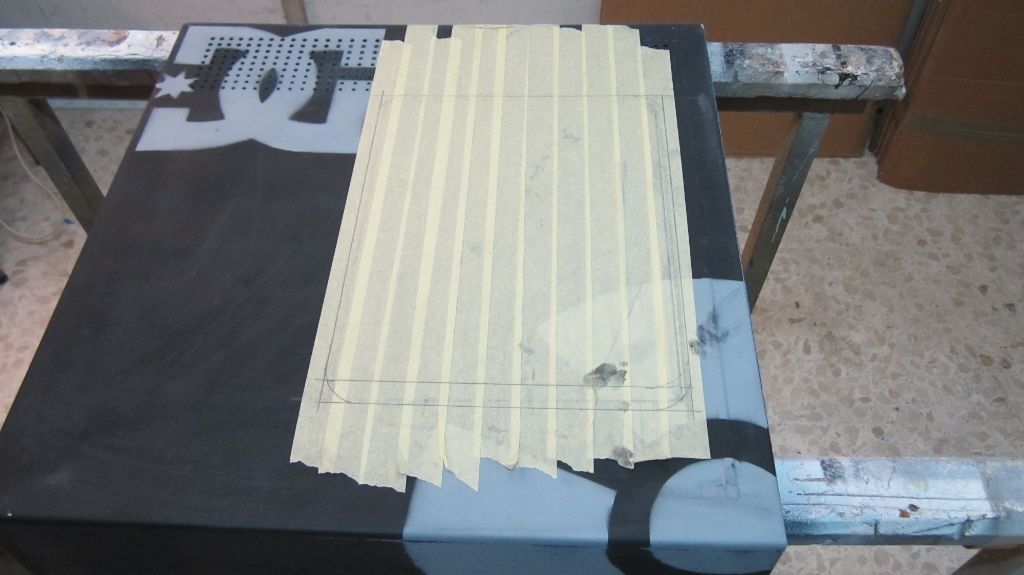
Planning the layout for the window.

No111024x575_zpsf89fe865.jpg


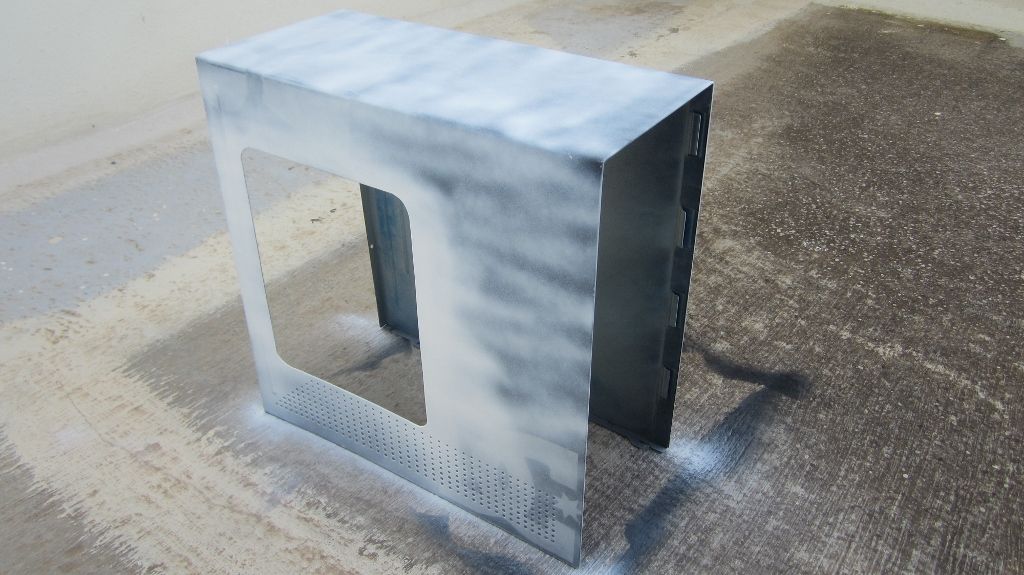
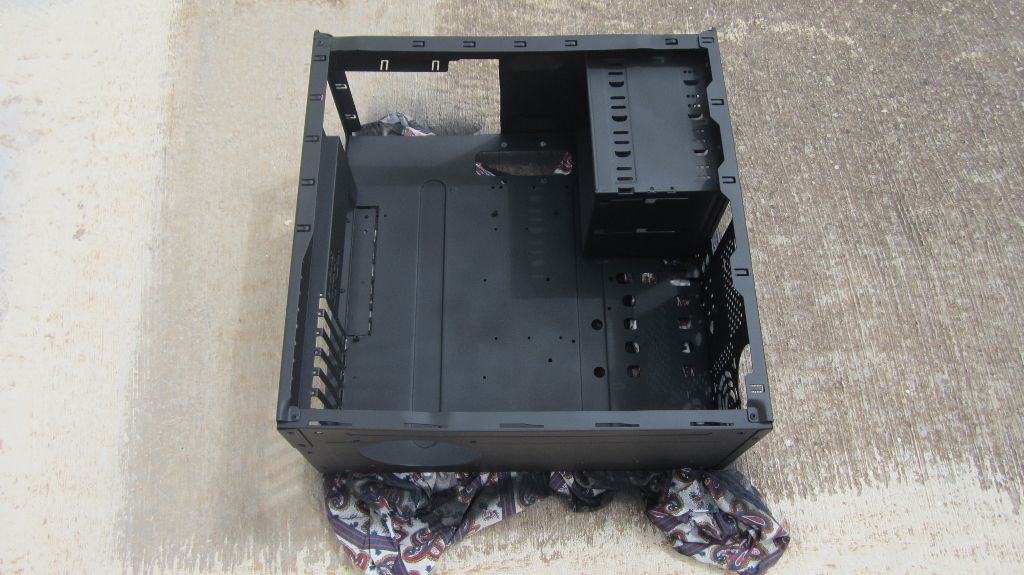
This is how the interior looked before painting.

No241024x575_zps98569ac4.jpg


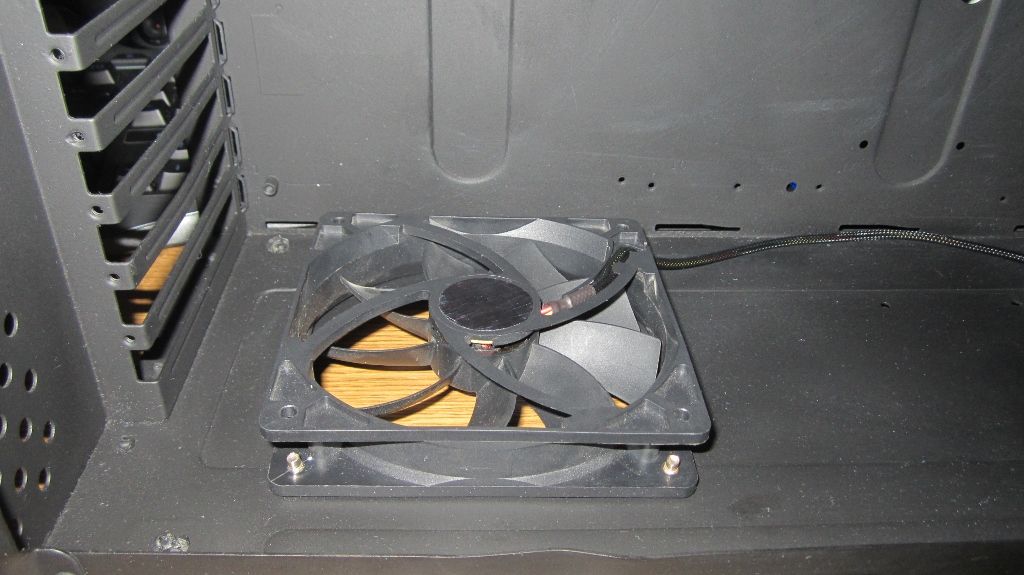
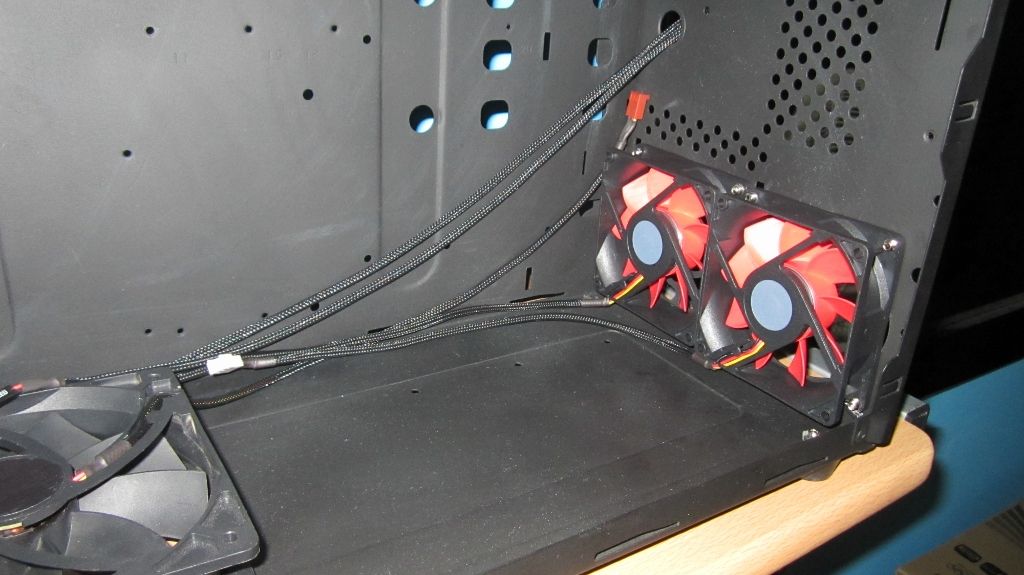
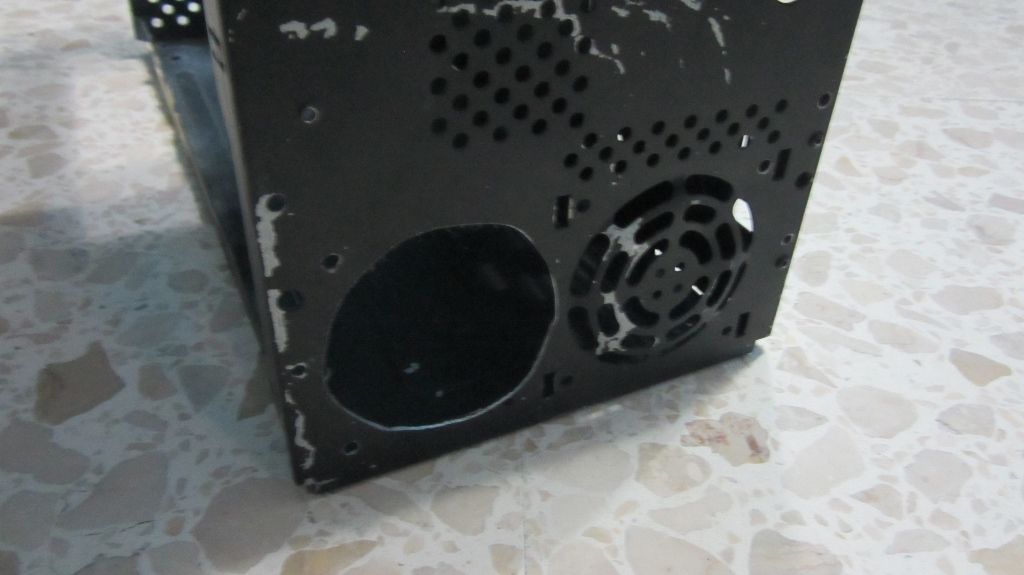
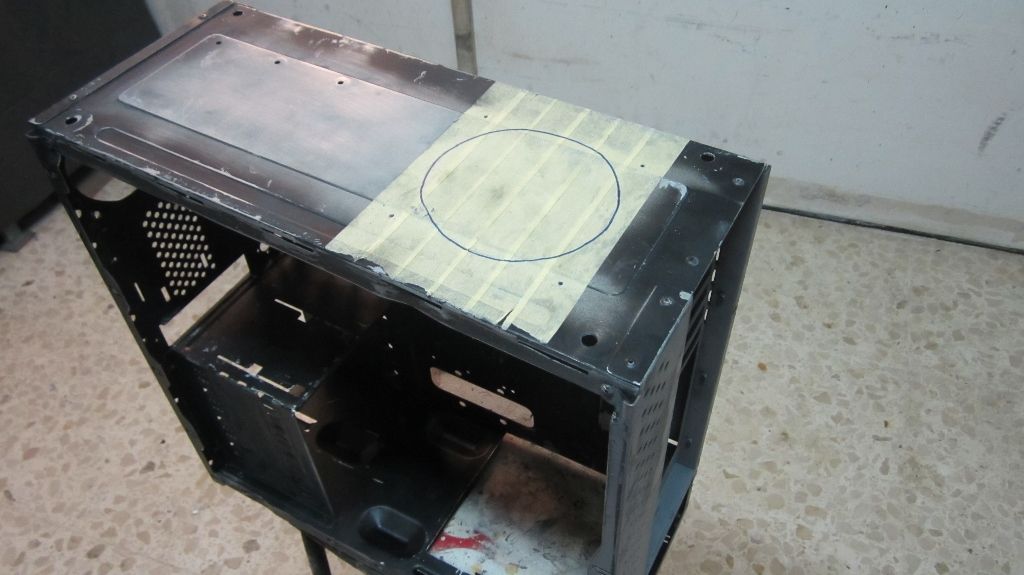
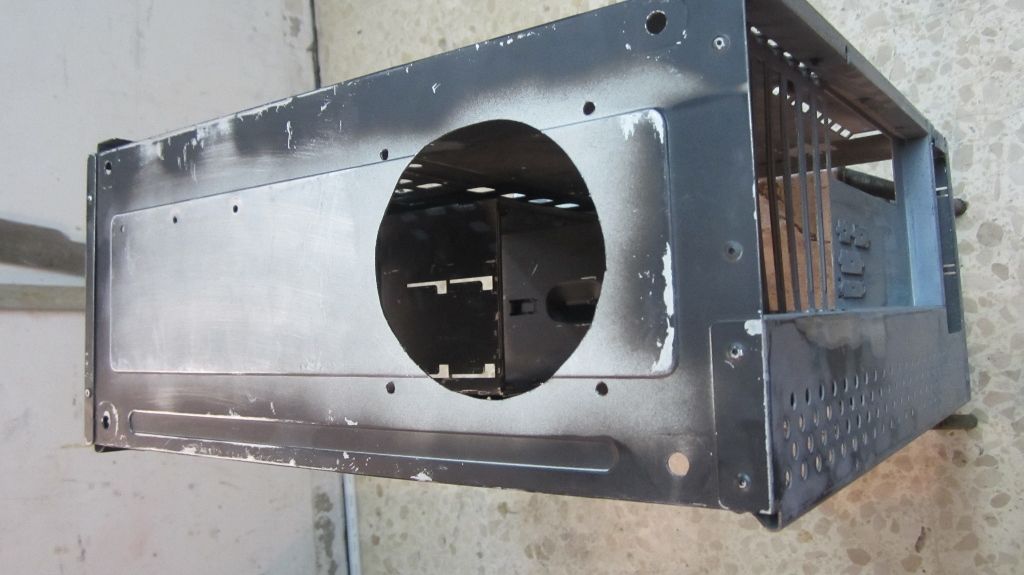
Before cutting the bottom 120mm fan.

No301024x575_zps6286588f.jpg


and after.

No351024x575_zps4e15fa12.jpg


The first coat of the interior. ahh a sigh of relief.

No381024x575_zpsd11134f0.jpg


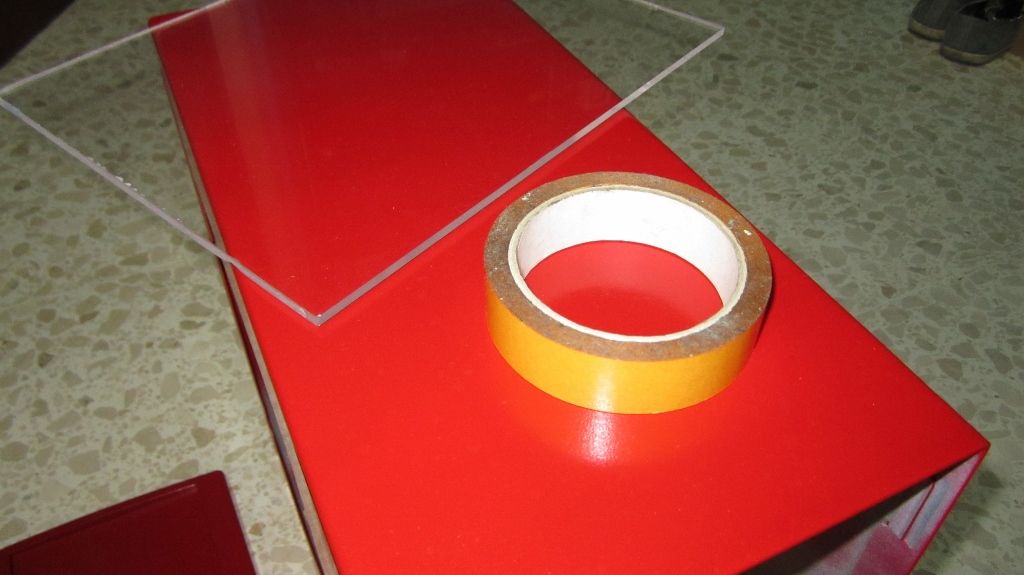
A piece of plexi to fill the 4 optical bays, took its fair share of time to make it as perfect as I possibly can.

No481024x575_zps3ac99099.jpg


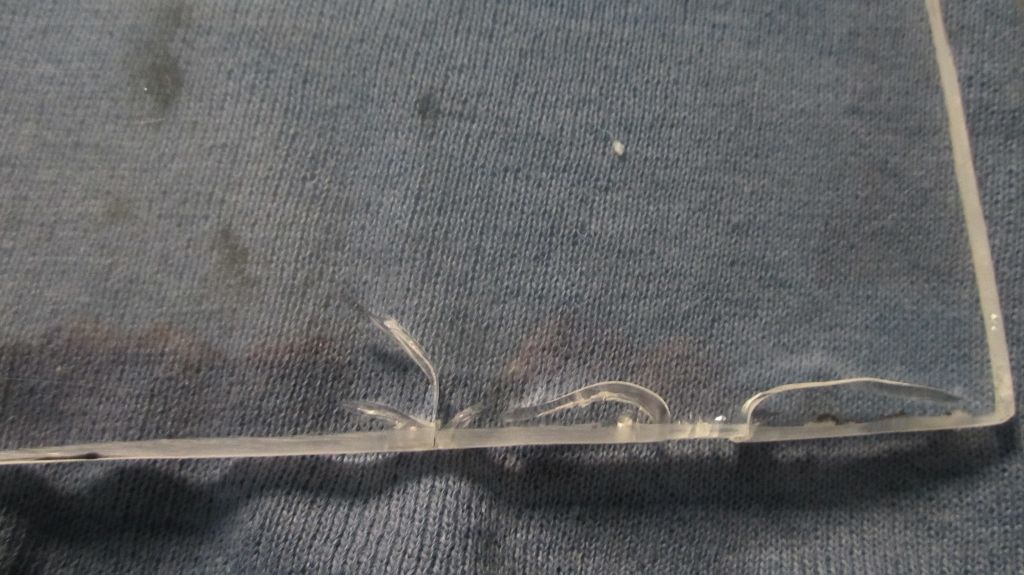
and the first bump in the road hit me ! :mad: the side window plexi cracked while i was buffing the edges.

No501024x575_zps8690910a.jpg


the interior got its 2nd coat of black spray and is now hanging out in the sun.

dc723f52-a849-4674-8602-7c663a437716_zps228025d4.jpg


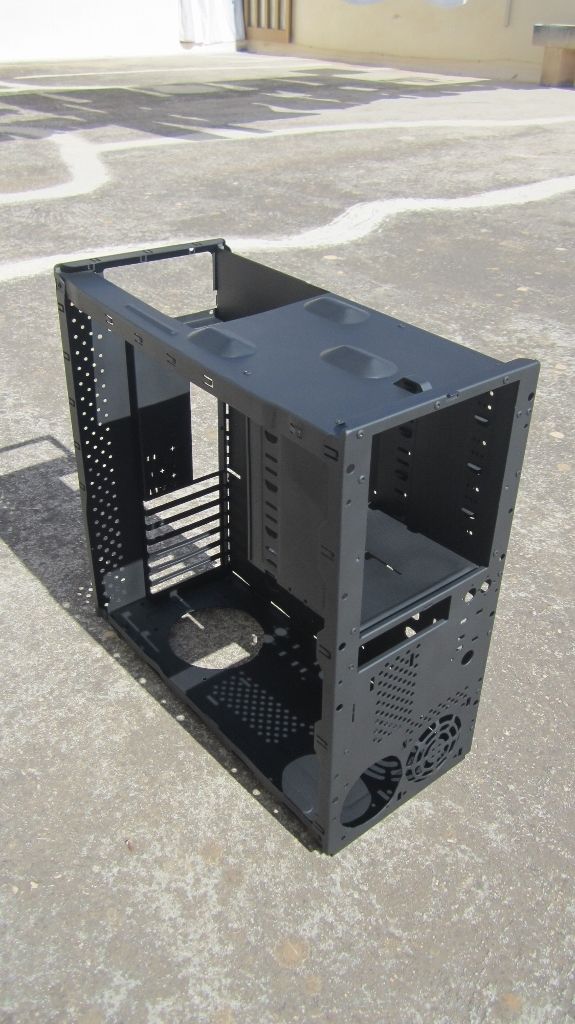
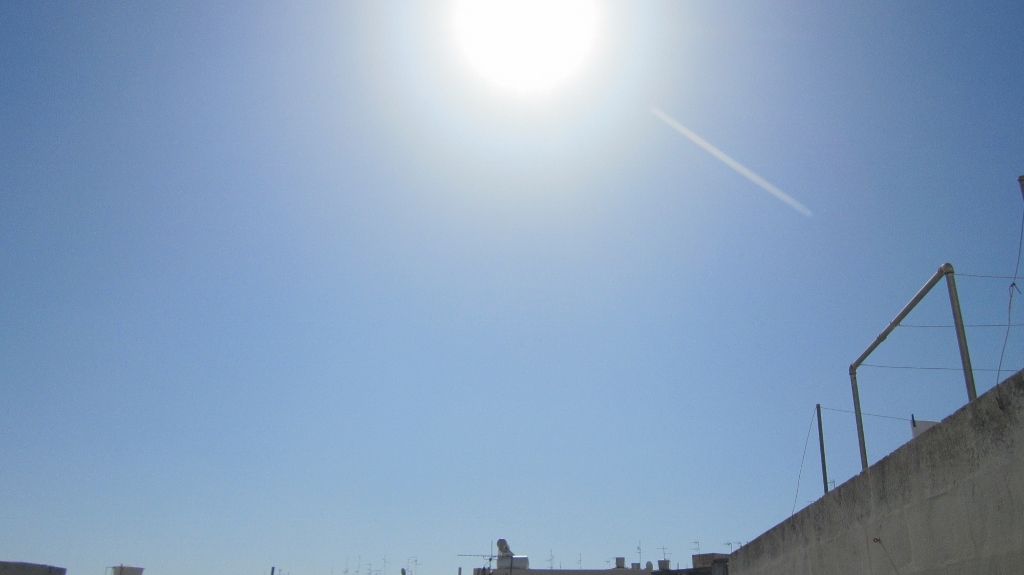
beautiful day here in Malta.

No591024x575_zps72e84cae.jpg


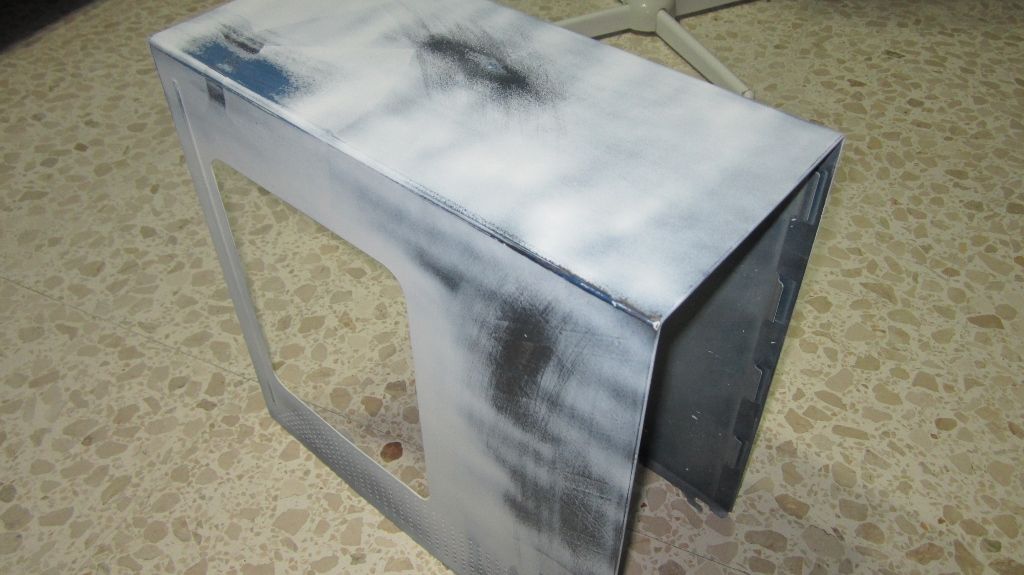
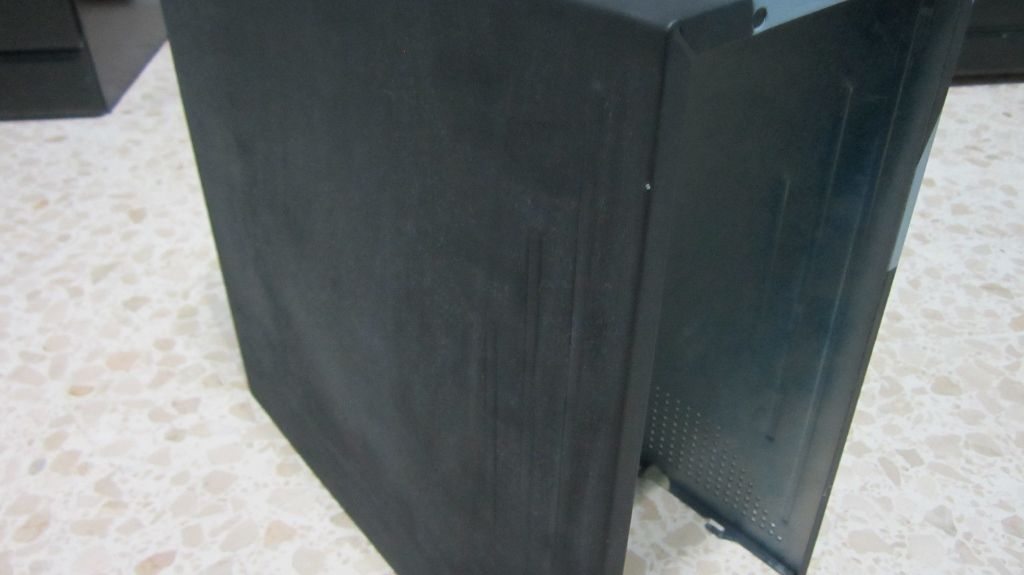
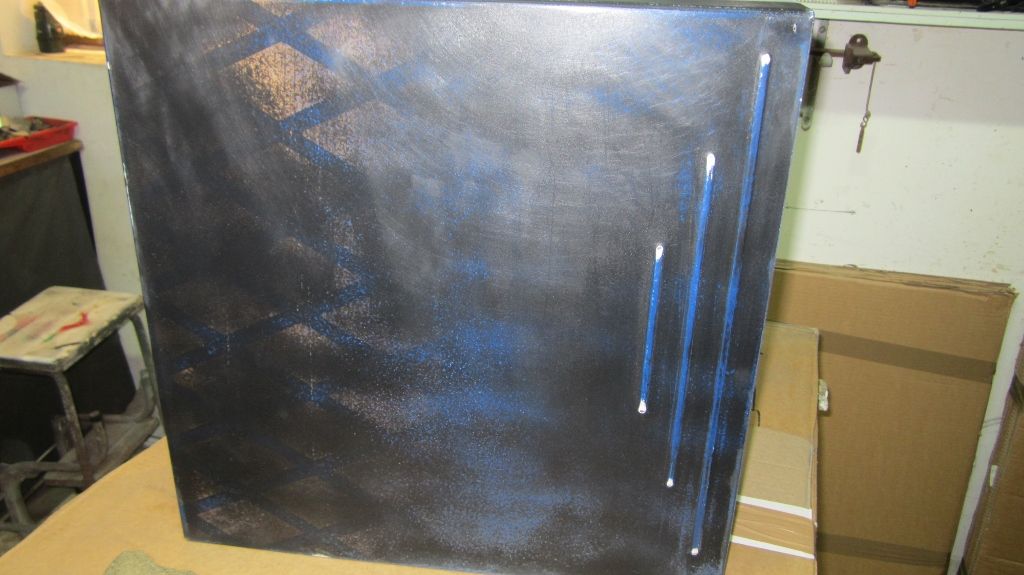
sanded down the side panels/ top, they are a single piece. here you can see the first paintjob pretty clearly.

No681024x575_zps5b9d56c5.jpg


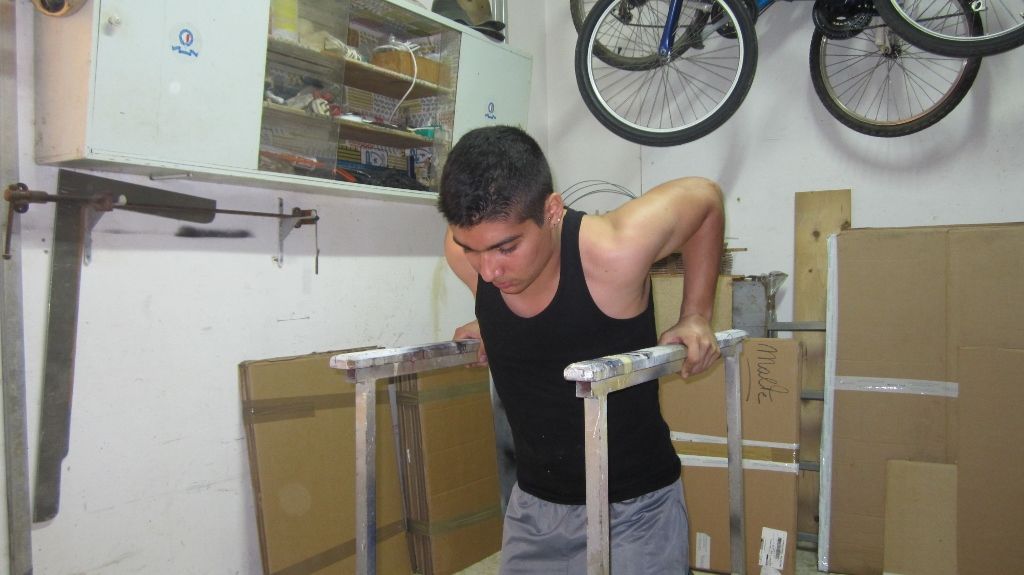
took a break from modding and did 2 sets of 10 reps dips, and yeah thats me :)

No701024x575_zpsb804e17f.jpg


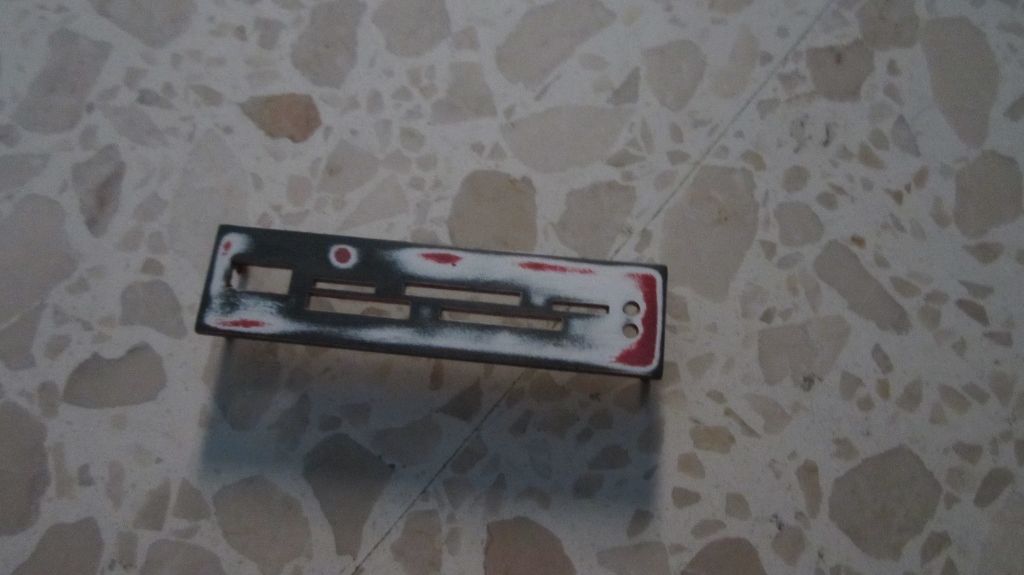
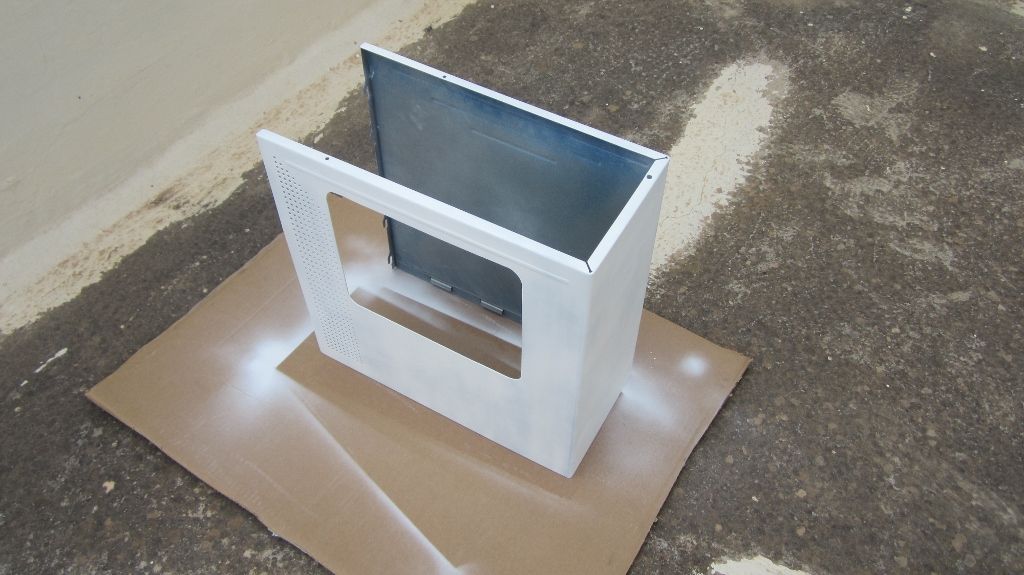
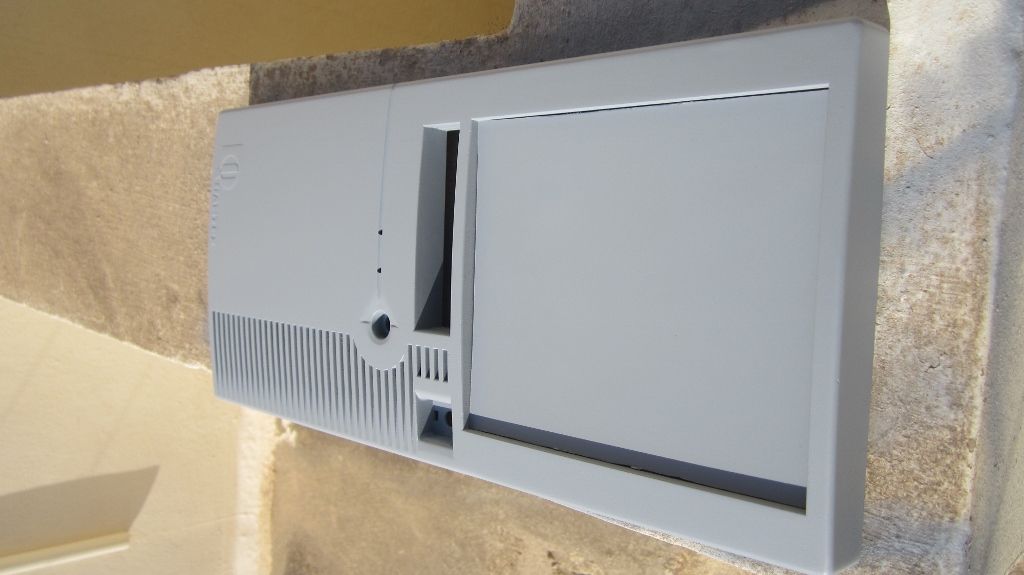
the front panel sanded and ready for paint.

No731024x575_zps9d0dbabc.jpg


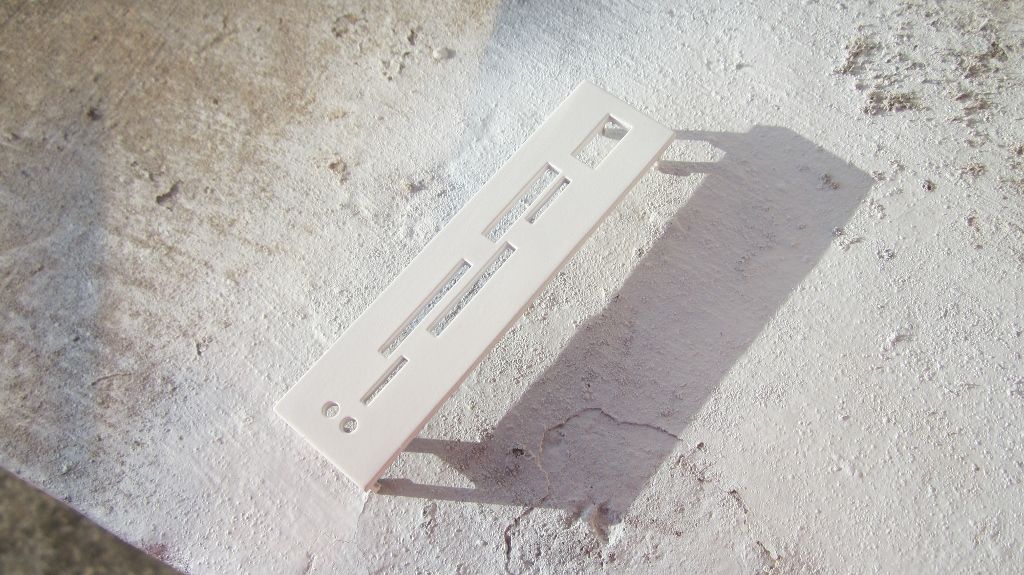
and the first coat of primer goes on. not perfect but will be fixed.

No741024x575_zps0d5cfff3.jpg


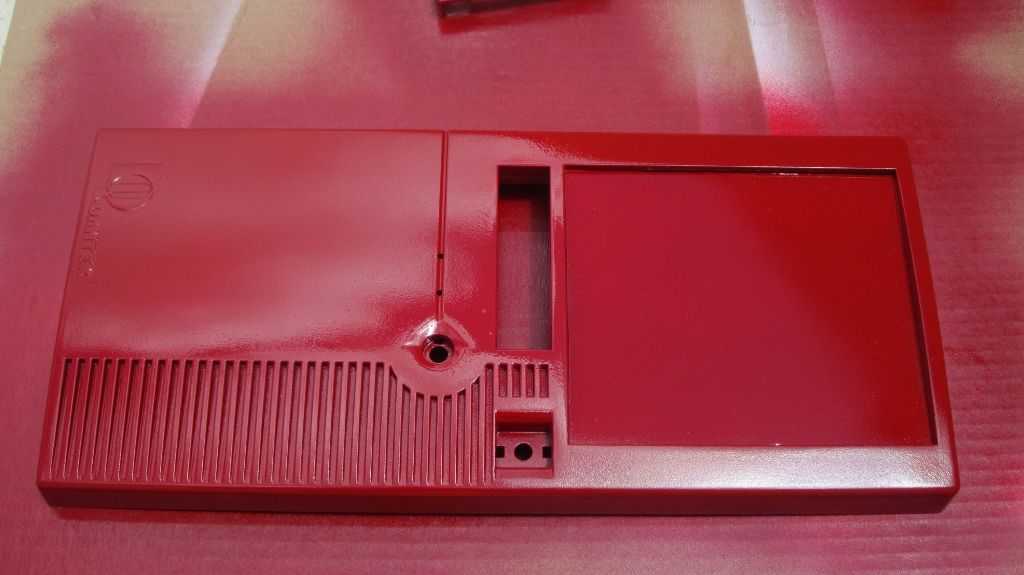
sanded down the imperfections.

No811024x575_zpsb01b624a.jpg


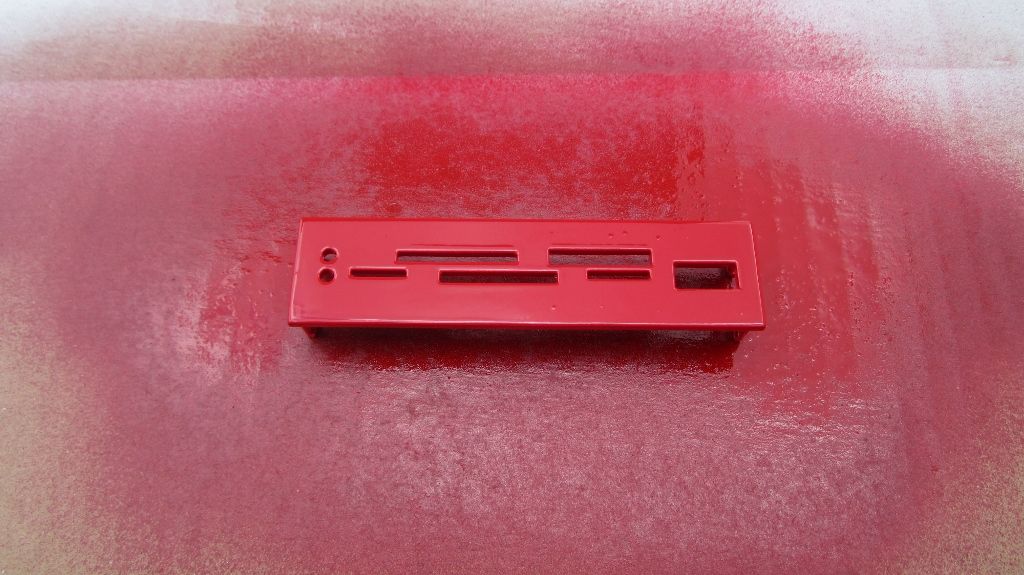
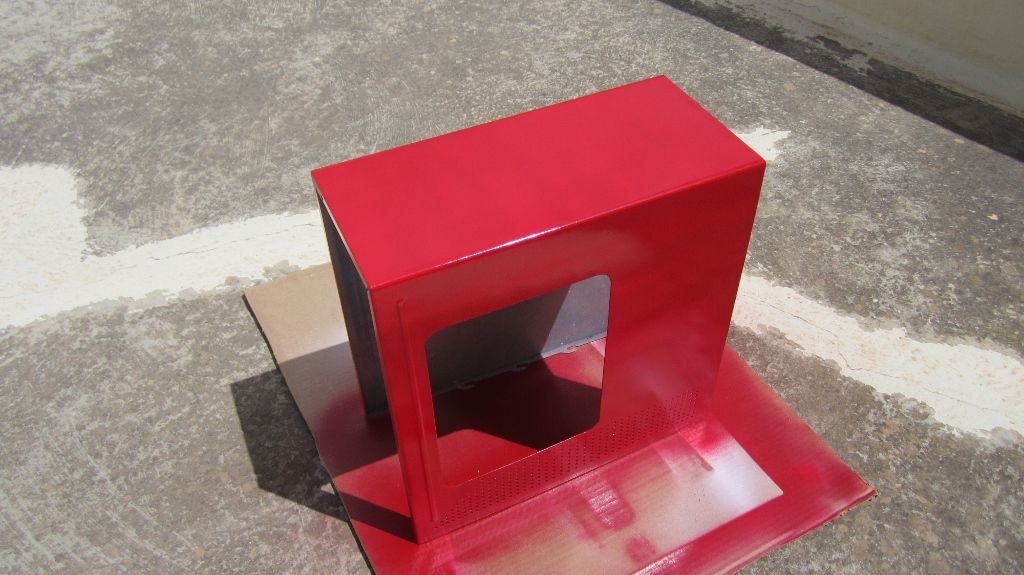
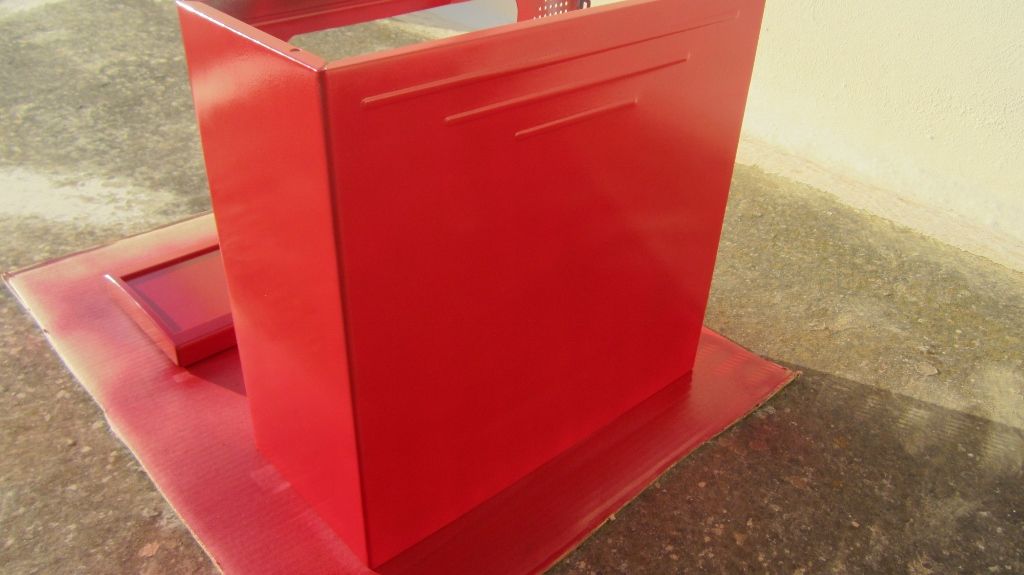
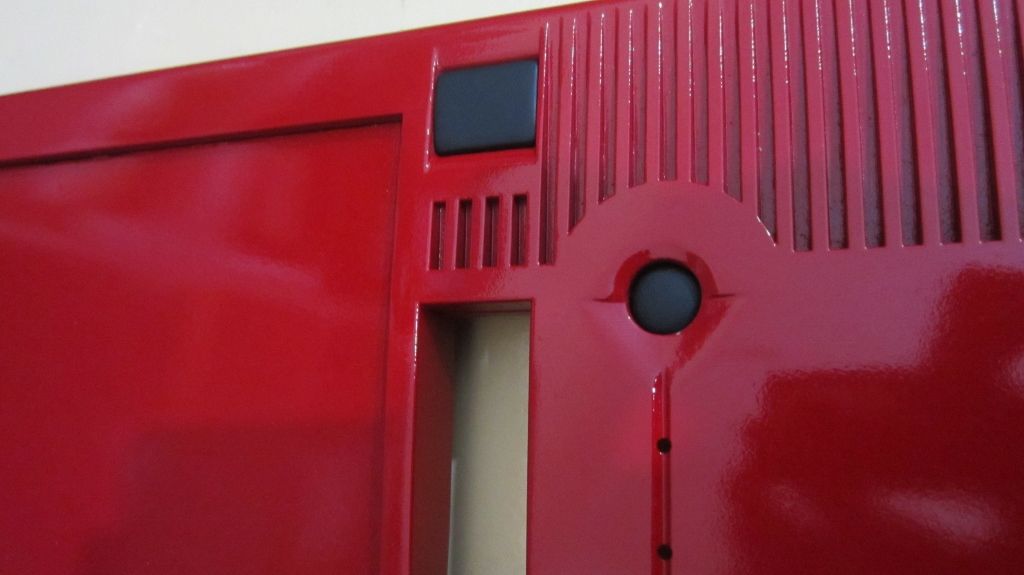
and sprayed it again, much better now.

No831024x575_zpsb7a422a5.jpg


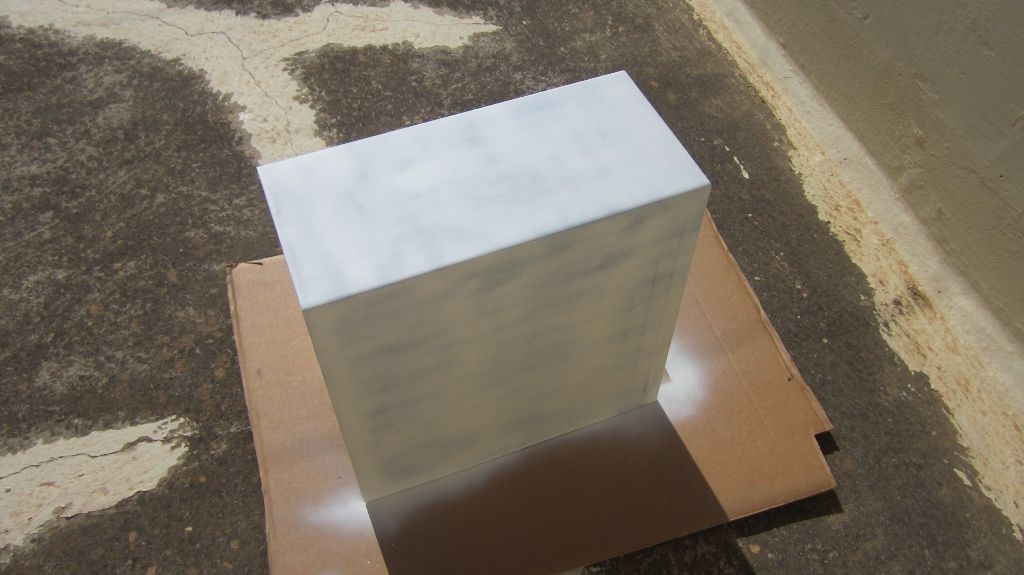
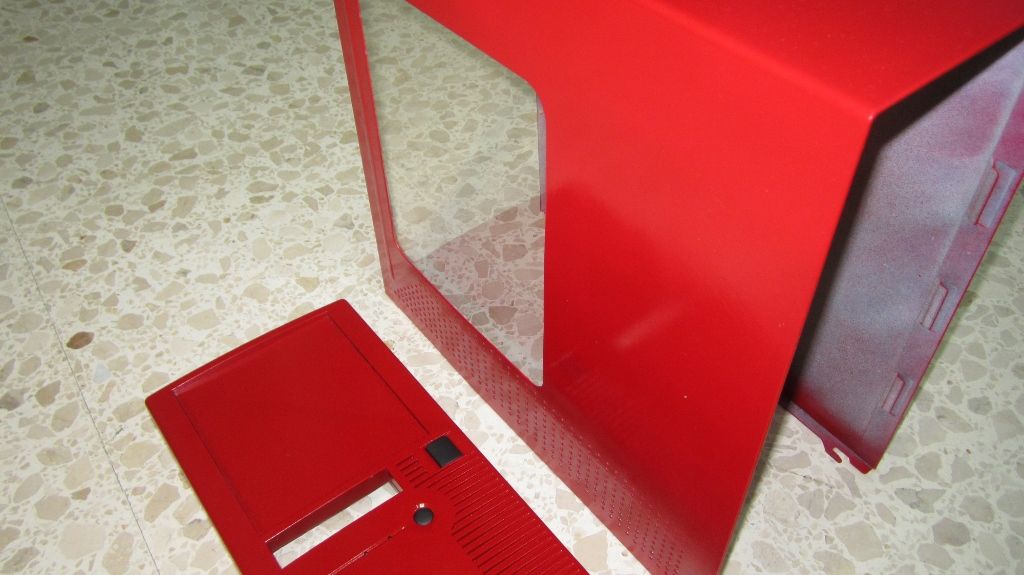
managed to get another piece of plexi, cut it down to size, buffed it and its nice and shiny, the sides arent perfect but I cut it 1/2 inch larger than what I needed.

No861024x575_zps69413a17.jpg


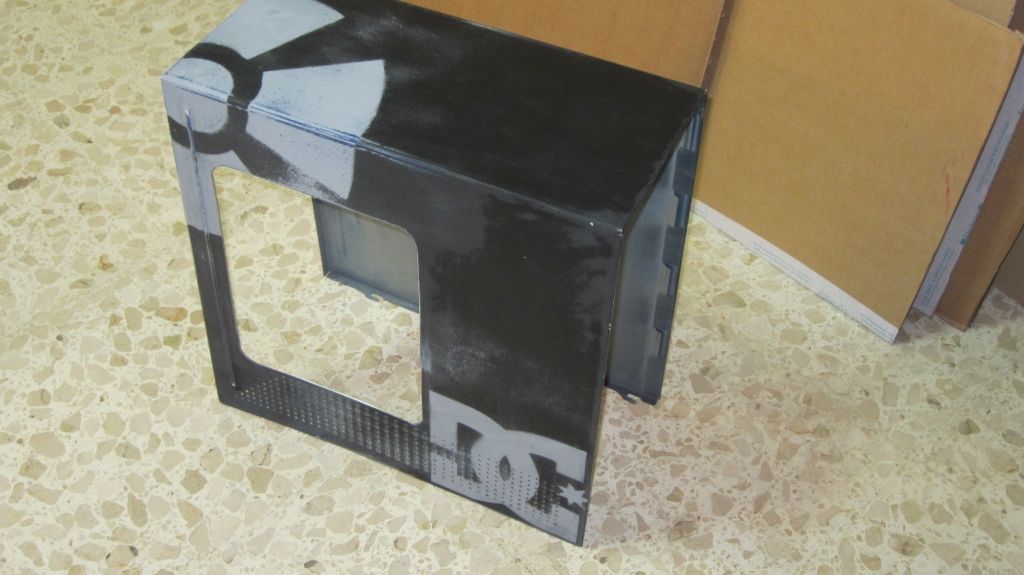
The real challenge starts. cutting the side window, it needs to be as perfect as I can get it as I am trying to avoid using u-channel.

No871024x575_zpsbc4b6623.jpg


initial cut is done, this part is fairly easy
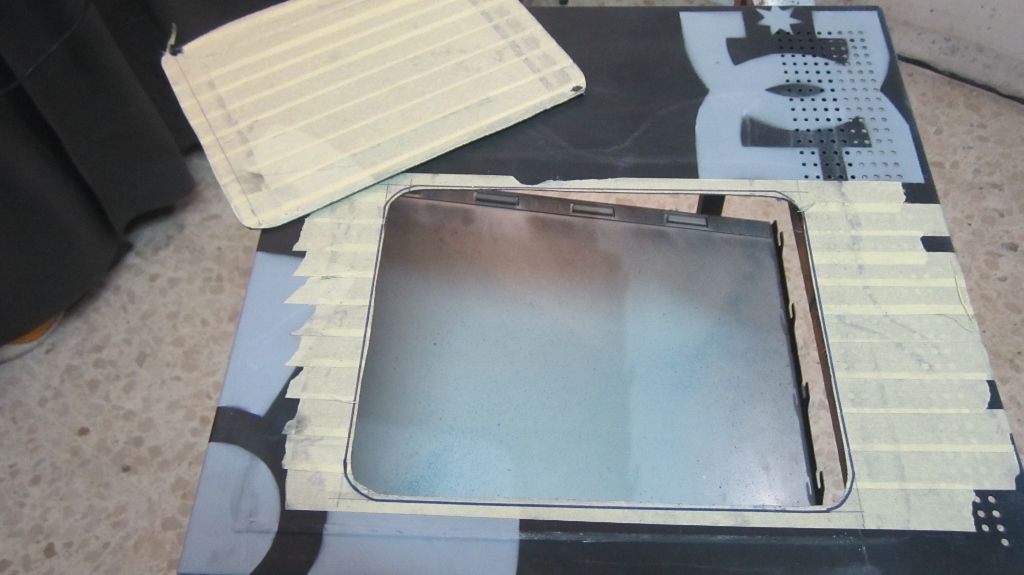
 :P

No881024x575_zps337ecf13.jpg


and then I had to file it down :( took me more than 2 hours and my hands are still shaking more than 4 hours after. But, atleast I'm pleased with the results

No911024x575_zpsbbc8d00b.jpg


cleaned and ready for the next stage.

No921024x575_zpsbb810671.jpg


Please leave you thoughts and/or suggestions, even negative ones, this is more of a learning journey for me.

maniac out.
 
Last edited:
Yay, thanks so much! ^_^

Looking good so far! Are you going to change anything to the interior of the case, like changing the place where the PSU goes or something? :D

Thanks for doing this mate, did not expect it. It's proper log too! :p
 
Looking good so far! Are you going to change anything to the interior of the case, like changing the place where the PSU goes or something? :D

Nothing that is planned apart from the two extra fans for a total of 2 x 80mm in the bottom front and 1 x 120mm in the bottom.

the changing of the placement of the psu would leave me with a huge whole in the roof apart from the psu mounting piece which is not as easily covered as the psu mounting plate is not aligned with the roof, hence the hole.

I didn't cut any cable managment holes as the motherboard tray is so close to the side panel, it's near impossible to pass cables through. I also didn't do a fan on the back panel as it is kind of layered and I don't think cutting an 80mm/120mm whole wouldnt look right.

If you have any ideas, please feel free to share them, who knows I might like them :)

i actually really like the weathered look of your case for some reason :D

If the base layer was beige I might have left it as is, but too much blue is showing and it gets rusty where the steel is exposed.
 
Last edited:
Just being crazy here, but....

- What about a 180/200mm fan in the front and then modding the front cover to allow more airflow?
- Make it so that you can screw a rad in the top and make a cut-out on the top panel and put some mesh on there?
- Find a way to mount the PSU in the optical bay cages?

Don't know if you like these ideas and/or if they are possible, but that's what I would try :p

I really appreciate your input, but here are the reasons why i can't do any of those,

- the case is 20cm wide from side to side so a 200mm is out of the question. If i chopped up the front for a 180mm I would lose the hard drive cage and the mounting spots for the leds and front panel switches,

- I really liked this one but due to the shape of the top, those 3 dome-shape pieces, its hard to mount anything really. apart from the fact that i only have 220mm of metal on the top, If i cut this piece it would severely affect the structure of the case itself.

-Not really a fan of this one so I won't even try it :)
 
I am currently brainstorming with myself on what I can possibly attach to this to make it look more custom instead of blank, the only 2 things that came to me are a mesh on top of the plexi for a textured finish or the blades of a 120mm fan stuck in the middle. any suggestions?

No831024x575_zpsb7a422a5.jpg
 
Just sticking some random fan blades to it would look silly imo :p

Cutting into it is a no-go?

I know it'll look silly but i just take all possible options and then i choose the best one.

well, depends on the cut. I spent about half an hour filing that plexi down to make it fit snug and i really really dont wanna ruin it, maybe if its a couple of holes i might try it but no complex designs :)
 
Update!! 01/06/2013

Just a small update so I don't have huge massive updates at once. I'll try to update once every two days if the weather doesn't keep deciding to be a total dick and is constantly cloudy and randomly raining :(

Firstly this was the power and hdd leds.

No931024x575_zps8551f4a6.jpg


and now they're sleeved, pretty happy with these.

No951024x575_zpsf4a73883.jpg


first coat of primer to the top/side panels. its not the easiest to work with when they're in one piece but thats what I have to work with.

No961024x575_zpsb6a47952.jpg


Went shopping today and got myself a card reader, two cans of cherry red, and some strawberry whey :) (oh and I got a free shirt too )

No1001024x575_zps1d2be2fe.jpg


as i'm keeping to a tight budget, I had an old schyte fan in the cupboard and decided to use it for the bottom, sleeved the cable and covered the middle brown thingy.

No1081024x575_zps49f53875.jpg


next i wet sanded the top/side panels and now theyre smooth as a baby's butt :P

No1111024x575_zps8219c2ad.jpg


The following are me being an impatient fellow, firstly i mounted the power and hdd leds to the case to see how it looks.

No1091024x575_zps31d53fb9.jpg


now this is the worst mistake yet, but it can be fixed and it will be fixed. I dismantled the card reader to paint the front, and I just wanted to see how the cherry red looked so I primed it and did the top coat about 2 minuted between each other, then being the genius that I am, I grabbed it from the bottom and tried to move it, and BAM! it fell upside down and the paintjob was completely ruined. And to ruin it even further I tried to sand it before it was completely dry, and this is the result -.- not proud of it at all but we learn from mistakes and maybe someone reading this will learn from mine!

No1121024x575_zpsaf79330e.jpg
 
Last edited:
Update!! 03/06/2013

First thing was to fix the front cover of the sd card. first sanded down.

No1131024x575_zps6ee3c520.jpg


primed again.

No1171024x575_zps5ca6413e.jpg


and the top coat.

No1231024x575_zpsf092ebd3.jpg


and now onto the main part. started priming the top/side panels.

No1201024x575_zpsdcc30d32.jpg


after 3 coats of primer.

No1221024x575_zps98dc0837.jpg


and top coated the front panel.

No1251024x575_zps89f4867b.jpg


I wanted to see how the sd card reader would look assembled.

No1331024x575_zps9073e9a5.jpg


and the first top coat on the top/side panel goes on.

No1301024x575_zps1a4ad78d.jpg


and after about 4 light coats is complete.

No1341024x575_zps08e0454a.jpg


today i purchased these for the front panel.

No1391024x575_zps8acfcc4e.jpg


why do they make it so hard to sleeve these fans :confused:

No1411024x575_zps73566c24.jpg


well if its not easy, I make it easy :)

No1421024x575_zpsf72b3bf3.jpg


and sleeved both of them.

No1451024x575_zps51fe6089.jpg


and installed them on the case.

No1461024x575_zpsa1897fdb.jpg


a front shot.

No1471024x575_zps7ac4a5e6.jpg


That is for today.
I'm still waiting for the power and reset switches to arrive. I tried to buy pci slot covers locally but couldn't find any so today I bought a pack of 7 from ebay for £8. I'm still waiting on those to arrive to complete the mod, in the mean time i'll leave the painted parts in the shed on the roof as it's like an oven right now so the paint will harden.

maniac out.
 
This actually doesn't look bad, at all! The limited intake doesn't really matter much with the 120mm fan in the bottom there :D

+1 for the effort of sleeving!
 
Nice work mate! I Love it!

I like it dude :D
Keep it up!
And I second the sleeving! It looks good!

Thanks guys really appreciate it :)
and guess what another update!

Update!! 04/06/2013

This morning the paint was pretty much 95% as dry as it will ever be so I installed the switches to see how they look. thank god I didn't paint them red or it would have been just too much.

No1481024x575_zps9d04b117.jpg


also installed the hard drive cage and the card reader and placed the front panel just to see how it looks.

No1501024x575_zpscba2d1a5.jpg


and now it's time to install the plexi in it's rightful place.

No1561024x575_zps4aa1ef90.jpg


and it's done :) looks very clean if you ask me.

No1571024x575_zps4855af62.jpg


then the postman decided to pay me a visit and brought me the power switch.

No1611024x575_zpsf0020af4.jpg


sleeved...

No1621024x575_zps2e1a85f3.jpg


and in it goes

No1631024x575_zpsf6fae794.jpg


next update will take a bit as I am waiting for the reset switch from china ( bought a week ago) and the pci brackets from England (bought yesterday and shipped today)

also I was thinking about getting some led strips, what do you guys thing about putting one in the back and one beside the motherboard?

maniac out.
 
Yes, you're really putting effort into this project even though you probably won't be using it! :D

I feel loved!
 
Back
Top