[Staff Project] NZXSPC

Goodness gracious! That's looking killer so far! You're putting quite a bit of effort into this one :)

Keep it up!
 
Thanks again for all your comments, It's always nice to know work is appreciated.

Ok, on with the thread. Next up is the fan painting. A particular favourite of mine, second only to cable braiding. Seriously, I'm not being sarcastic here. i love painting fans, and I love braiding cables, but in all other ways i'm a pretty normal chap.

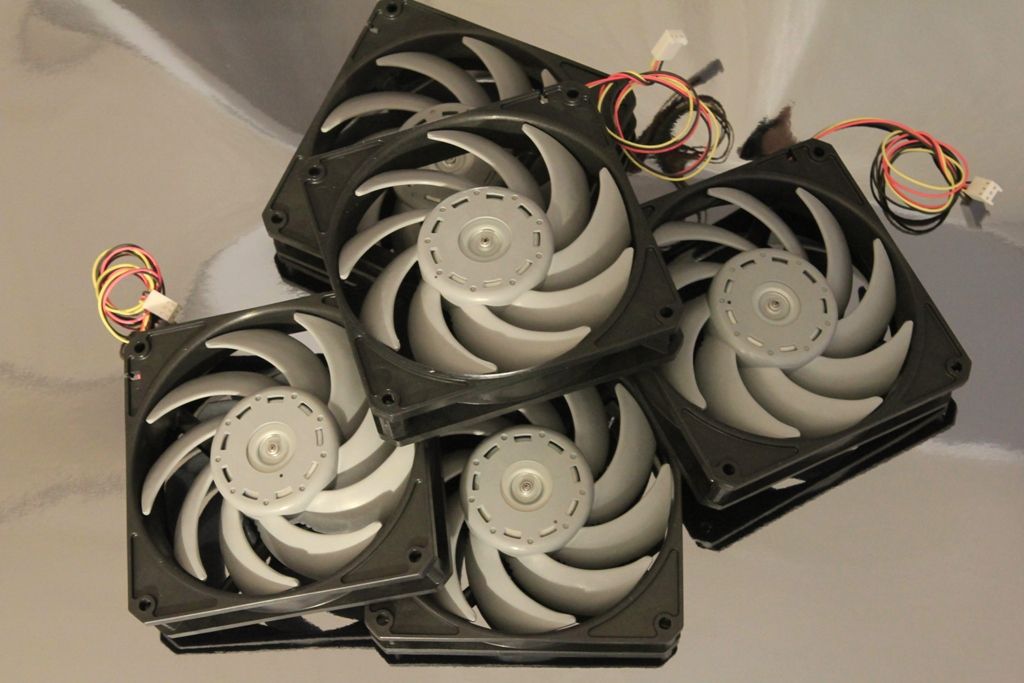
The Scythe Gentle Typhoon 1850 rpm is my "Fan de jour". A firm favourite, but ugly as sin. you'd think by now Scythe would have started getting them produced in a range of colours, or at least A colour as opposed to wheelie bin grey and black.

Anyways, rant over and back to the plot. Lots of pics as promised.
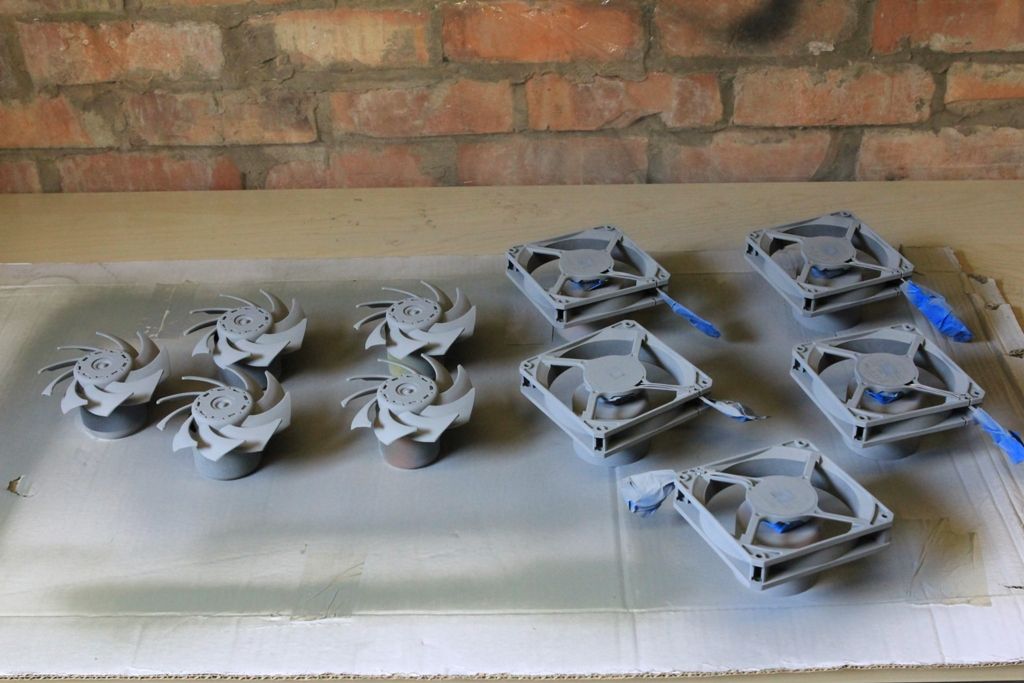
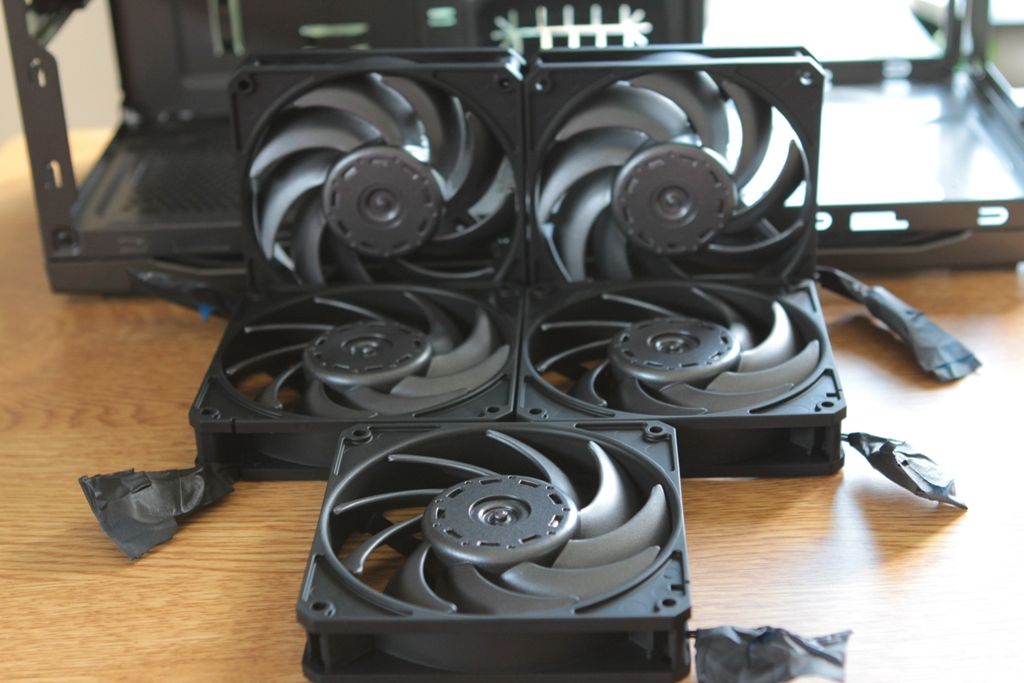
pre painting

006.jpg


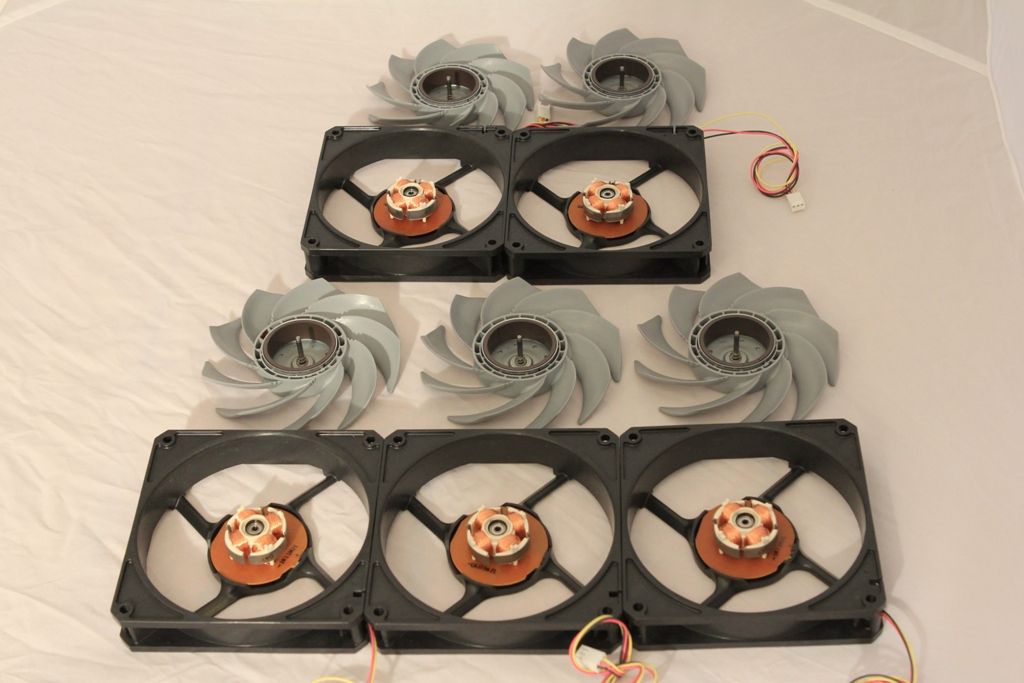
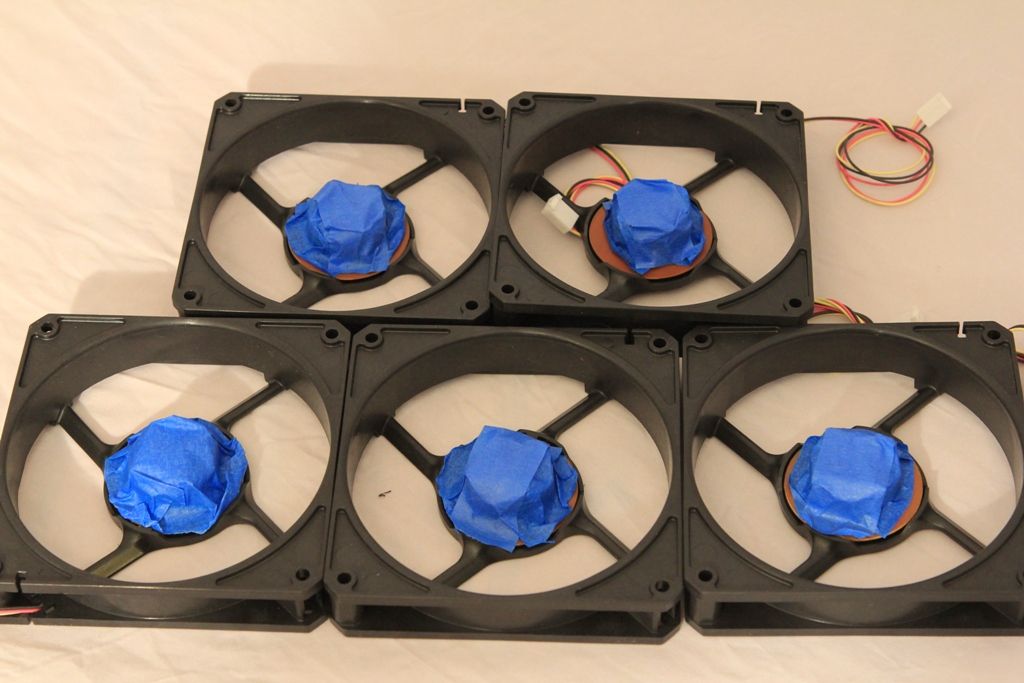
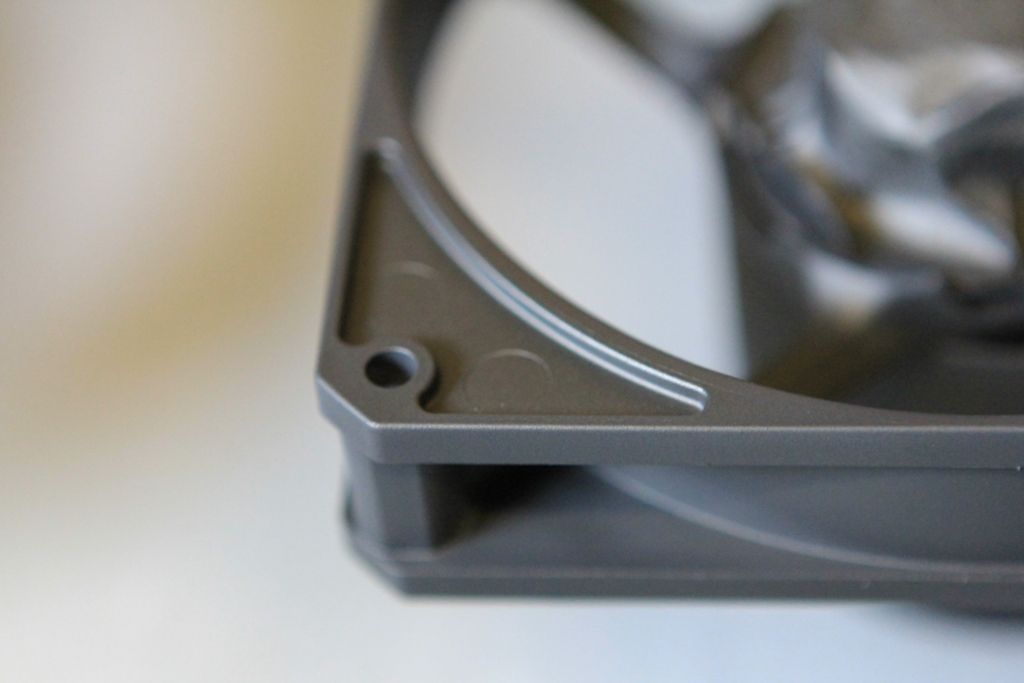
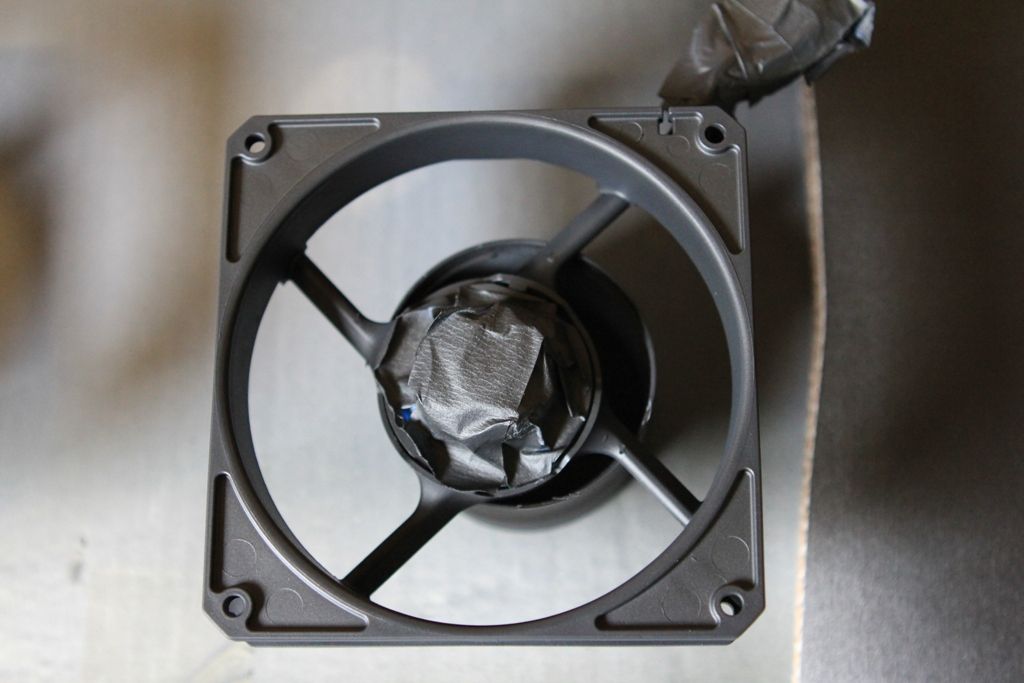
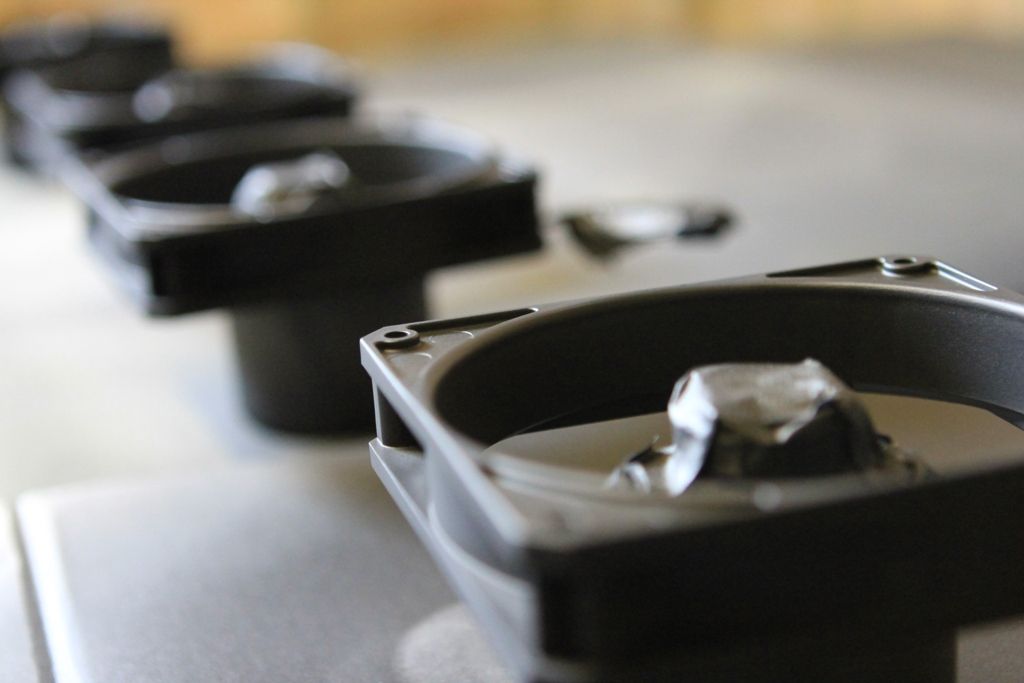
The blades are removed from the cowling by peeling of the sticker at the rear of the fan, then carefully, and i mean carefully removing the small metal cir clip from the centre pin of the fan. Keep this safe in a jar with a lid. Do not just "put it somewhere safe" as you'll never find it again. We then cover over the windings with low tack tape and the rear of the blades spindle and magnets with a disk of cardboard. All set for spraying....Nope, got to sand and prep first and remember to keep things clean and grease free of course

13.jpg


014.jpg


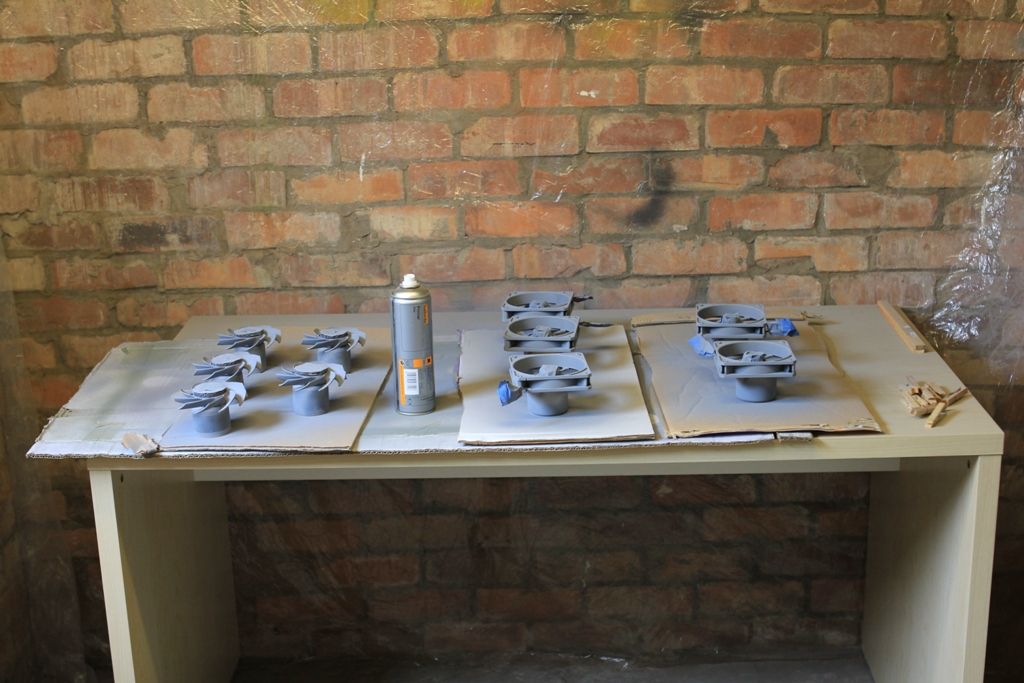
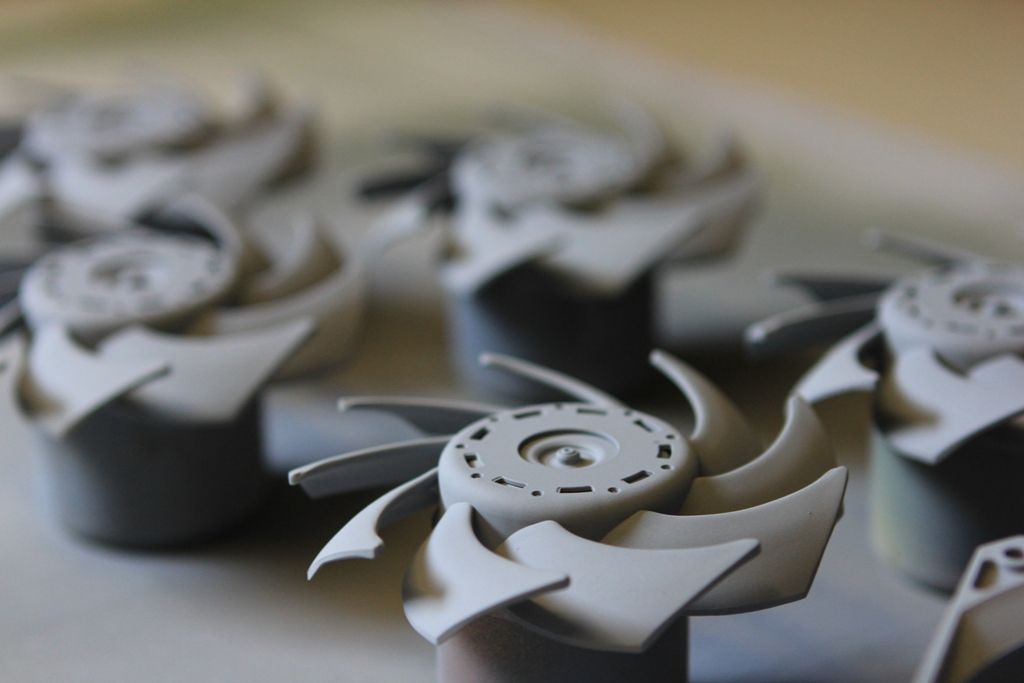
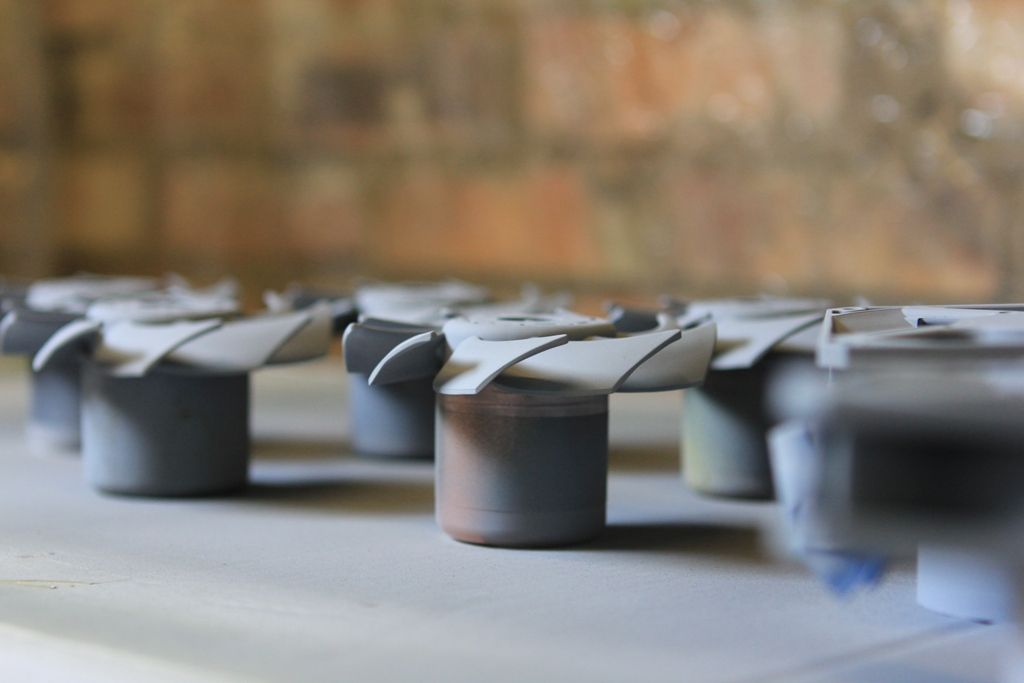
Prep done then it's time to lay down the first coat. I'm using Halfords grey primer. It flows nicely even in cooler weather and can always be encouraged by warming the can. I've built myself a little booth in the rear section of the shed lining as much as I can with plastic sheeting to cut down on dust. And of course always remember to wear protective equipment when spraying.

085.jpg


071.jpg


070.jpg


069.jpg


068.jpg


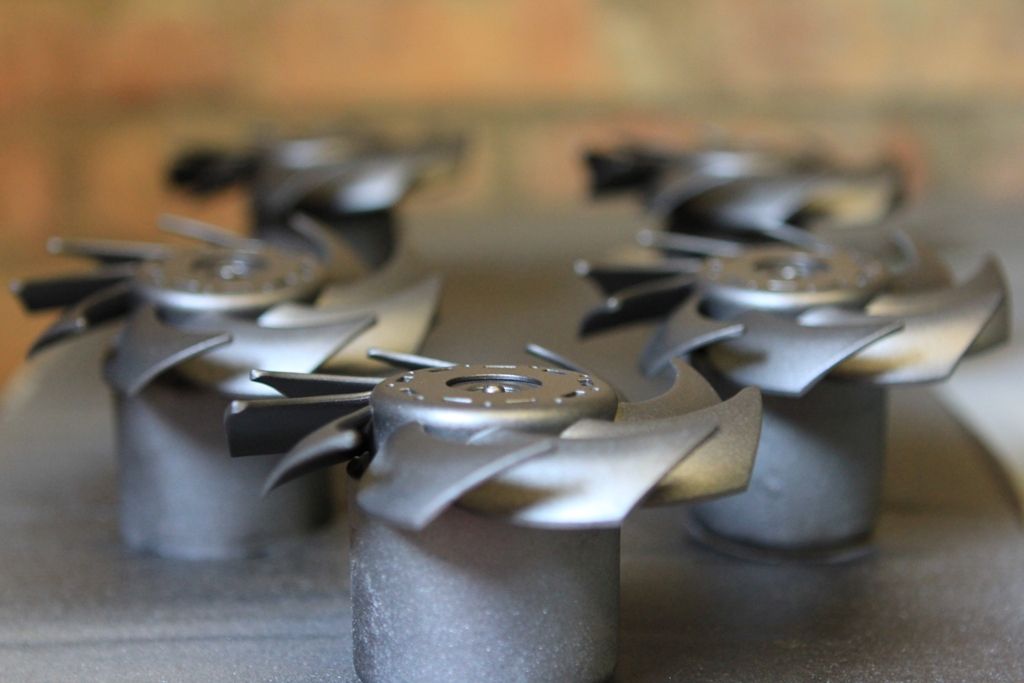
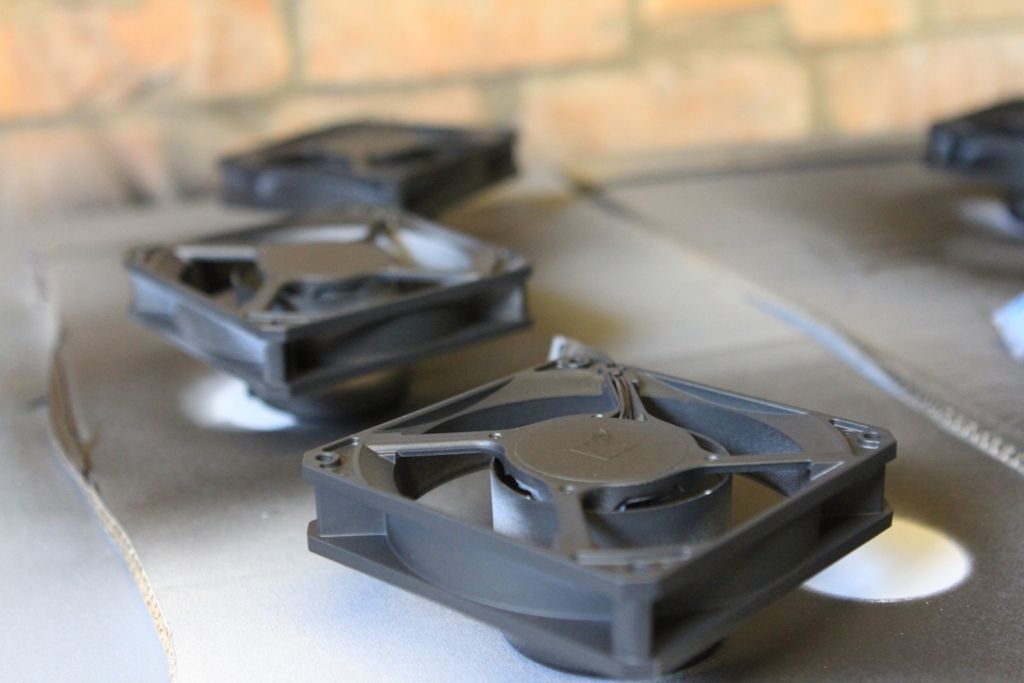
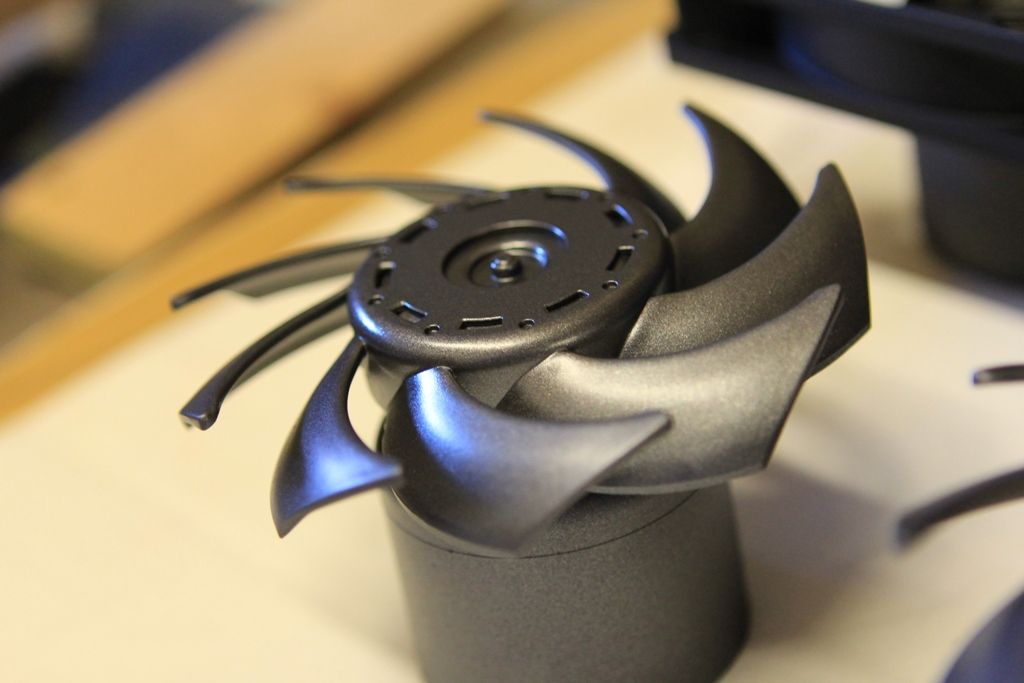
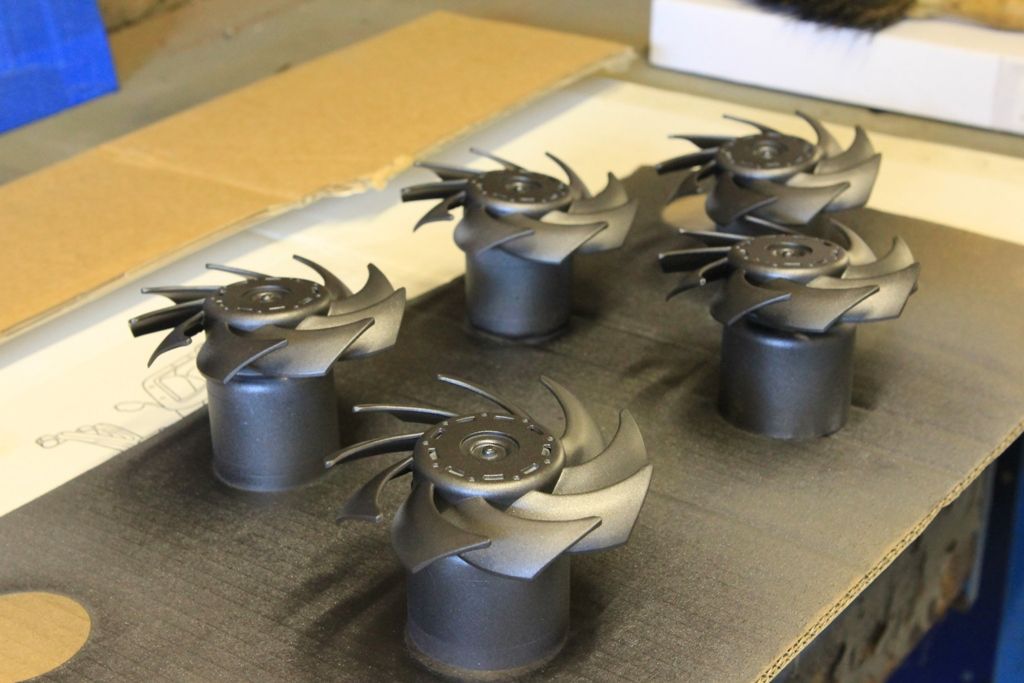
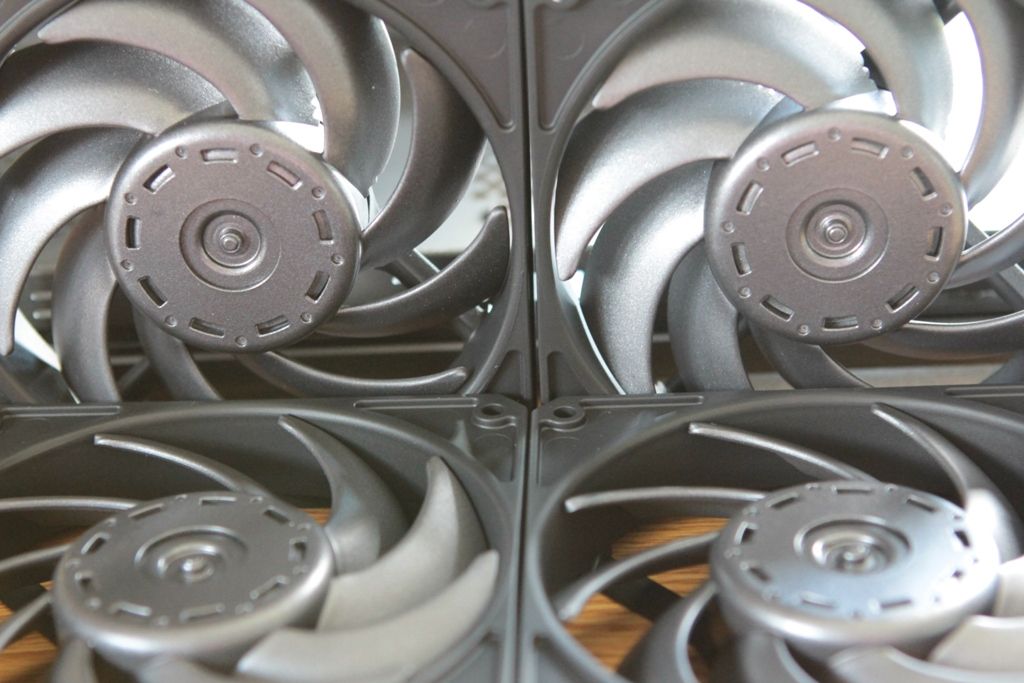
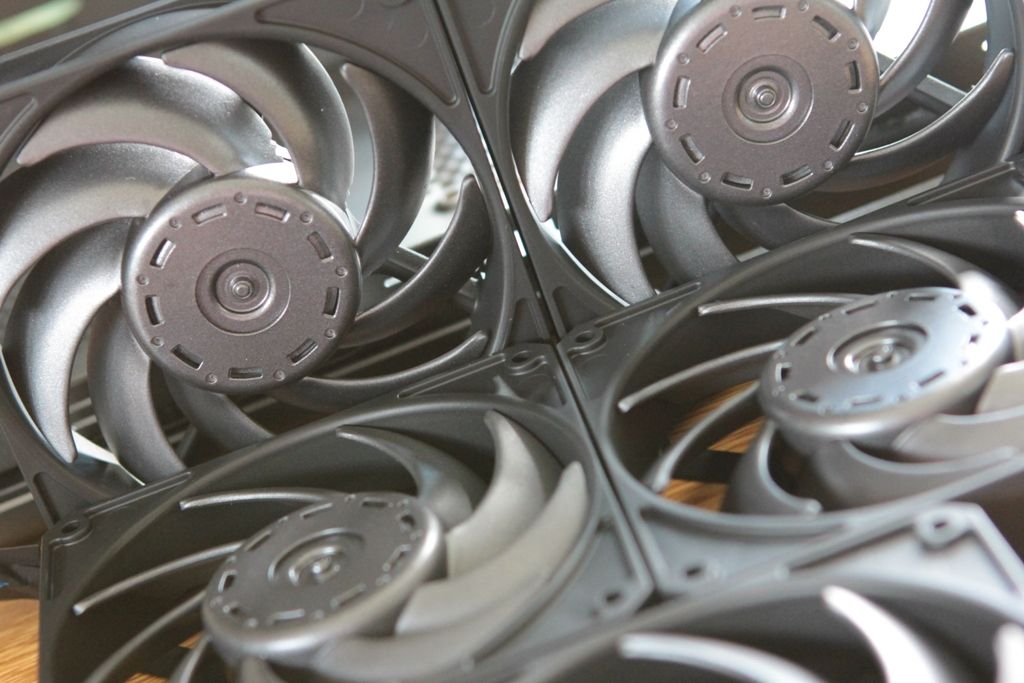
A few days and a few coats later and it's top coat time. As were using two colours it's necessary to isolate the pats to prevent contamination. For the most part these pictures show the two parts together after spraying as they are drying. I've used halfords Matte black and an auto paint that is a pretty good match for the Gunmetal of the case. A little more metallic perhaps but then the small contrast will help make the fans pop.

001.jpg


002.jpg


003.jpg


004.jpg


005.jpg


0072.jpg


007.jpg


007.jpg


012.jpg


013.jpg


015.jpg


With a little care and attention it's possible to get some really quite decent paint jobs. As a general rule of thumb I think I spend 10 times longer prepping than I do actually painting so if your prep only takes a few minutes then the job you end up with will look awful.


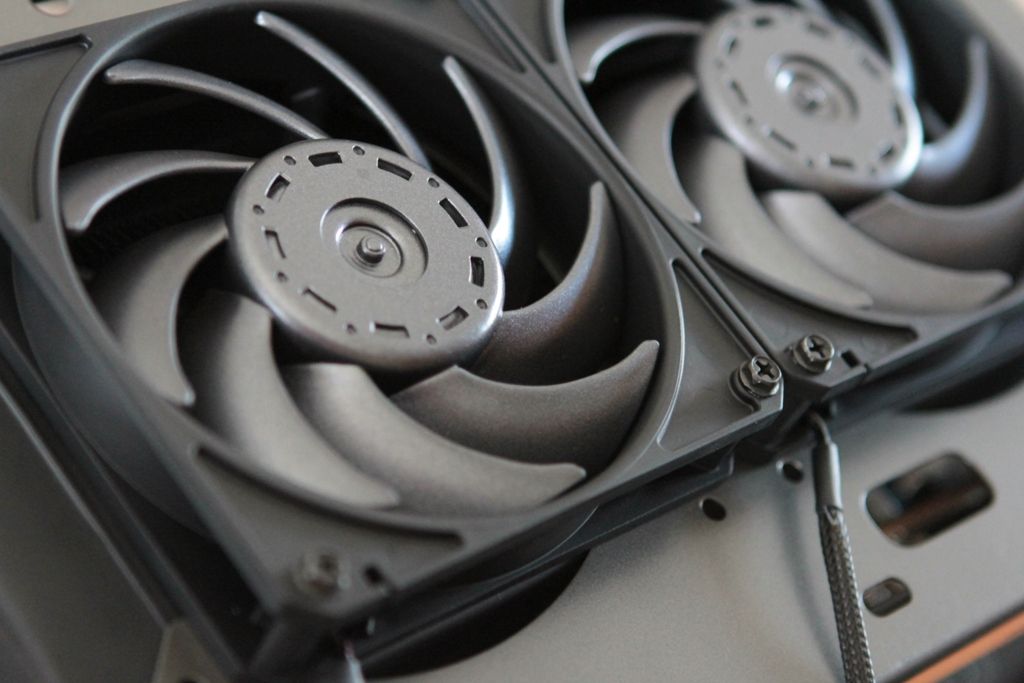
The finished fans next to the case (cables have yet to be braided, They won't actually be seen but the thought of having them in there unbraided just makes sick come into my mouth.

033.jpg


032.jpg


030.jpg


And finally on the case for a test fit.

037.jpg


Thanks for looking. and thanks again for all the feedback.

Do feel free to comment or ask questions
 
Many thanks for the comments about the fans. For the most part they won't be seen as they'll be behind grills etc, but for me it's making sure the detail is there. If they were just left normal it wouldn't feel right never mind look right. Same with the braiding. None of the braiding on the fans will ever be seen as it will all be routed round the back, but I just can't bear the thought of there being coloured unbraided wires back there.
 
Last edited:
Many thaks for the comments about the fans. For the most part they won't be seen as they'll be hehind grills etc, but for me it's making sure the detail is there. If they were just left normal it wouldn't feel right never mind look right. Same with the braiding. None of the braiding on the fans will ever be seen as it will all be routed rouind the back, but I just can't bear the thought of there being coloured unbraided wires back there.

I like your style man, real fresh.
 
Well if you've seen the latest article on the home page by now you'll have already worked out that it's time to add in a bit of the detail and share with you guys what's been keeping me out of Mrs Dubs Hair for a while.

The MSI Z77A GD55 is a cracking motherboard sharing many of the attributes of it's bigger brother, which was the main reason it was chosen for this project. What didn't fit with the theme of the project was the heavy dose of electric blue on all the heatsinks etc.

040.jpg


035.jpg


We decided that nice though the blue was it would have to go. If you want to change the colour of the heatsinks you've got quite a few options, aside from actually swapping them for other heat sinks of course. option 1 is to remove them and paint them, here you do of course run the risk of damage to the motherboard + all the hassle of getting them of (assuming everything you want to change the colour of will actually come off). Option 2 is to mask off and to spray items in situ. i gave this serious consideration, but as my paint shop is essentially a shed with some polythene lining and the weather has been far from clement I chose not to risk it. I was also a little concerned about static build up and discharge harming components. Finally option 3 which is the option of choice. It's the most lengthy and time consuming and does require a great deal of patience and a degree of skill perhaps. If you haven't guessed by now it's all been painstakingly hand painted. Took a good couple of days and 3 coats per item but I'm really quite pleased with the result. I think it really transforms the MSI board. Who knows MSI might even bring out a "G-Dubs Black edition" board.

A few pictures of the board after the first coat and then fully painted and installed. You'll notice the odd bit of blue peeking out on some images, in particular the PCI slots as obviously the inside of these where the connectors live can't be pained. All the other little bits were picked up on the 2nd and 3rd coats.

092.jpg


095.jpg


099.jpg


005.jpg


These also used to be blue.

100.jpg


I spent a good deal of time deciding which fittings to go for, eventually deciding I would spend my hard earned wedge with the great guys at Specialtech, and splash out on some Bitspower fittings. I've always lusted after these and thought I'd treat myself. They didn't disappoint, oh good god no. You had a bit of a sneak peek a few pages back, but here they are in all their naked glory.

Behold watercooling porn (queue 70s wakka wakka music)


053.jpg


062.jpg


063.jpg


064.jpg


080.jpg


076.jpg


thanks you all for taking the time to look. next up will be fitting the excellent razor and raystorm blocks.

See you soon and Mod on Guys.
 
Last edited:
What sort of paint and tools did you use for the painting of the board? :o

As above !! really really top notch job on the motherboard!
From this, Maybe I will do this to another blue board but change it to orange :rolleyes:

I gave a great deal of thought to choice of paint. Original thought was to use acrylic as it's quite easy to work with and easy enough to remove any mistakes.

However as I wasn't too sure how well it would stand up to even small amounts of heat (is is going on a heatsink after all), I decided to use a product called Humbrol enamel paint. Matt Black 33 thinned by 25% as it's pretty gloopy stuff even when mixed well. A selection of brush sizes with some very small ones to get into all the little nooks and crannies and an awful lot of patience. if you fancy having a go, you can get all this stuff from the sort of places that sell models etc.

I have to say I'm rather pleased with the result and nice to see the work appreciated, thanks Guys :)
 
Back
Top